
If you love macrame and Christmas then this is the perfect craft for you to make. These little Easy To Make Macrame Hanging Santa Decorations are just the cutest and they are so easy to make. In this blog i will walk you through step by step how you can make these cute Macrame Santa hanging decorations and all the supplies you will need.
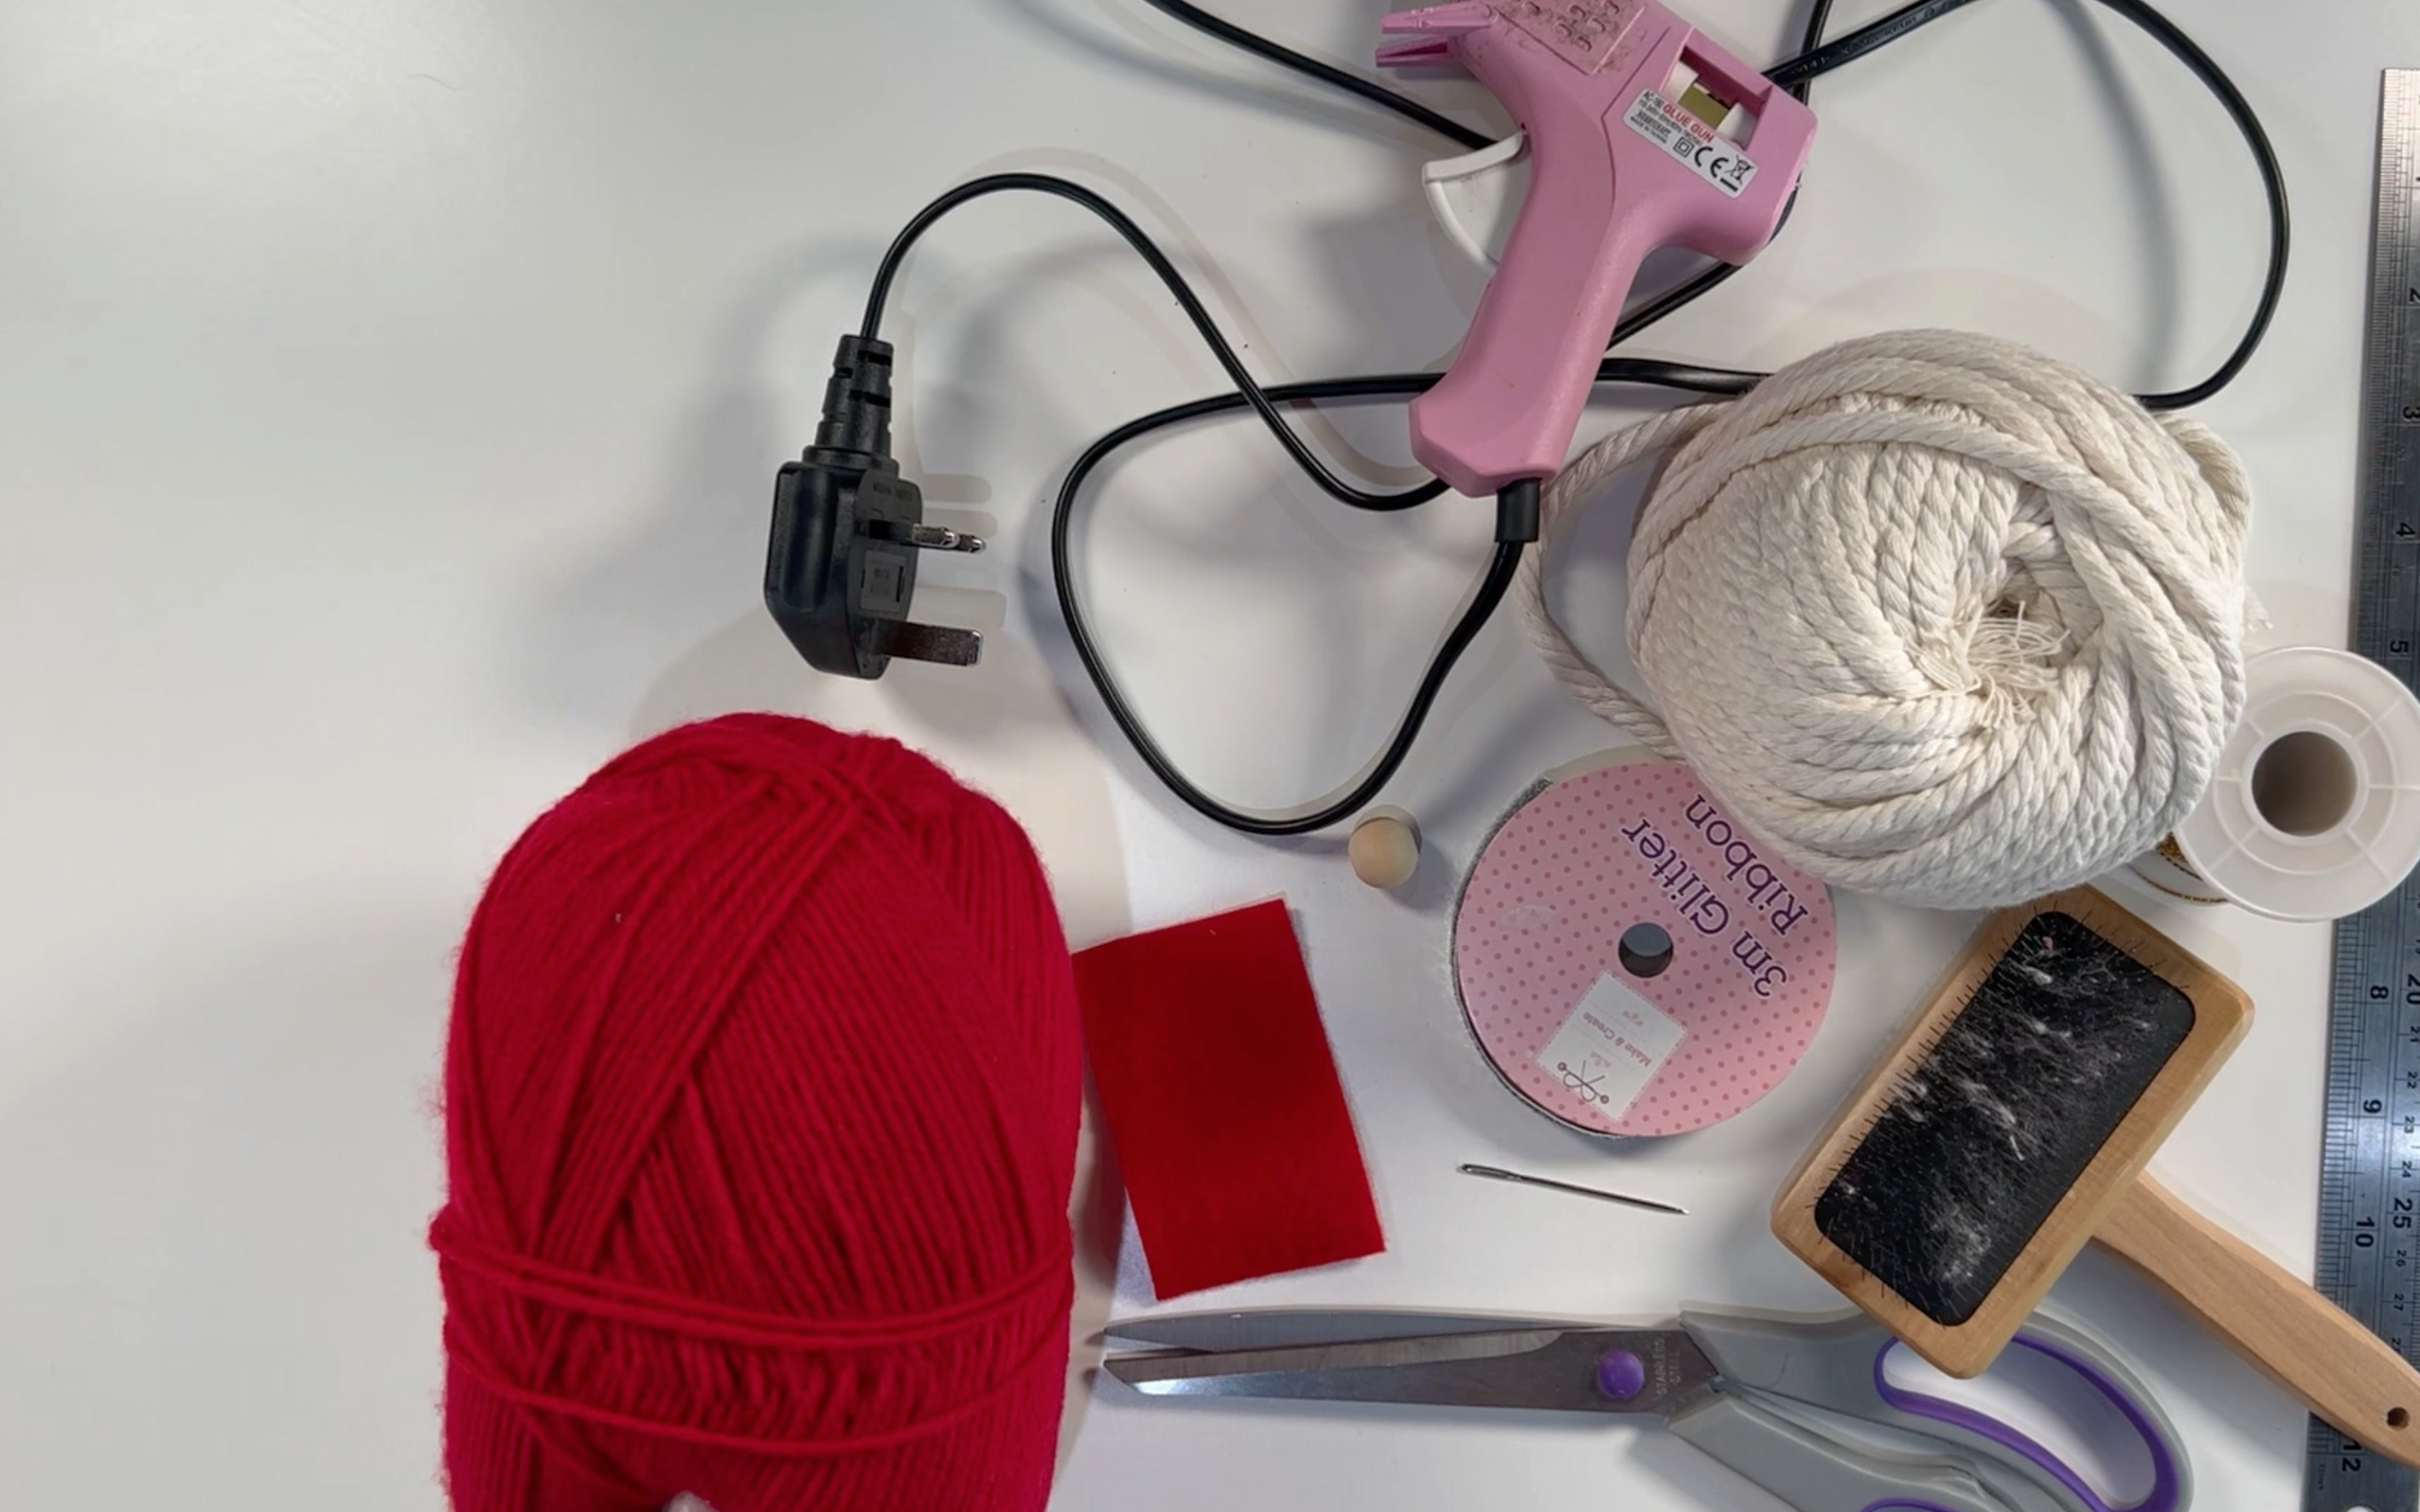
Supplies i used:
=============================================================================
DISCLAIMER: Links included in this description might be affiliate links. If you purchase a product or service with the links that I provide I may receive a small commission. There is no additional charge to you. Thank you so much for helping to support my channel, you are awesome.
=========================================================================
Step 1
Take the macrame cord and using the metal ruler measure 3 lengths. 9 inches, 10 inches and 11 inches. These are going to be used to make the santa hat.

Take the red wool and start to wrap the wool around the macrame cord. Make sure you start about an inch and a half from the bottom of the cord.

Wrap the wool around the cord until you have the same amount of cord left at the other end.

Repeat this so you have all 3 pieces of macrame cord wrapped in wool. With the same amount of cord left at the bottom of them all.

Step 2
Using the hot glue gun, glue together the macrame cord. This is going to form the Santa hat. Make sure that you only put a small amount of glue on the back as you do not want it to show through to the front.

Once all the strands of macrame cord have been glued together it should look like the picture below. Do not worry if the back looks messy with glue as this will be covered up.

Step 3
Cut a piece of red felt. This should be cut to fit on the back of the Santa hat. Use hot glue to stick it to the macrame cord.

Step 4
Take a small piece of ribbon and place it on the edge of the macrame cord. This is going to make the edge of the Santa hat. Use hot glue to stick it to the macrame cord.

Step 5
Start to unwind the loose strands of the macrame cord. This is easy as they should just twist apart.

Once they have all been unwound, take a macrame brush or comb and brush the cord. This should help separate the strands and make it look like a woolly beard.

Step 6
Cut a small piece of macrame cord and separate one of the strands. Add a small piece of sellotape to the end to help it fit through the hole of the wooden bead.

Thread the cord through the wooden bead hole and then remove the sellotape.

Use the macrame brush to brush the cord that is through the bead.

Use hot glue to glue the wooden bead to the macrame cord. I use the centre of the hat as a guide to where to place the wooden bead.

Using some sharp scissors trim the bottom of the macrame cord to tidy it up.

Step 7
If you want to hang your decoration, take some thread. Thread the cord through a needle.

Use the needle to to thread the thread through the top two layers of the macrame cord. Once the thread is through, remove from the needle and tie the thread.

Now you have your completed macrame hanging santa decoration.

If you would like to watch how i make my Easy To Make Macrame Hanging Santa Decoration then click here.
If you enjoyed this blog then please check out my other blogs:
Make your own chocolate bouquet