
With the end of term fast approaching, making a personalised wine bottle label could make a perfect teachers gift. These would also be a perfect addition to add to wine bottles for any occasion, at any time of the year. In this blog i will share with you step by step how to make a personalised wine bottle label.
Materials you will need:
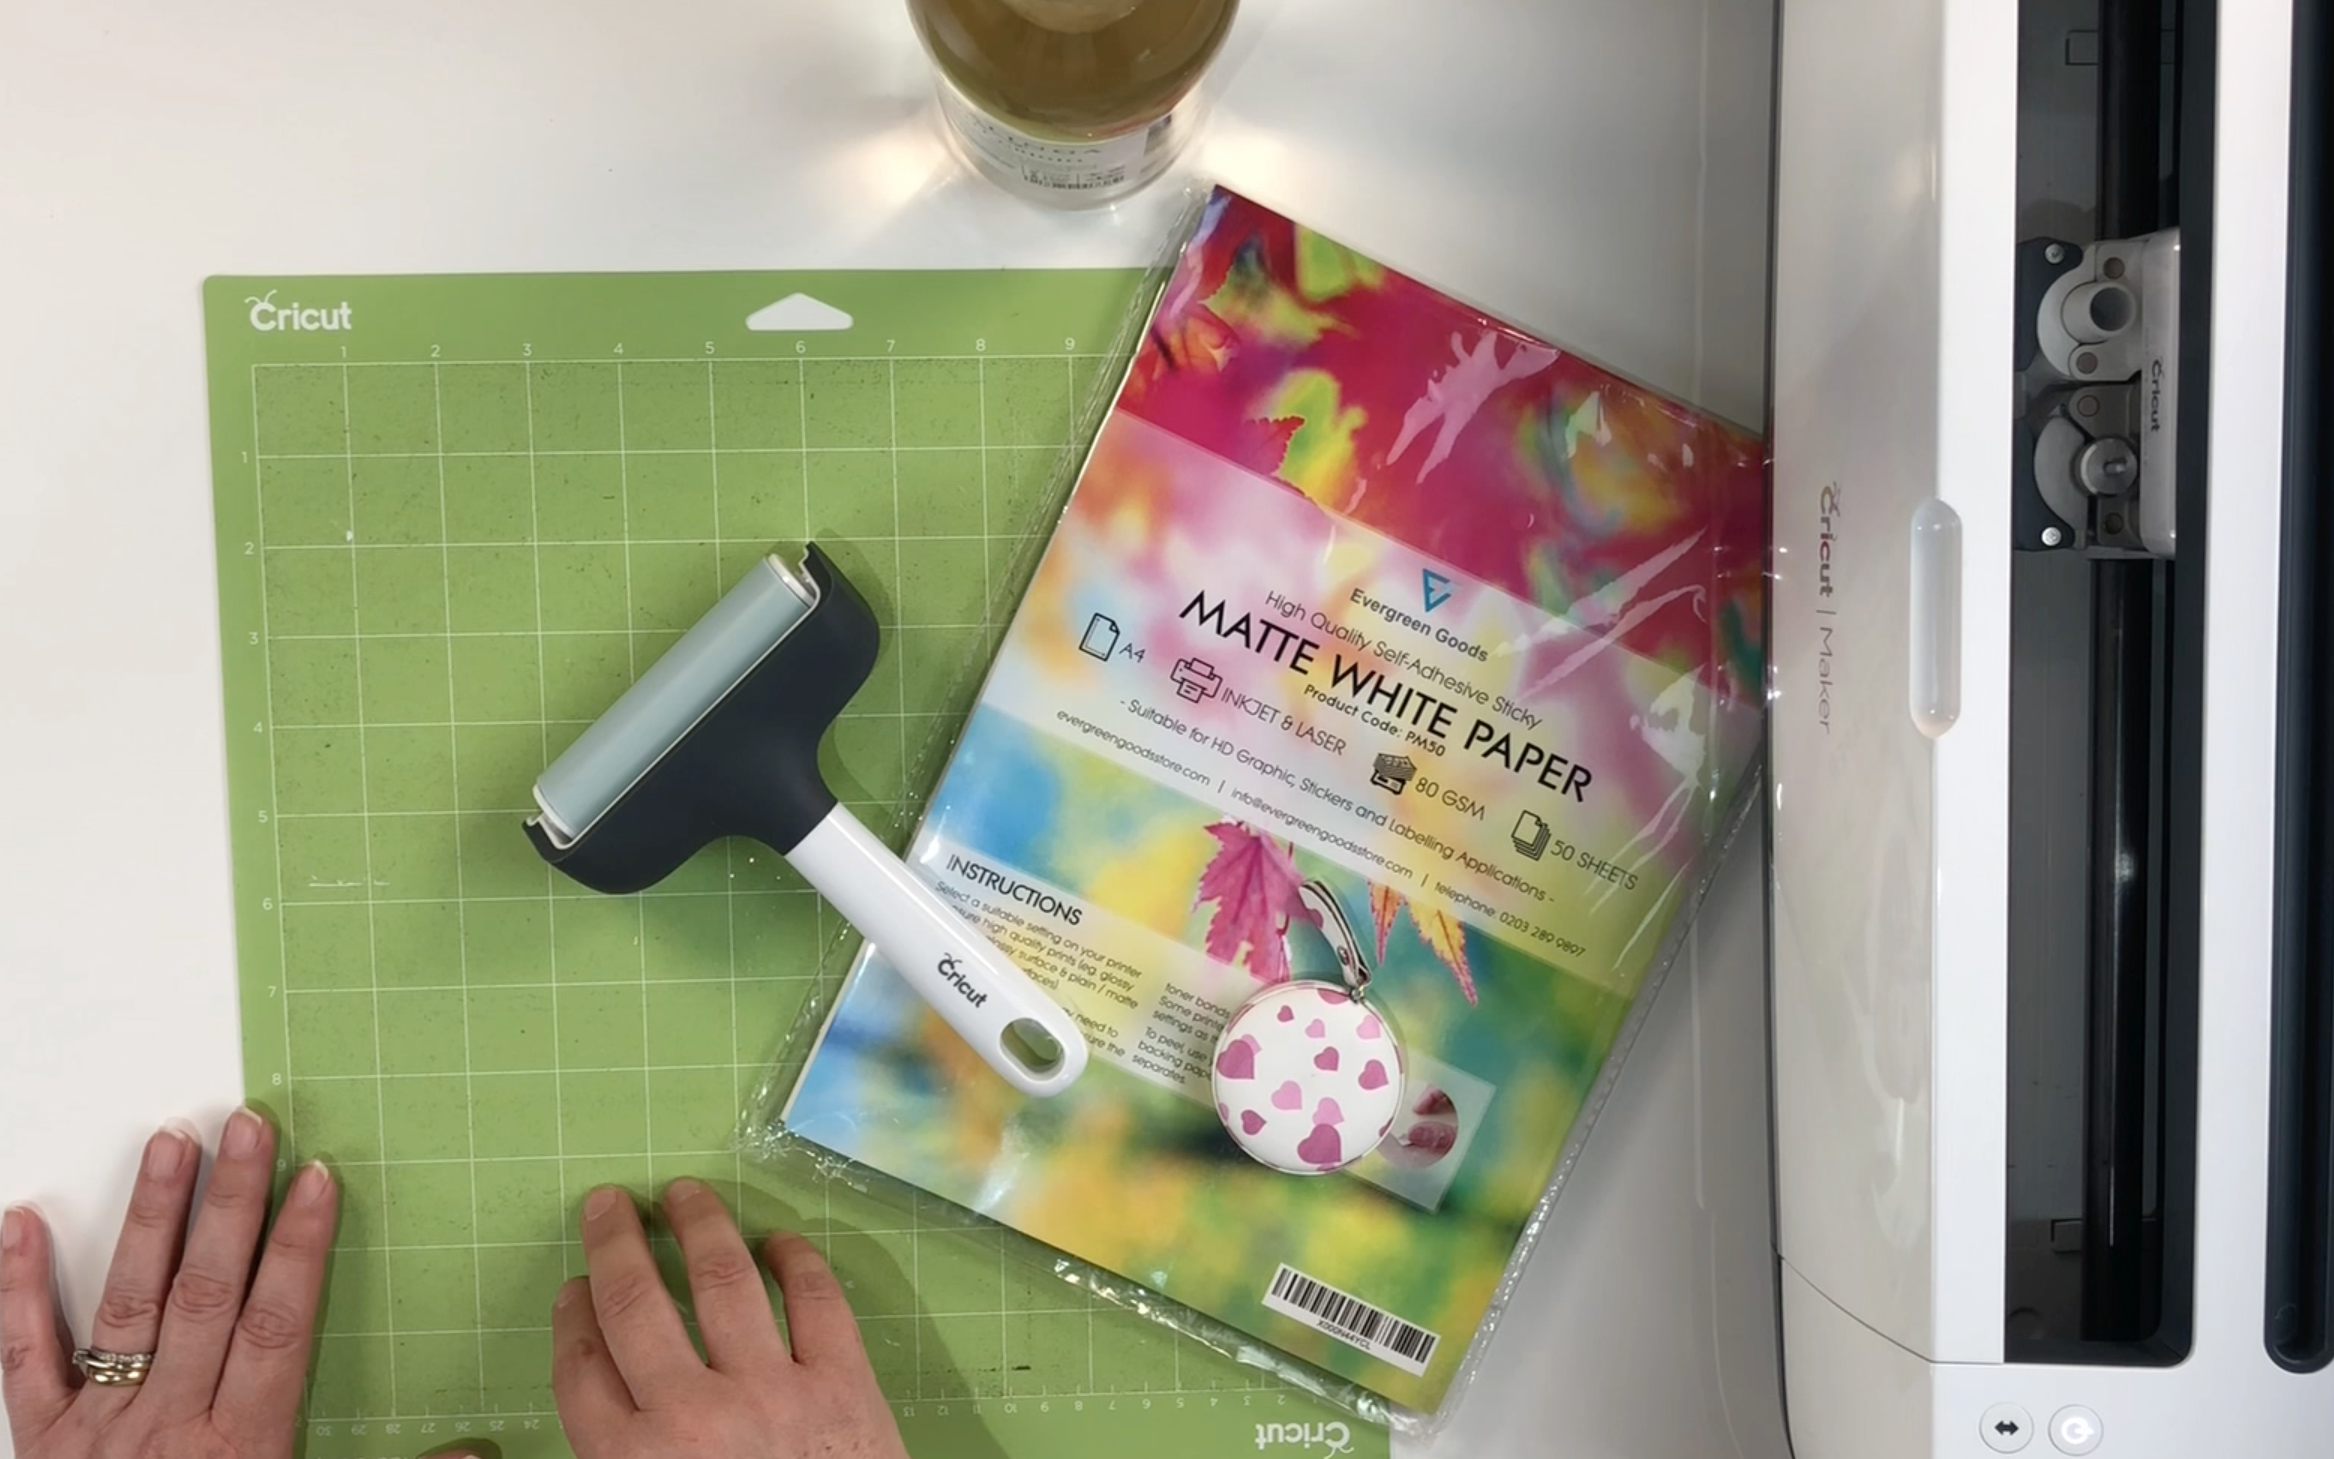
Any Bottle of wine
DISCLAIMER: Links included in this description might be affiliate links. If you purchase a product or service with the links that I provide I may receive a small commission. There is no additional charge to you. Thank you so much for helping to support my channel, you are awesome.
Step 1
If your wine bottle already has a label on, measure the size of the label. This will then provide you with the size you need to make your new personalised label.
You can choose to leave the original label on the bottle and just stick your new label over the top. I personally like to remove the label. You can check out my video, easiest way to remove a label from a bottle or glass jar.

Step 2
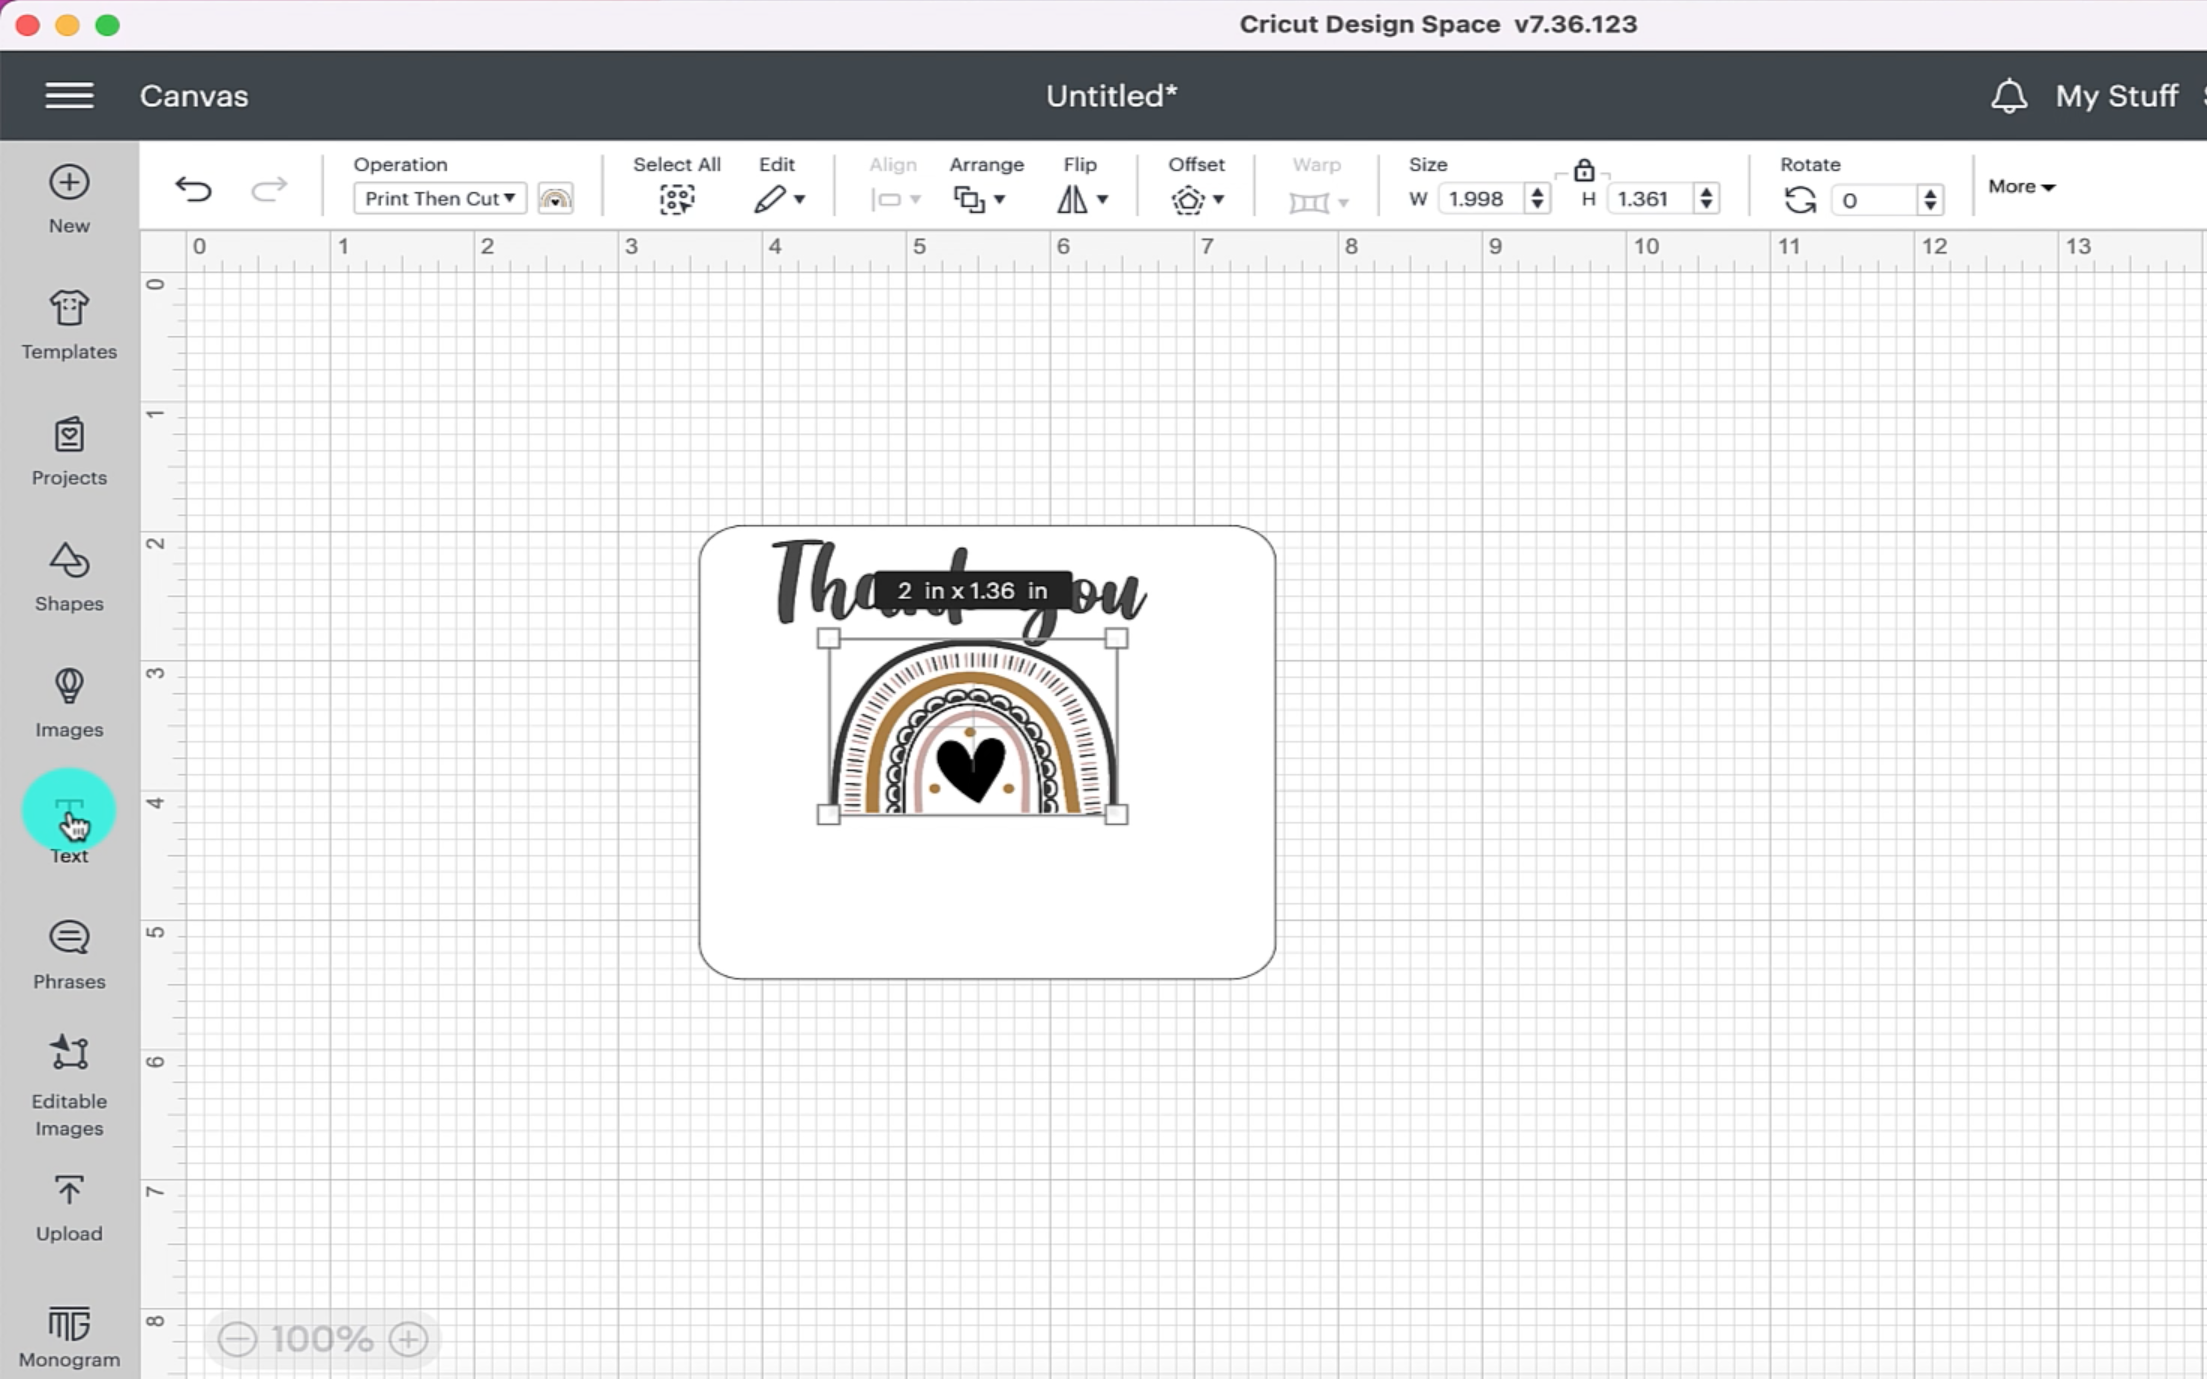
In cricut design space select a square shape and change the size so that it matches the size of your label. This is what you are going to use as your template for your new label. My label was 4 inch wide by 3.5 inches high.
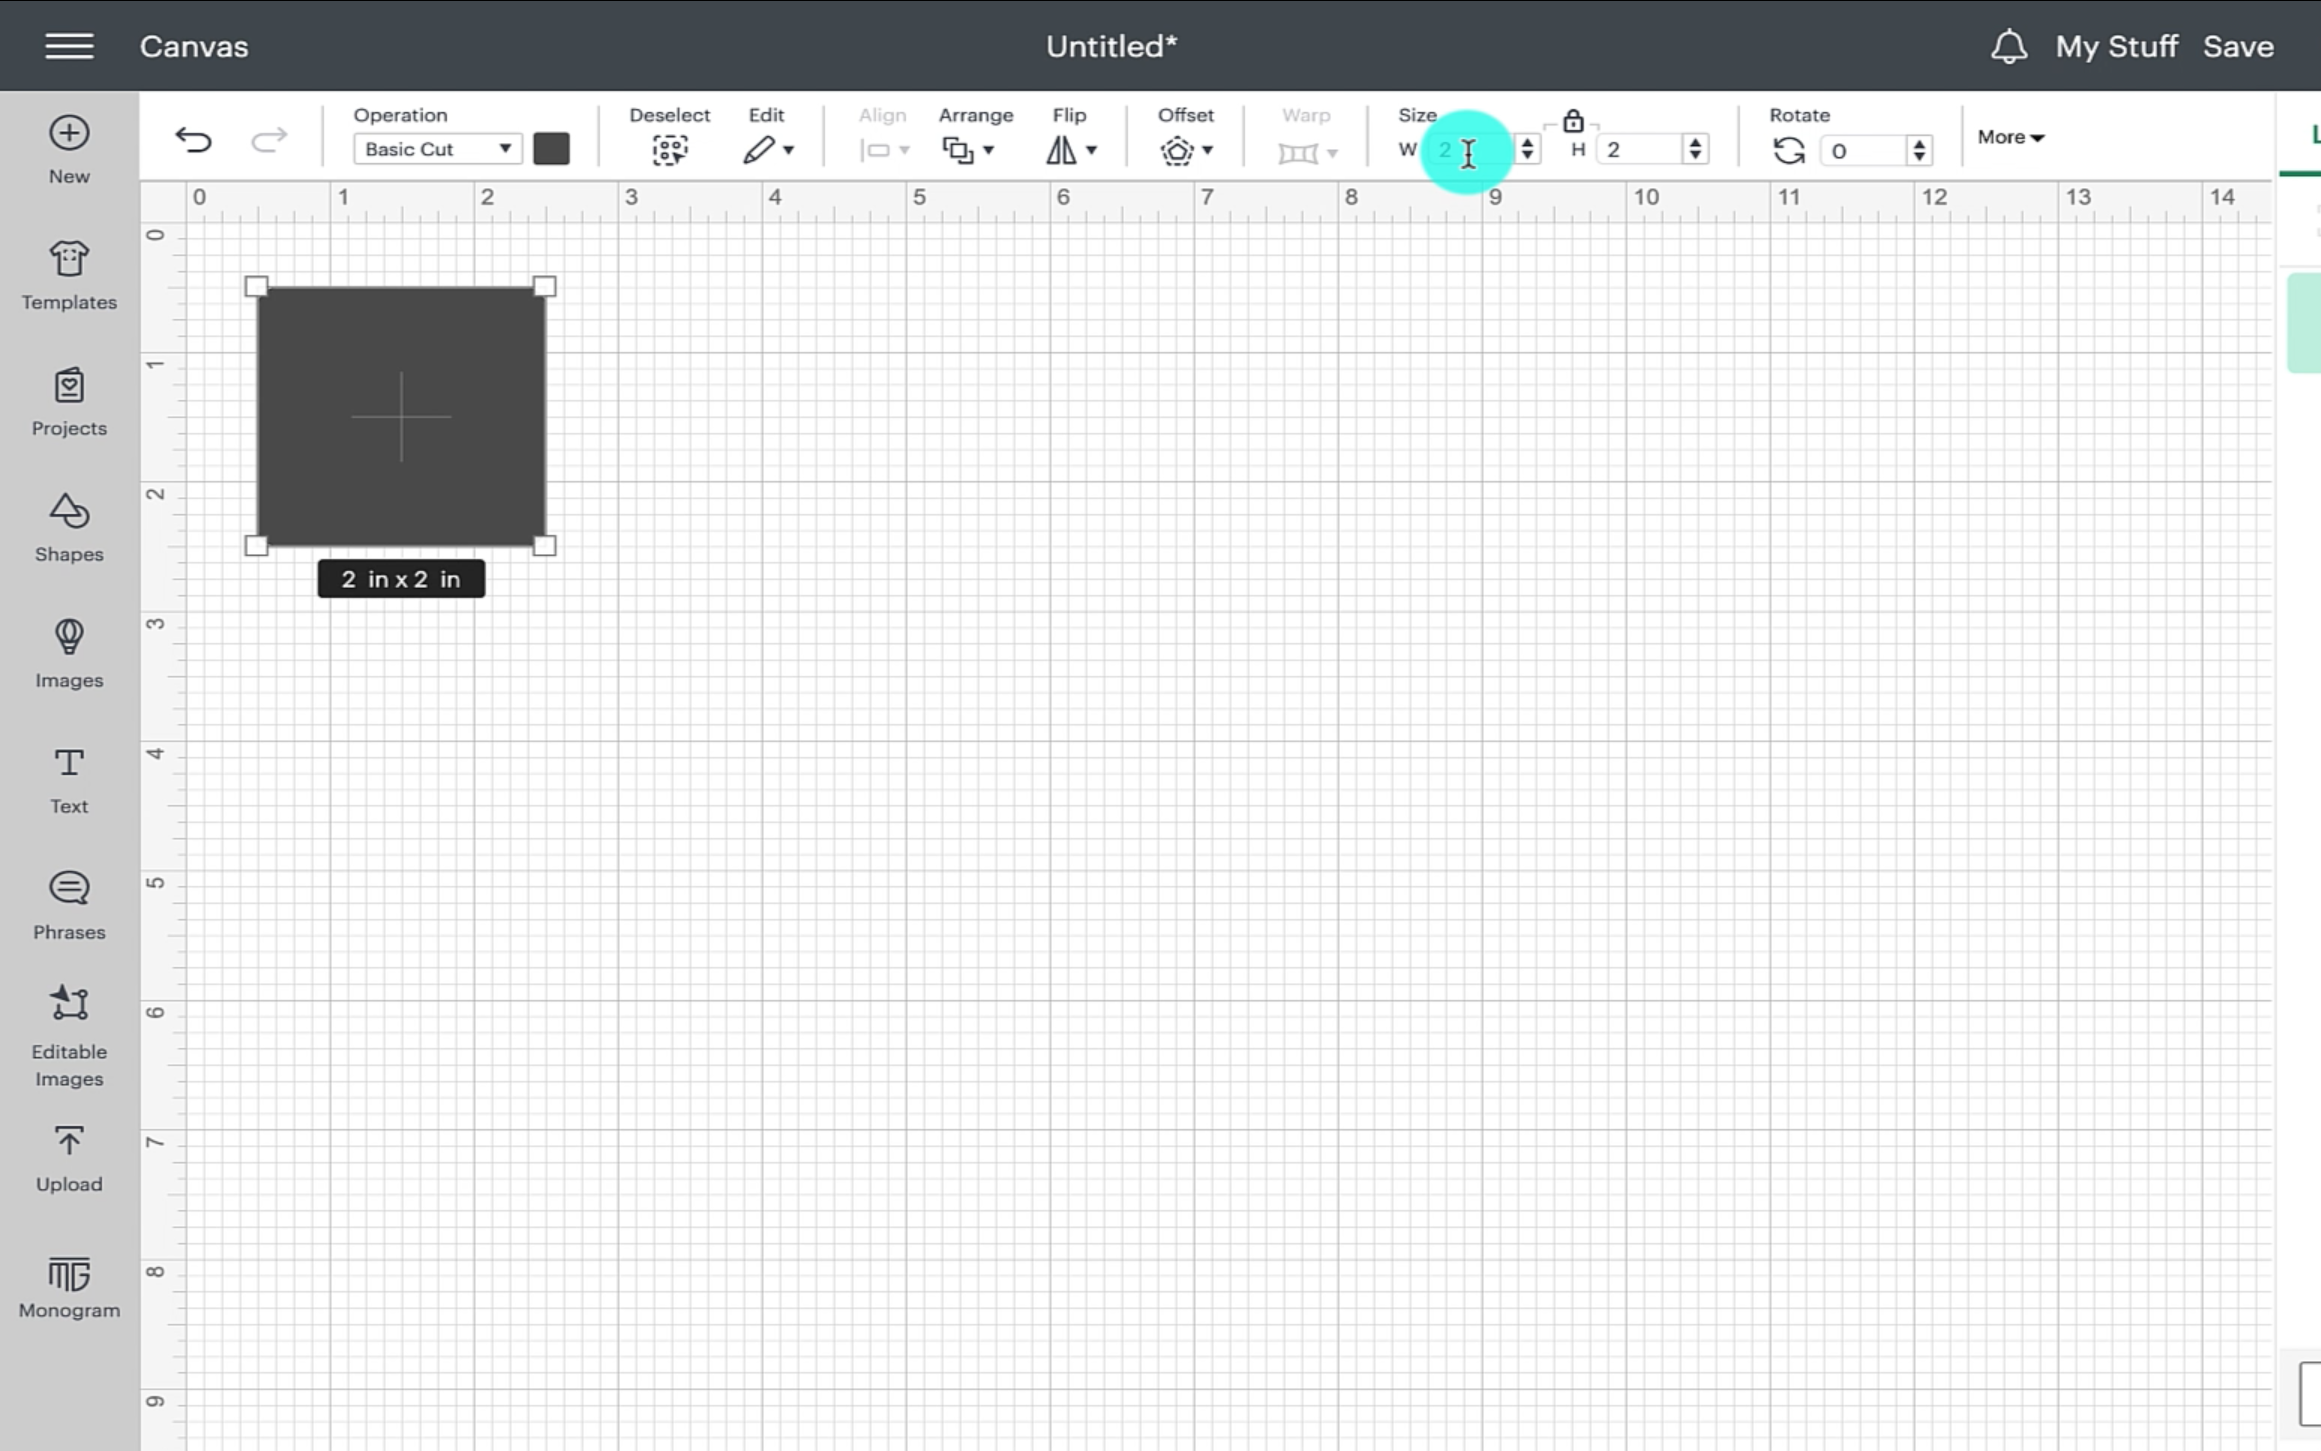
Turn your square white so it is easier to see your design.

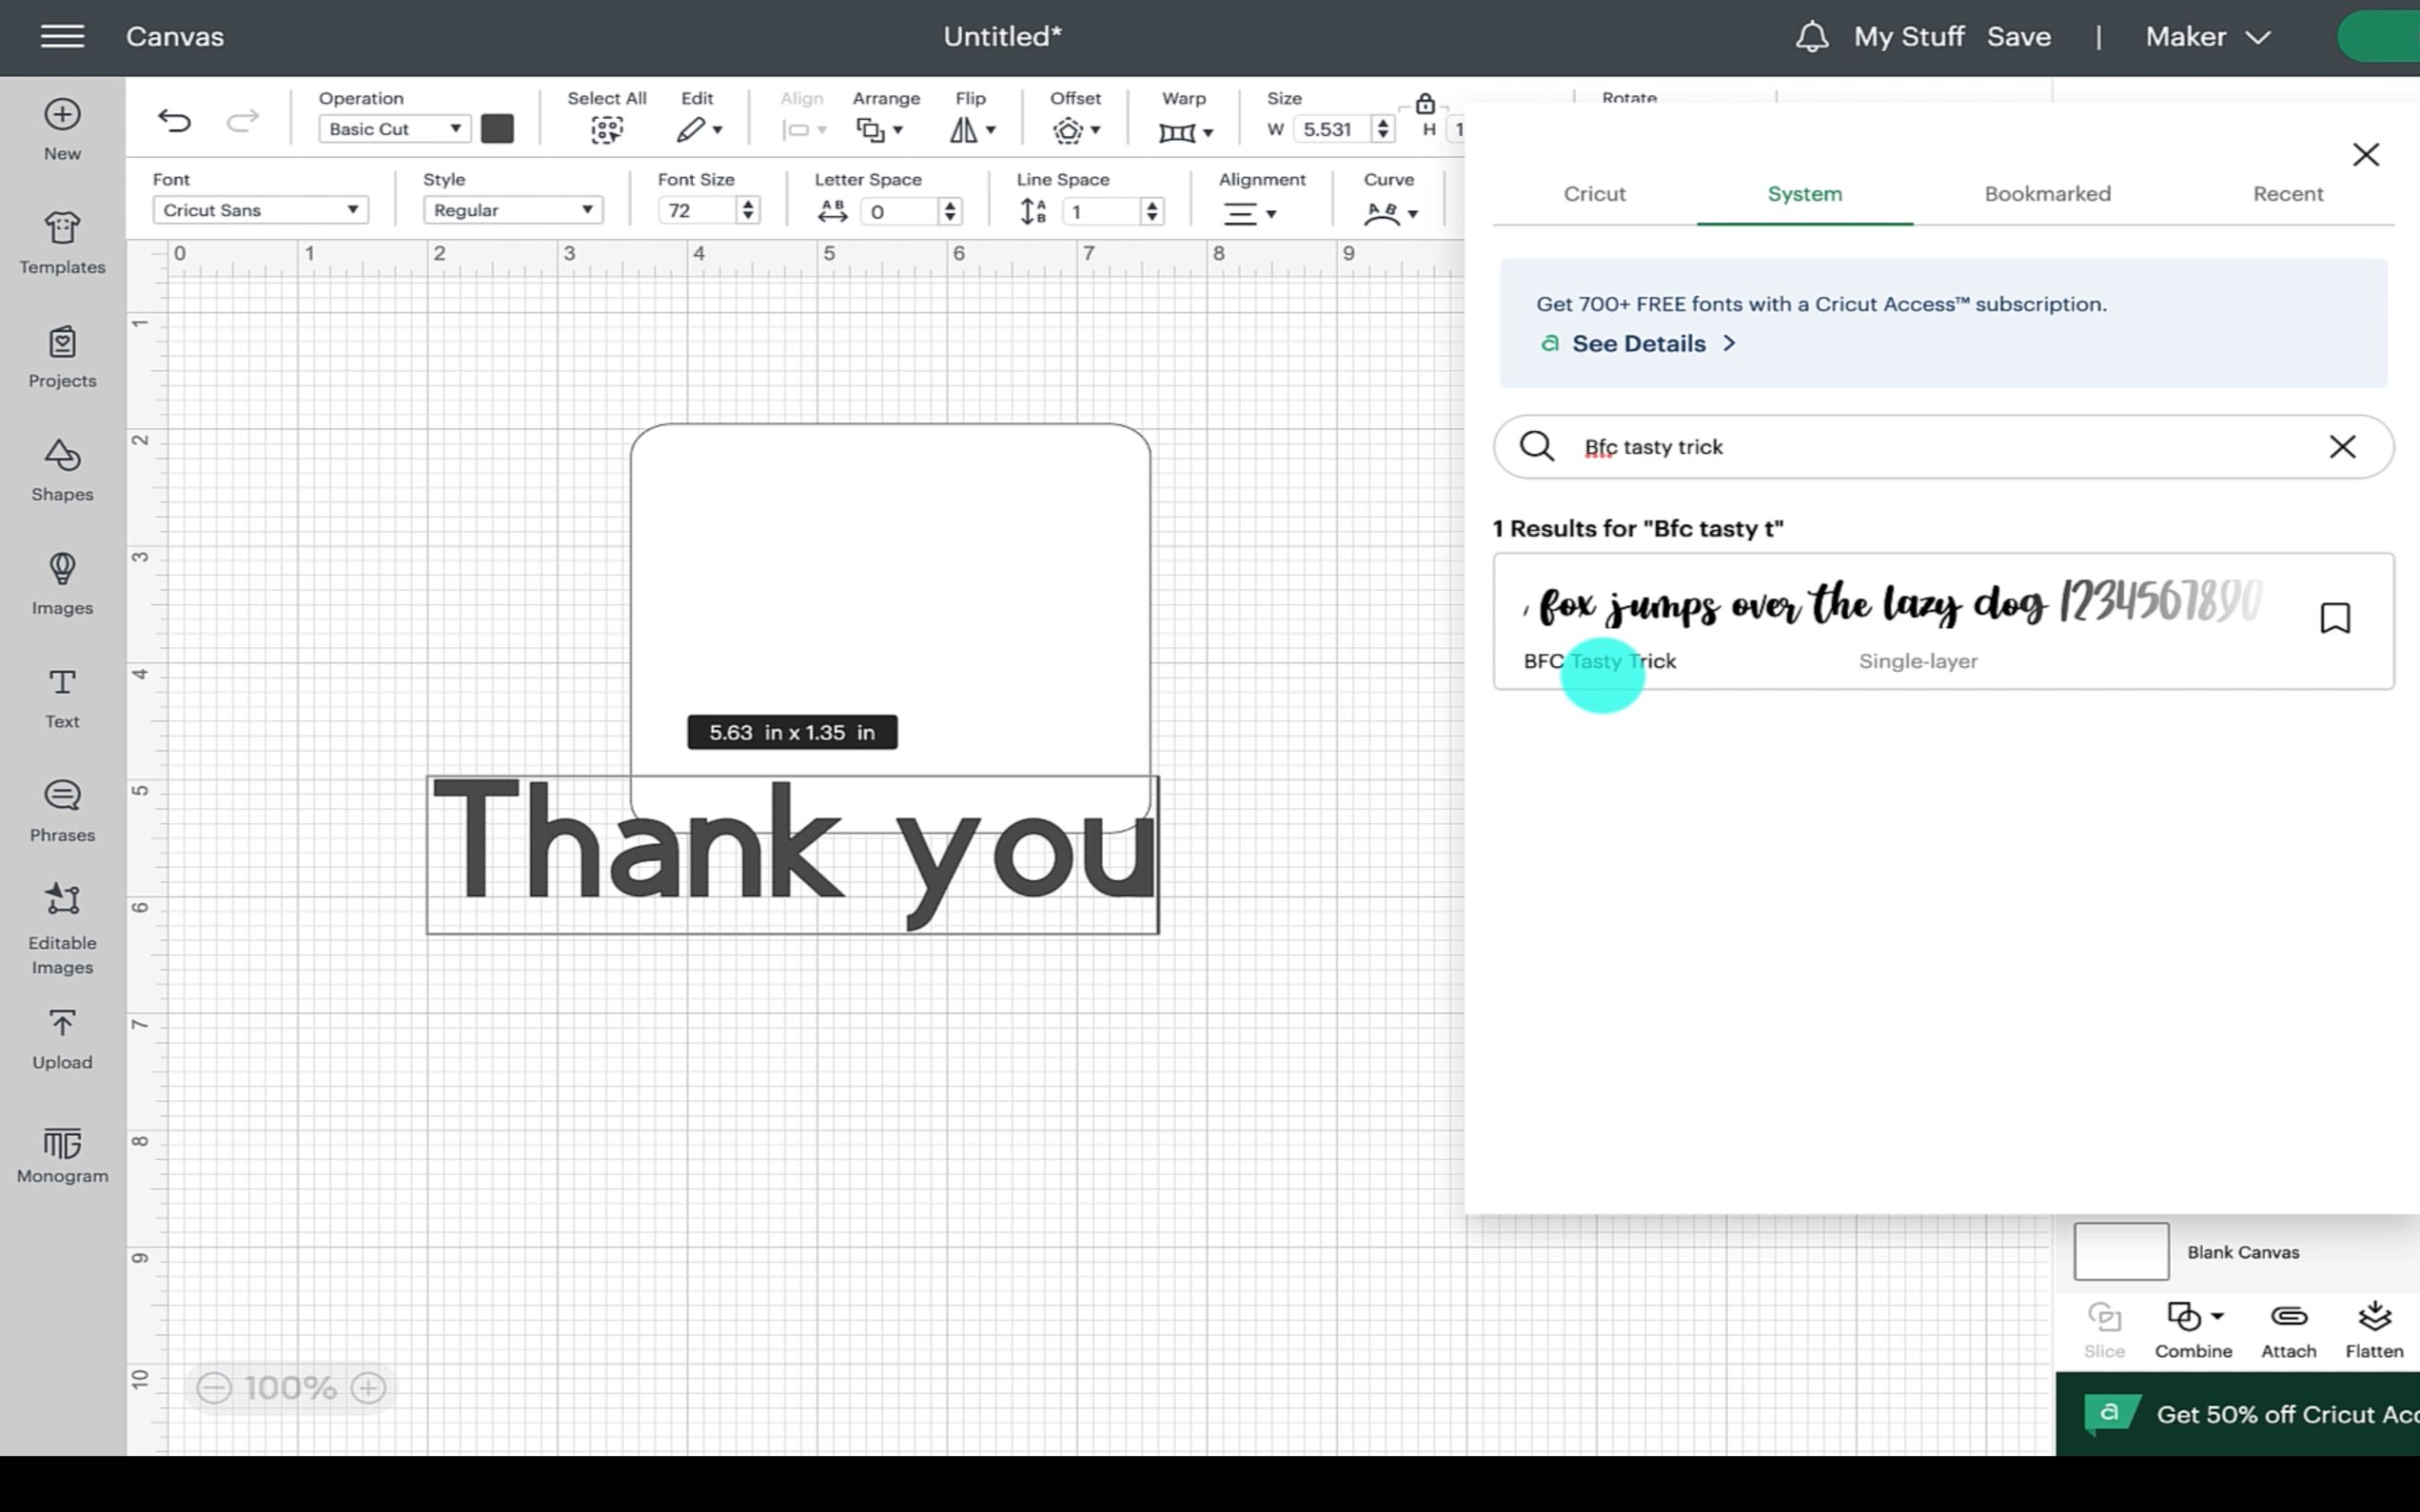
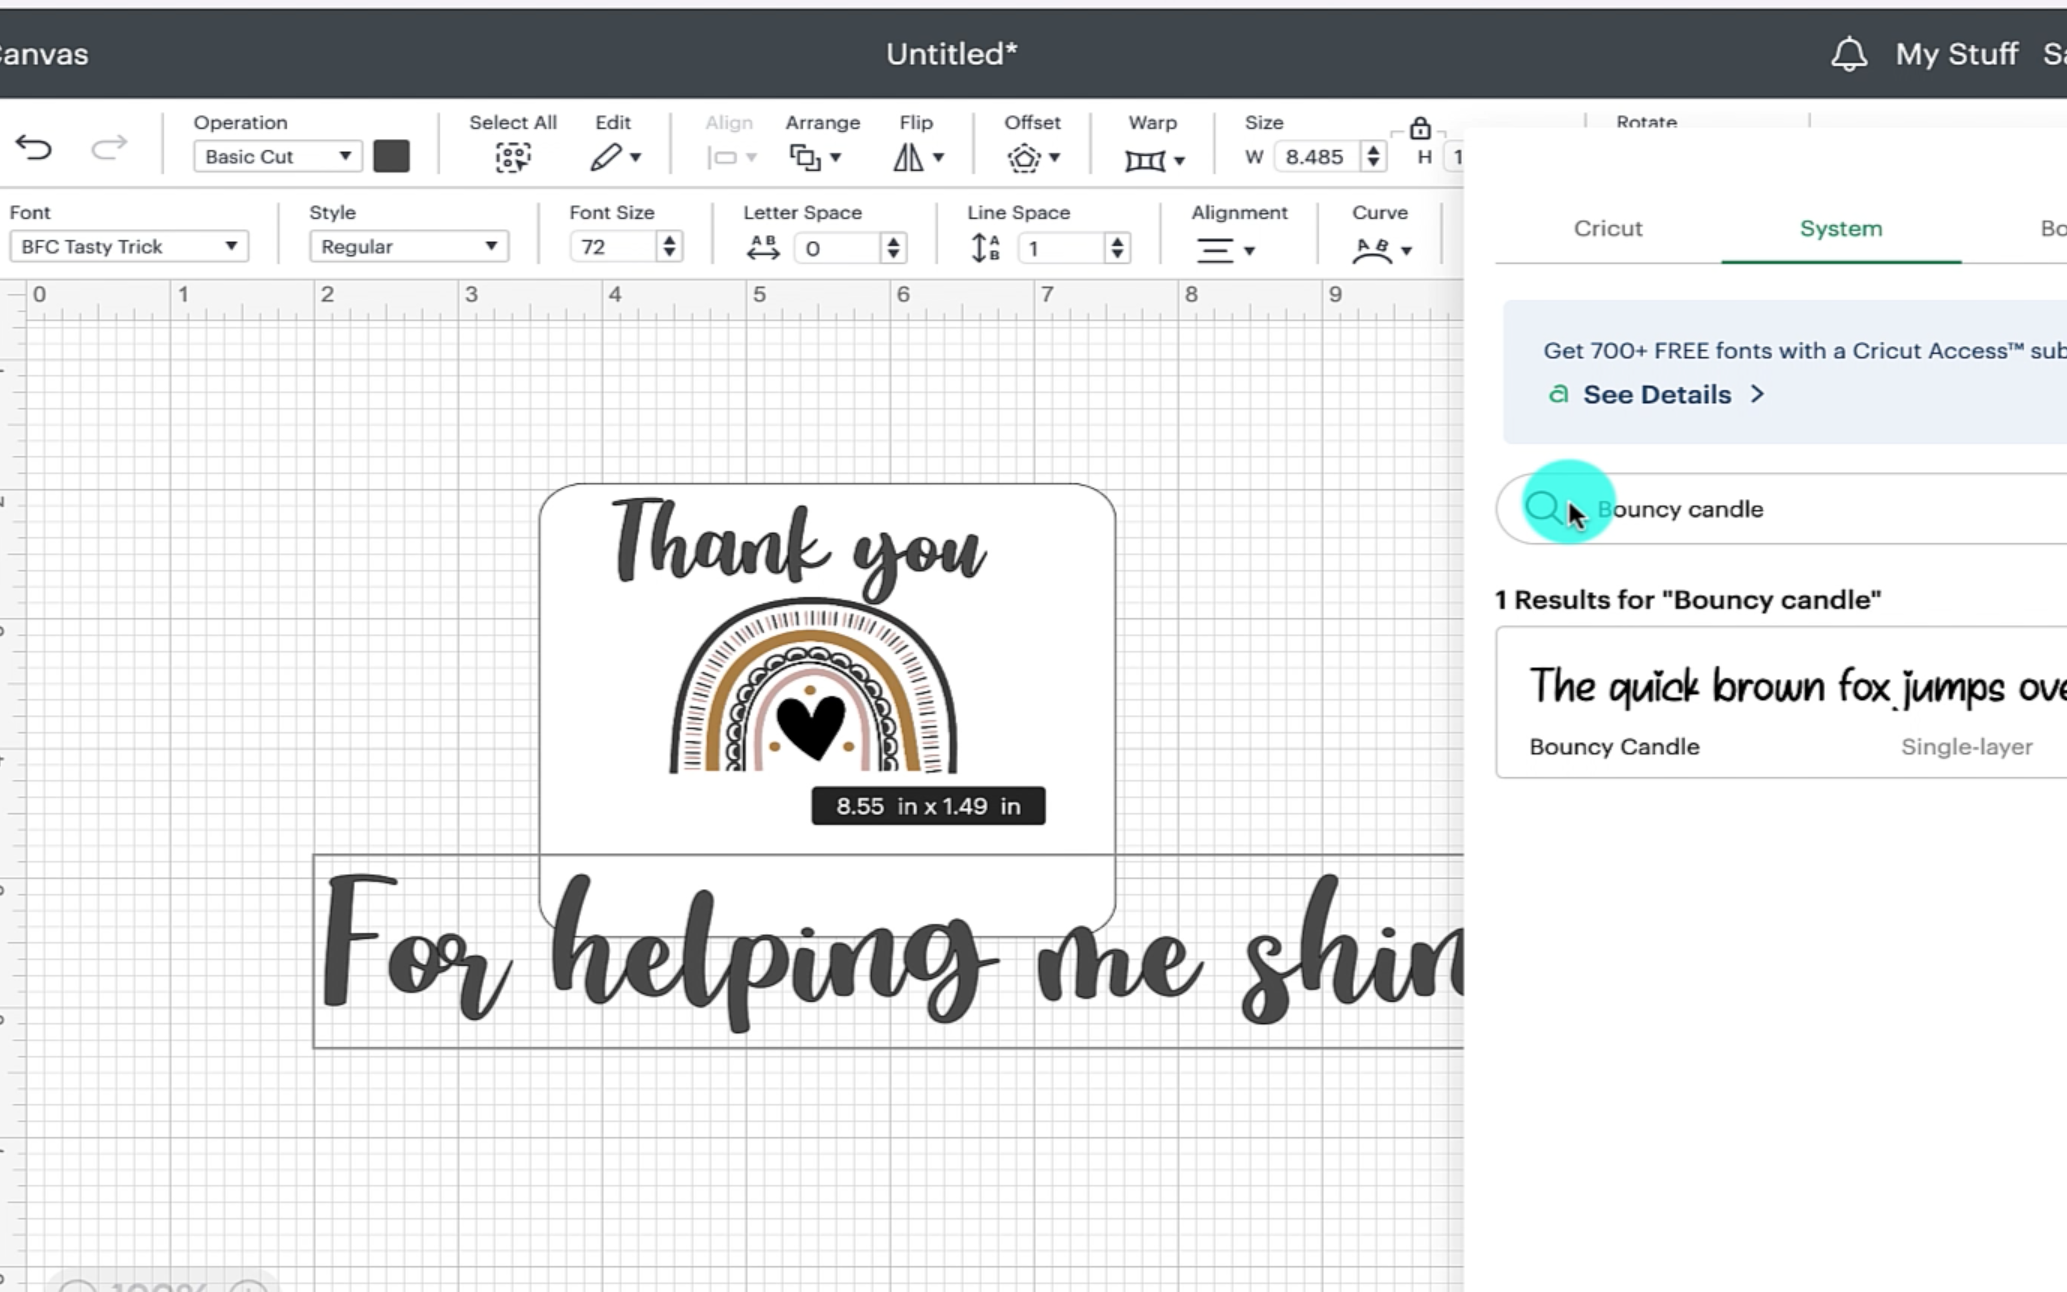
Start to add the text that you want to use on your label. I started by adding Thank you. At this point you also need to select the font that you like best.
Step 3
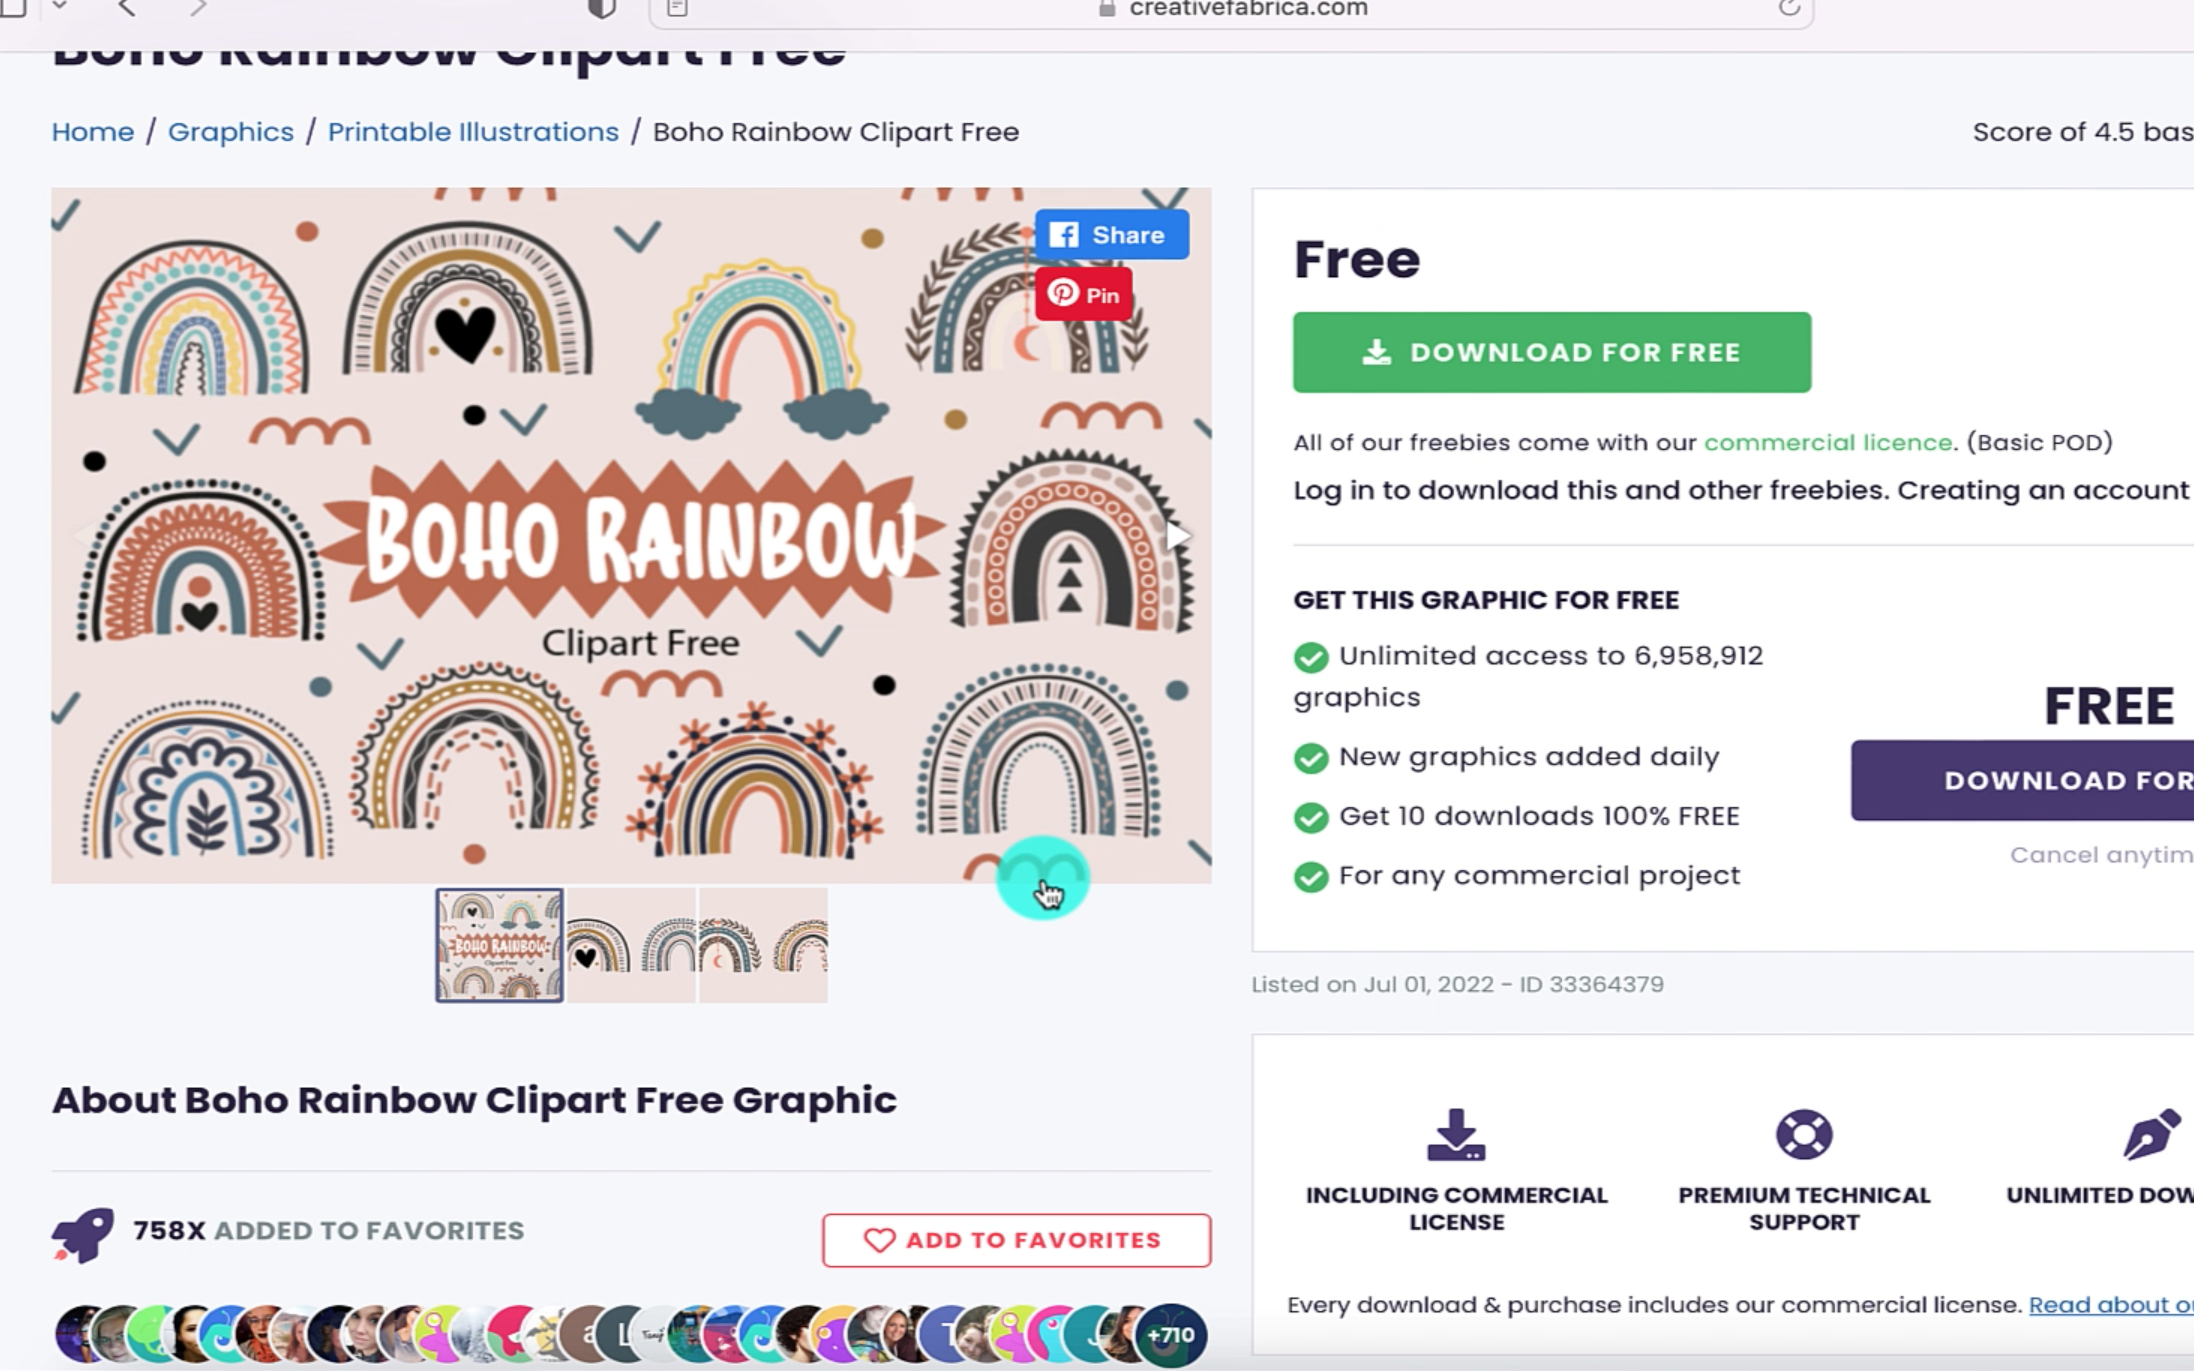
Next, i added a rainbow. I used a design that was available from creative fabrica. This is the boho rainbow design i used. Download the design onto your computer and then upload the design into cricut design space. If you don't want to use a rainbow that is fine, just find and use a design of your choice.
Position your design in the centre of your label.
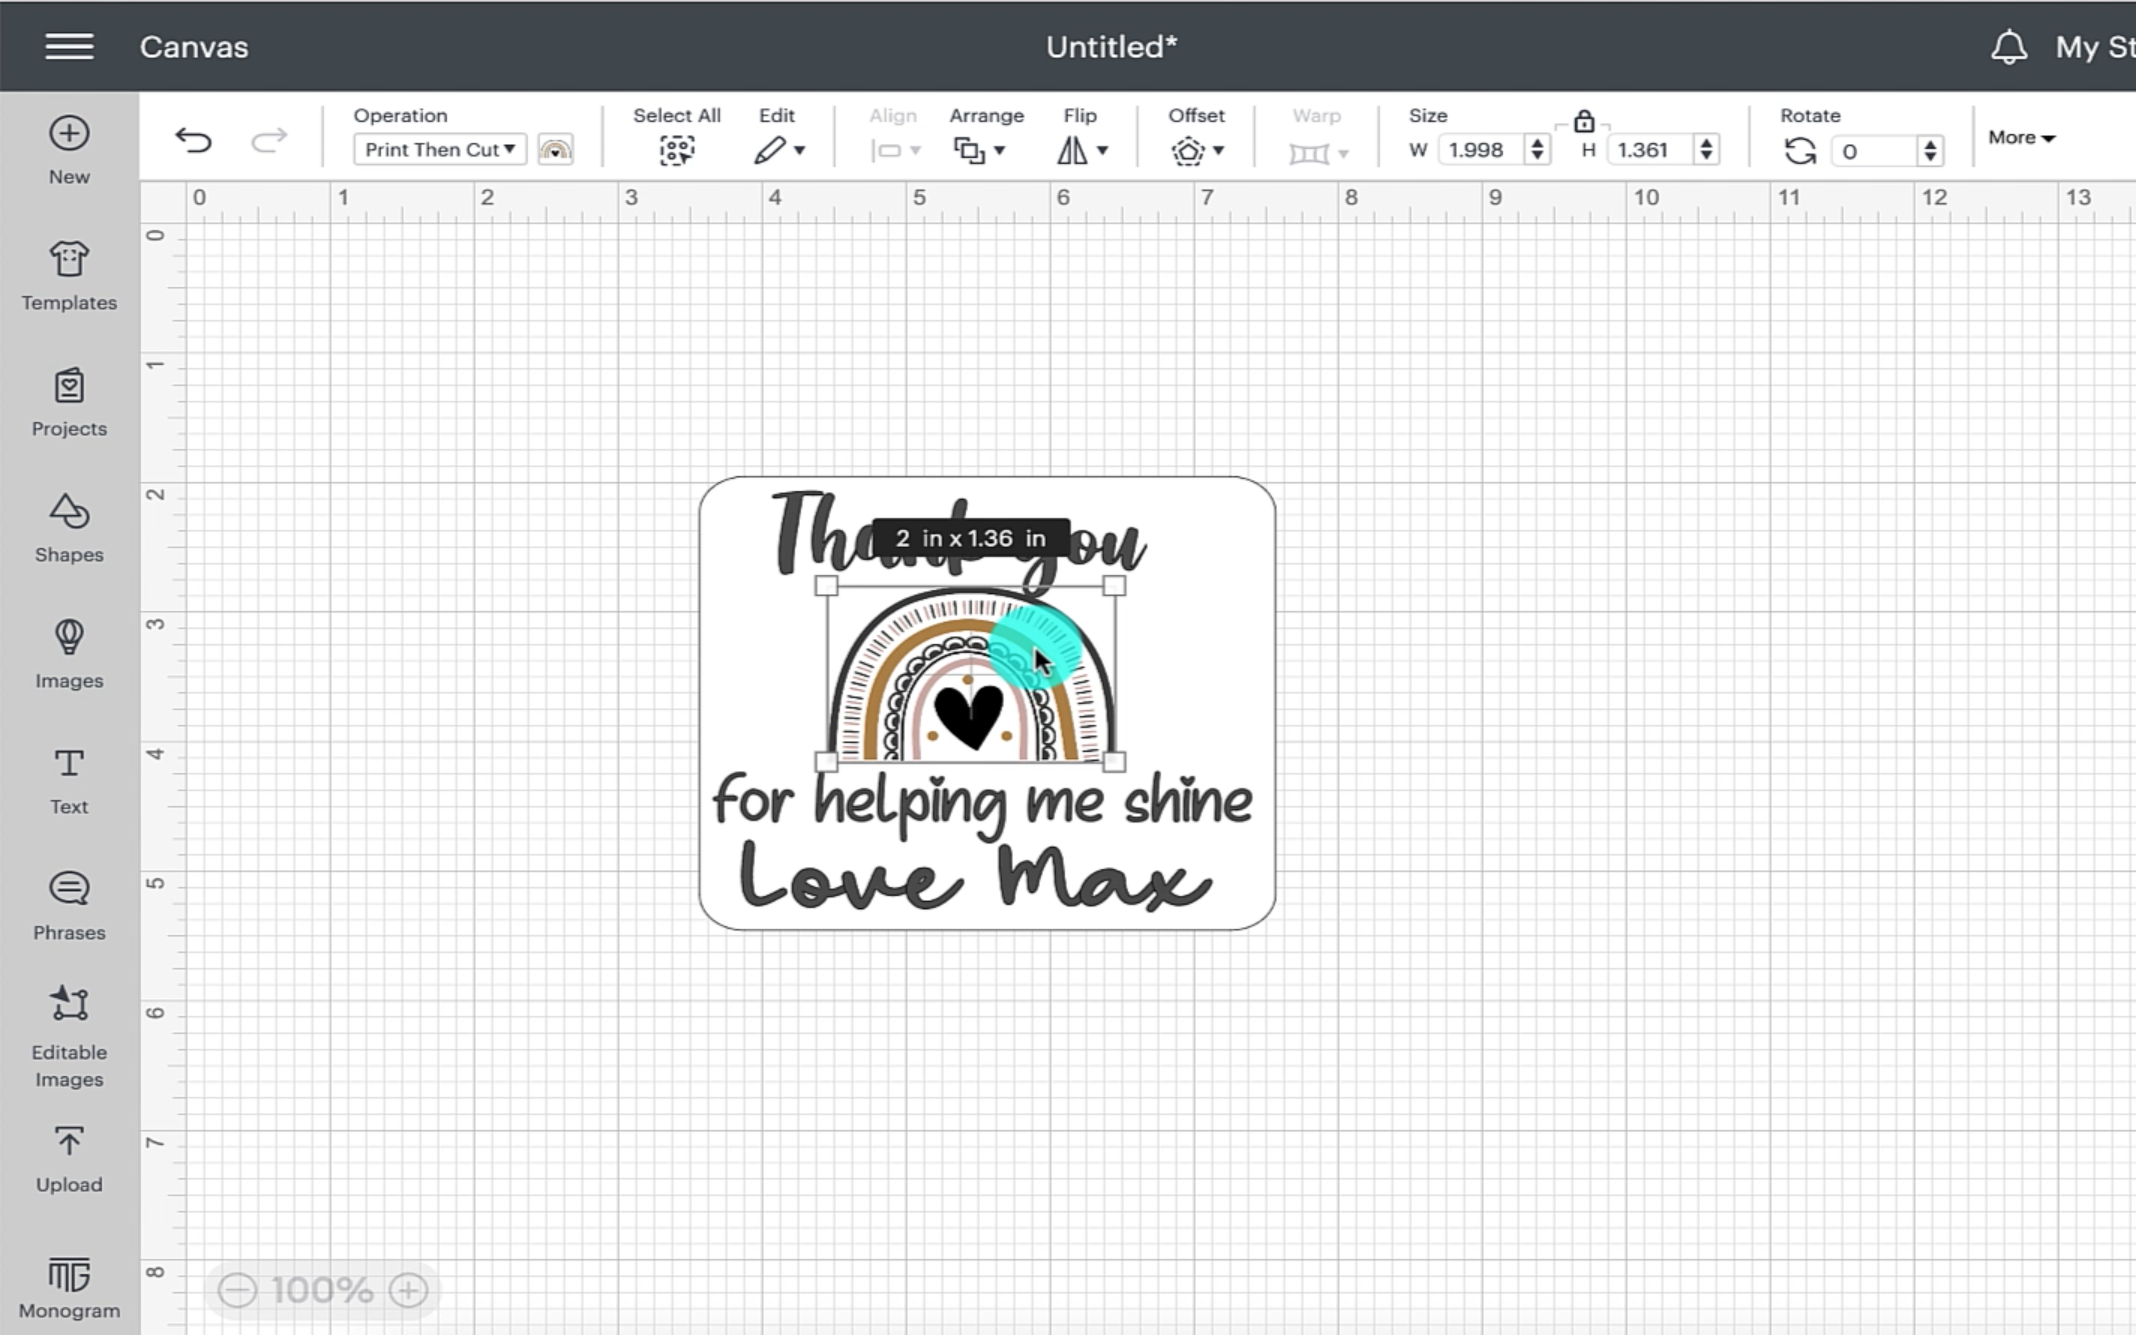
Add any other text you want onto the bottom of your label. I decided to put - For helping me shine Love Max.
Once you have all your text on your label and the design you want to use, play about with the position of it all until you are happy. When you are happy you need to select all of the design and click on flatten. This will make the label print then cut which is exactly what you need it to be.
Step 4
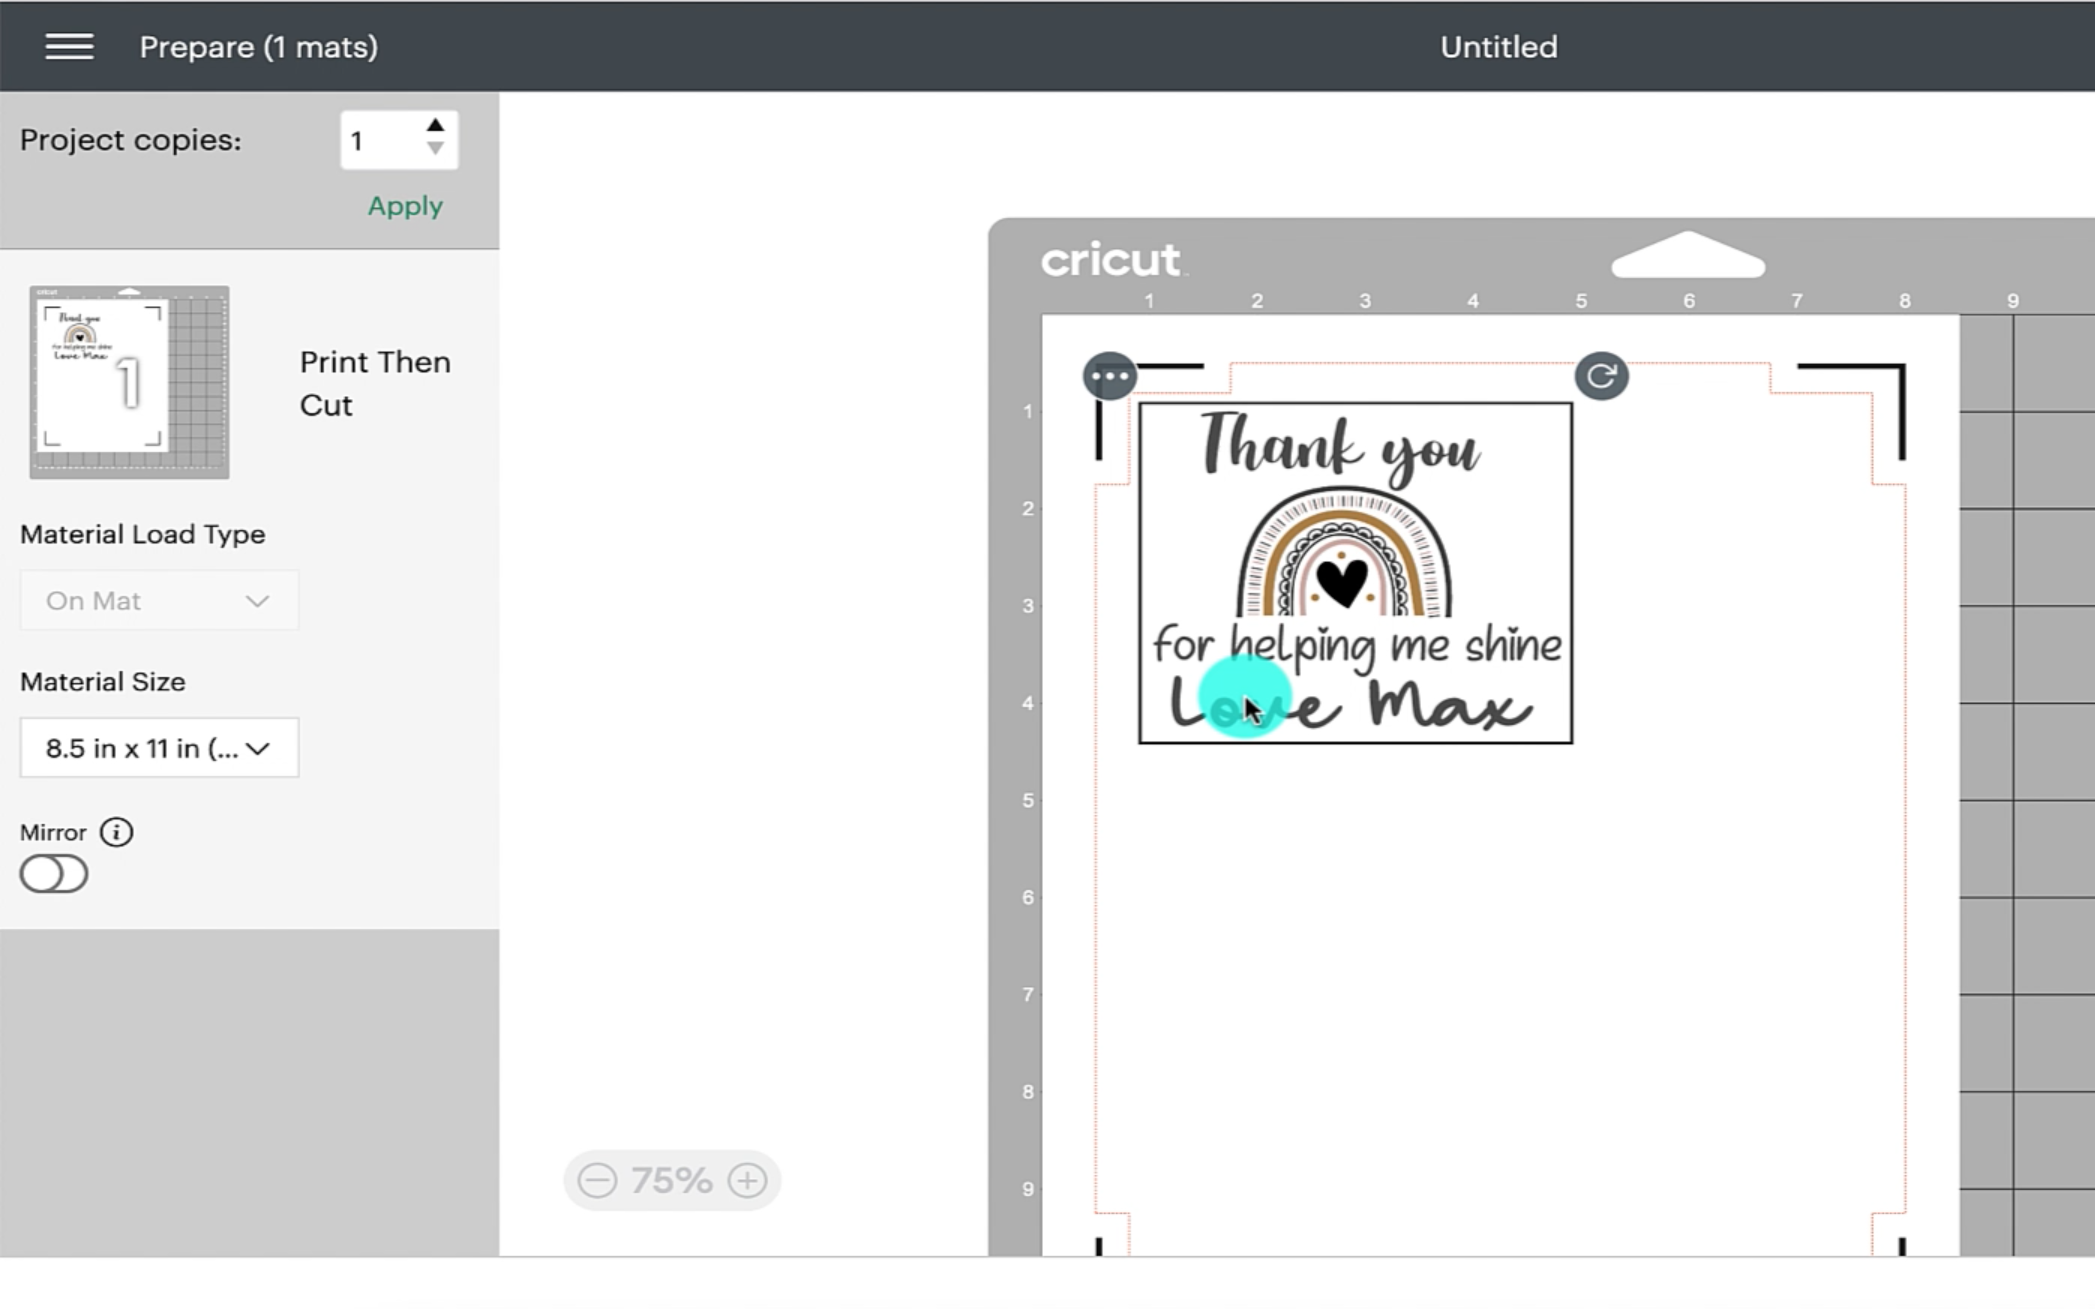
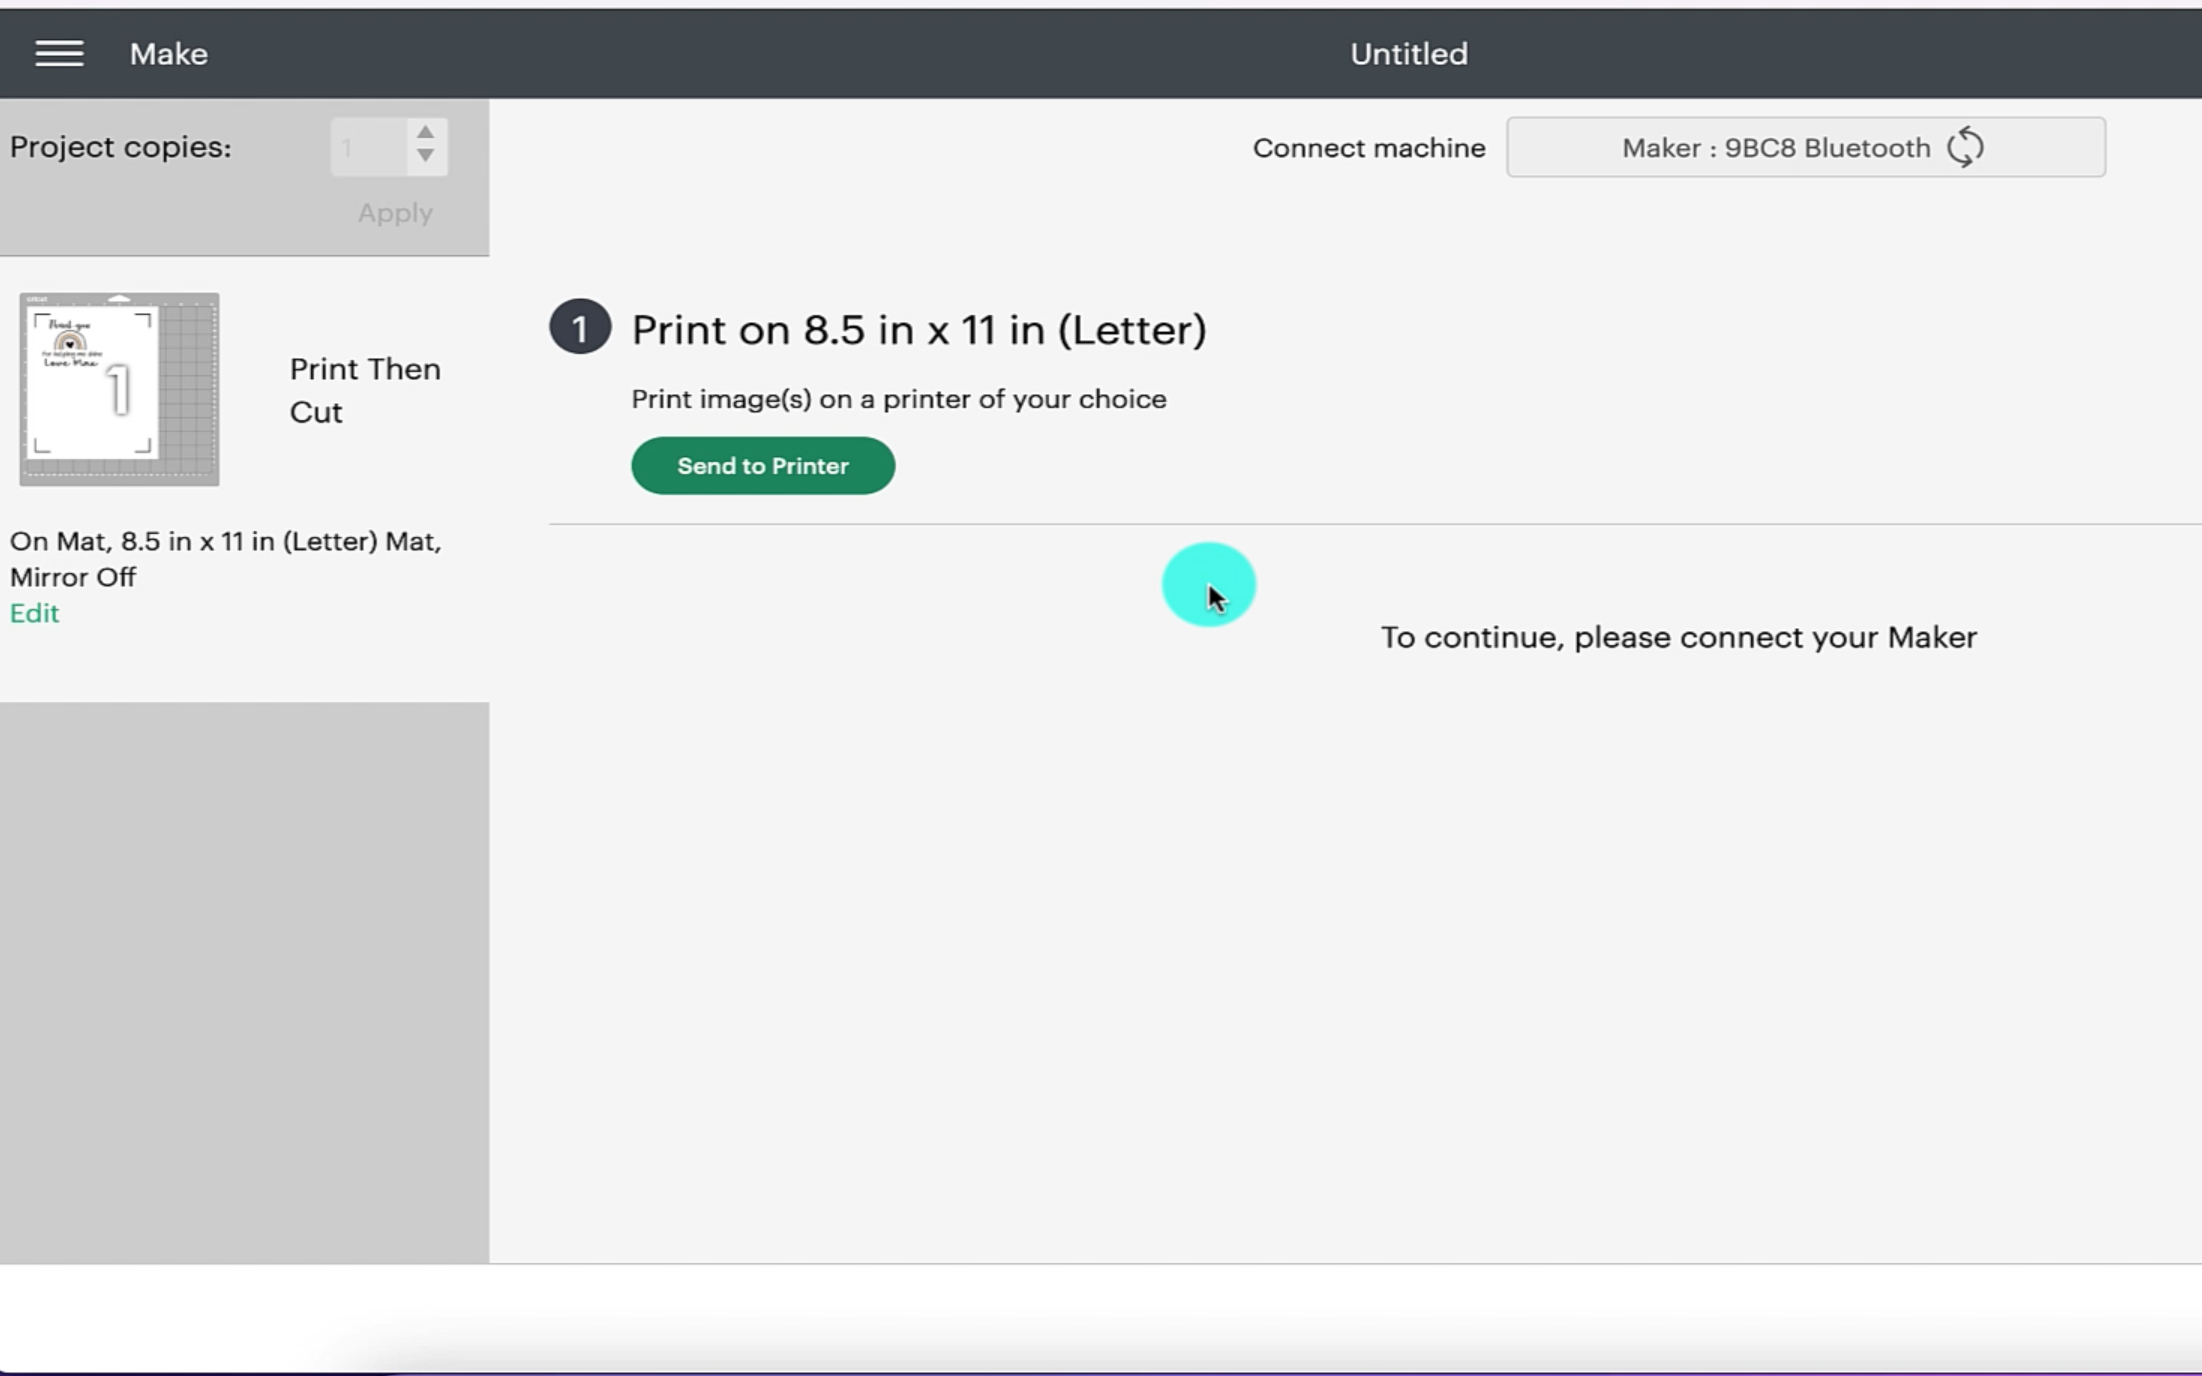
Once you have created your perfect deign, you are ready to print the design. Select make it. It will then show you a prepare mat screen. Load the sticker paper into the printer and click continue.
Make sure your printer is connected and select send to printer.
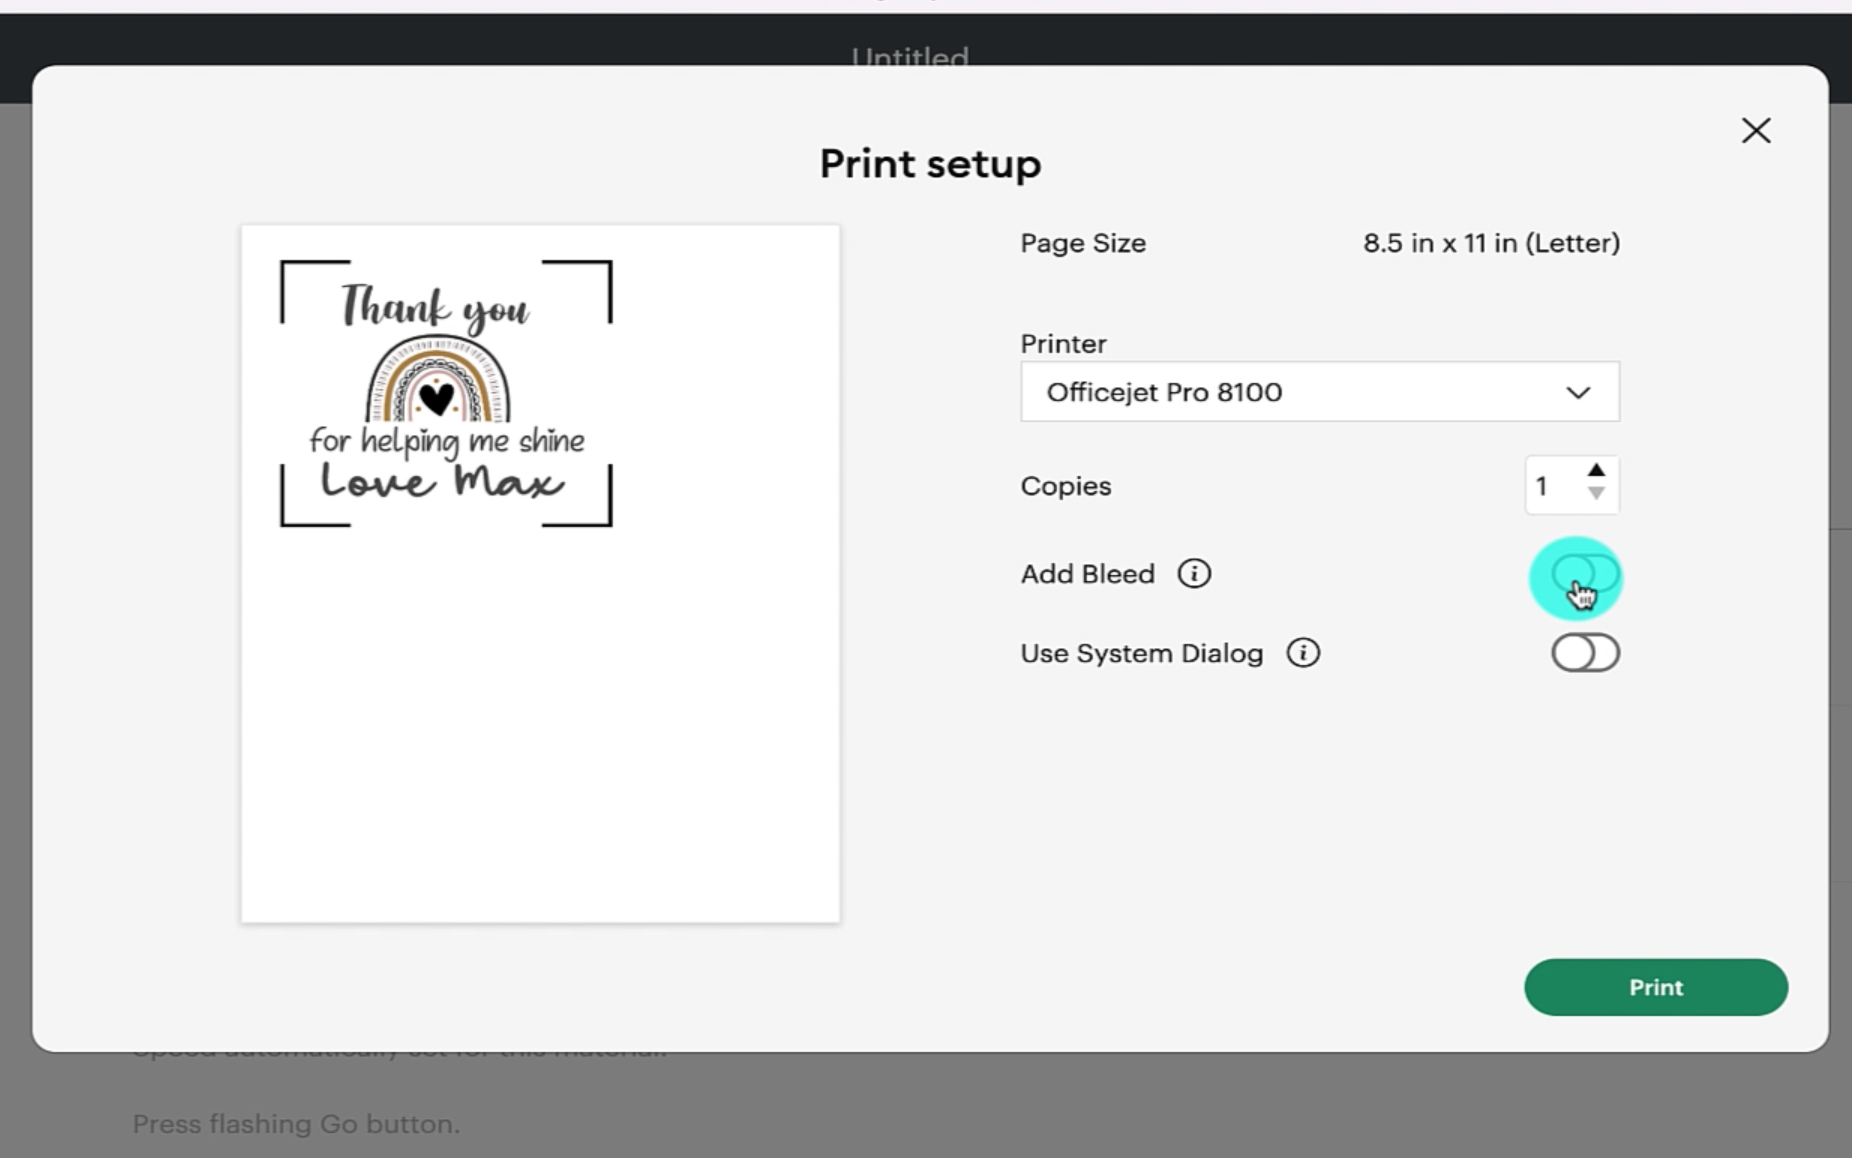
You will be shown the print setup screen. This will allow you to check that the correct printer is listed. At this point i would also recommend switching off bleed. This is done by selecting the toggle next to the add bleed part of the page set up.
Step 5
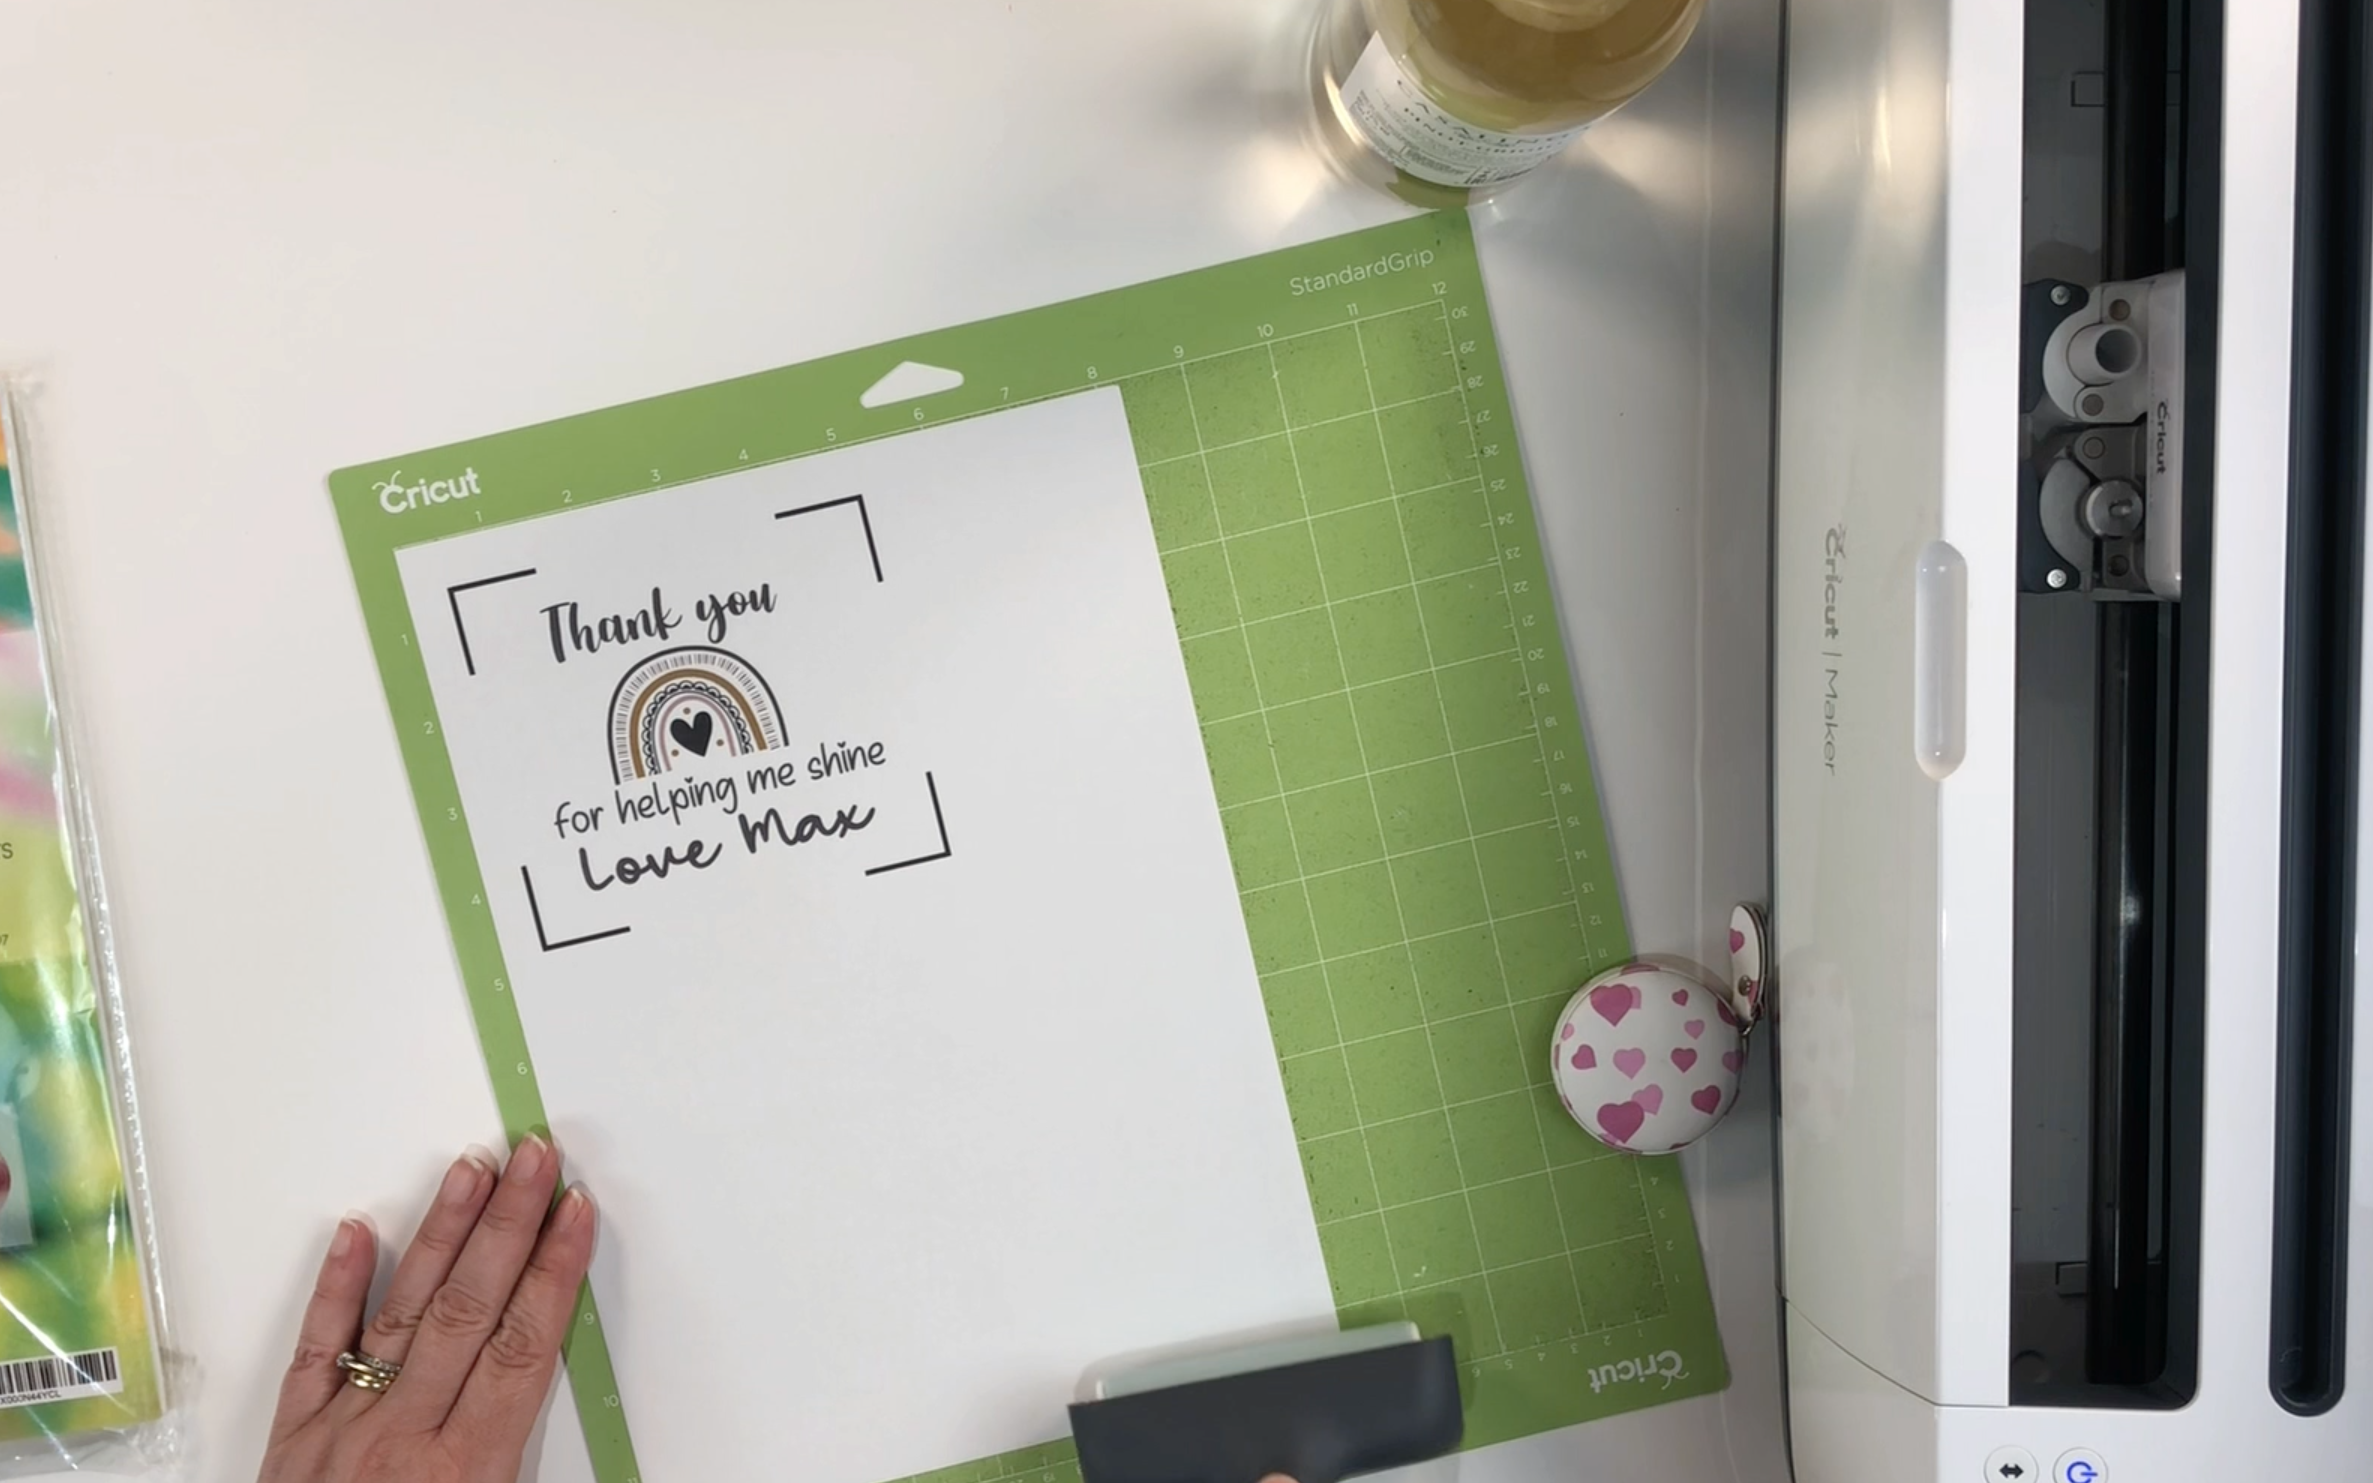
Once the label has been printed place the sticker paper on the mat in the same position that was shown on the prepare mat screen. I used a standard grip mat and i secured the paper down using my cricut brayer.
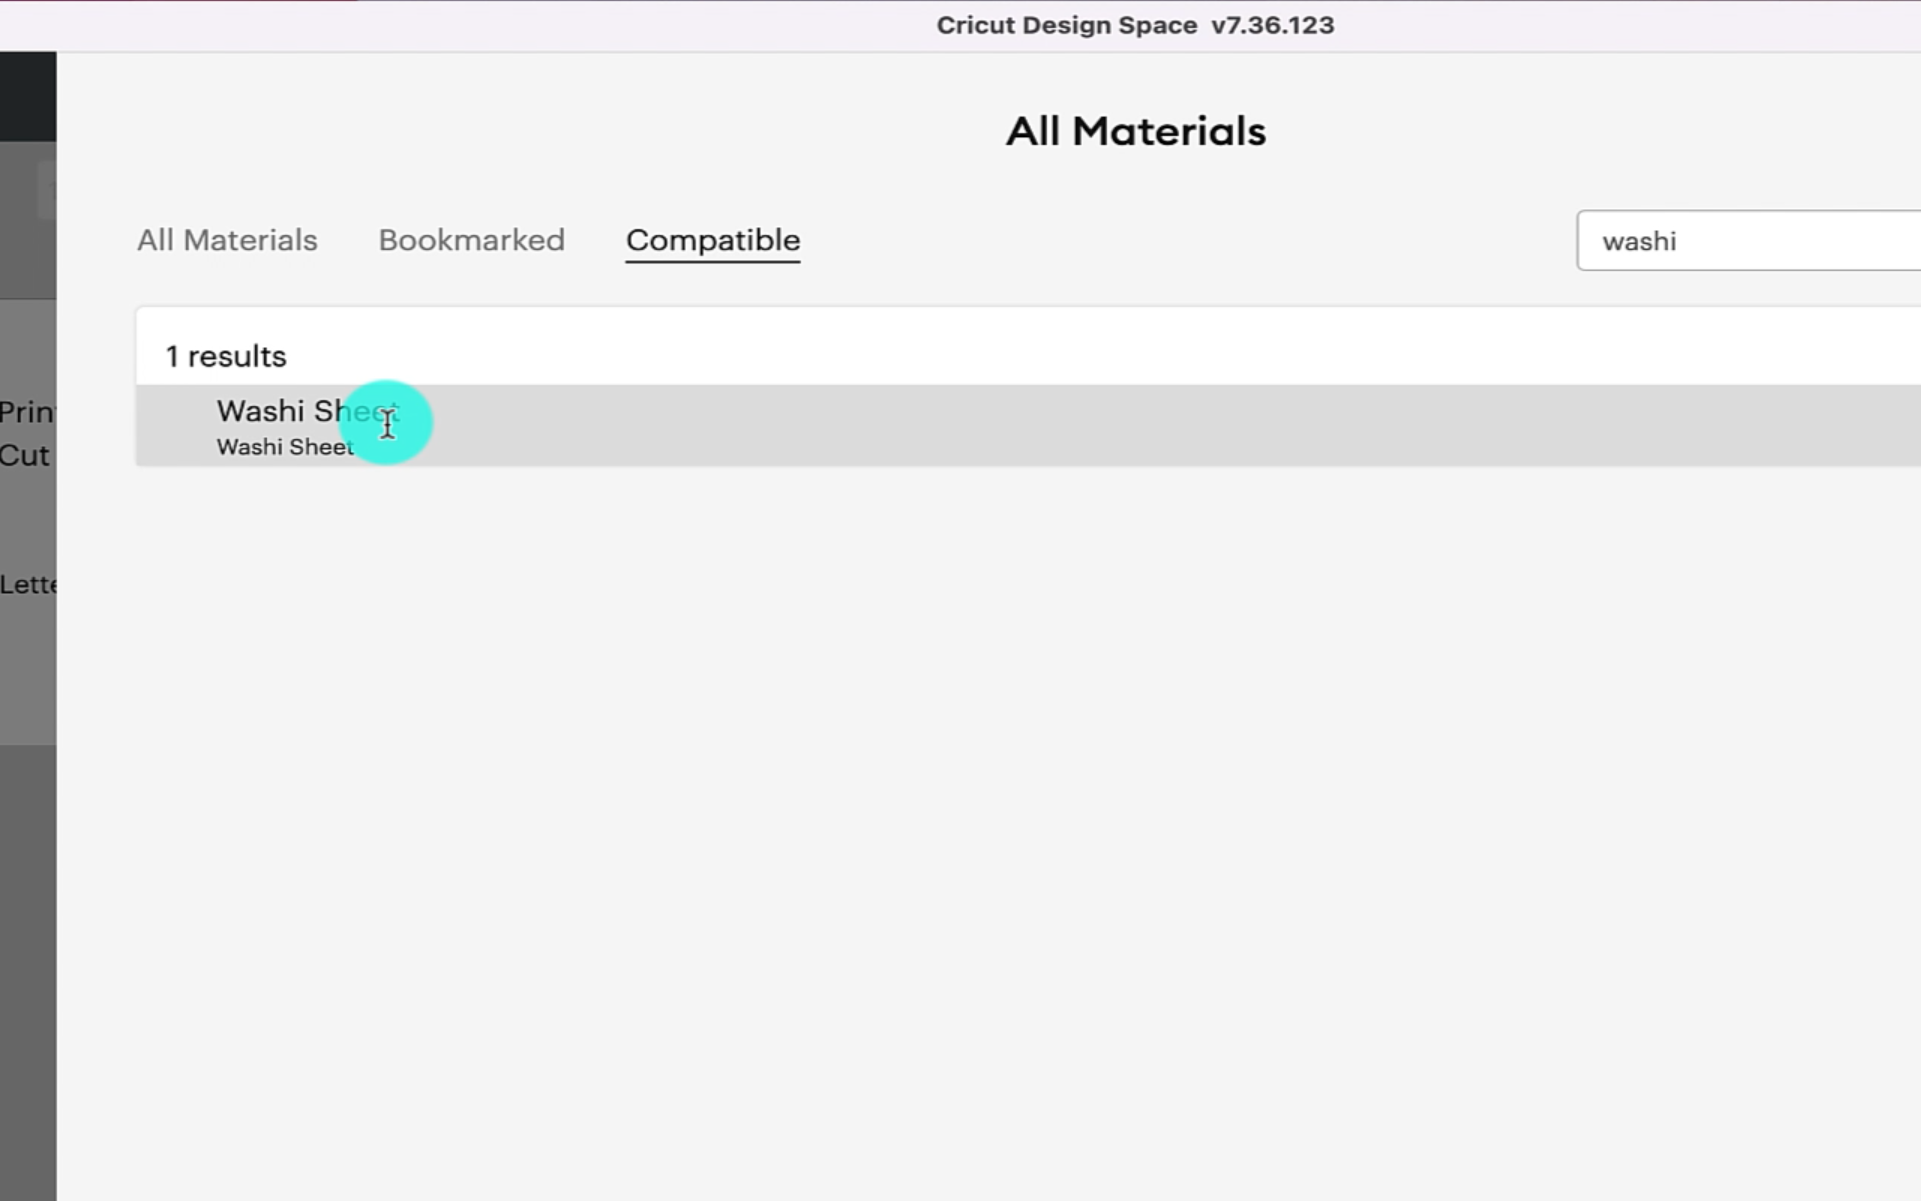
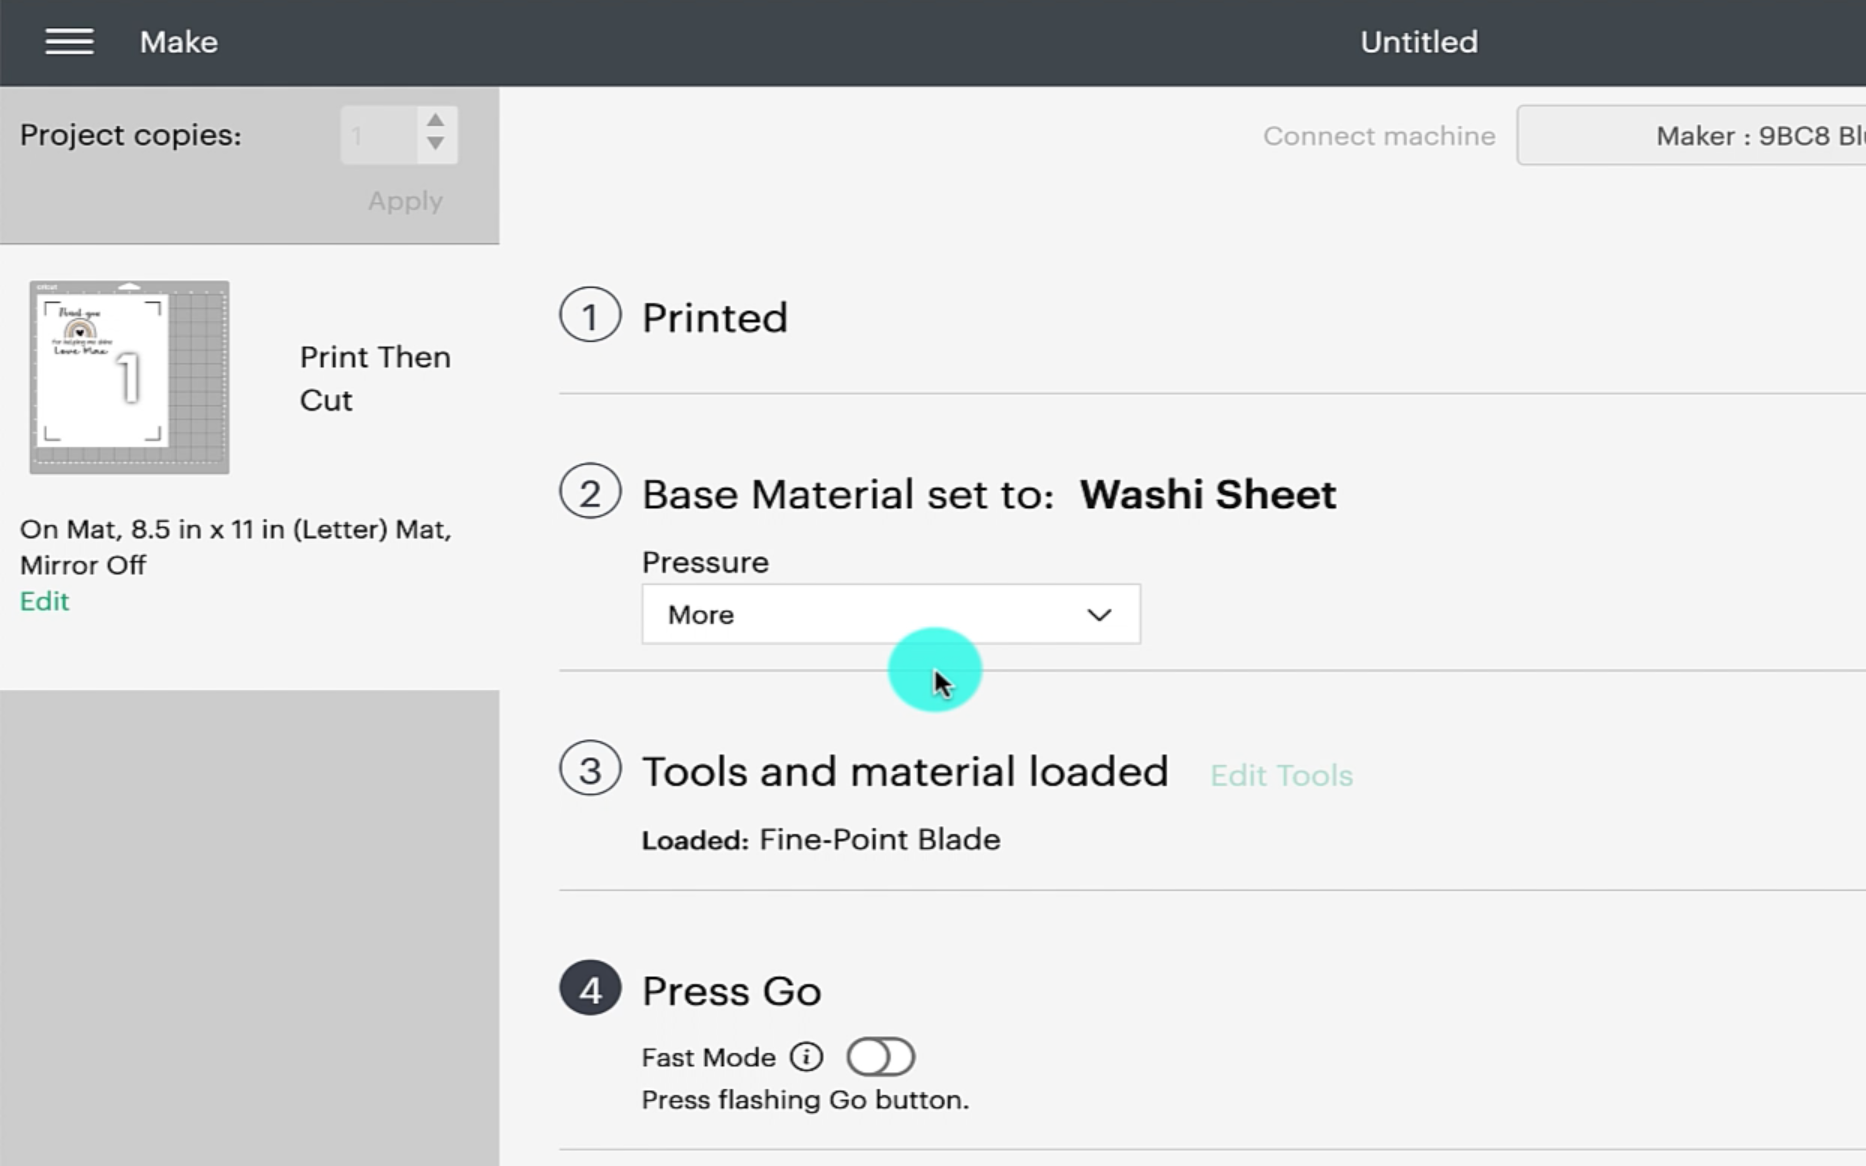
Place the mat into the cricut machine and select the materials. For the sticker paper to cut out perfectly without cutting the backing paper i like to use the washi sheet setting. To find the washi sheet setting just browse all materials and then either scroll down to the bottom or type in washi in the search bar.
I like to set the pressure to be more just so i get a perfect cut first time. Each machine is different so select the pressure based on your own machine.
Step 6
Once the label has been cut out remove it from the backing paper and carefully apply it to the front of your bottle. To get the label to lie flat i like to make a taco shape with the label. Place the centre of the label on the bottle and press the label down from the centre outwards.
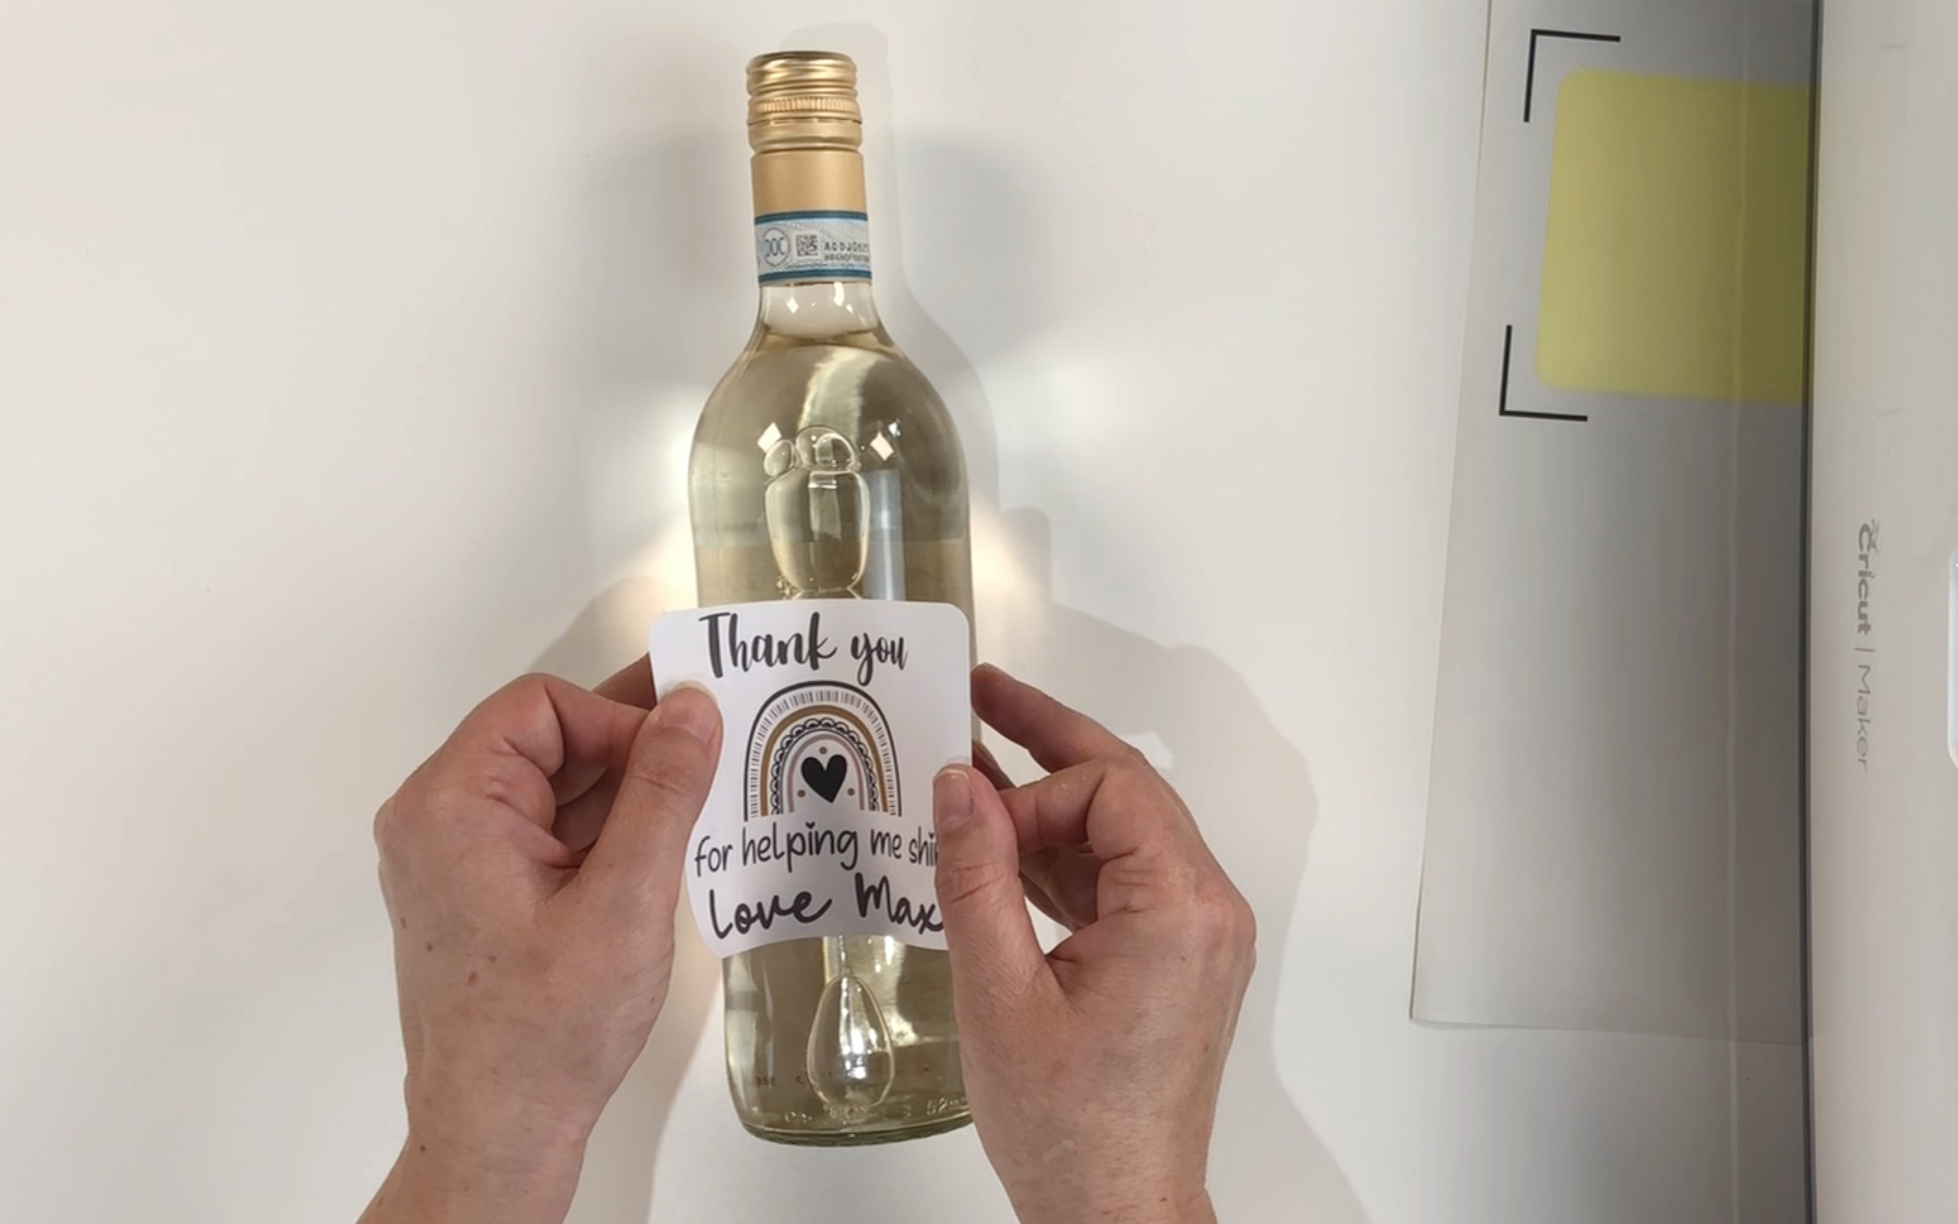
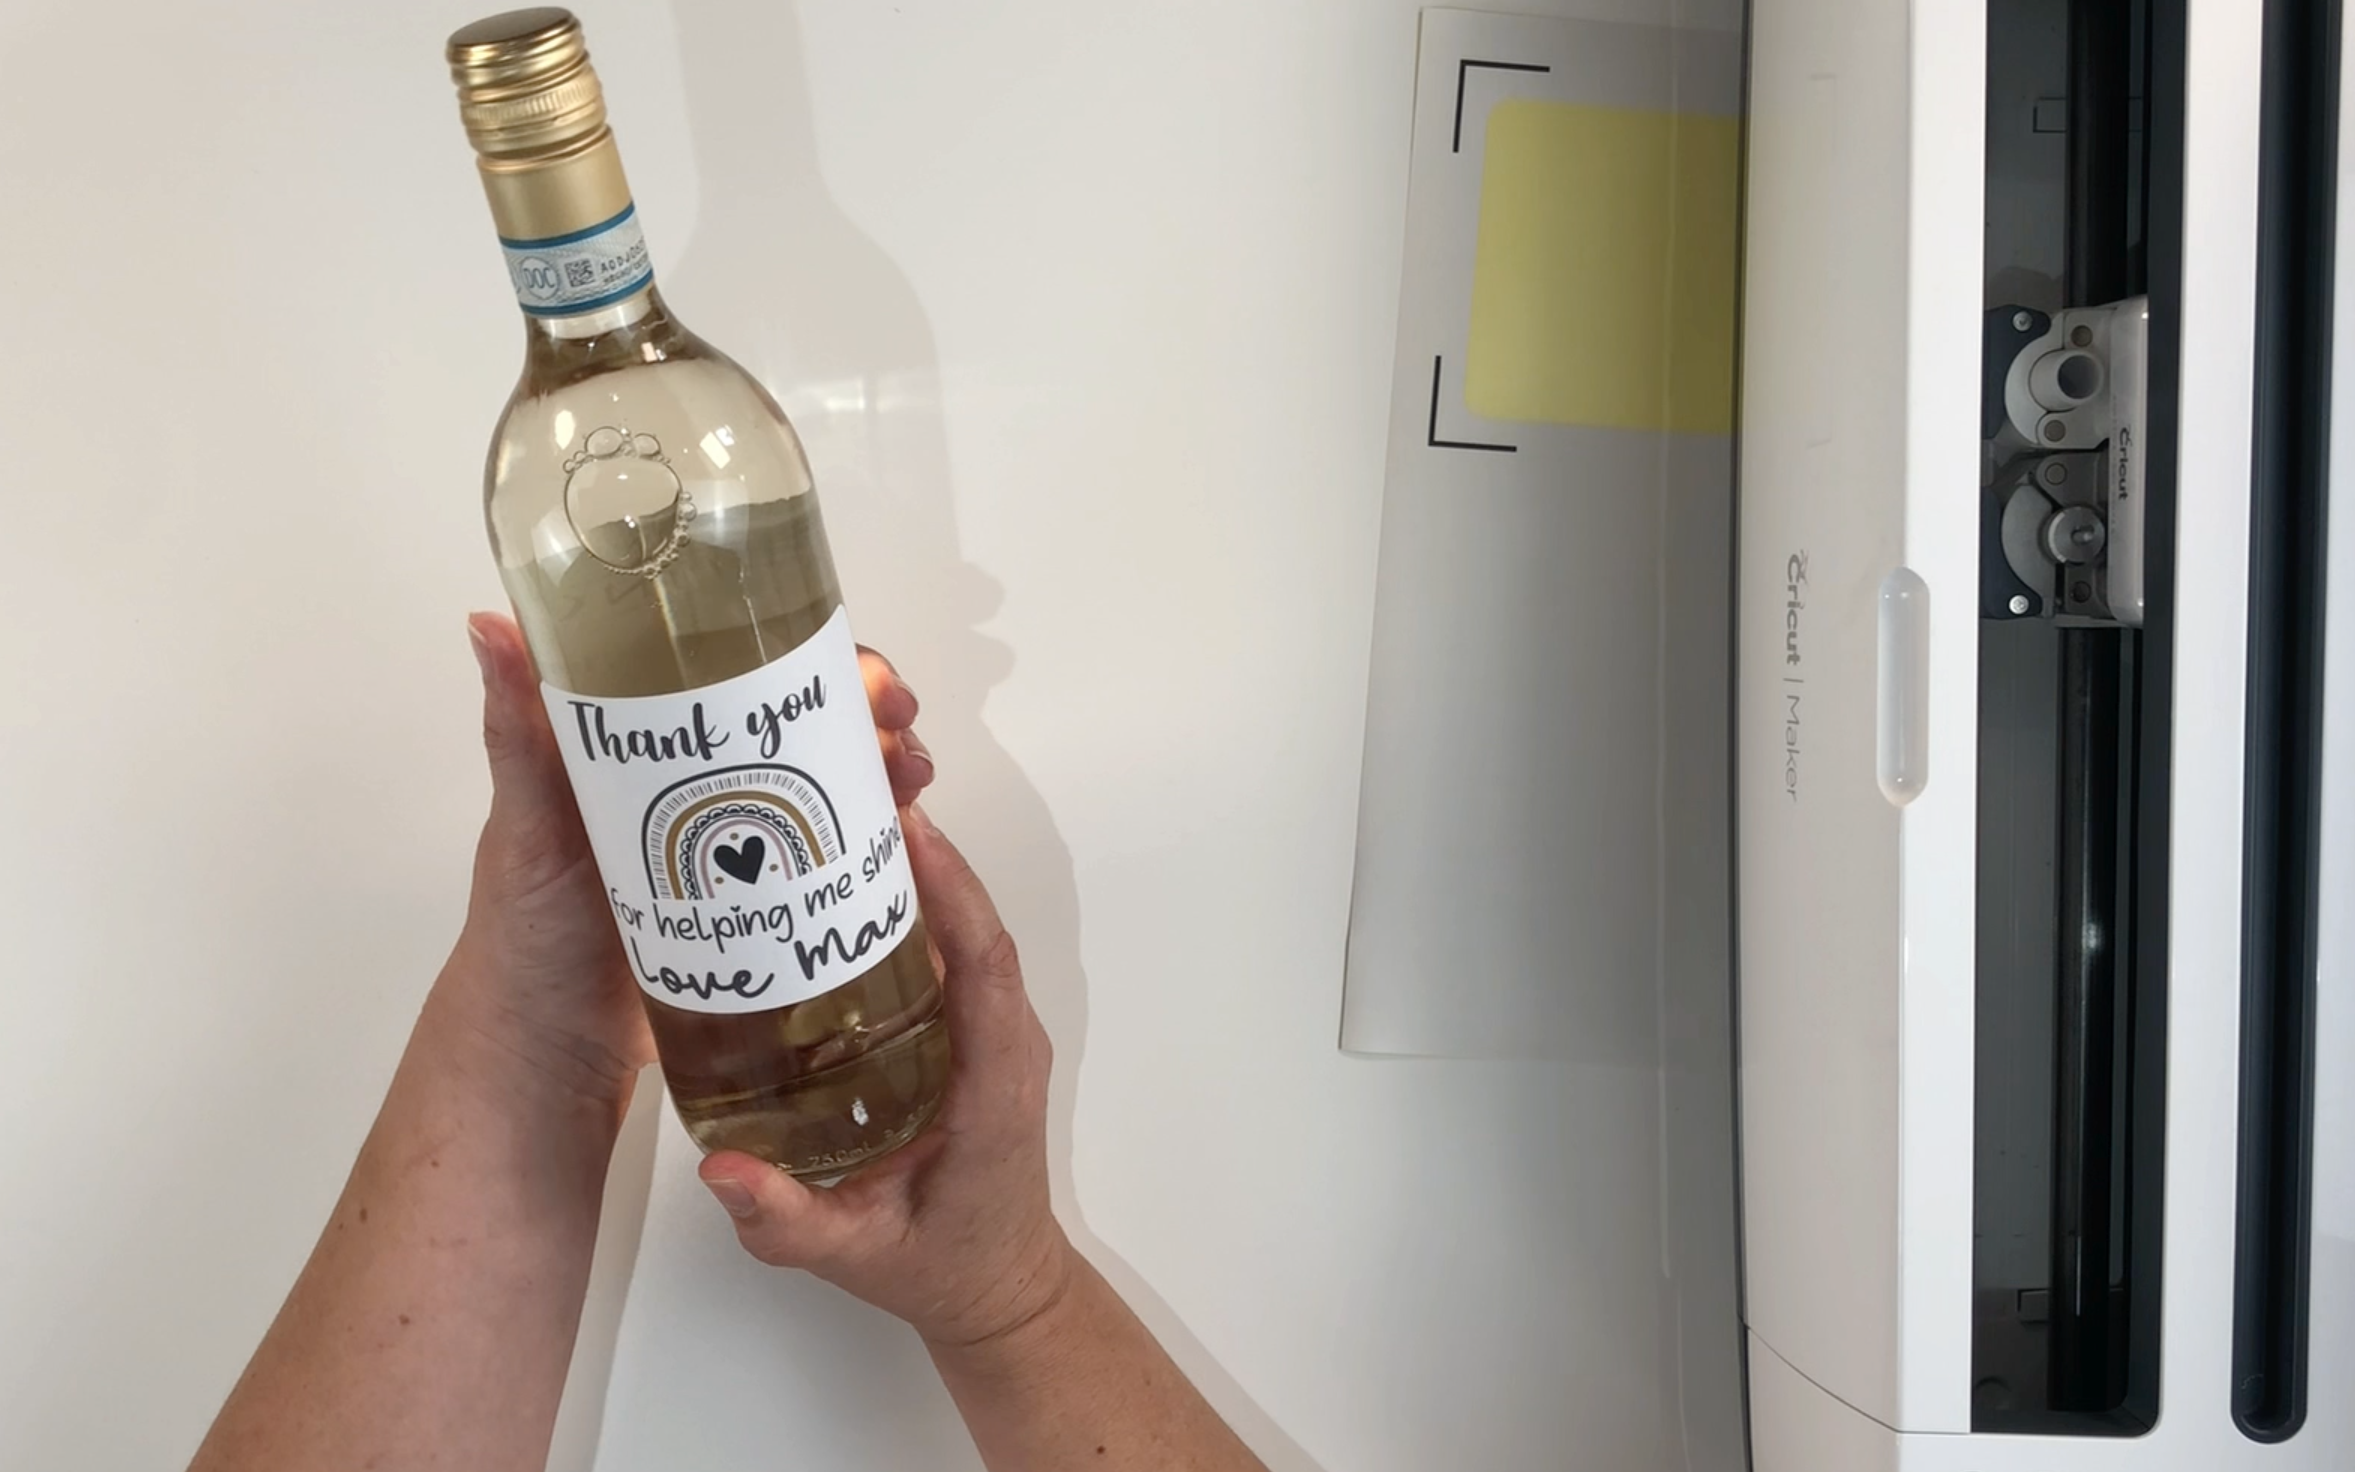
Once the label is fixed to the bottle you are all ready to gift your bottle of wine complete with a personalised label.
You can watch Easy To Make a Personalised Wine Bottle Label by clicking on the video below
if you enjoyed reading my blog post How To Make a Personalised Wine Bottle Label, please check out my other blog posts: