")
Applying vinyl to any project is great fun and really easy to do. In this blog I am going to show you how to apply vinyl to a glass jar, but with a bit of a twist.
You will need the following items:
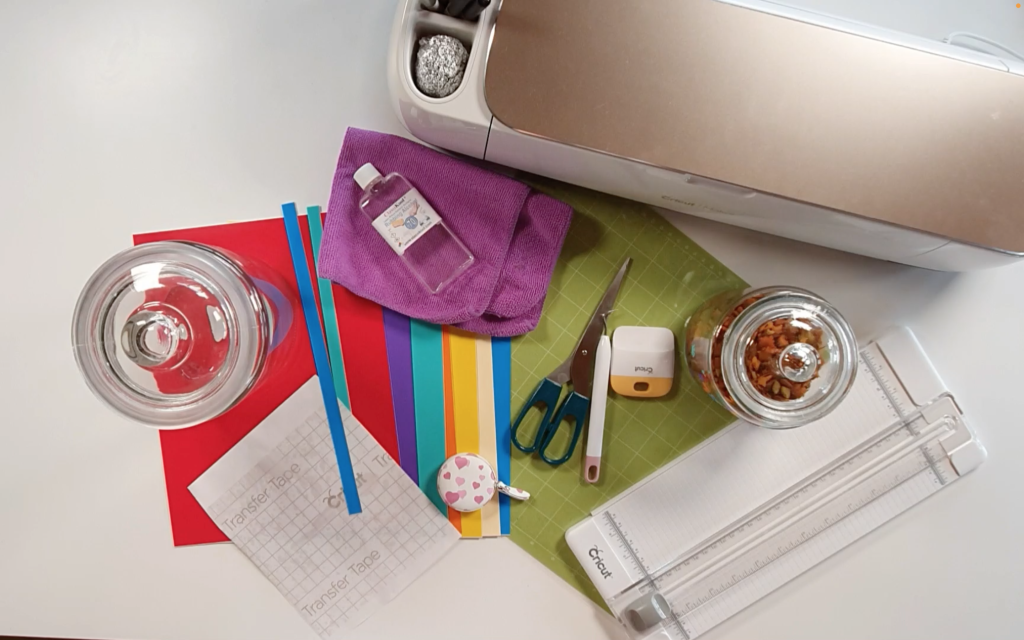
Scissors - Ikea
Glass Jar - Home Bargains
DISCLAIMER: Links included in this description might be affiliate links. If you purchase a product or service with the links that I provide I may receive a small commission. There is no additional charge to you.
Prepare the jar
The first thing I like to do is clean the jar. Dab a small amount of rubbing alcohol onto the cloth and wipe the front of the jar.
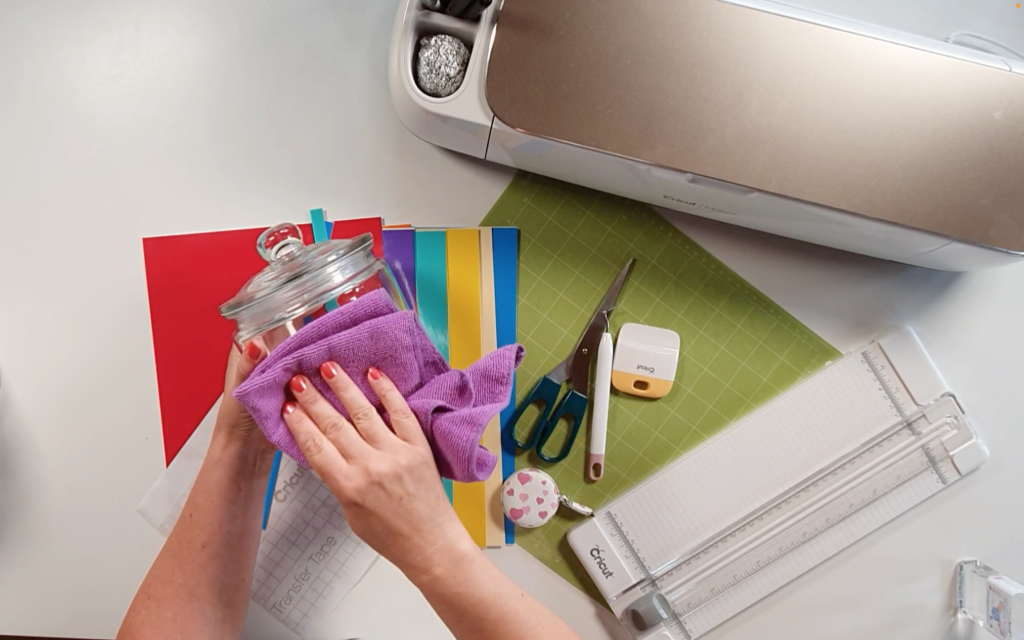
Leave the jar to dry by laying it on the cloth
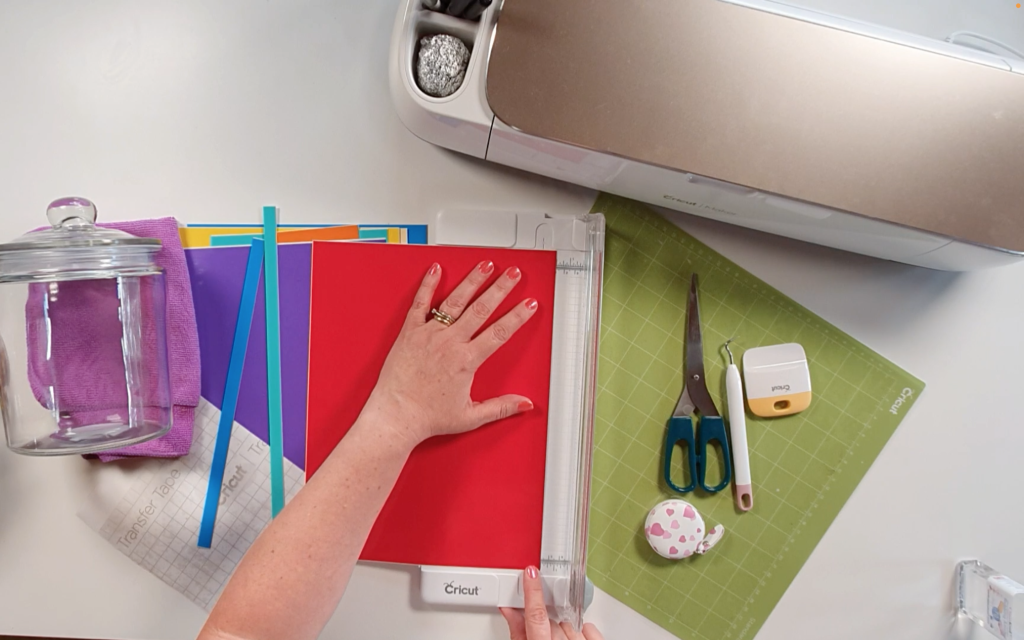
Cutting the Paper
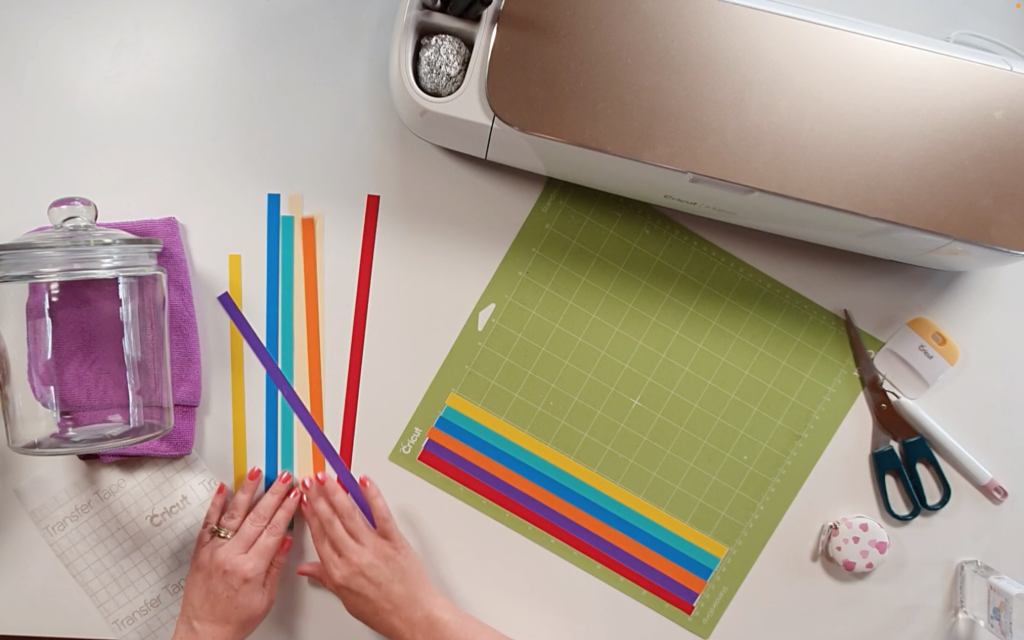
Using the cricut portable trimmer cut the self adhesive vinyl into strips. Place the vinyl in the trimmer and line it up using the measurements on the cutter. I made my strips 1cm thick. I repeated this process several times with all the different colours of vinyl.
You should now be left with lots of strips of vinyl.
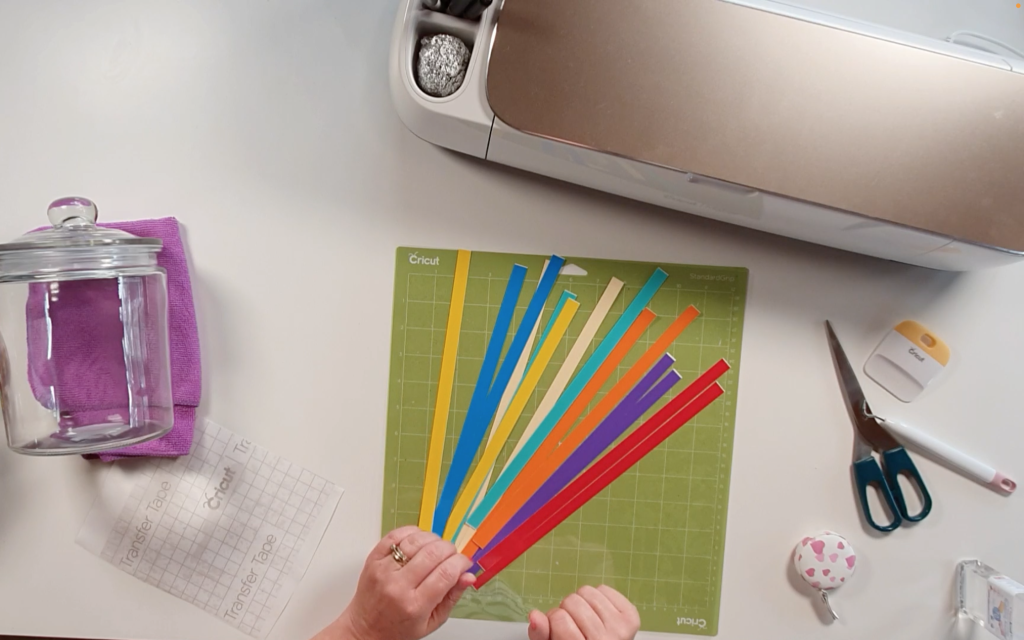
Arranging the vinyl
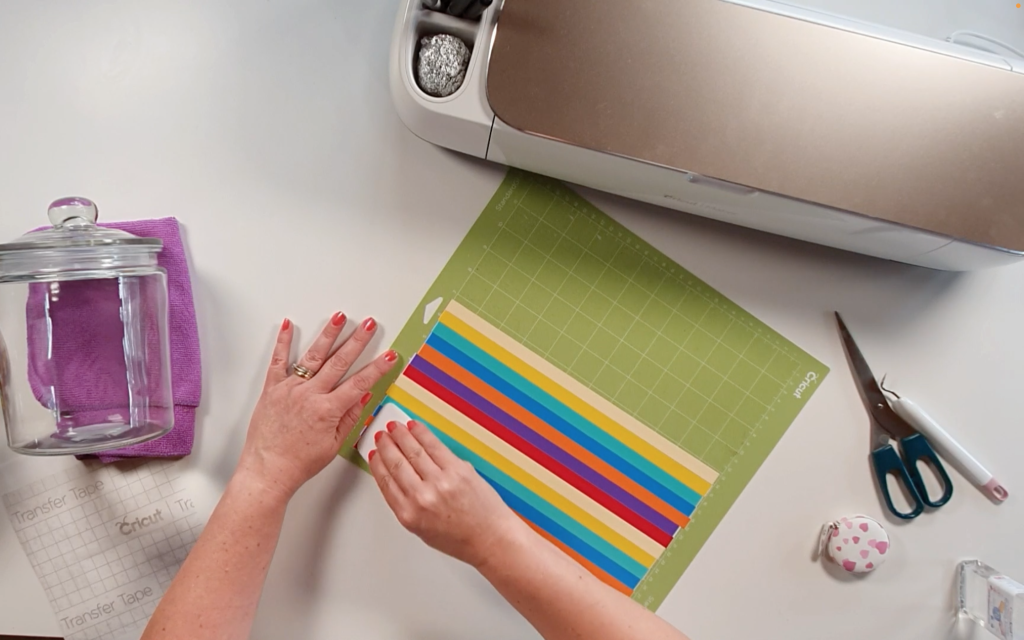
Start by laying the vinyl onto the standard grip mat. Try and lay all the pieces close together so there are no gaps. This will prevent any gaps in your design.
Once you have enough pieces of vinyl for your project use the burnishing tool to burnish all the vinyl to the mat. This will prevent any pieces from moving during cutting.
Creating the Design
In design space start to create the design that you want to go on the front of the jar. I am putting the word sweets on my jar along with some different sweets.
To get started click on the text icon, this will bring up a text box. Start to type in any word you wish to use.

Changing the font
Once you are happy with the wording you now need to change the font. To do this click on the font box at the top of the canvas. You should now see a new font box appear.
This will allow you to choose a font you like. You can do this by selecting all your fonts, choosing a font from your system, a cricut font or if you know the font you wish to use you can type the name in the search box.
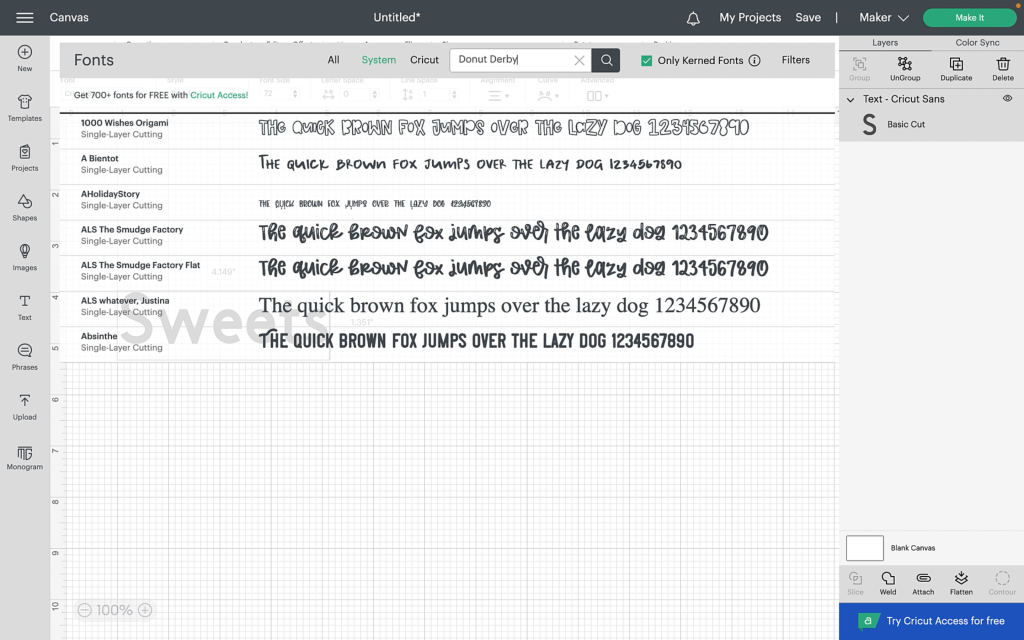
Once you have selected the font you like and clicked on the right one. The font on your canvas will change to your selected font.
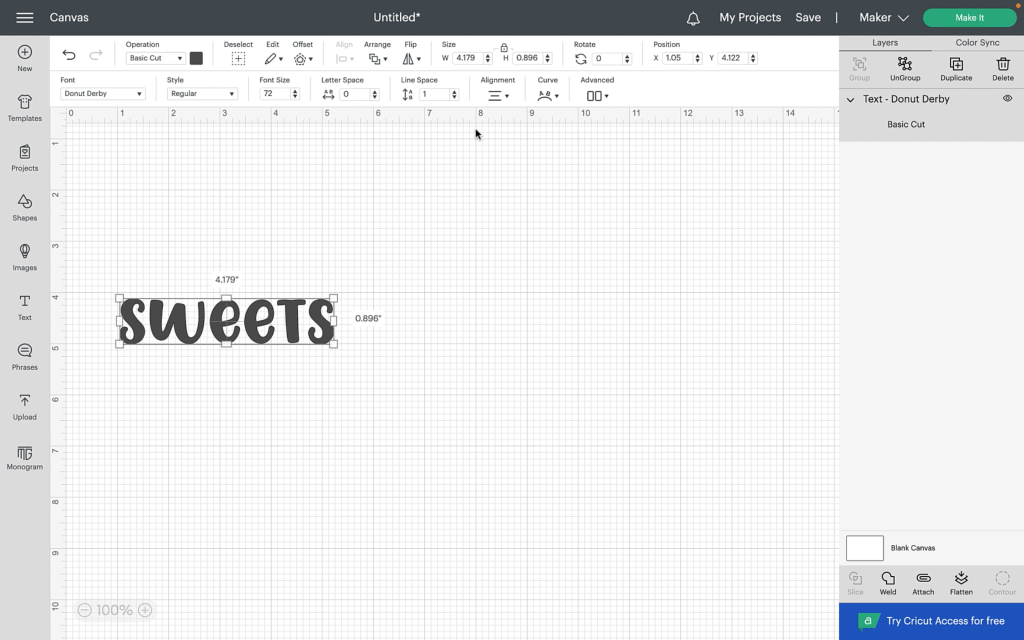
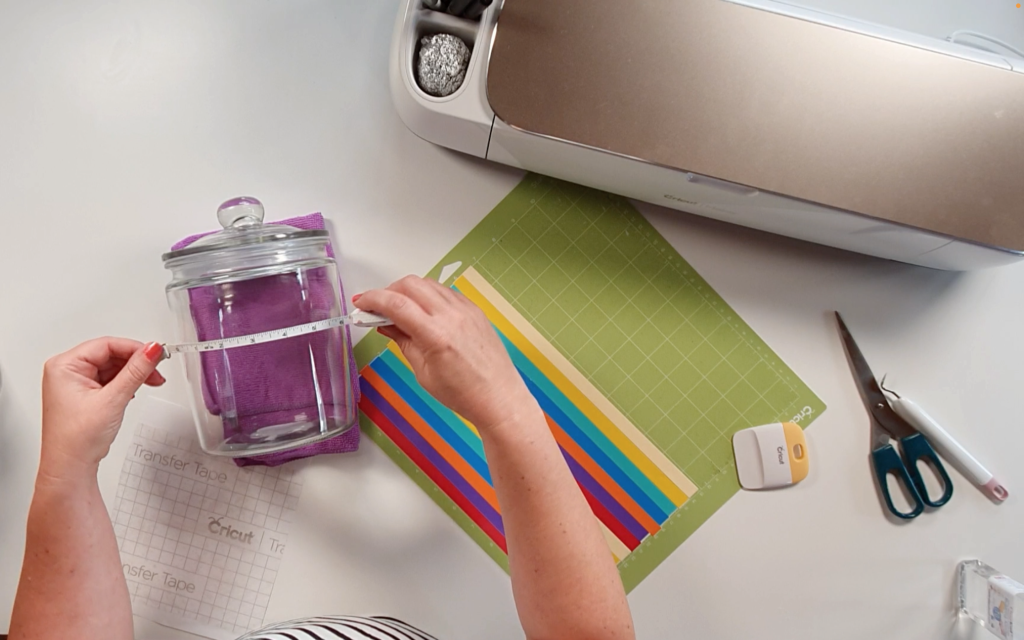
Measure your jar
Take your tape measure and measure the area of the front of the jar. This will allow you to make your design the correct size.
To change the size of the text, head up to the size box at the top of the canvas. This is where you can change the width and height of your text.

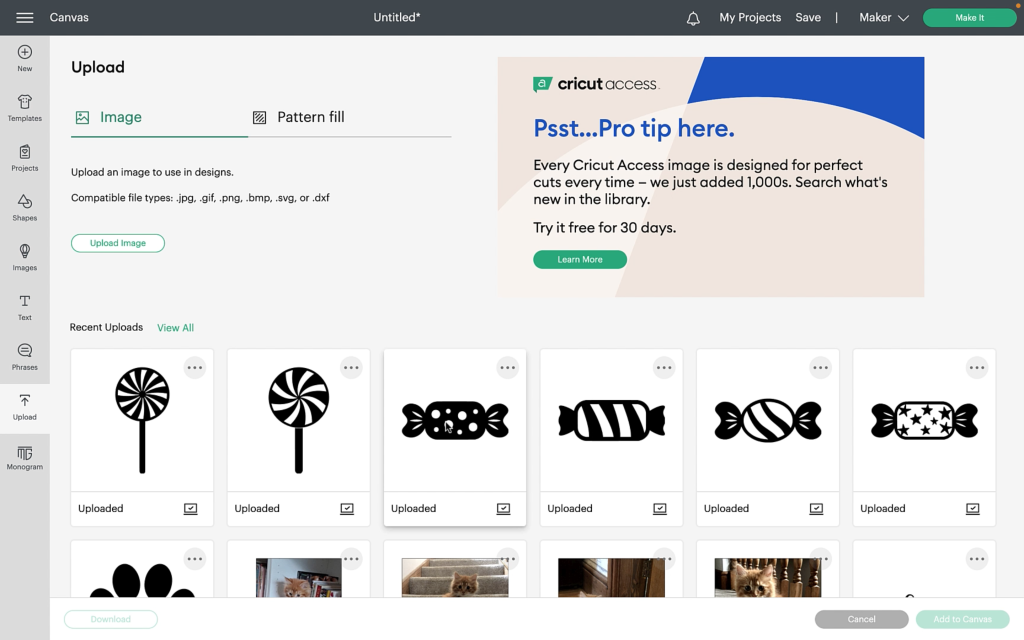
Adding other elements
On my sweet jar I also added sweets. To add the sweet designs I uploaded the sweets from a file that I bought and downloaded. I then added the sweets of my choice to my canvas.
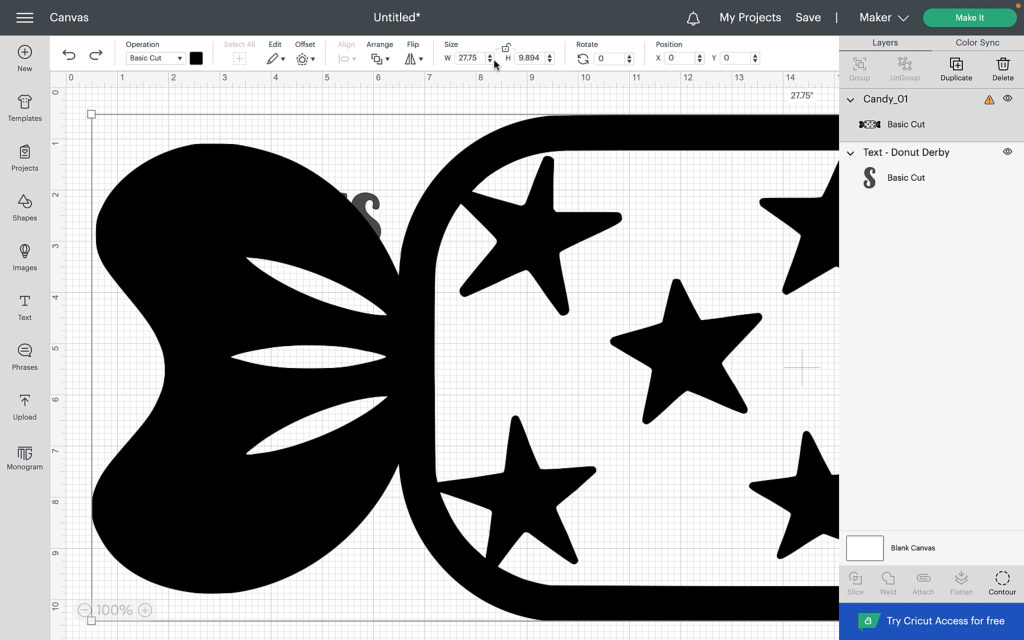
When the sweets appear on the canvas they are way too big. To resize them simply head back into the size box and change the width and height of the sweets.
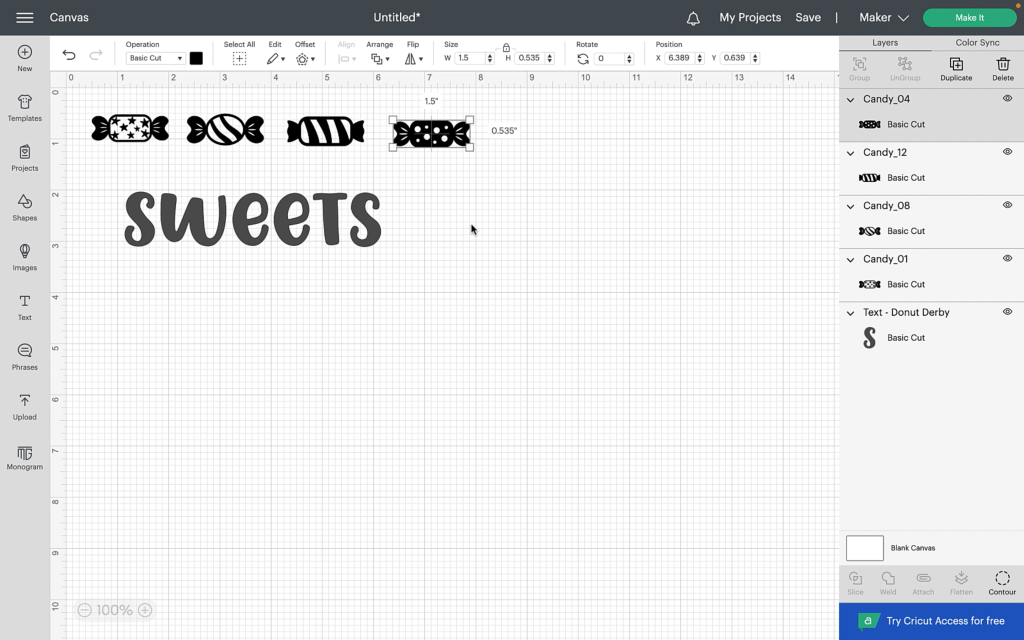
You can see from the picture below how my sweets and text looks.
Preparing to cut
Once you are happy with your text and the amount of sweets you wish to use head over to the top right corner of the canvas and click make it.
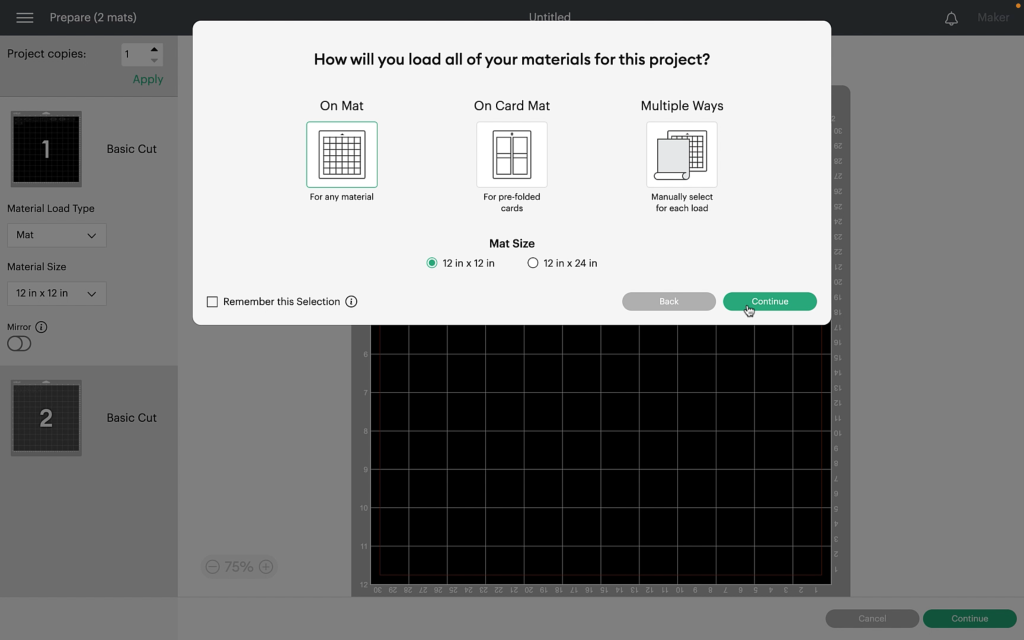
This will allow you to select the way you are cutting your vinyl. I selected on the mat as I am cutting the vinyl on the mat. Click continue.
You will now see how the cricut will cut out your design.
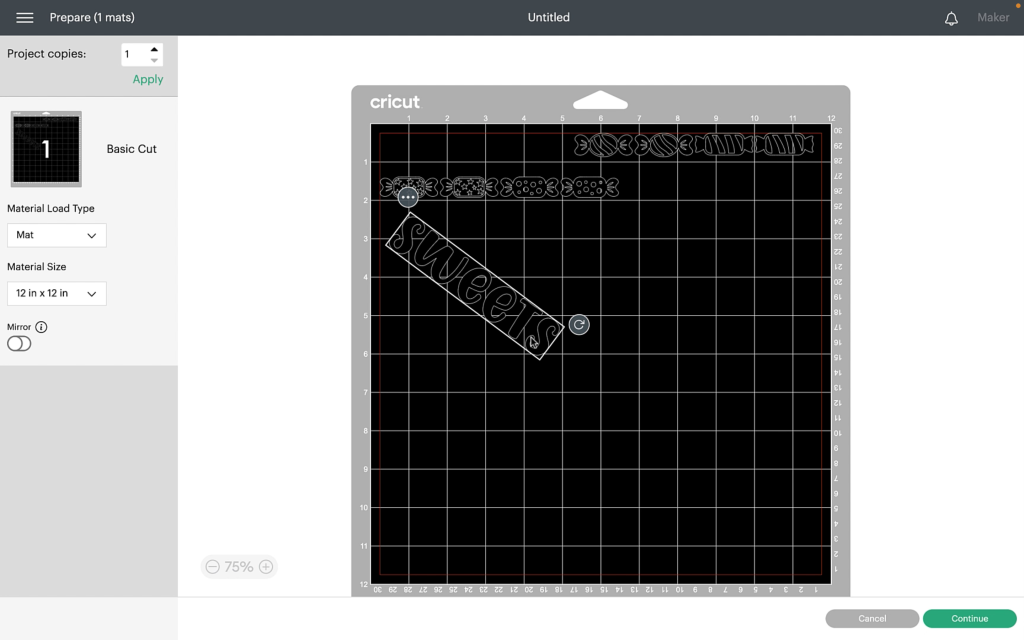
You can now see how your design will look on the cutting mat. This allows you to move the design if required to make sure it will fit on the vinyl.
To spice up my design I decided to move all my designs and text so that it was slanted. I felt it was just a bit of a different twist rather than just cutting the designs out straight.
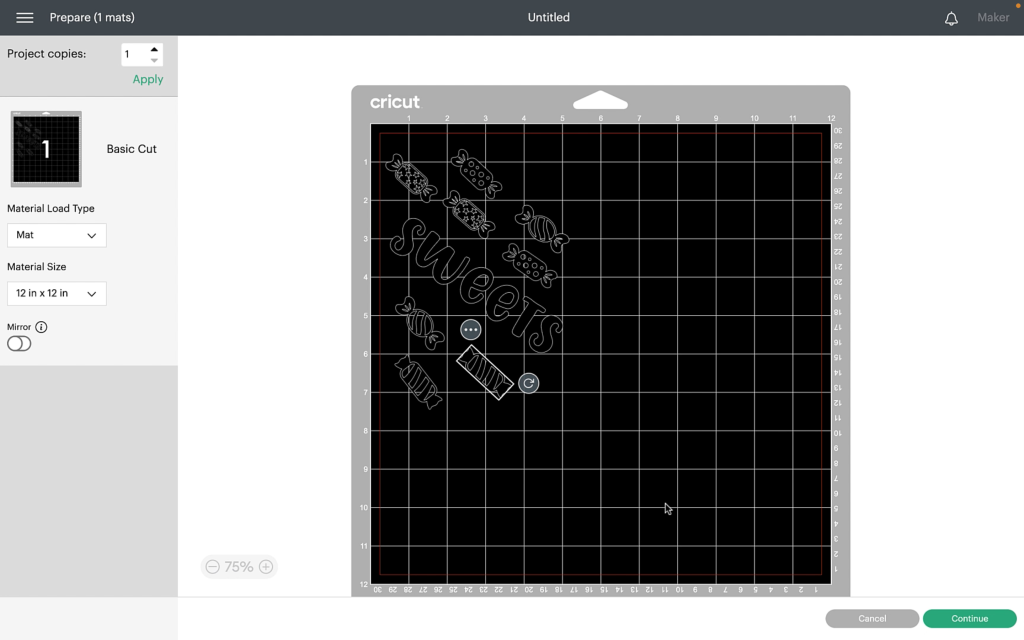
Once you are happy with the position of everything on the mat, click on continue.
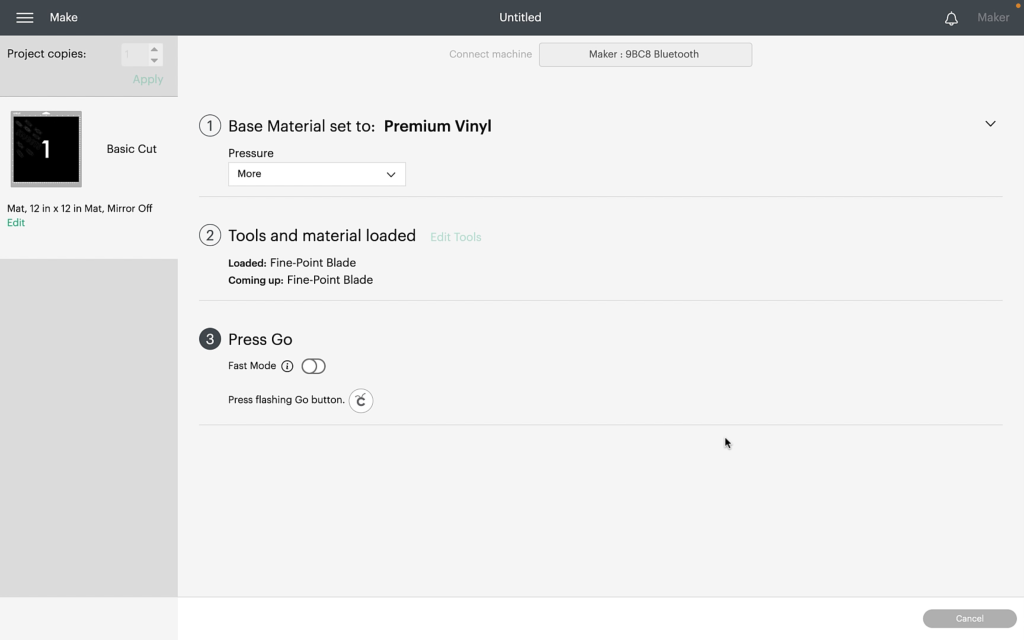
You will be taken to the next screen, this will allow you to choose the settings for your vinyl and cutting pressure.
I like to choose premium vinyl as it always give me a really good clean cut.
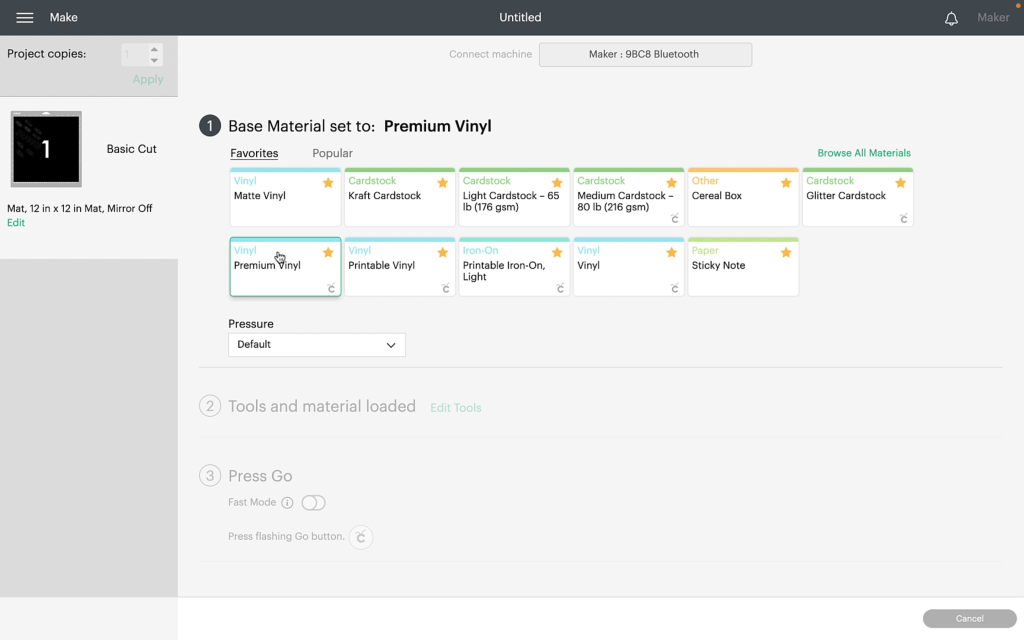
I like to change the pressure to be more to get the best cut possible.
Weeding time
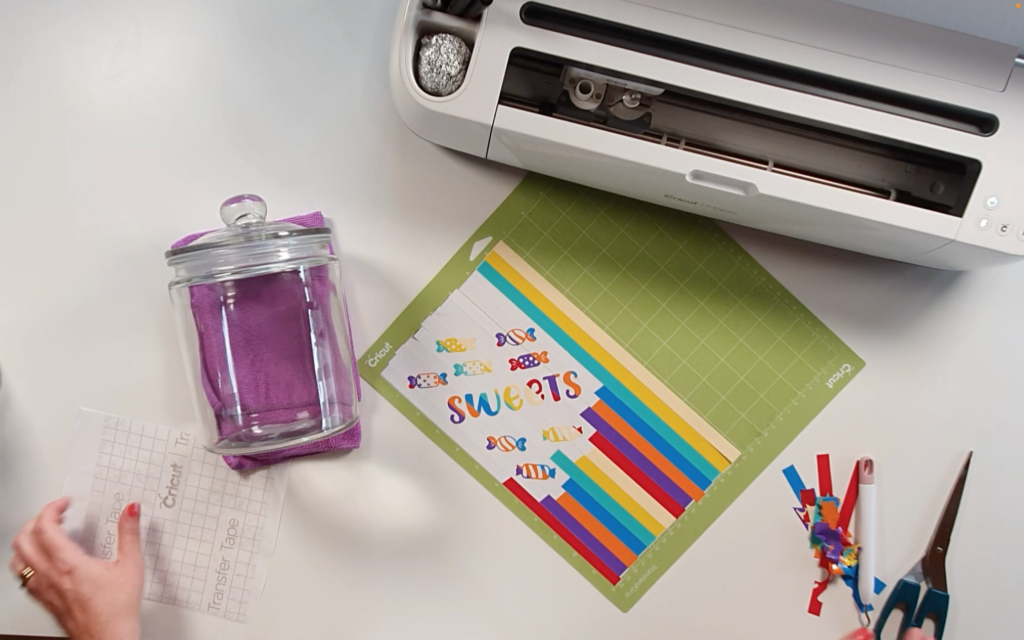
Once your design has all been cut out, it is time to start weeding the design. Try and weed the design as carefully as possible. Due to the design position on the vinyl there will be some really small pieces we don't want to lose.
Once all the design has been weeded, place the transfer tape over the design and then burnish well.

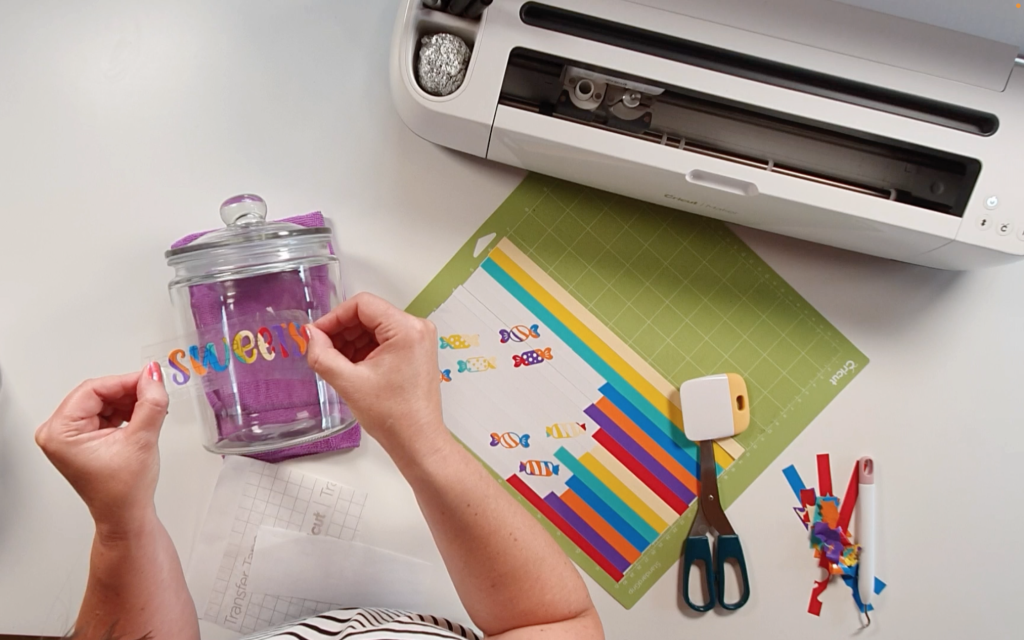
Adding the design to the jar
Remove the transfer tape complete with the design. To place this onto the jar, line up the design and create a taco shape. Lay the vinyl onto the glass jar and burnish the vinyl down well.
Remove the transfer tape carefully and your design will be left on the jar. Repeat this will all the other elements of your design. In my case this was the sweets.
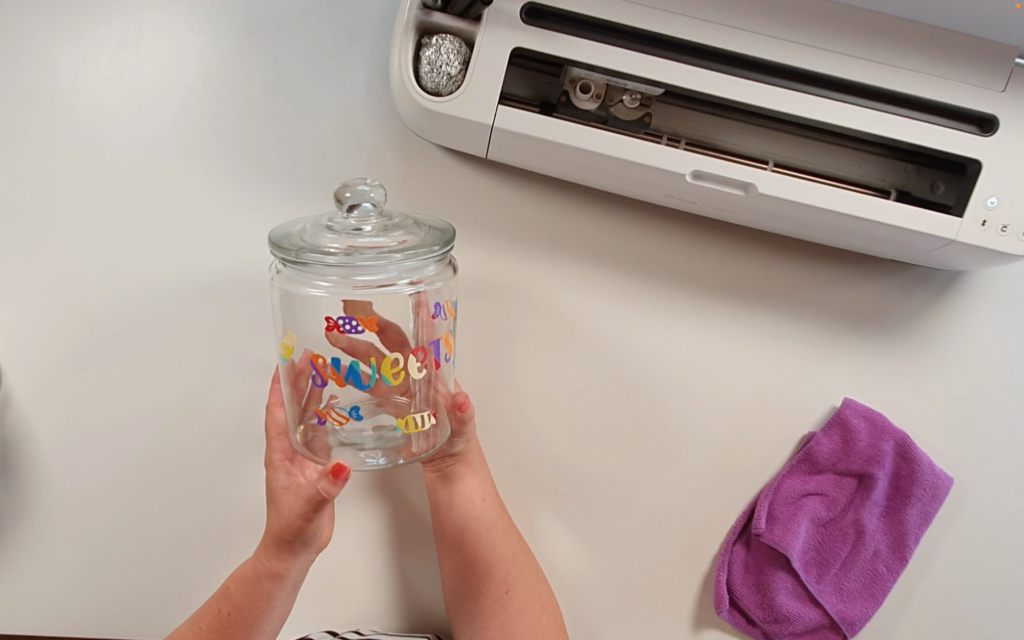
Now your jar is complete. I love how this has turned out and I feel that by slanting the design it has made such a difference. It really does make it look more funky and unique.
If you would like to see how I made this cute sweet jar design, please check out the video below.
If you enjoyed reading my blog please take a look at some of my other blogs: