
I love crafting and making cute things, so i really loved making Tulle bows. These bows are so versatile and can be used for a number of things. These could include putting them on hair clips, headbands and hair bobbles. You could also add them to gifts, clothes and home decor. The possibilities are endless. They can also be made in any colour and any patterned tulle. They are really quick and easy to make too, making them even more perfect. In this blog i will walk you through step by step how to make no sew tulle bows.
You will need:
Cardboard template - Old cardboard box
DISCLAIMER: Links included in this description might be affiliate links. If you purchase a product or service with the links that I provide I may receive a small commission. There is no additional charge to you. Thank you so much for helping to support my channel, you are awesome.
Step 1
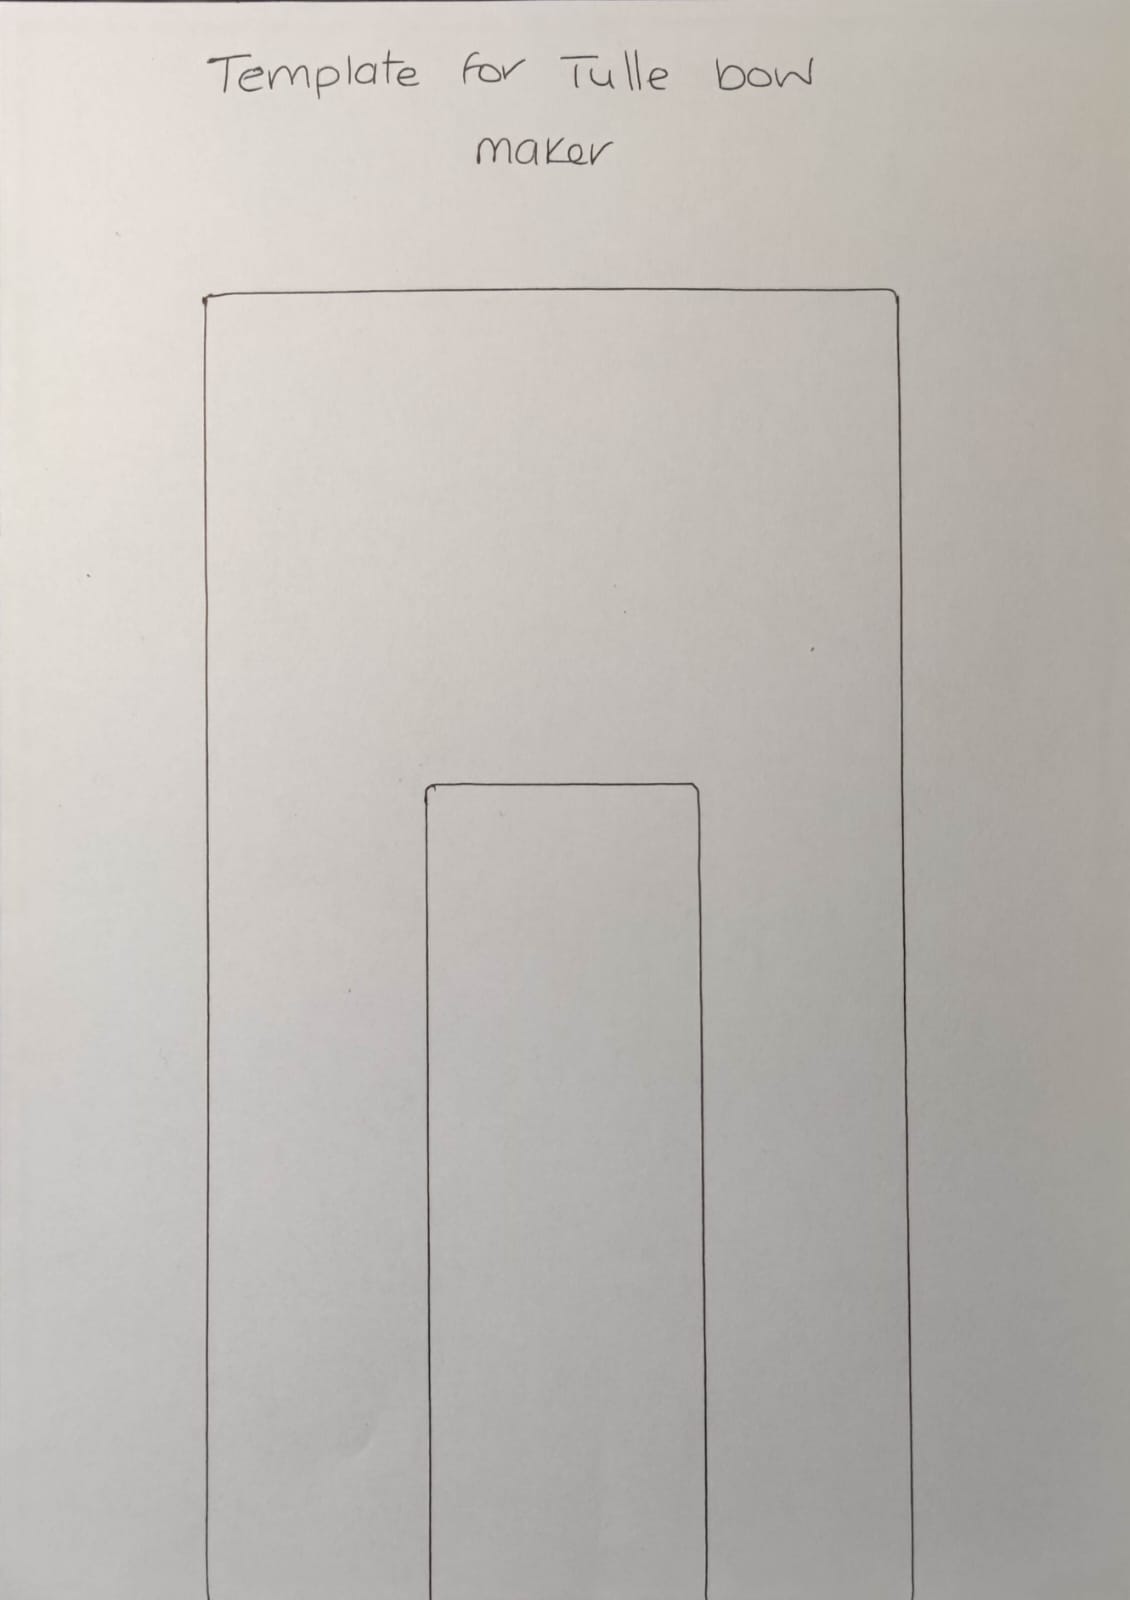
Make a template out of cardboard. You can use an old cardboard box, thick card or craft foam. Just as long as you can wrap the tulle around it will be fine. If you are using 6 inch high rolls of tulle like i am, make sure the template is higher. This will help you later in the process.
Making the template
To make a template the same size as mine click here for the template. If you want to make your own template measure the width to be 5" and the hight to be 9 or 9.5". To make the cut out in the middle measure 1.5" from each edge and 6" high. Cut out the centre part. The width of the template will determine the size of the bow. My template was 5" wide, but you can make a template to be any size you require.
Step 2
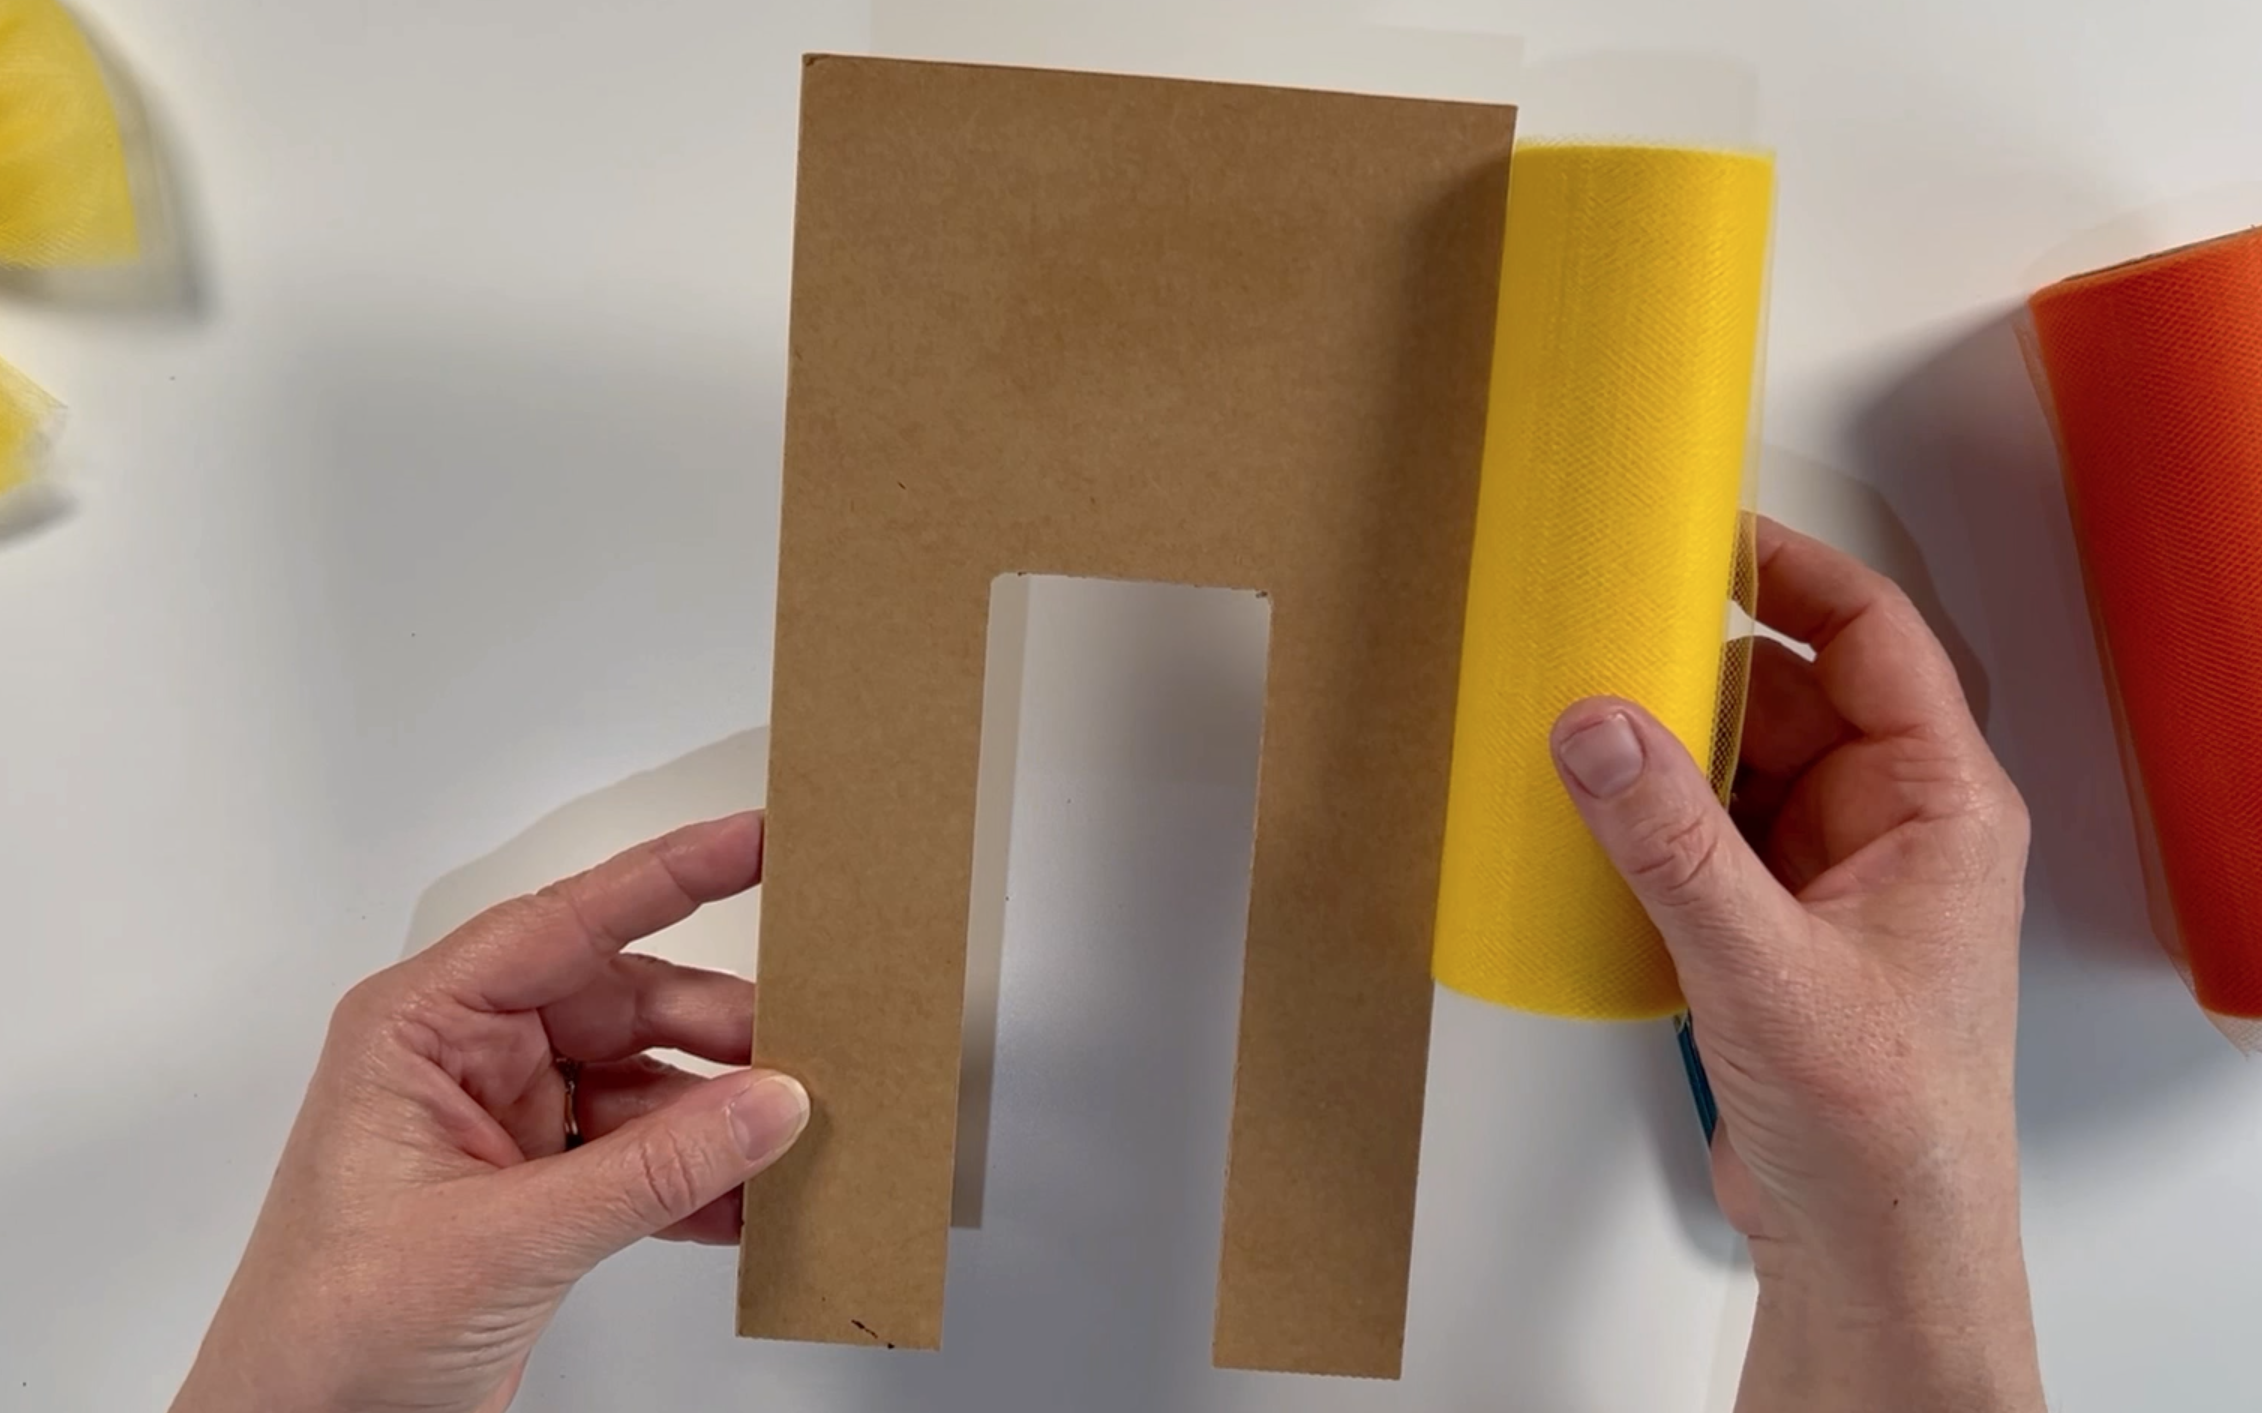
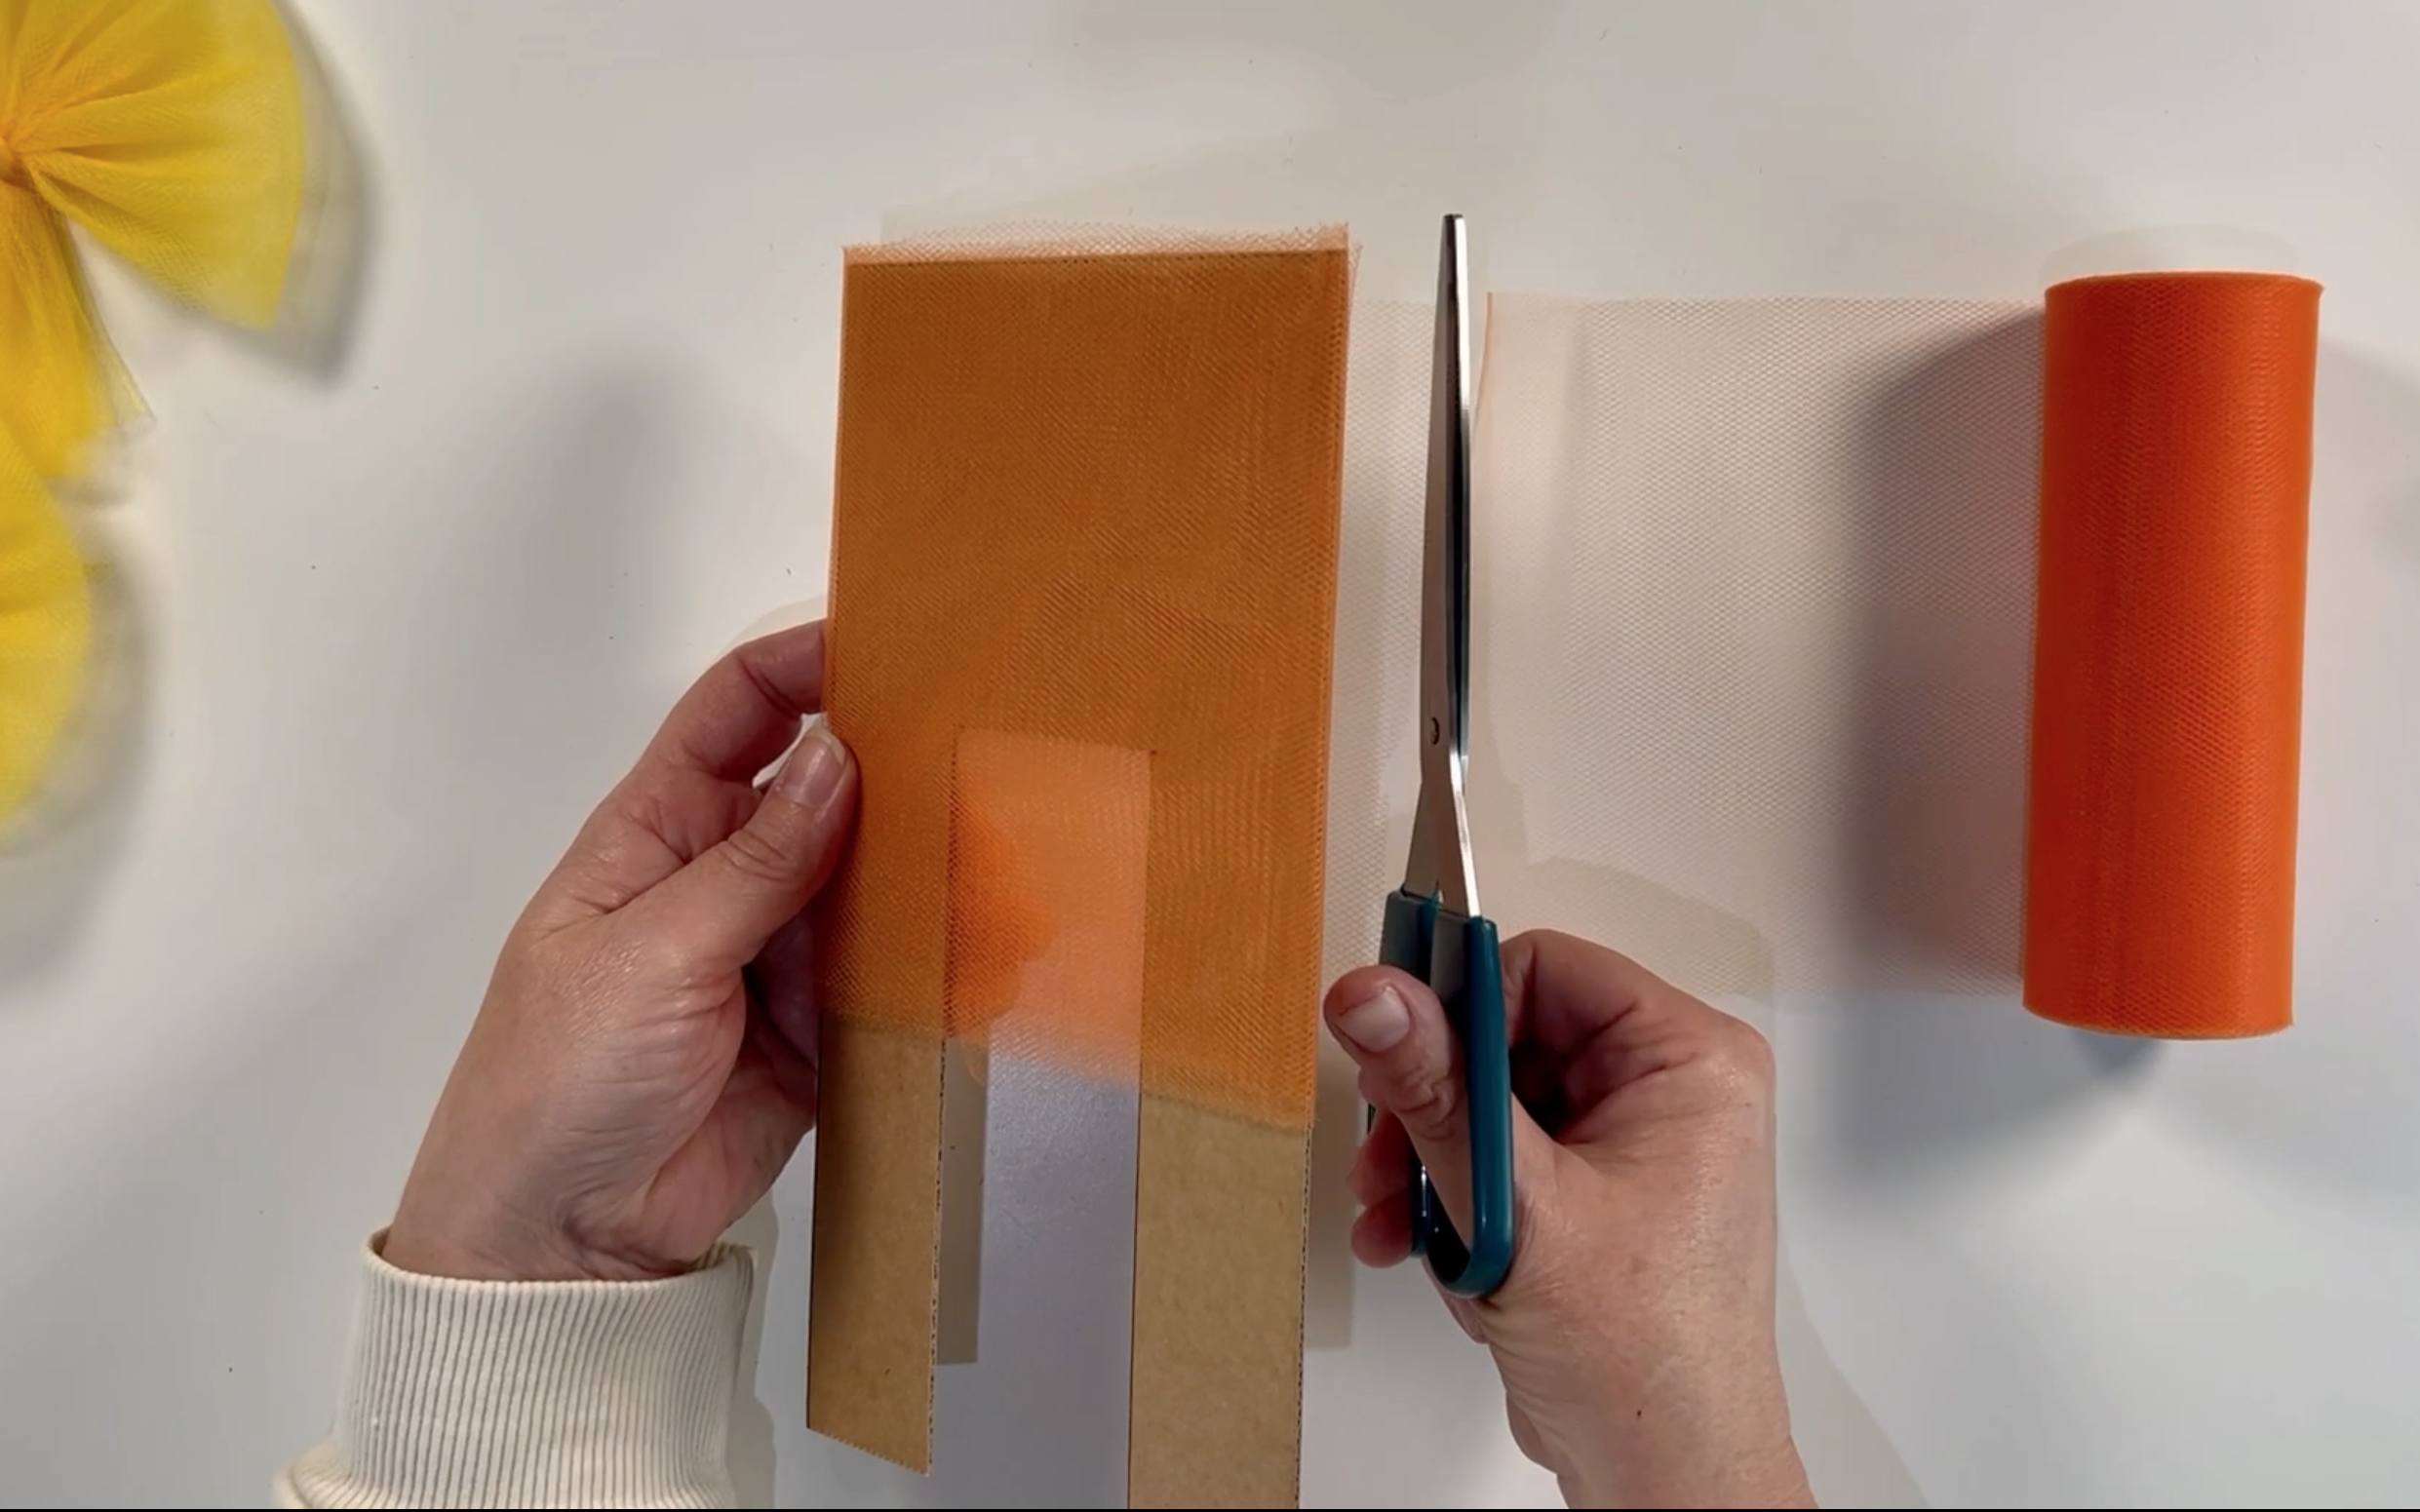
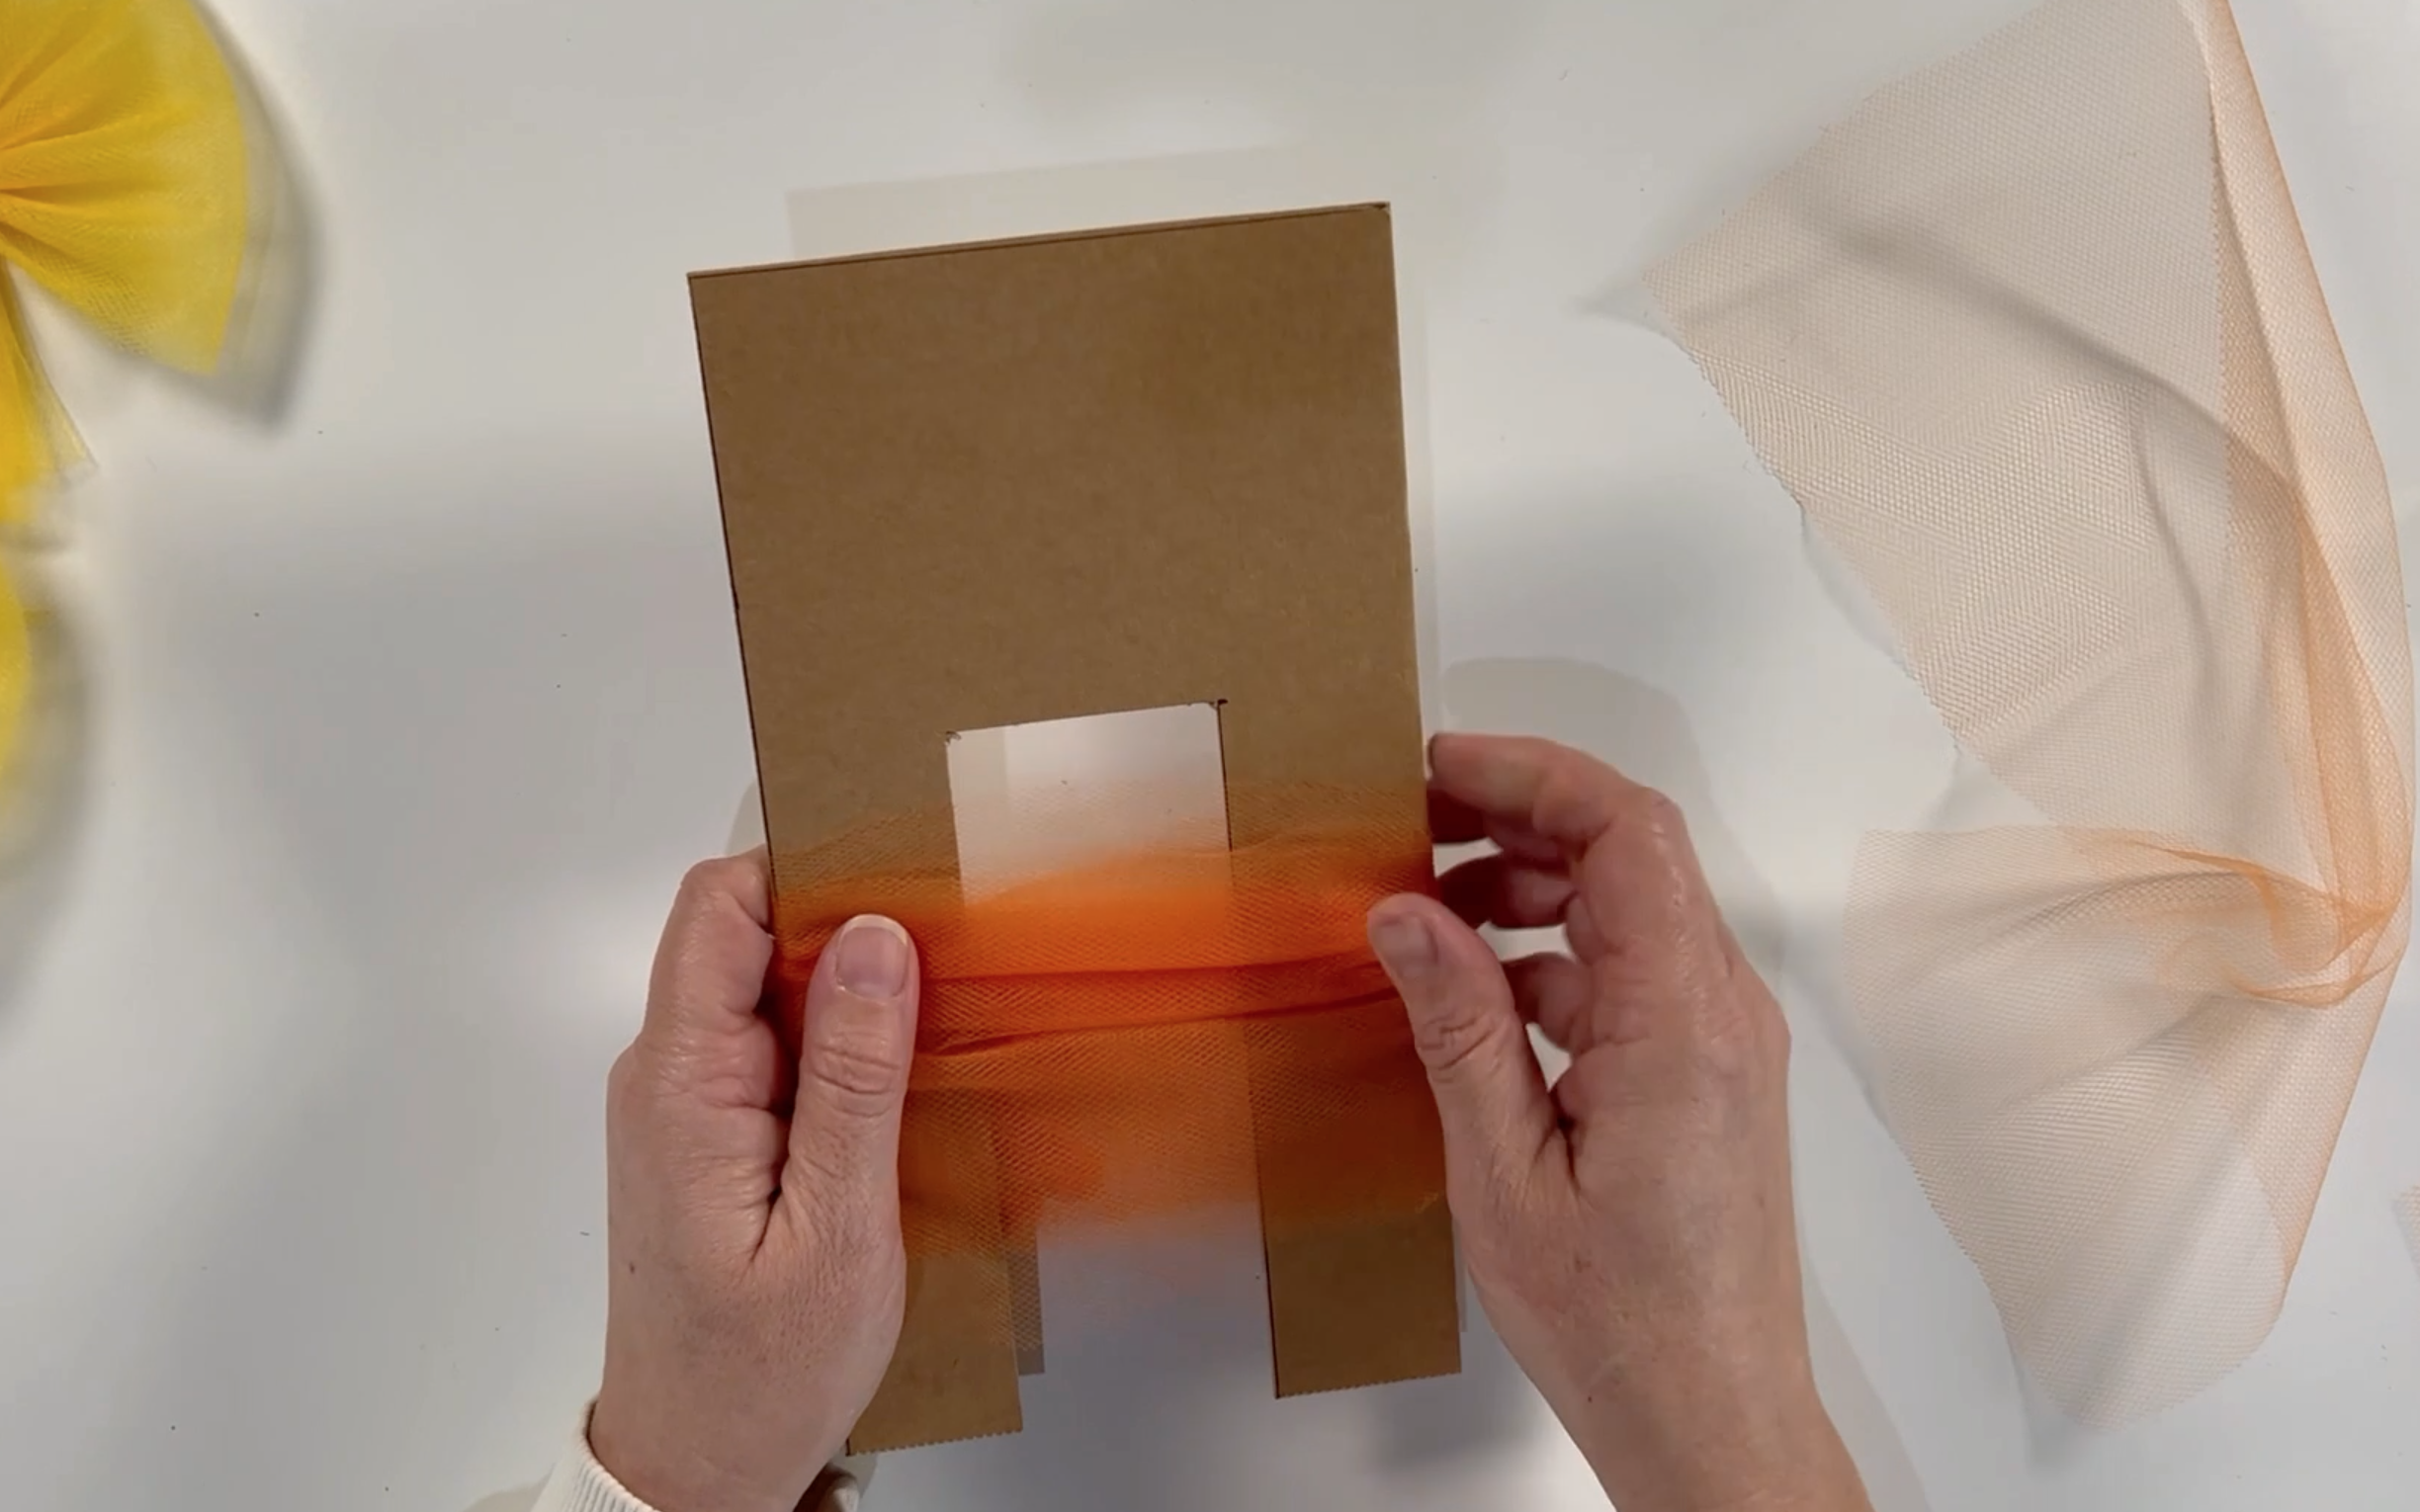
Lay out the tulle on the table and place the template on top of the tulle. Wrap the tulle around the template approx 10 times. This will give you a nice looking bow. You can wrap the tulle more or less times depending on how you want your bow to look.
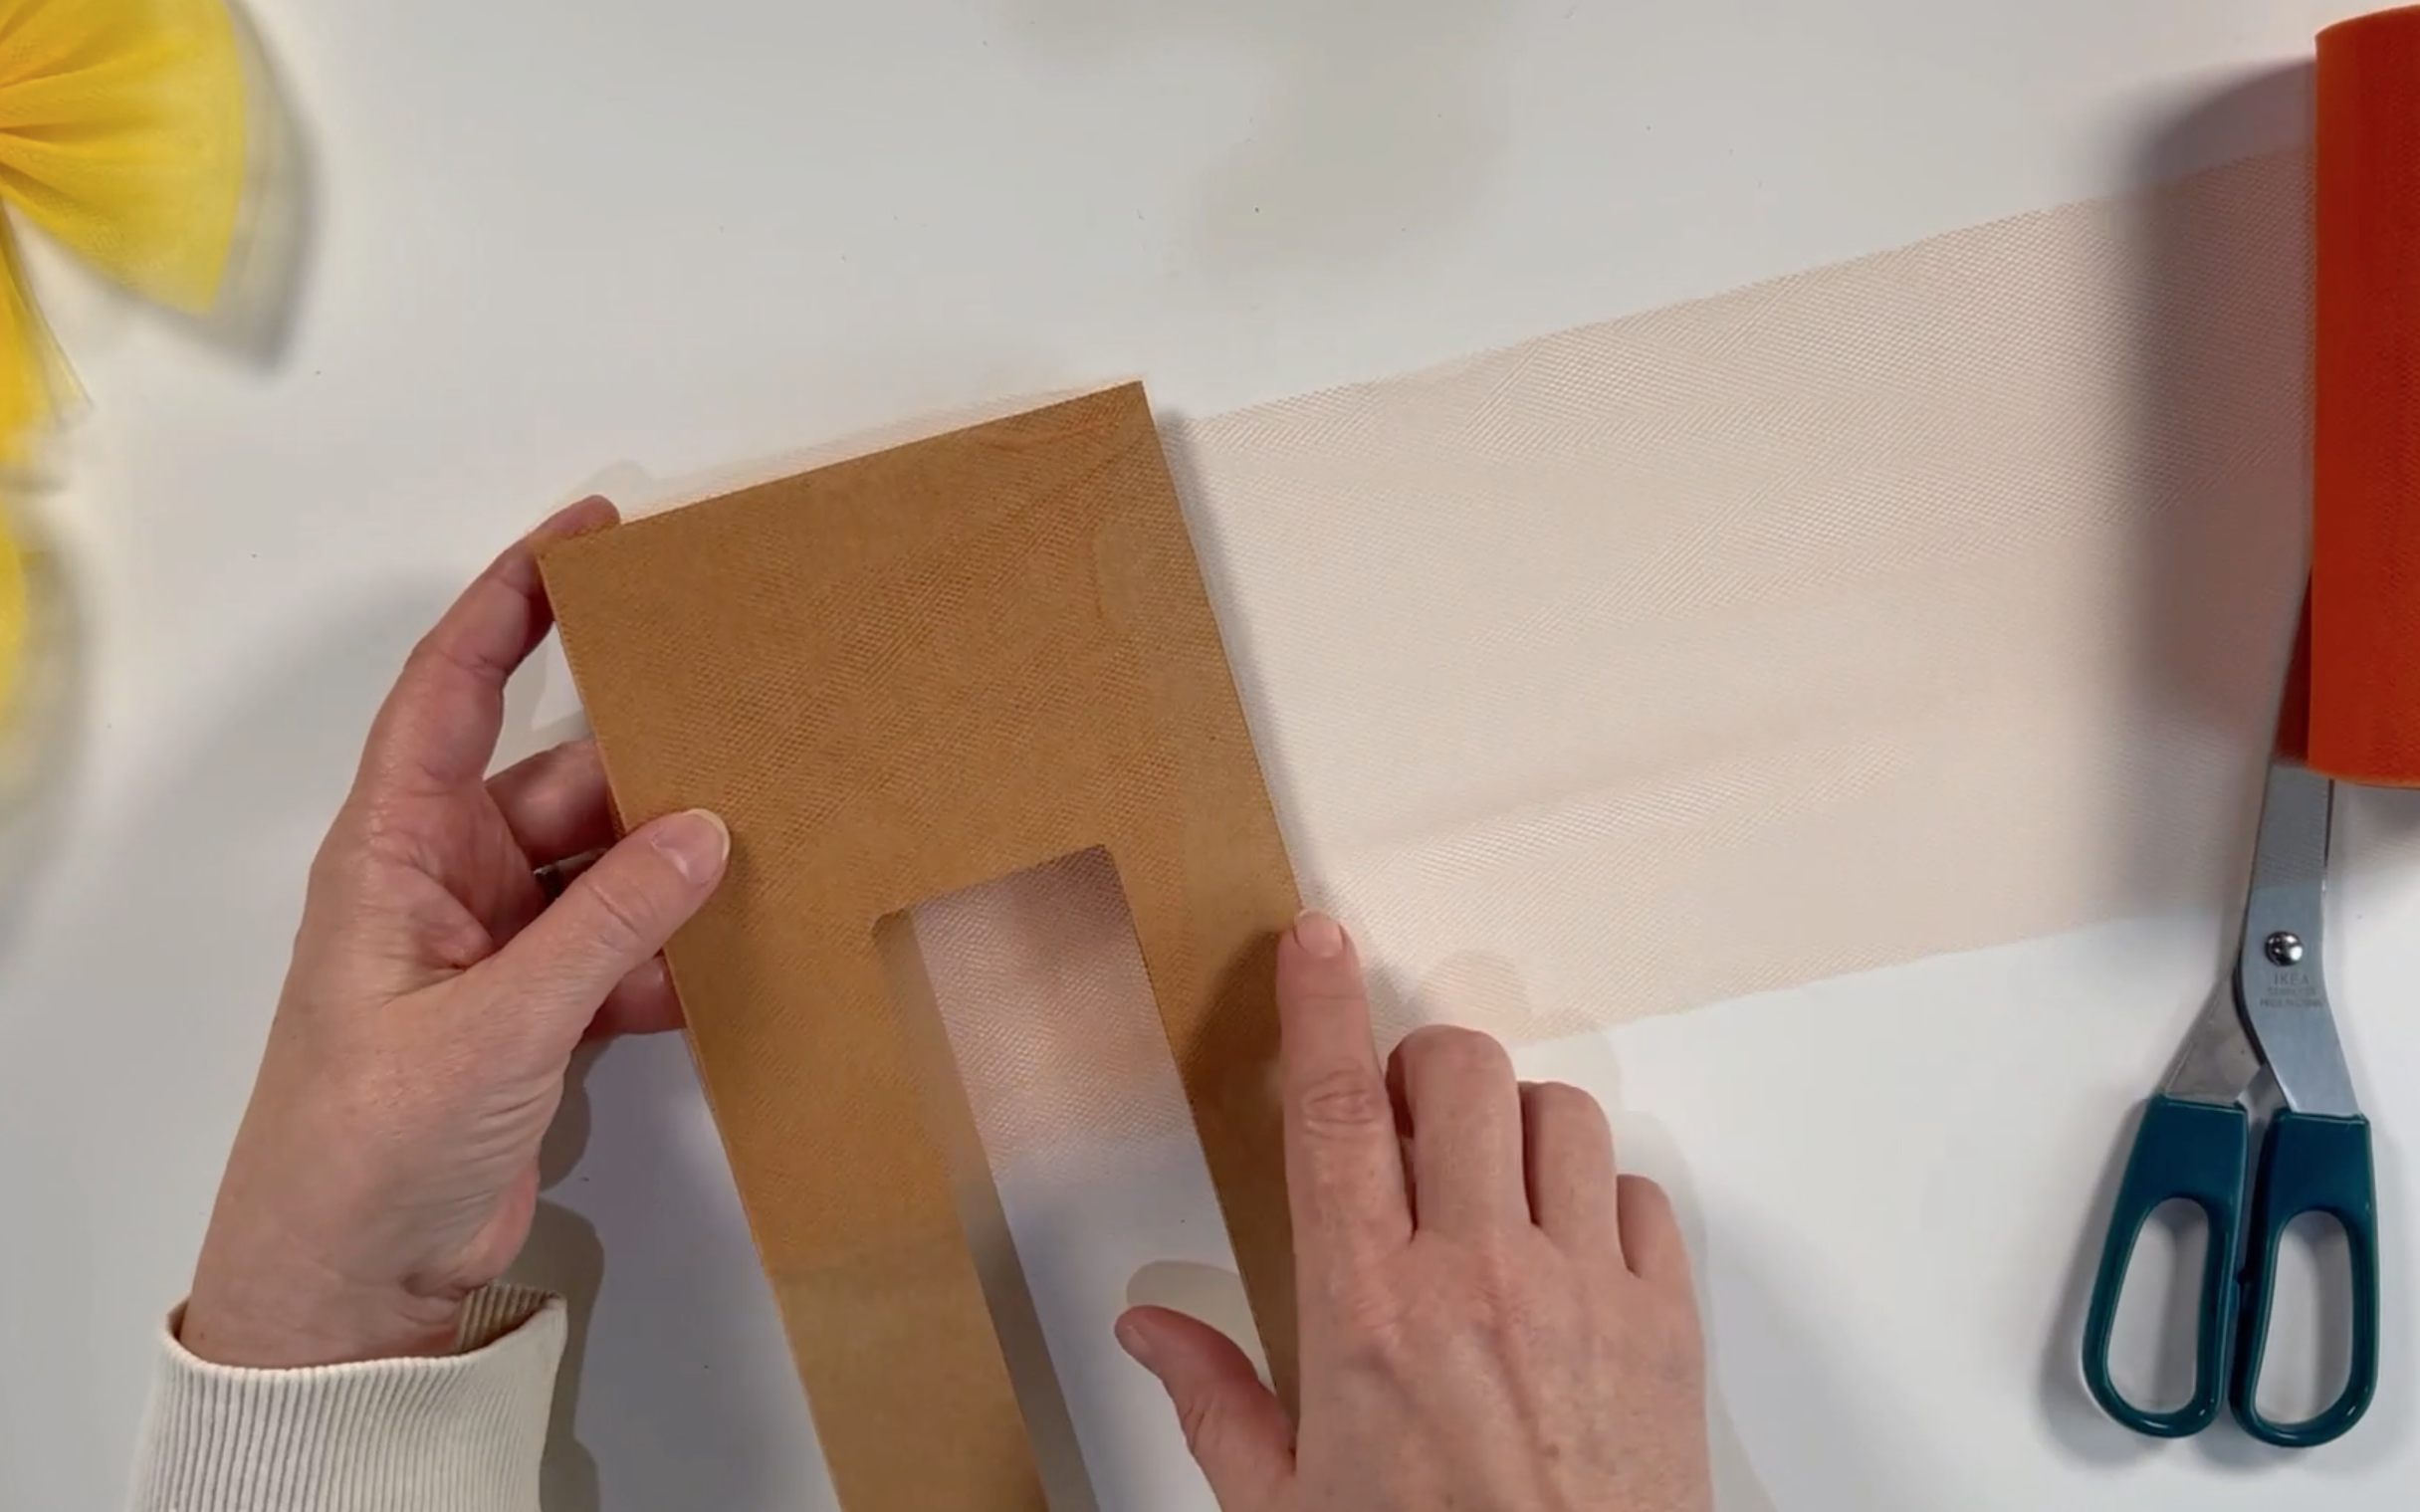
When you have wrapped the desired amount of tulle around the template, trim the tulle using the scissors. Also you need to cut another strip of tulle that will tie the bow.
Step 3
Slide the tulle down the cardboard template so it is all at the bottom.
Take the piece of tulle that you cut and wrap it around the centre of the wrapped tulle. This will tie the bow.
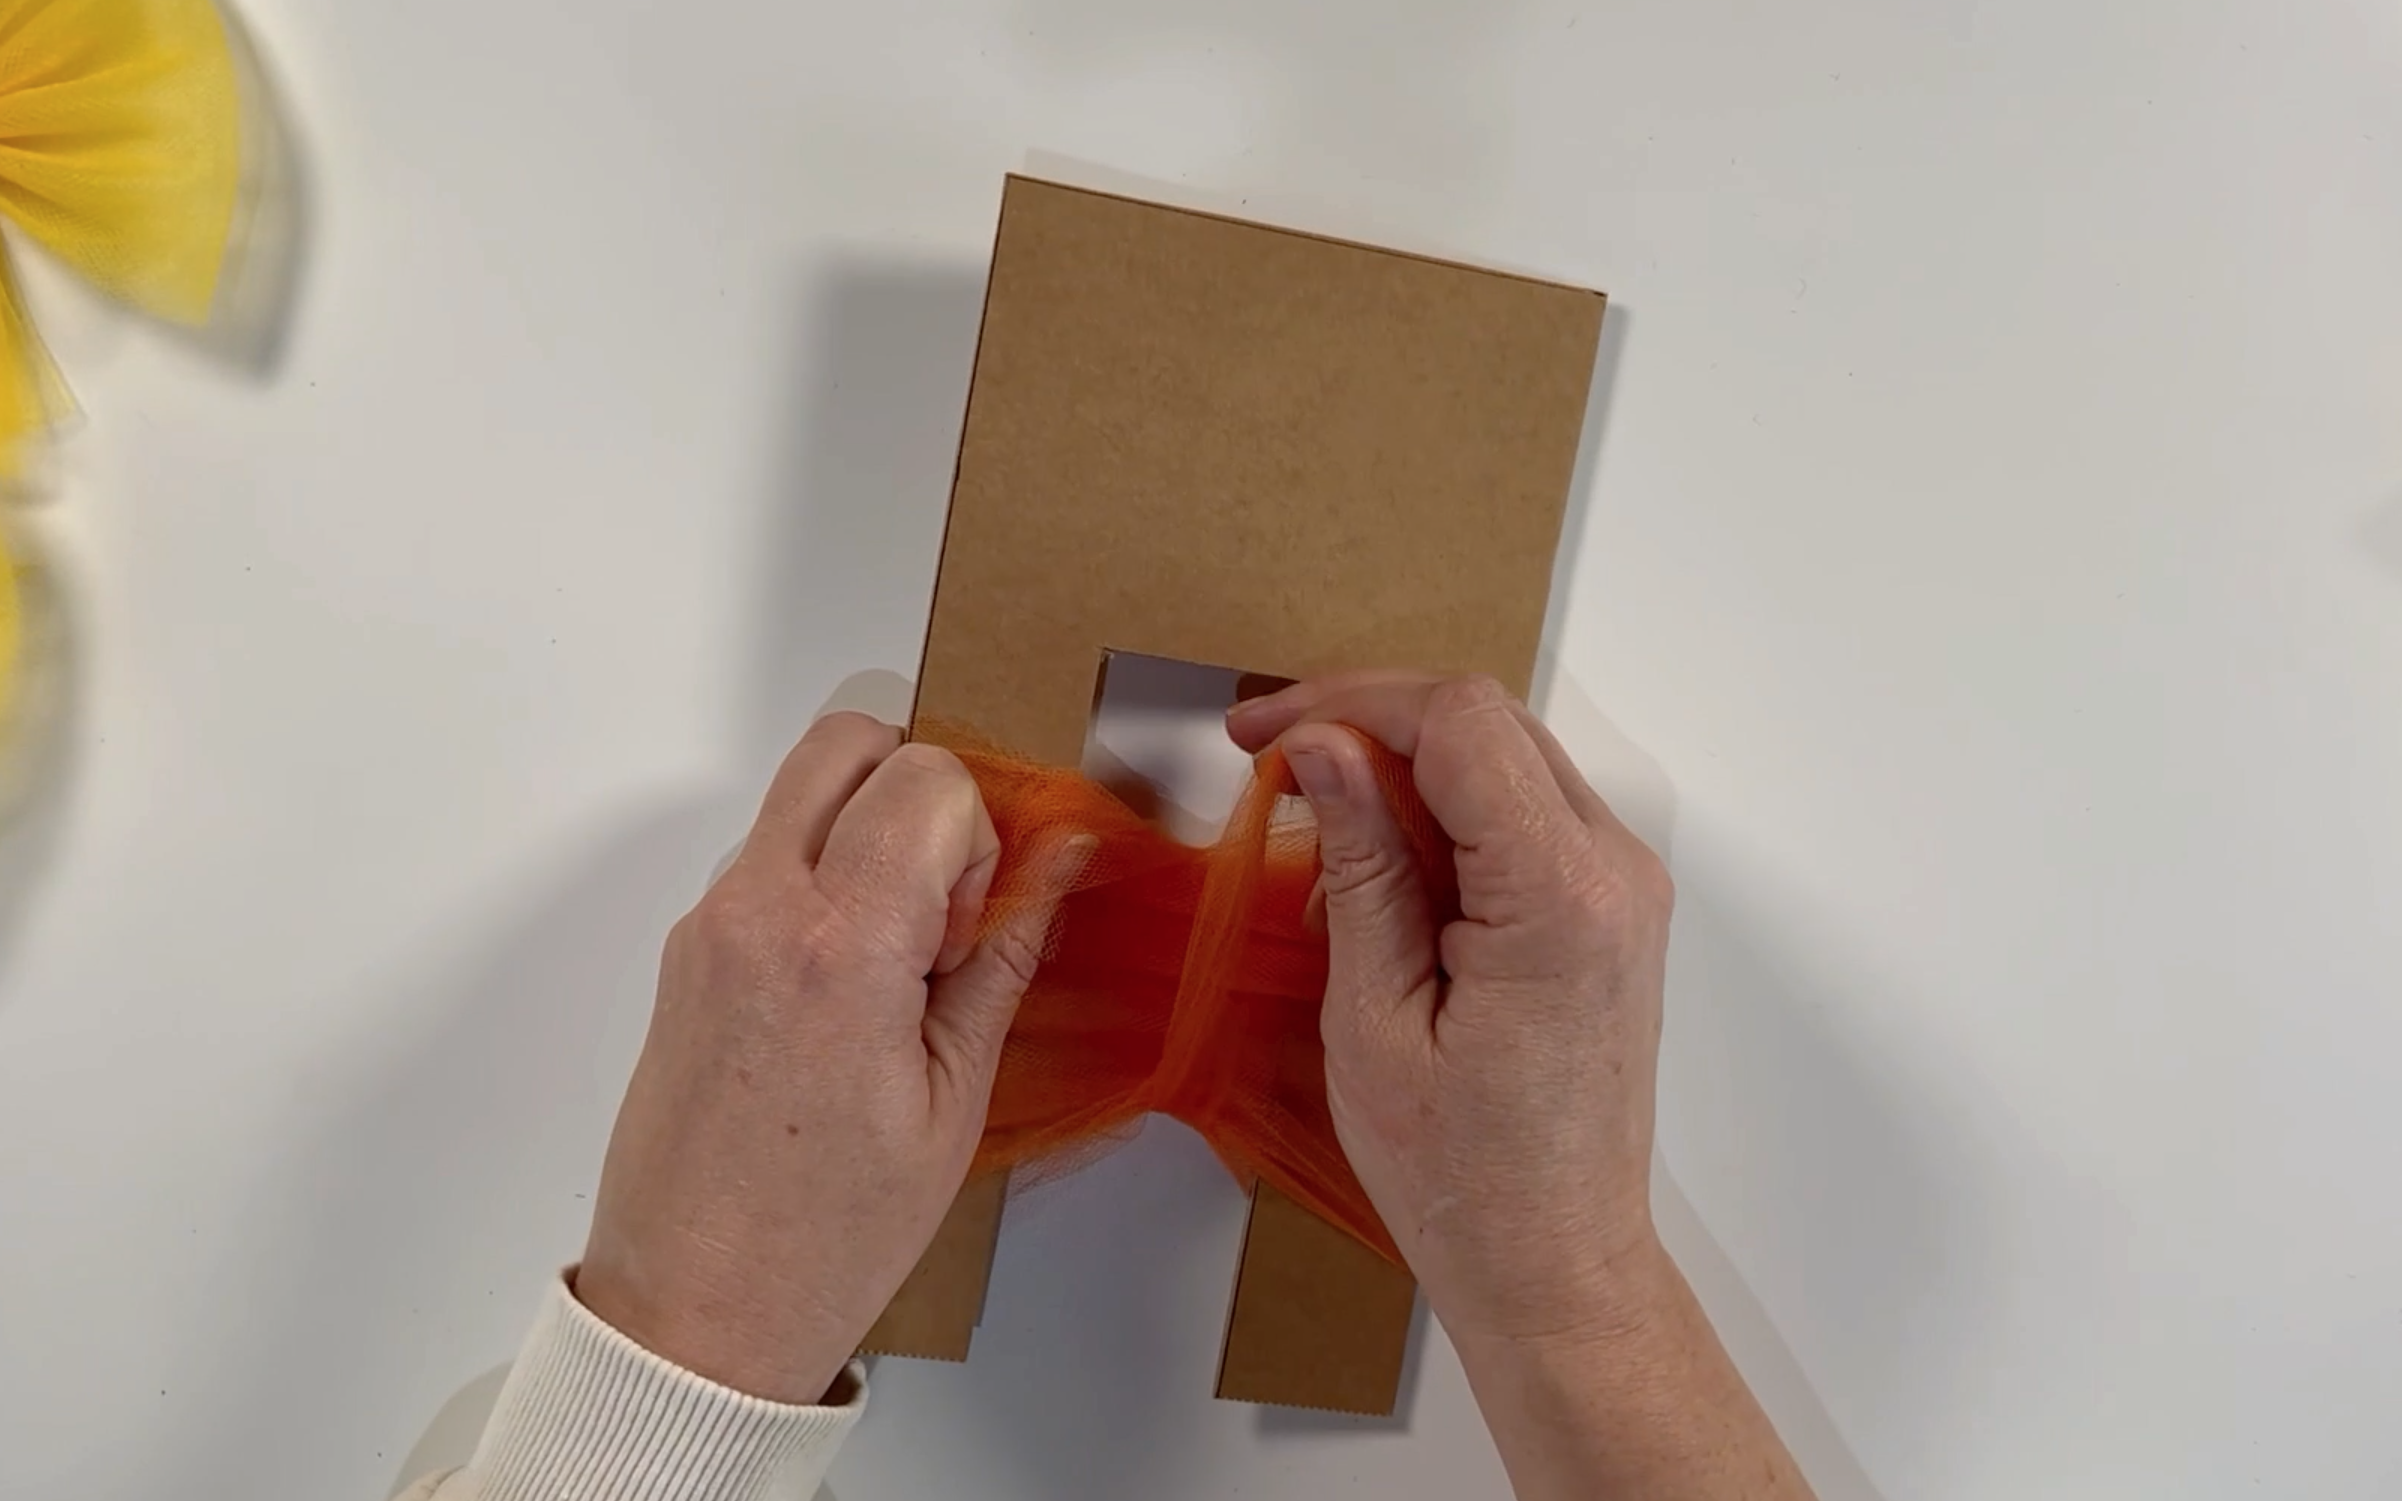
Tie it nice and tight to hold the bow together.
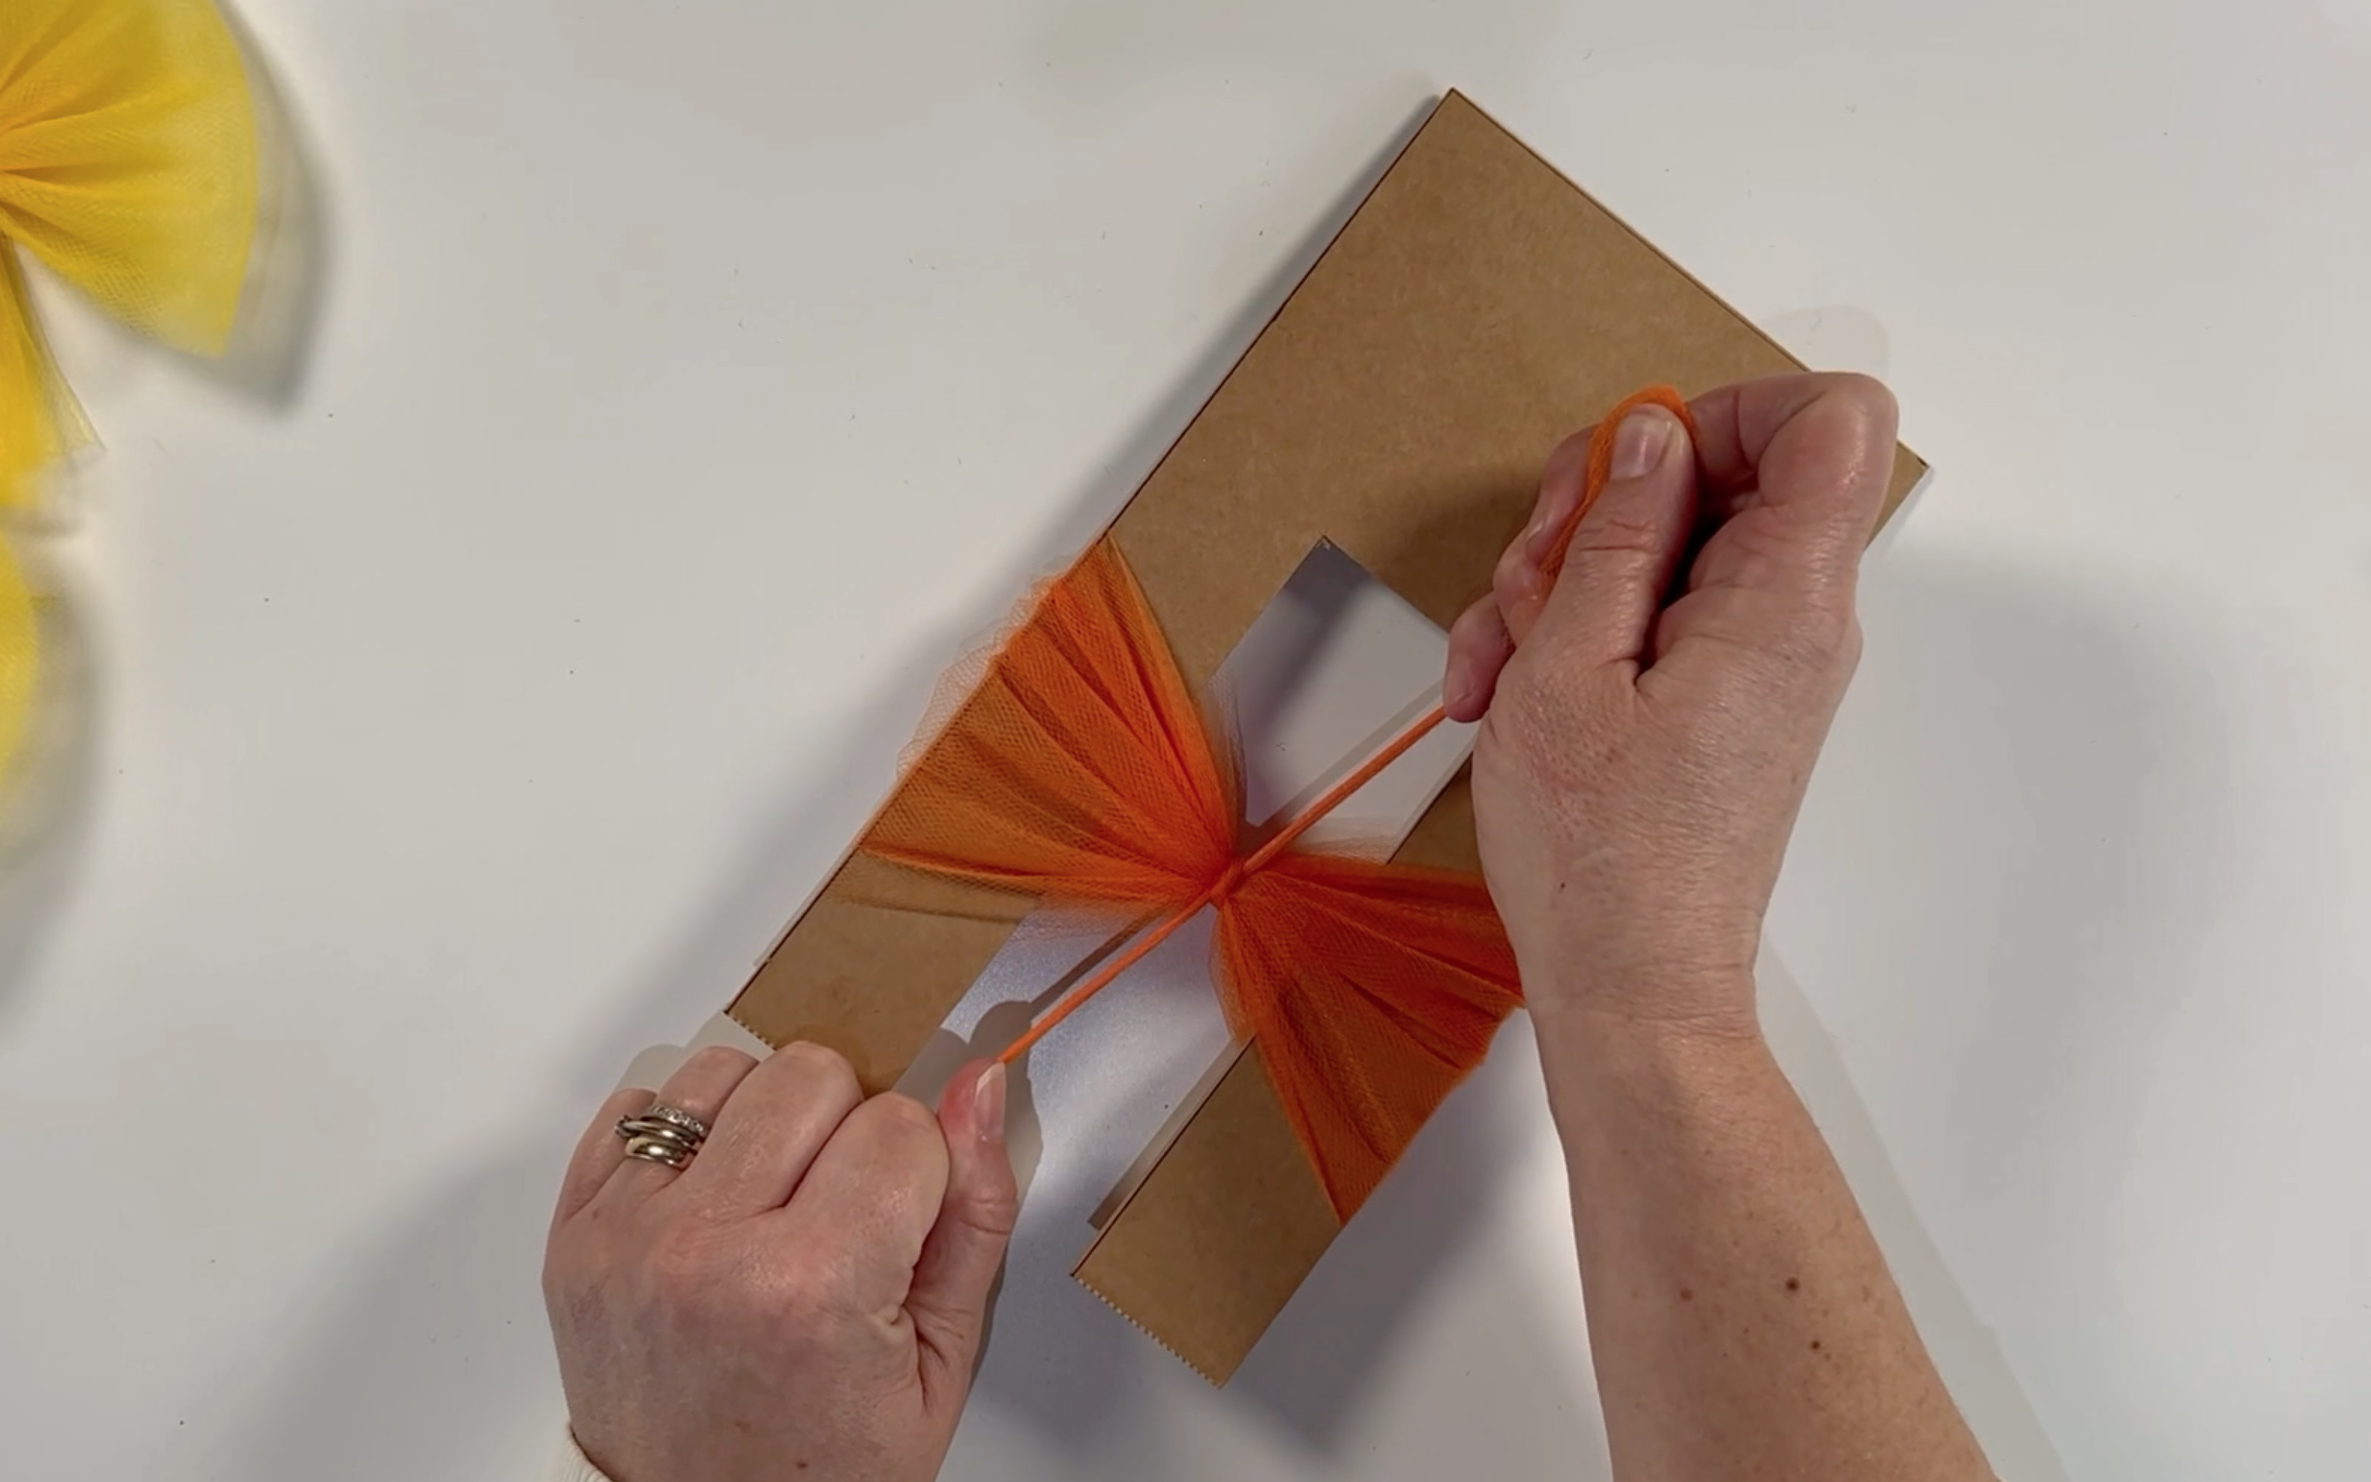
Slide the tied bow off the template. Using the long tail pieces of the tulle, wrap them around the middle of the bow. This will form the centre of the bow.
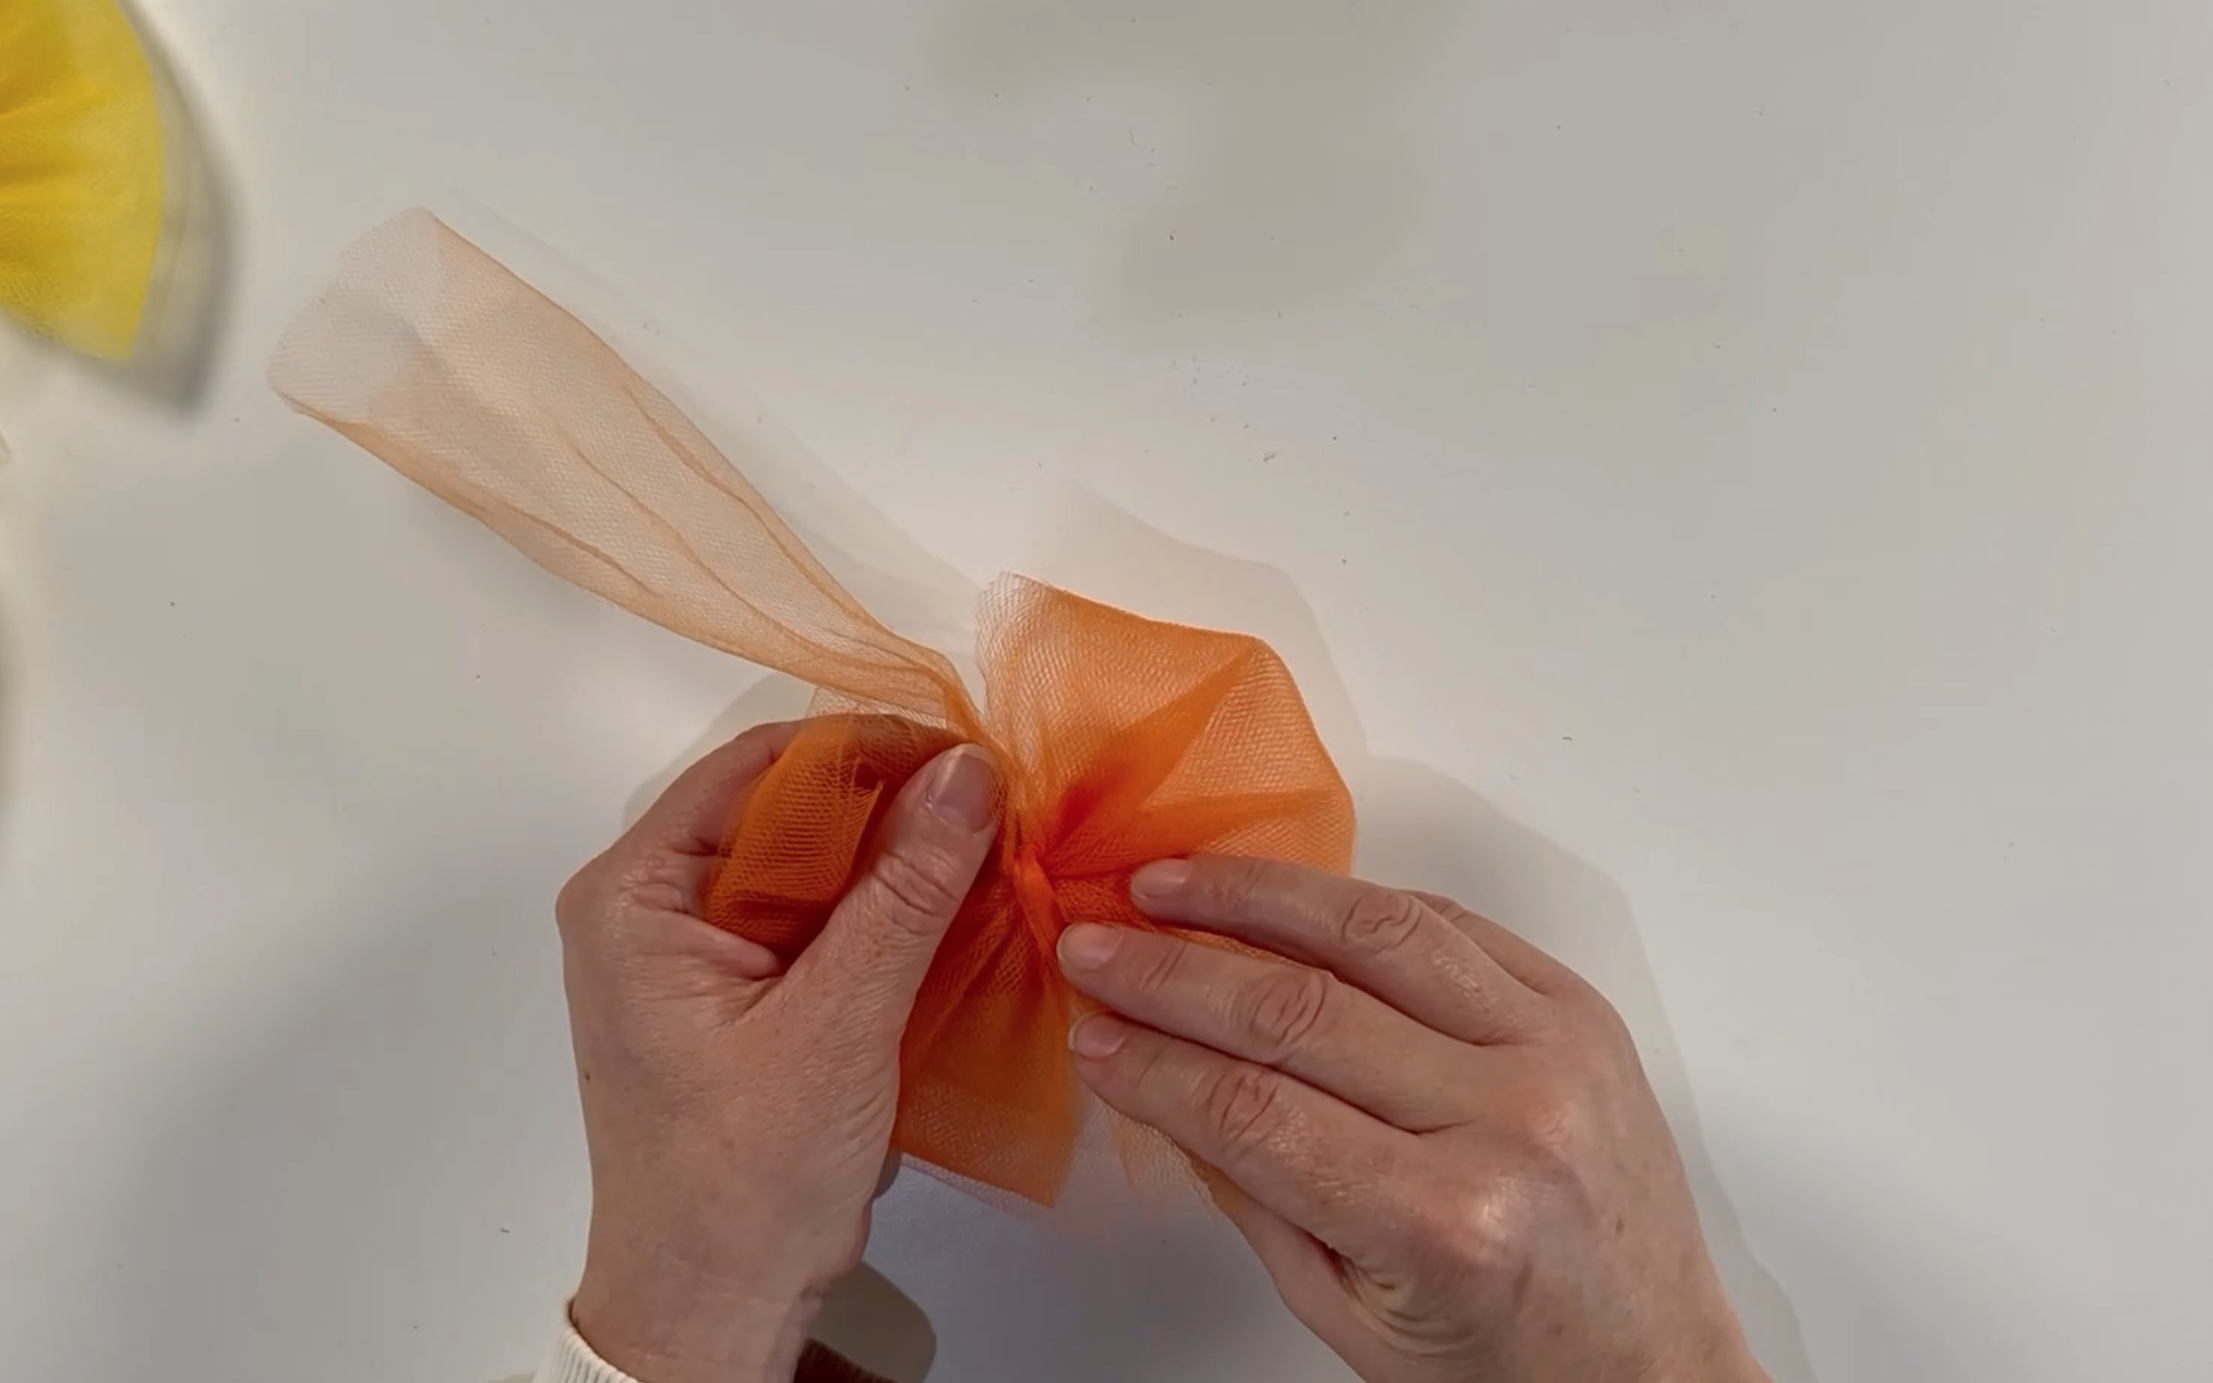
When you have tied the tulle tails around the centre of the bow. Trim them off. You now have your completed tulle bow. This type of bow is perfect for hair clips as the edges are smooth.
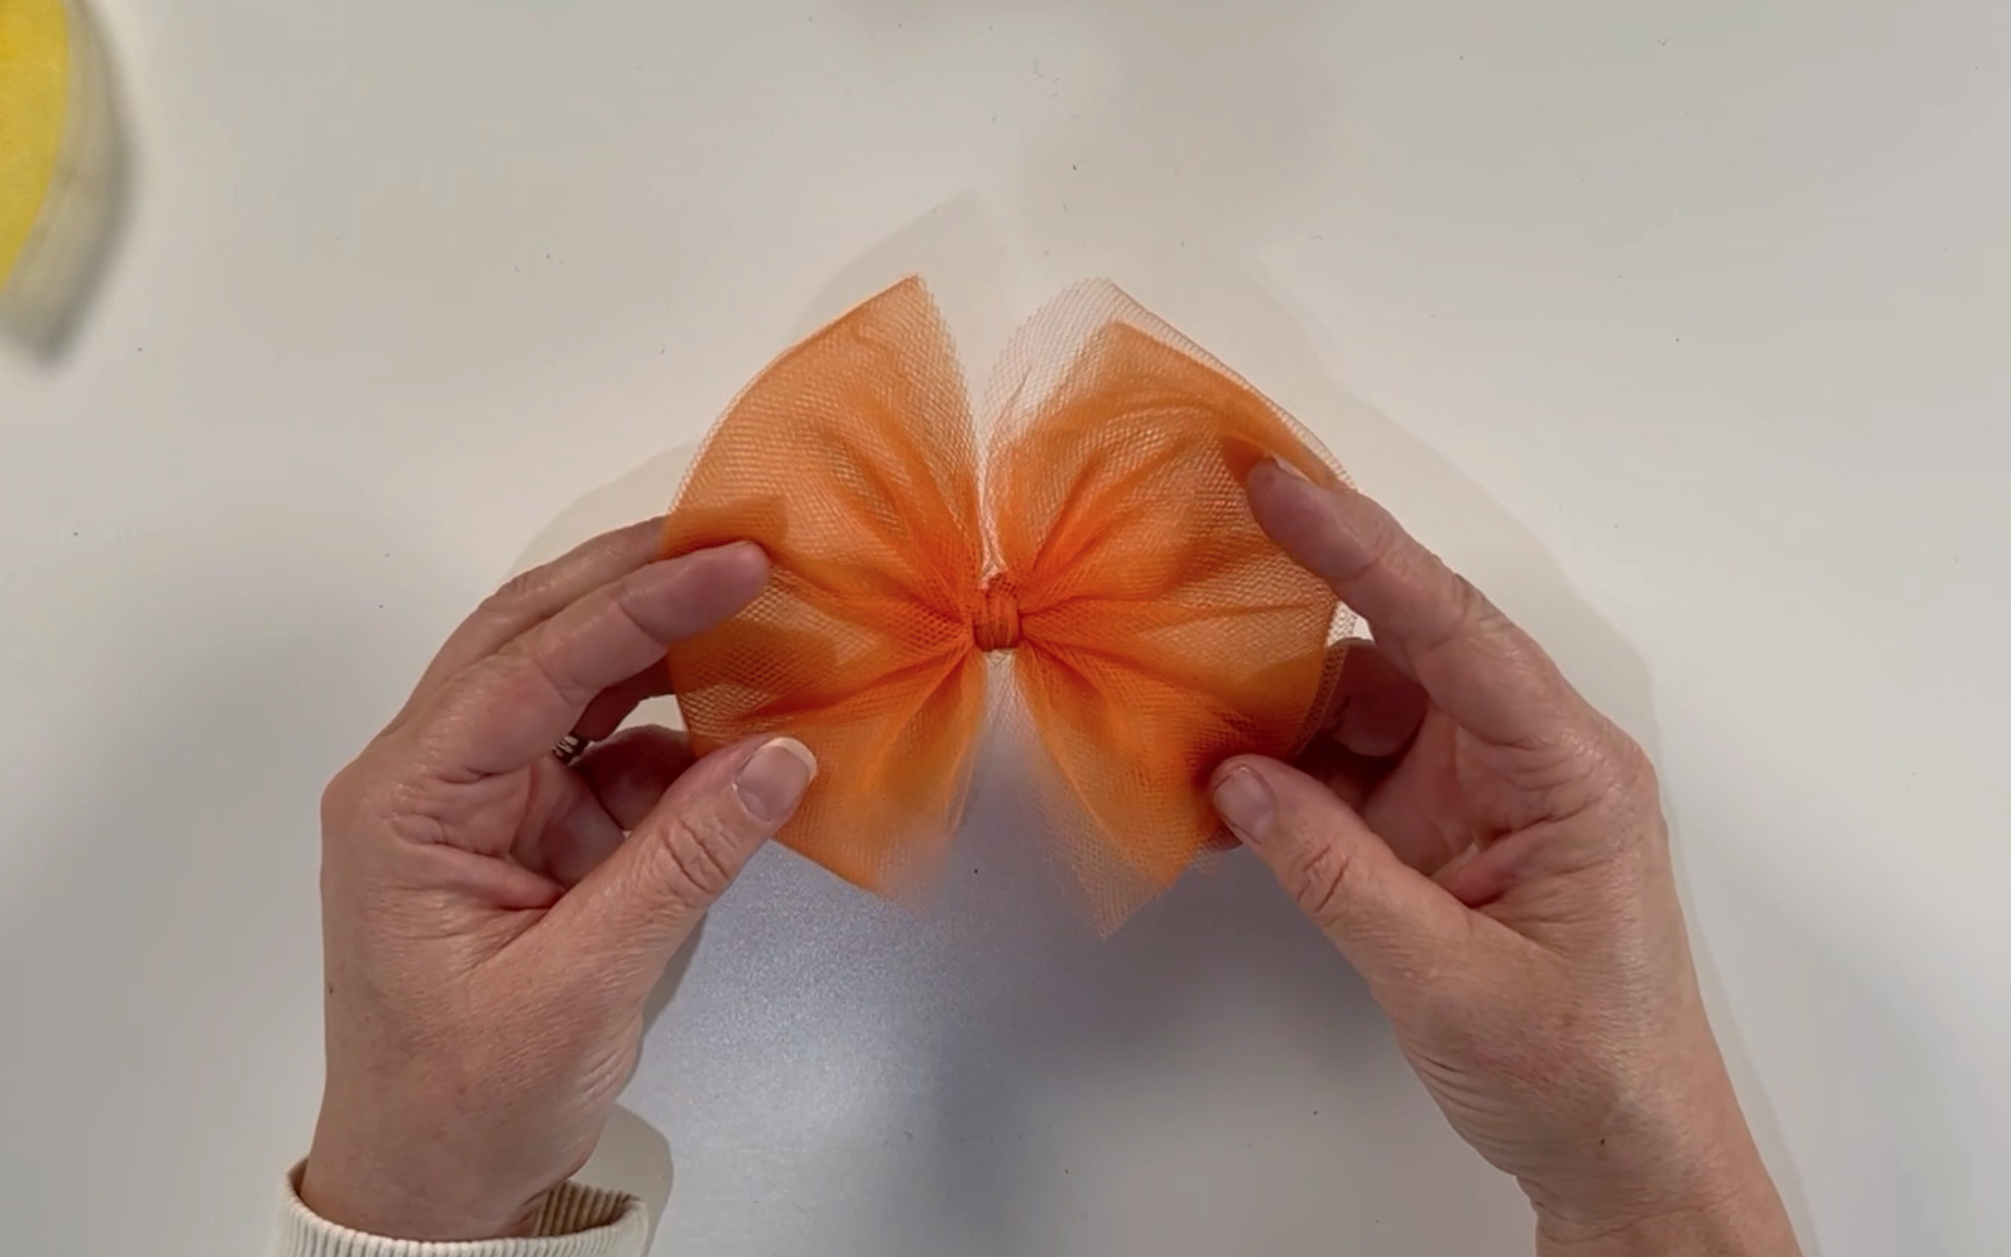
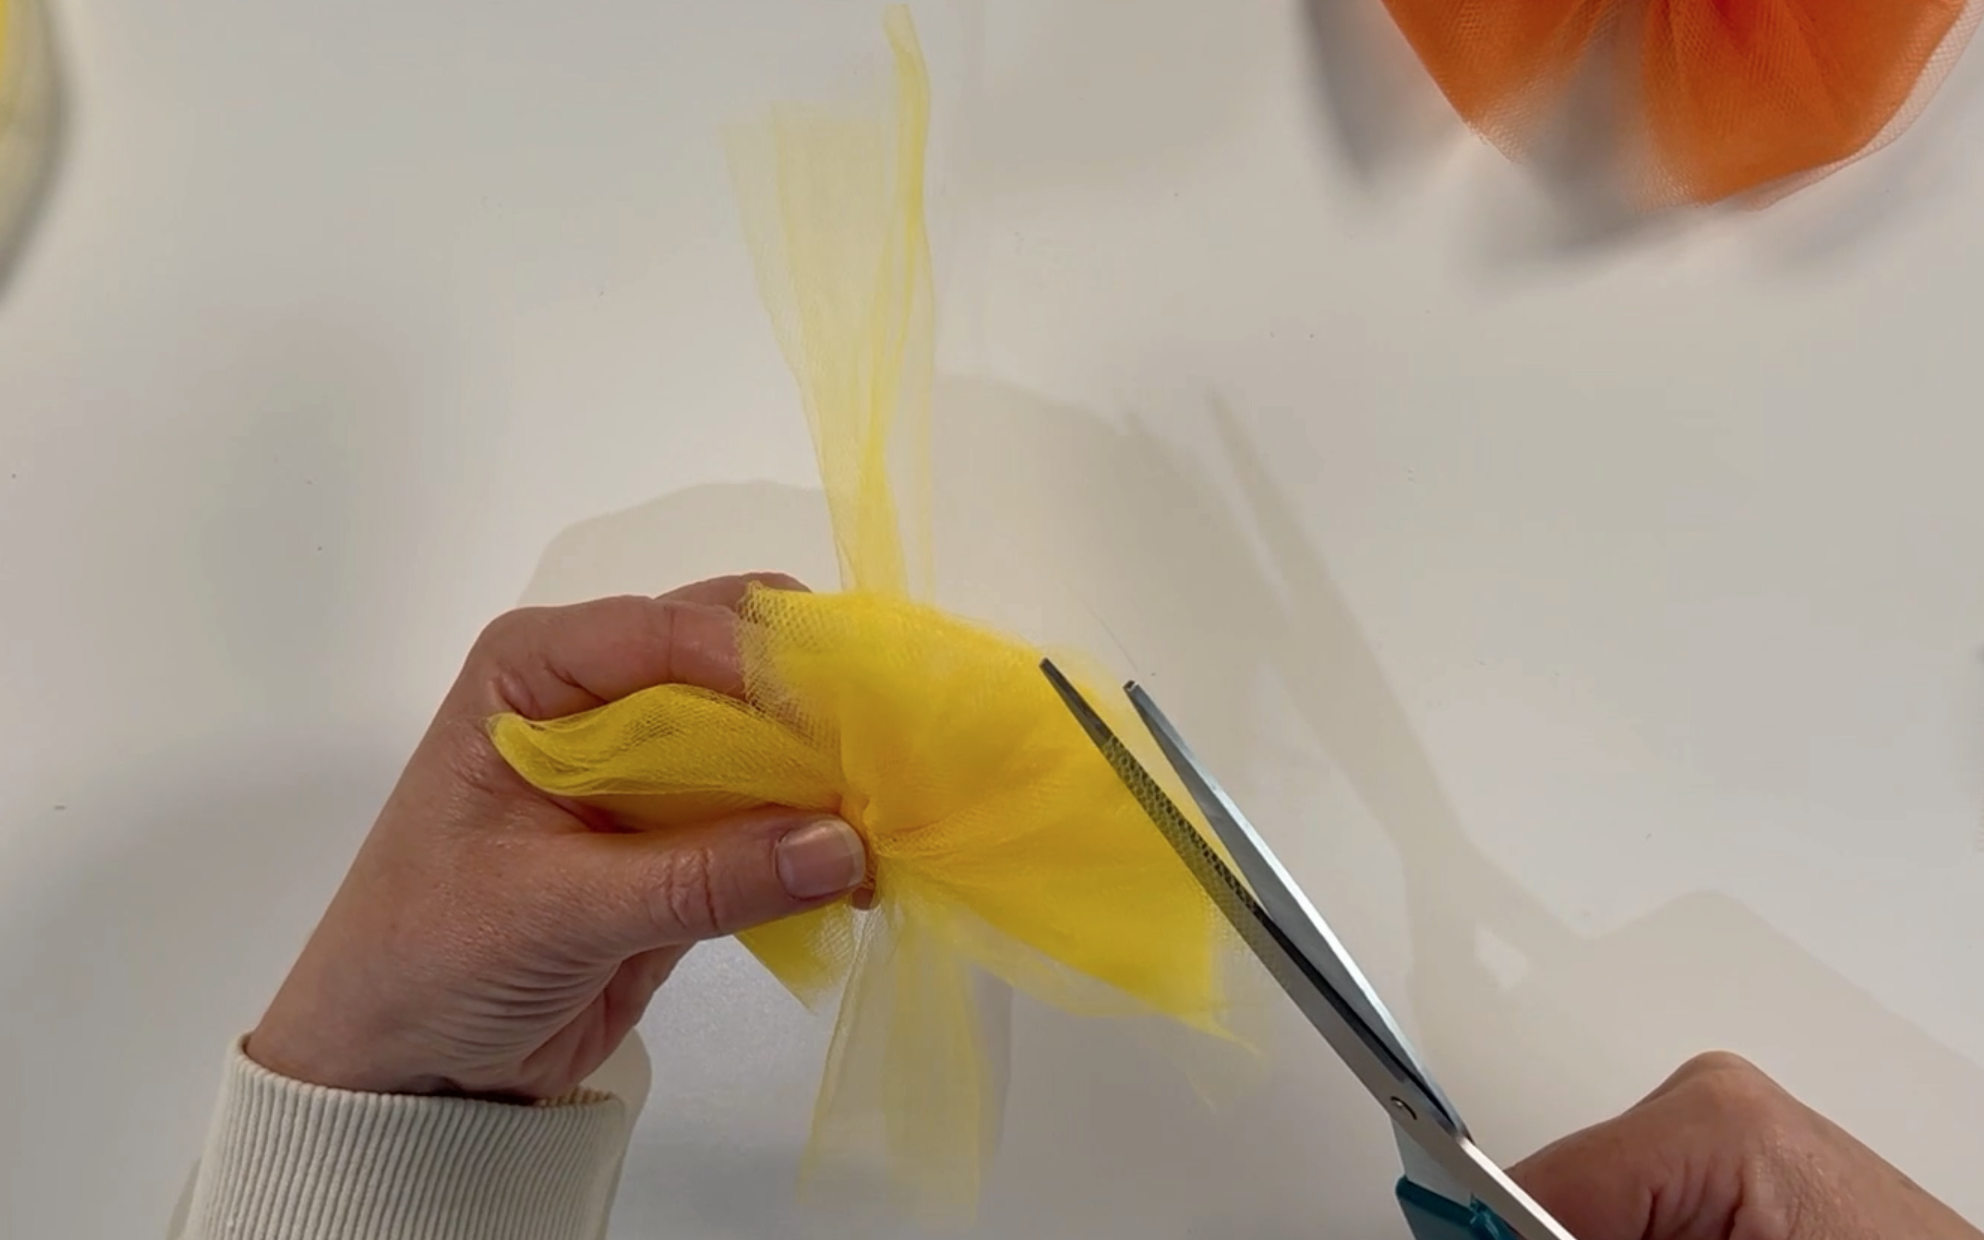
To make a tulle bow with the edges separate, follow the same steps as for the first bow. When you get to the end, cut along the edge of the bow, cutting through all the layers of tulle. This will make all the layers separate so you can fluff up the bow.
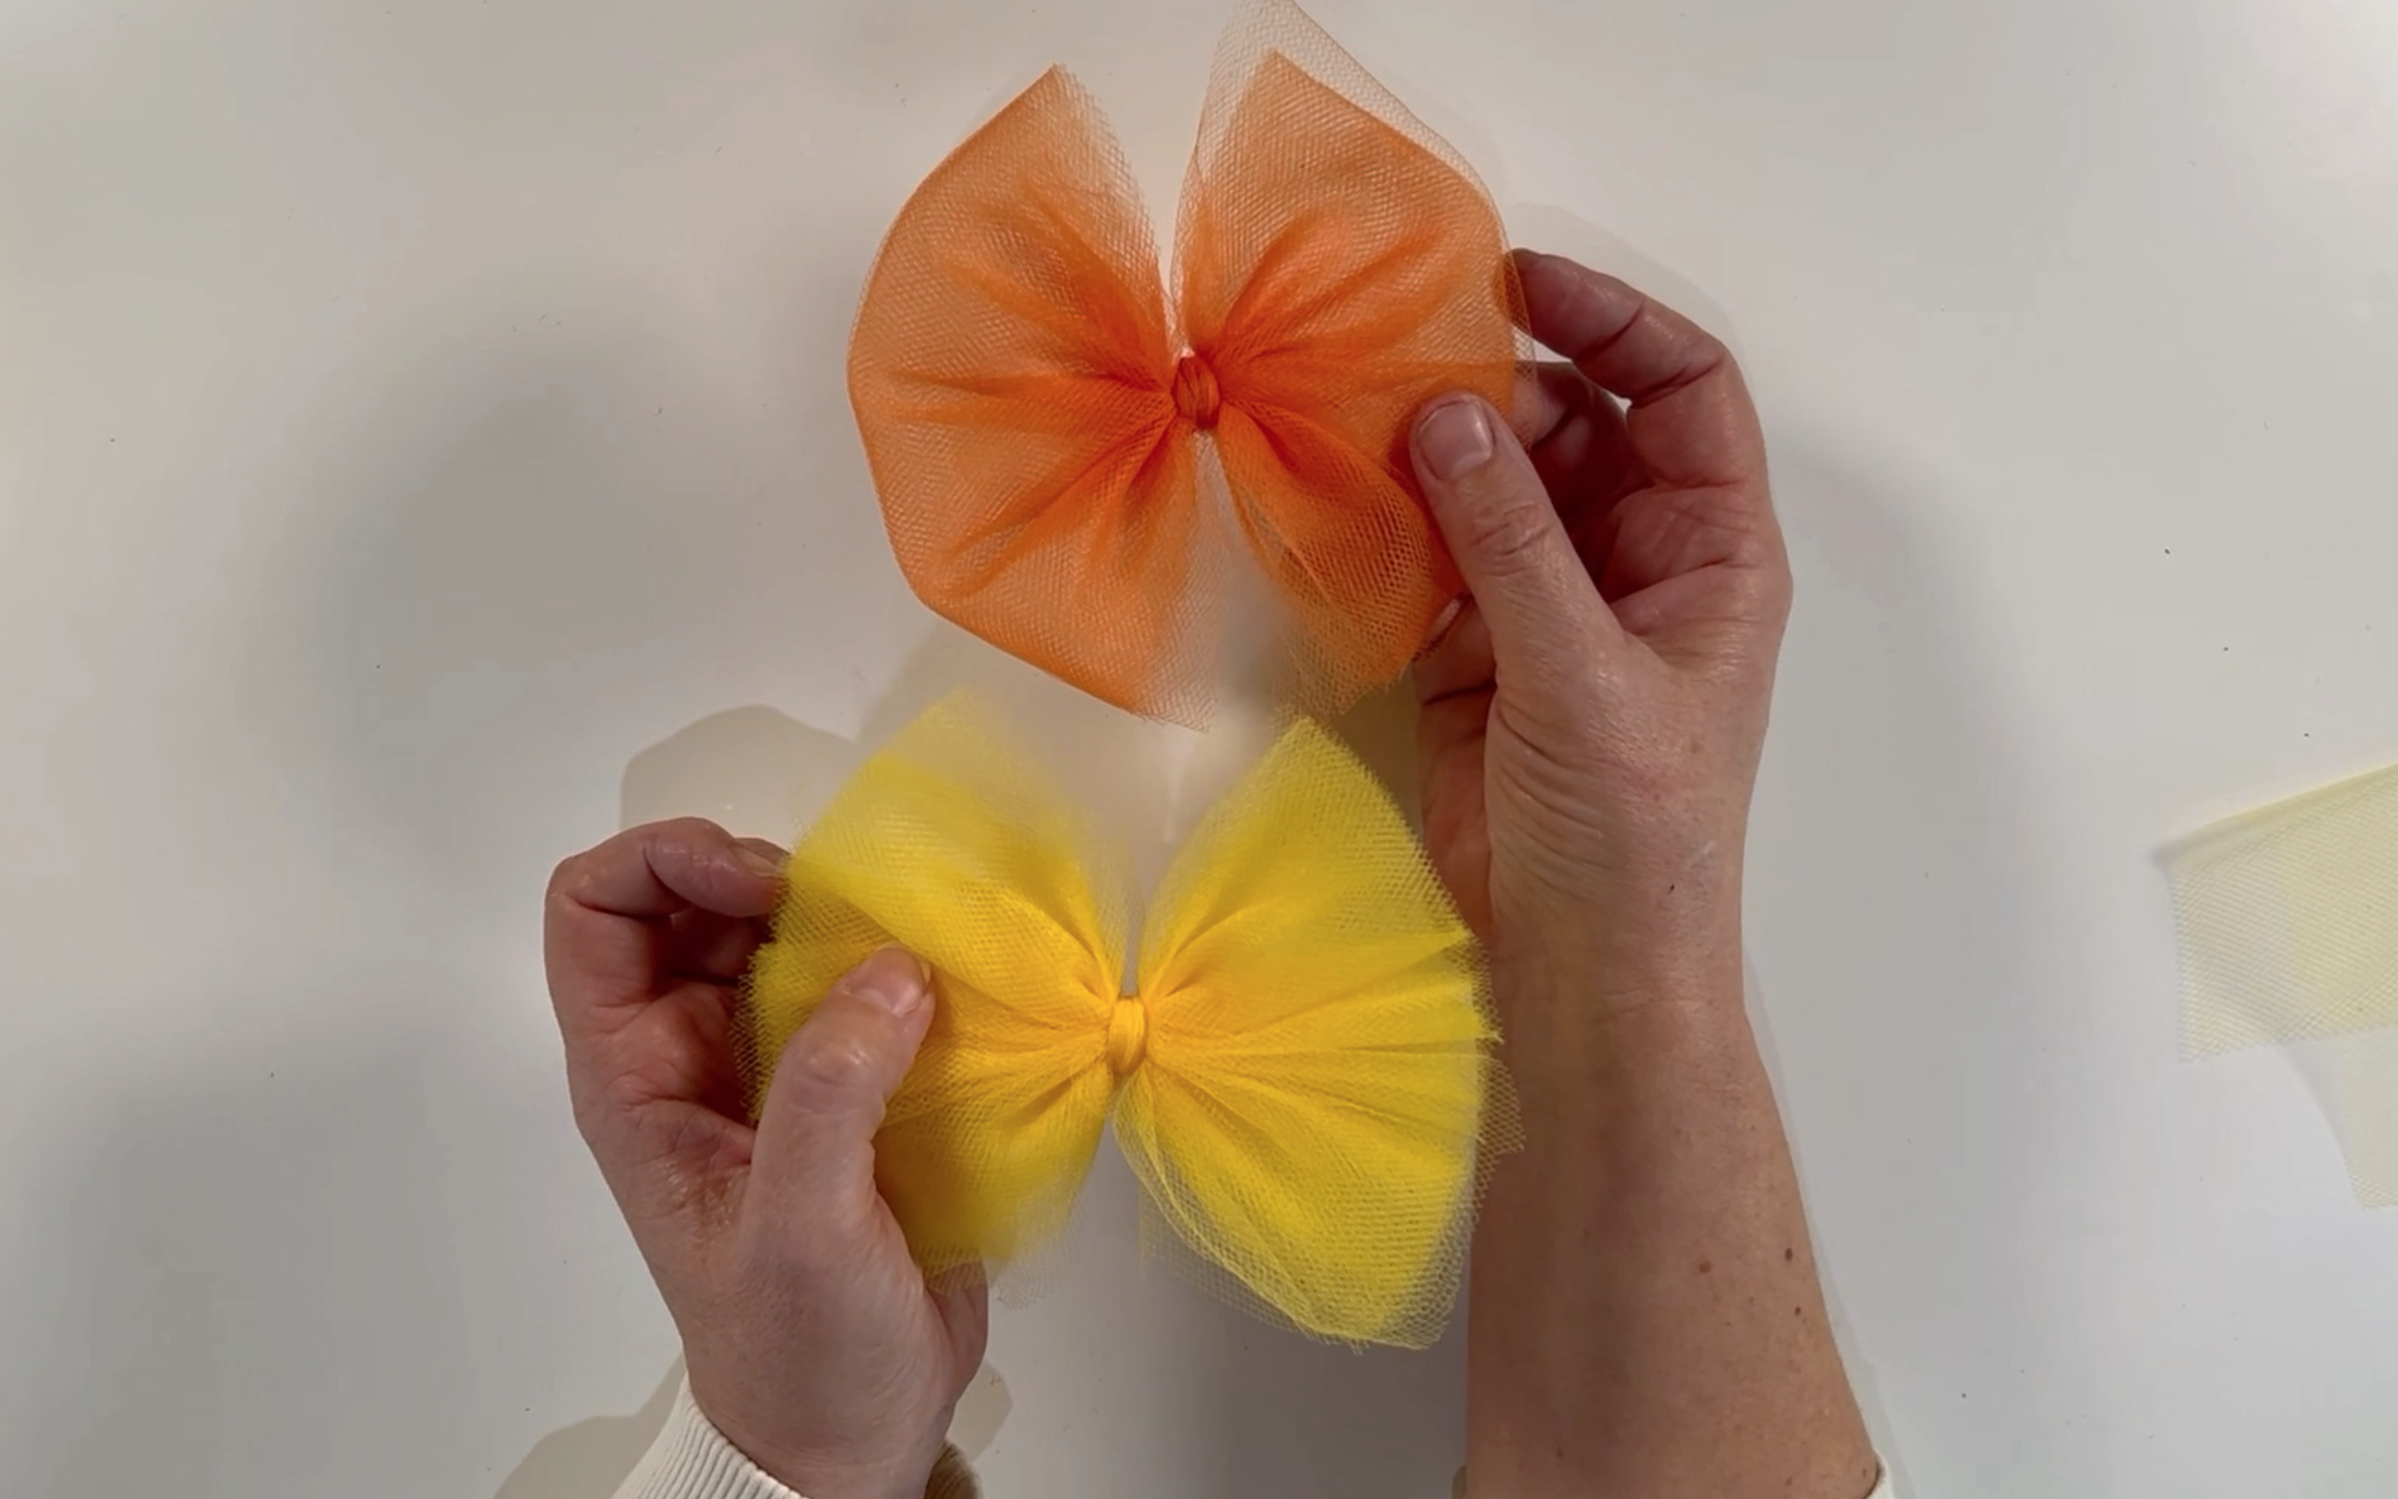
That is how you can make two types of tulle bows that require no sewing. This is a really great and cheap way to make cool bows in any colour you like. You can also make them in patterned or spotty tulle too.
If you would like to watch how i made these Tulle bows then click on the video below:
If you enjoyed this blog, please check out my other blogs: