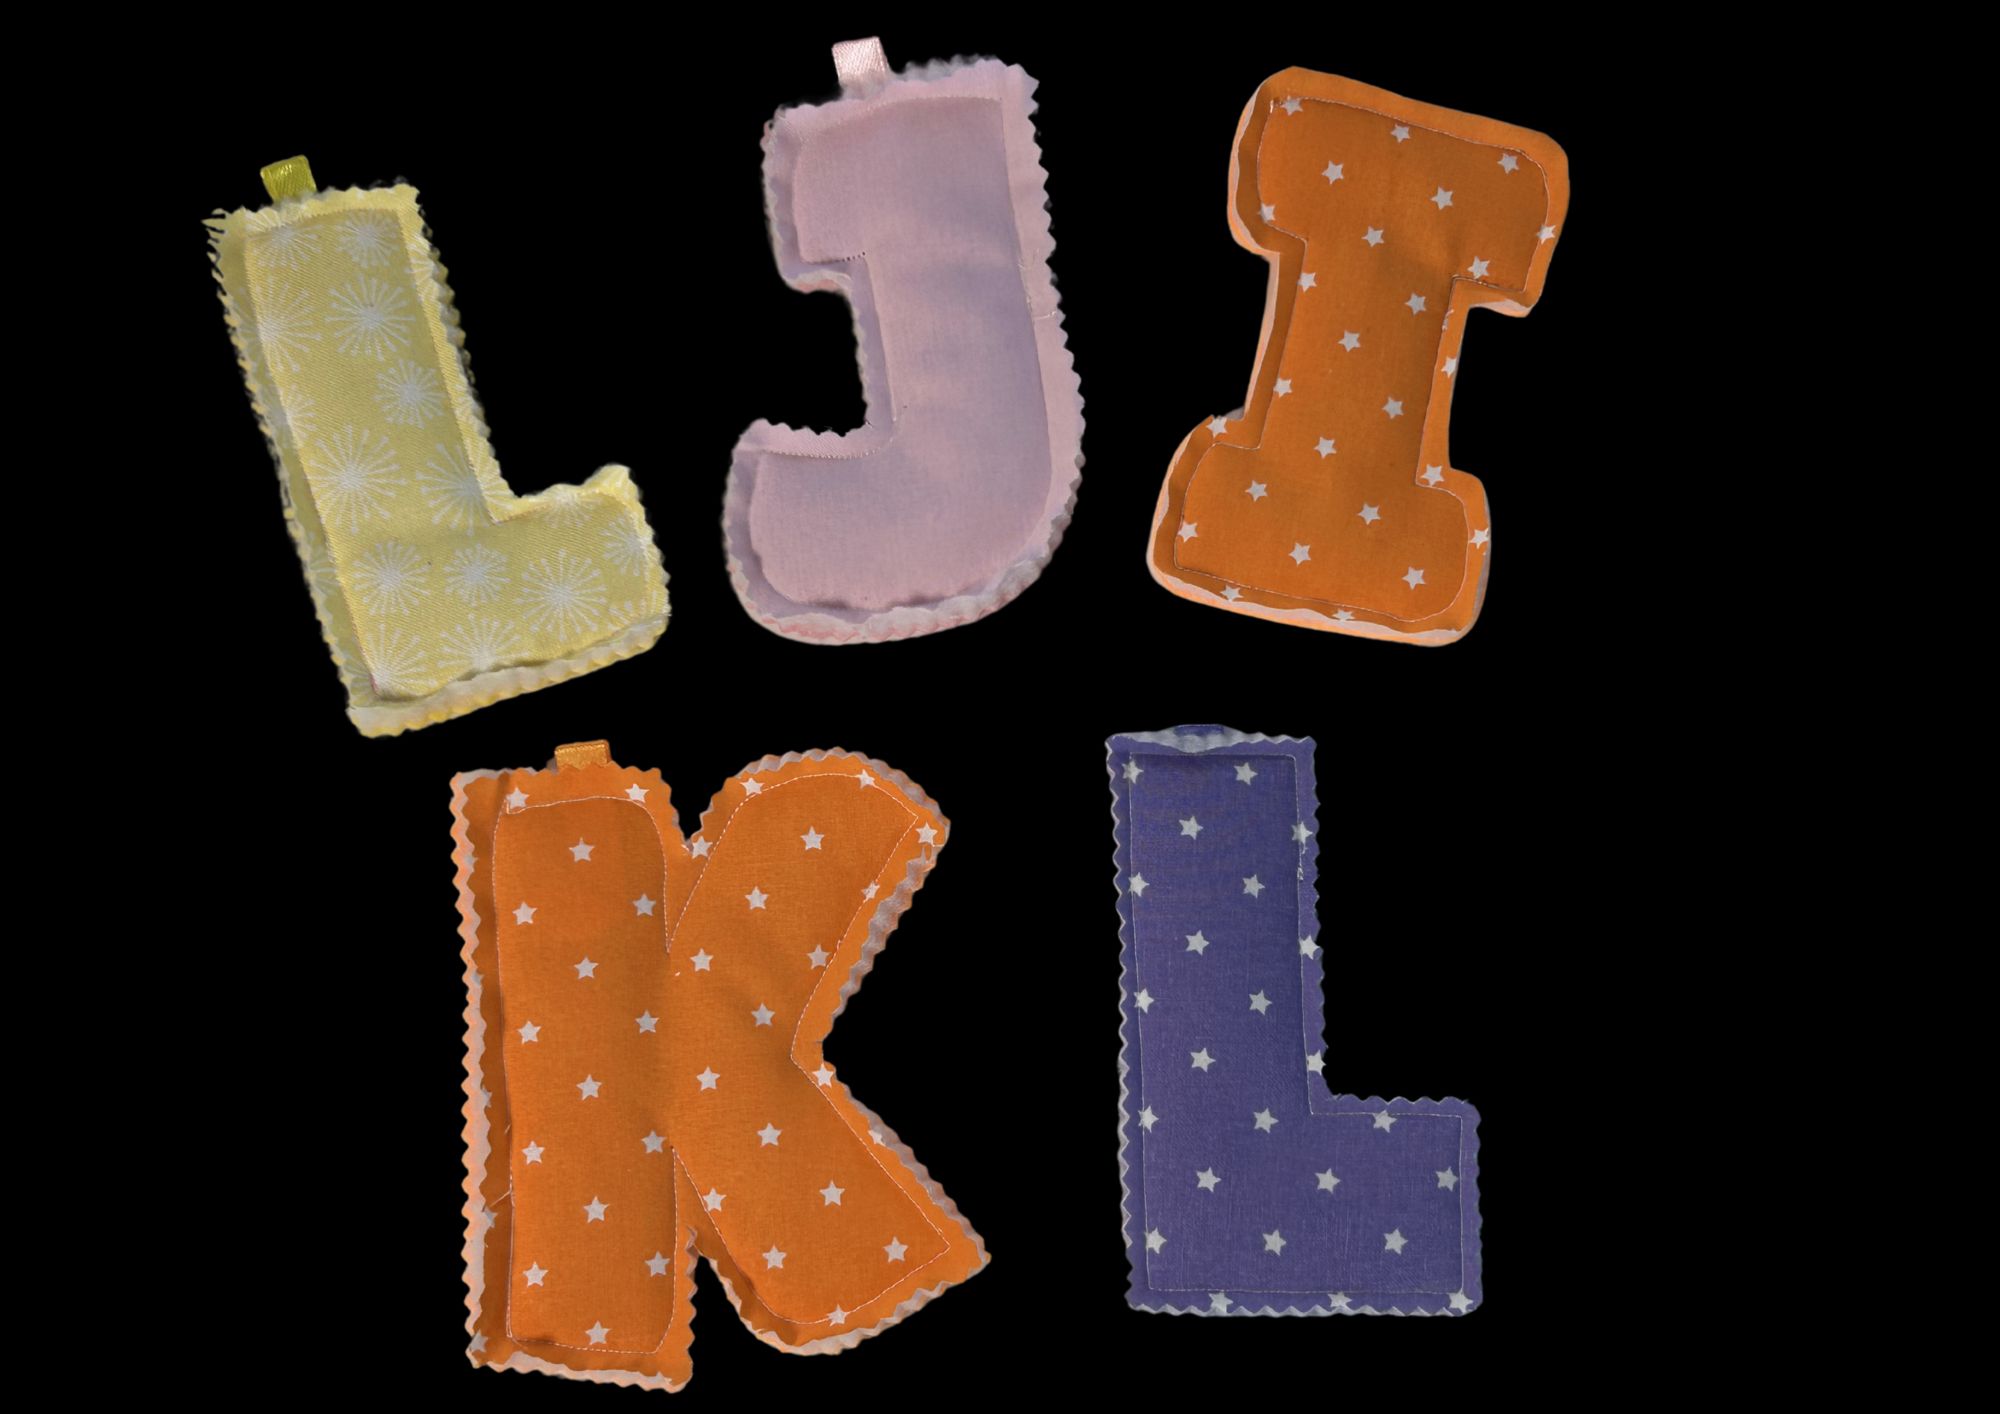
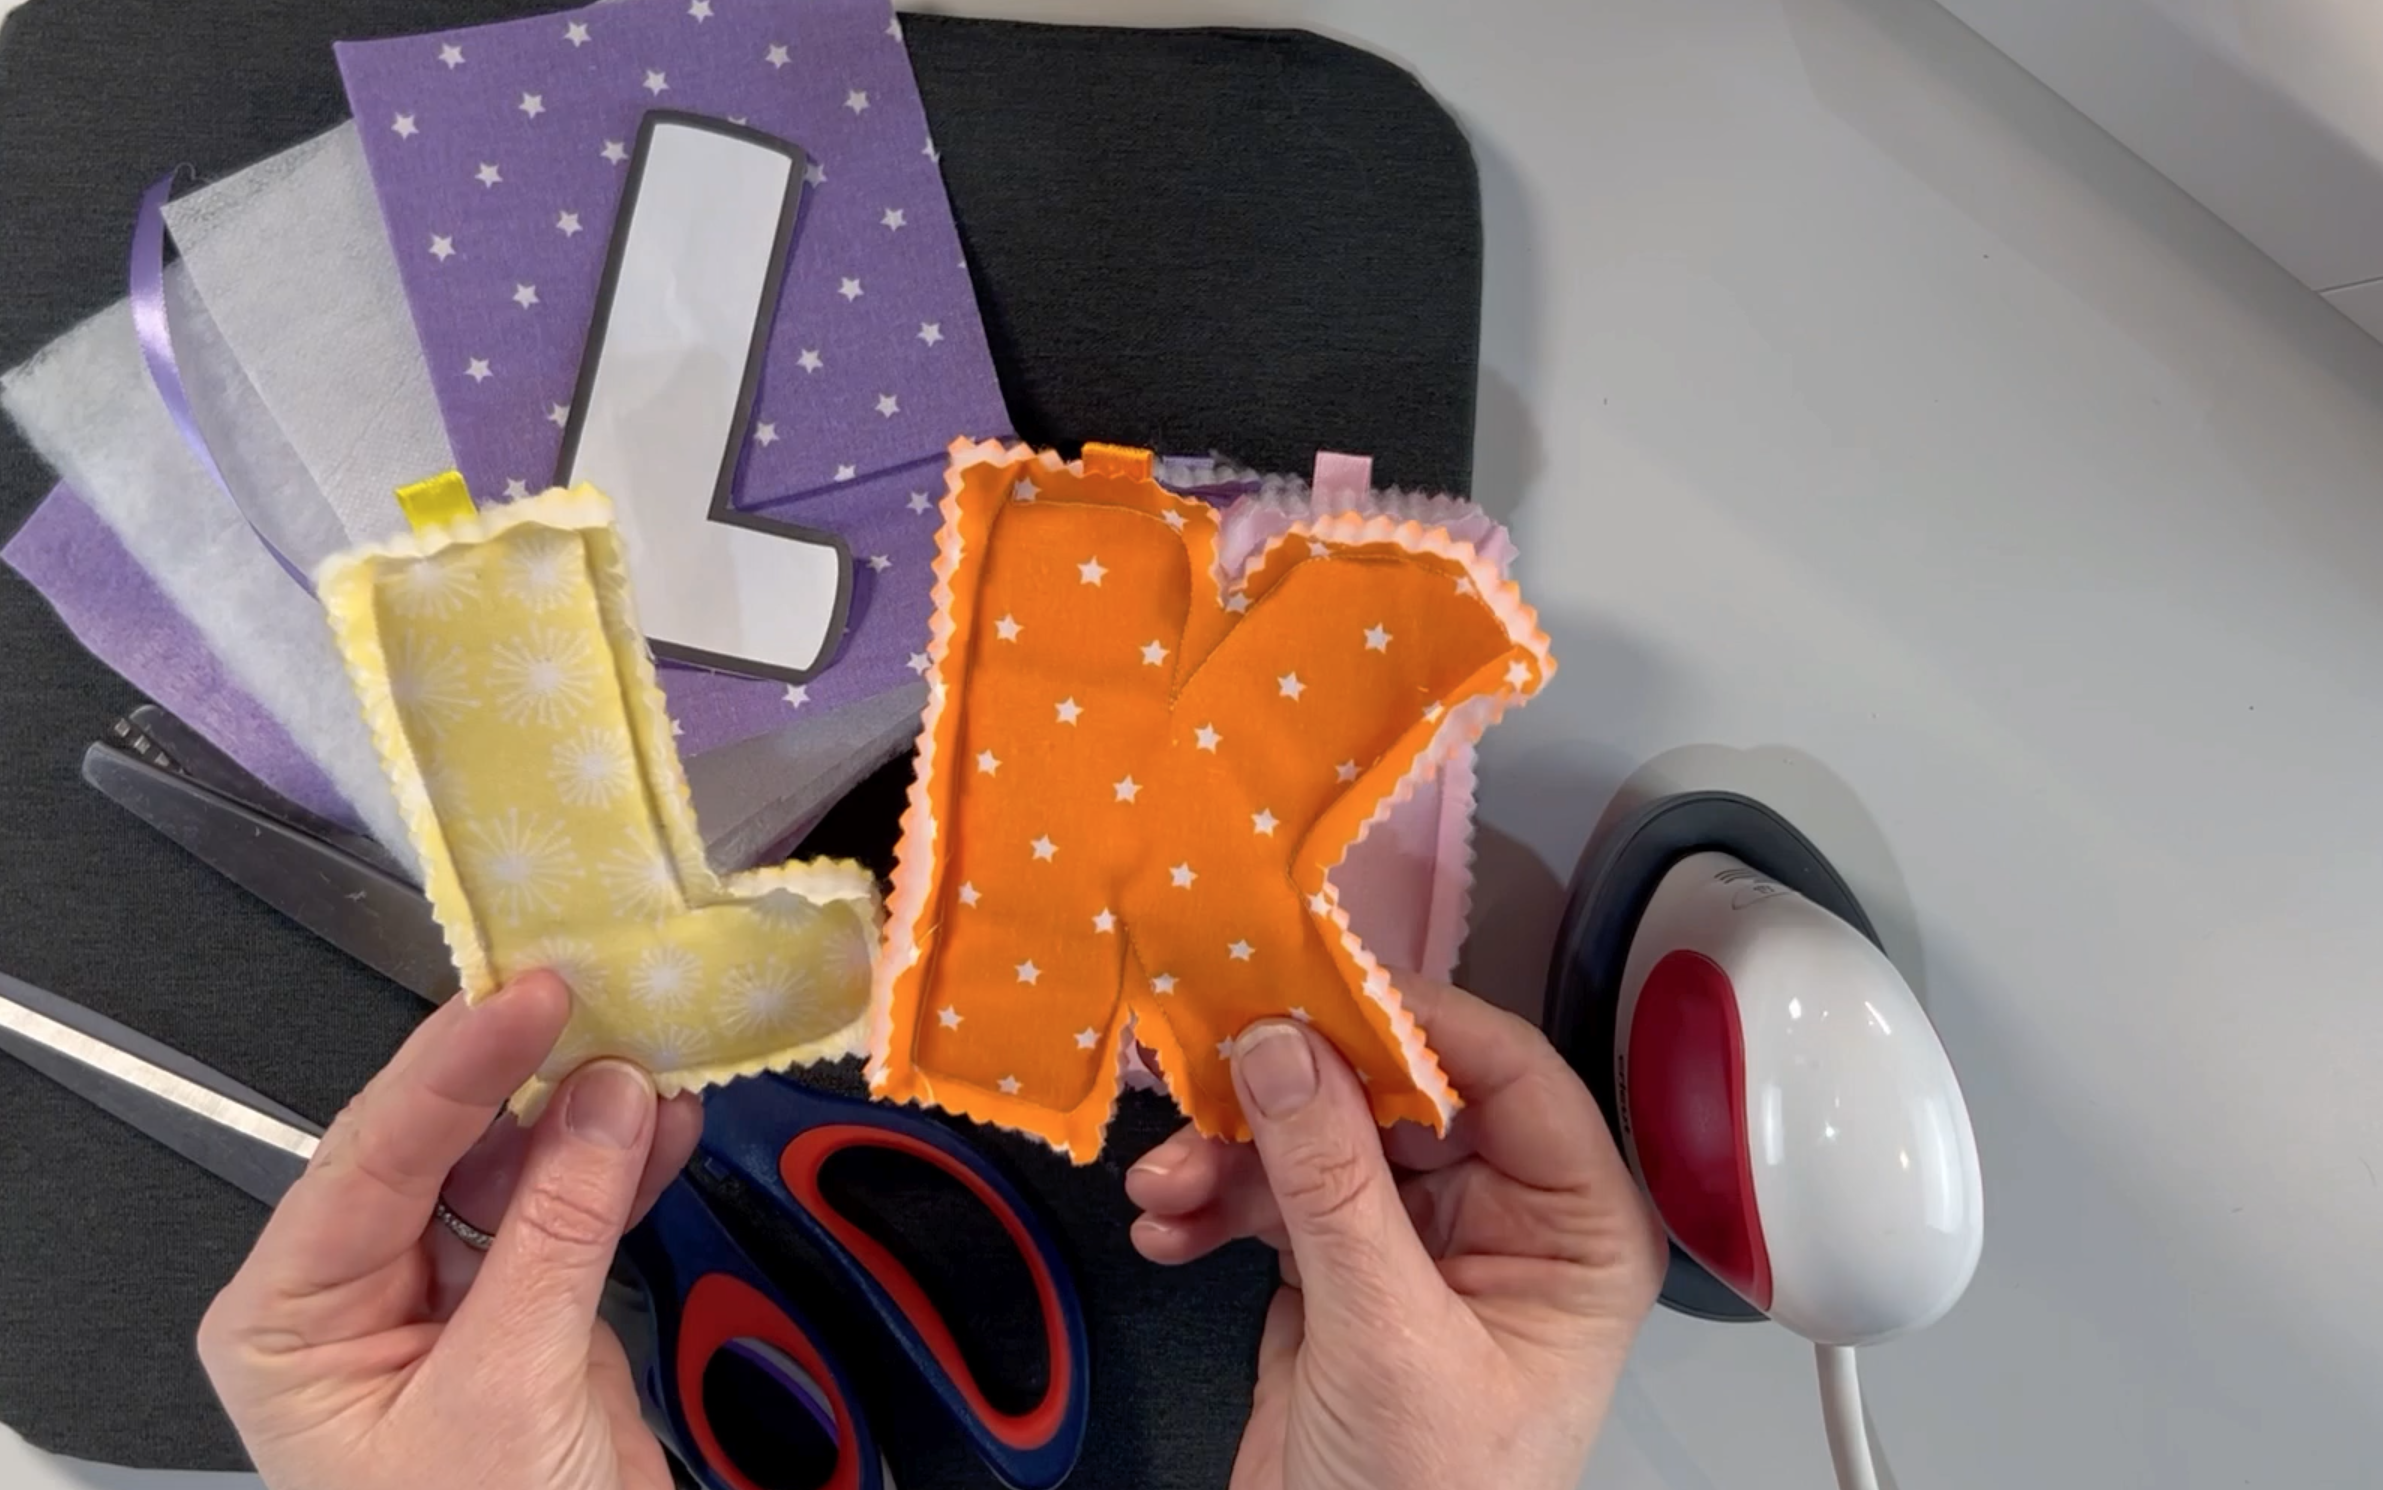
I loved making these cute padded letters. They are really simple to make and you can use them to make really cute personalised banners. You can really get creative with them and make them to match any theme or colour scheme. They make really cute banners for kids bedrooms. You don't just have to make letters you can also make banner flag shapes, hearts or any shape that you want, they are just make in exactly the same way. I am sharing with you how to sew padded letters in this blog, just keep reading to see how easy they really are to make.
Supplies I used:
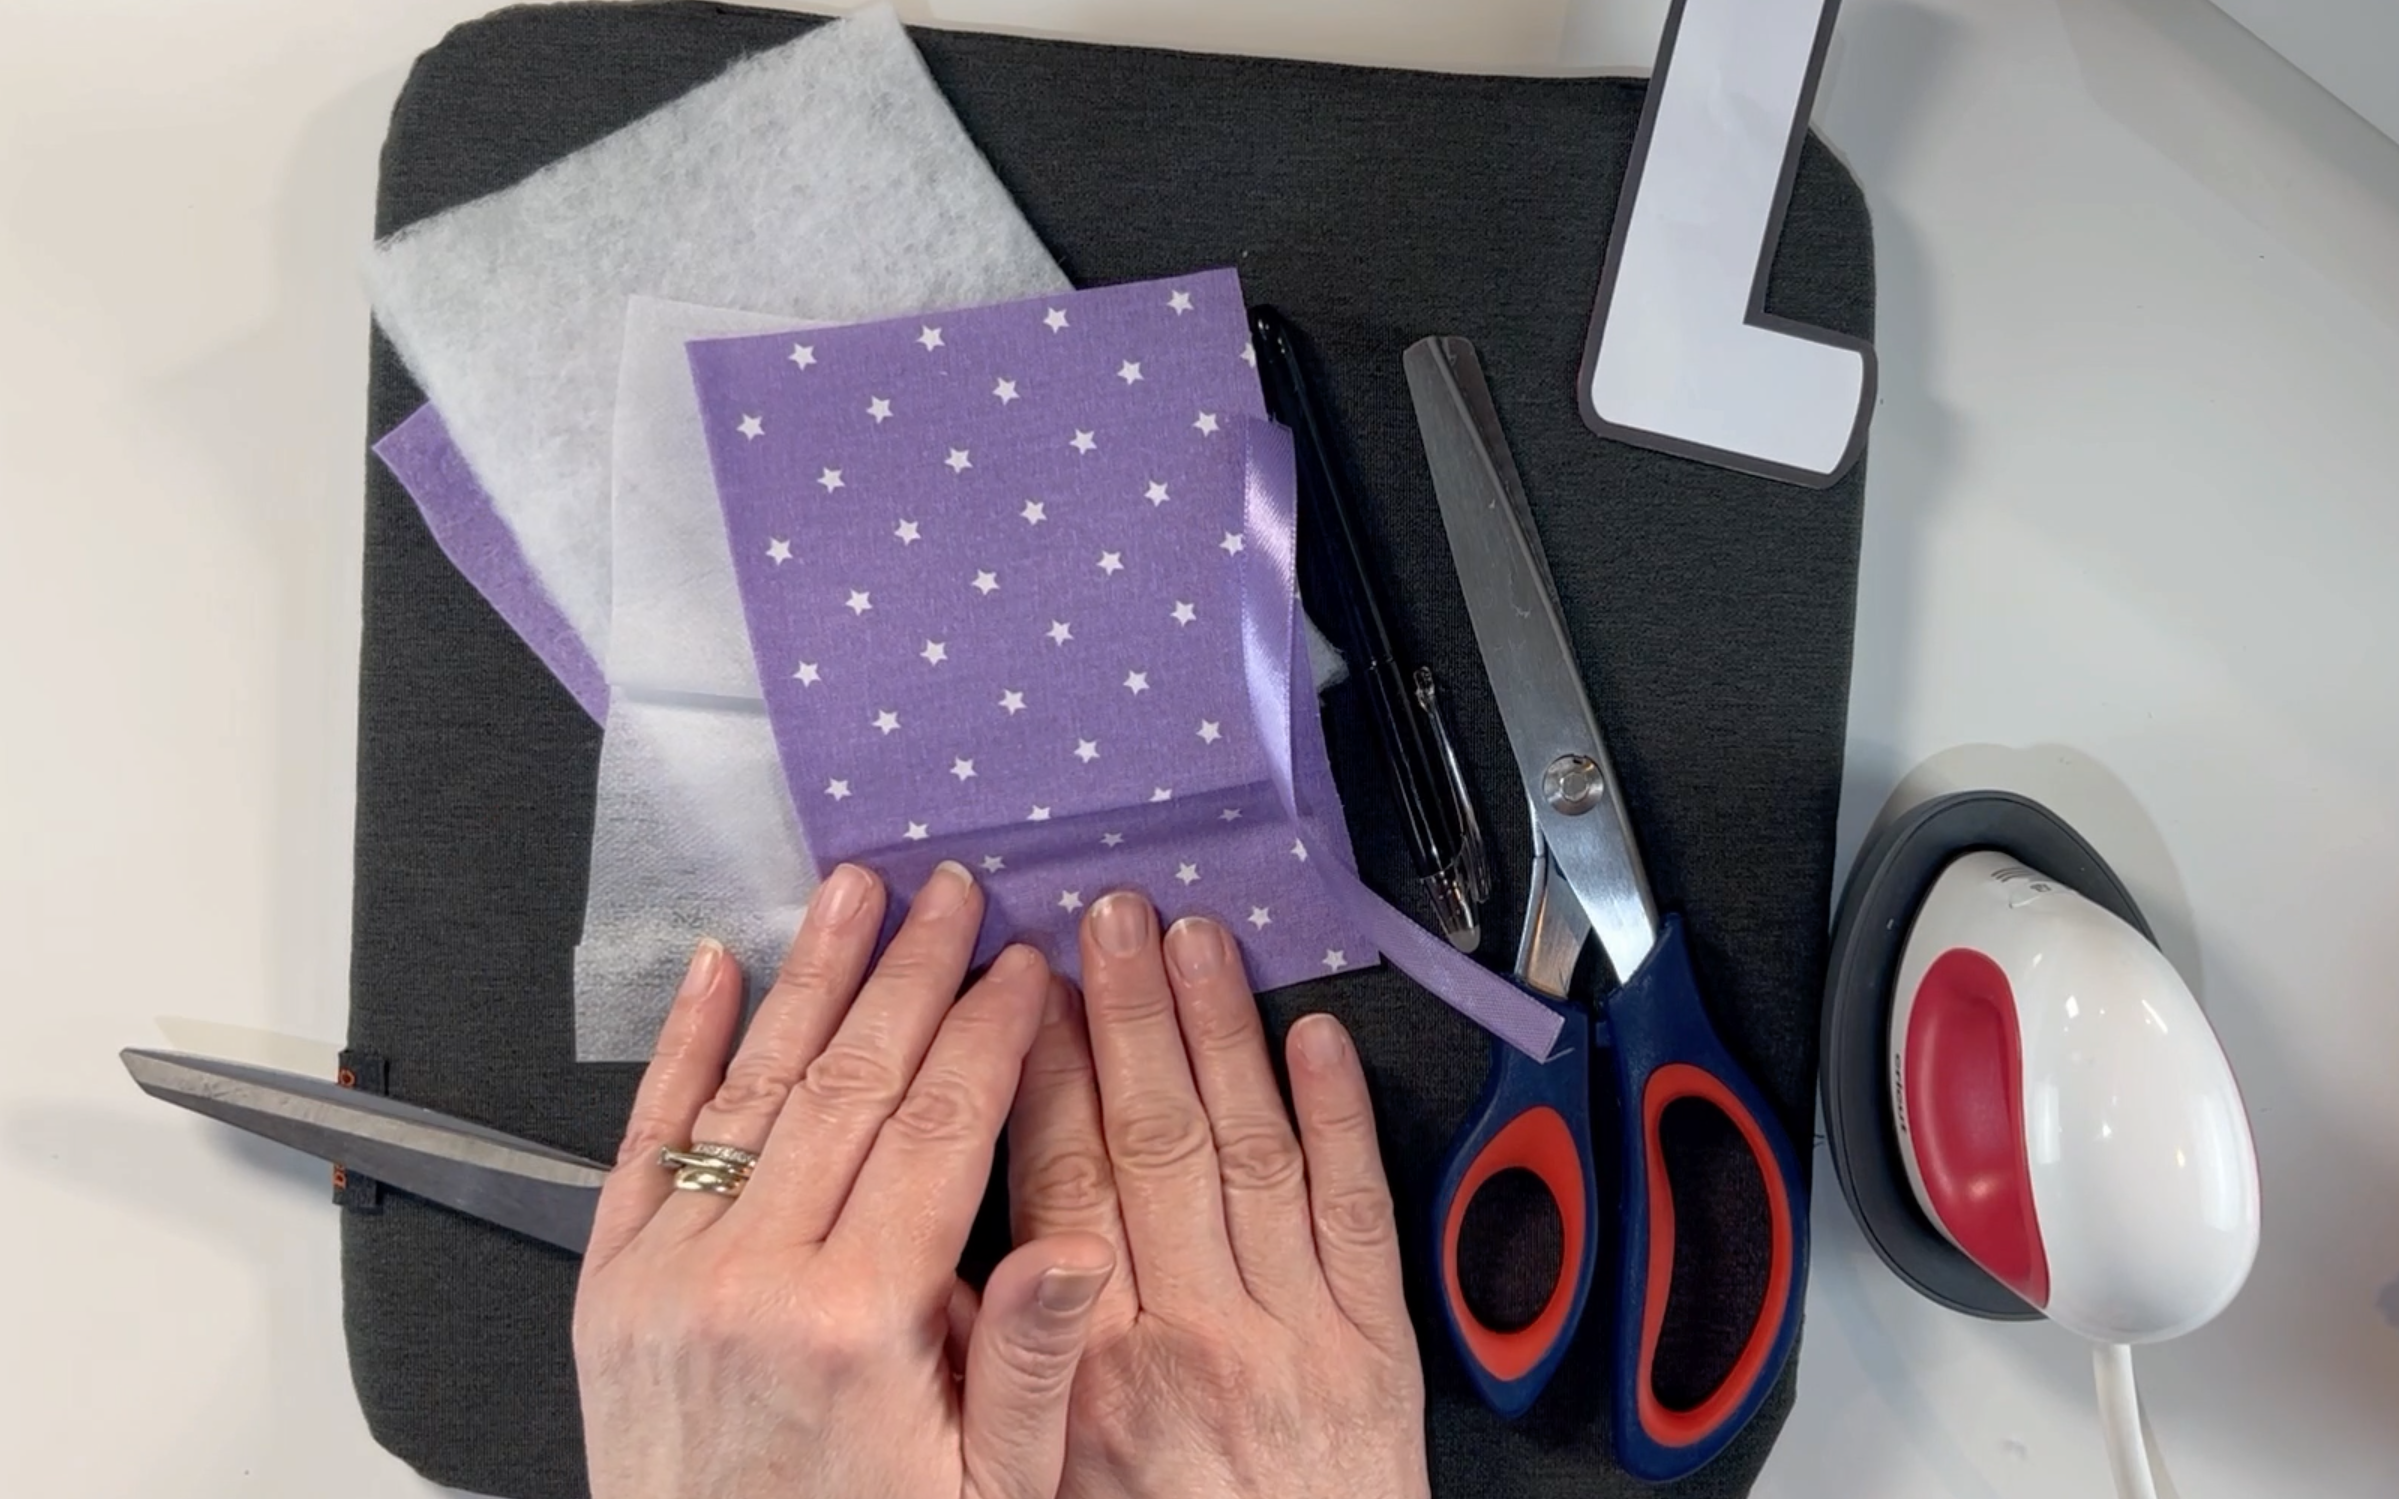
Singer sewing machine: https://link.amazon/B0fzvC6Ov
Fat quarter: https://link.amazon/B09jfPwwm
Wadding: https://link.amazon/B06M443L6
Fusible interfacing: https://link.amazon/B010SdVn8
Ribbon: https://link.amazon/B0hAhb0Sm
Materail scissors: https://link.amazon/B044LSavf
Pinking shears: https://link.amazon/B0bMHz1DM
Material pen: https://link.amazon/B007o5rAp
Mini heat press: https://link.amazon/B09bcvvHz
Heat press mat: https://link.amazon/B04gdS22V
Glass head pins: https://link.amazon/B0h8O5mop
Letter template
=================================================================================
DISCLAIMER: Links included in this description might be affiliate links. If you purchase a product or service with the links that I provide I may receive a small commission. There is no additional charge to you. Thank you so much for helping to support my channel, you are awesome.
=================================================================================
Step 1
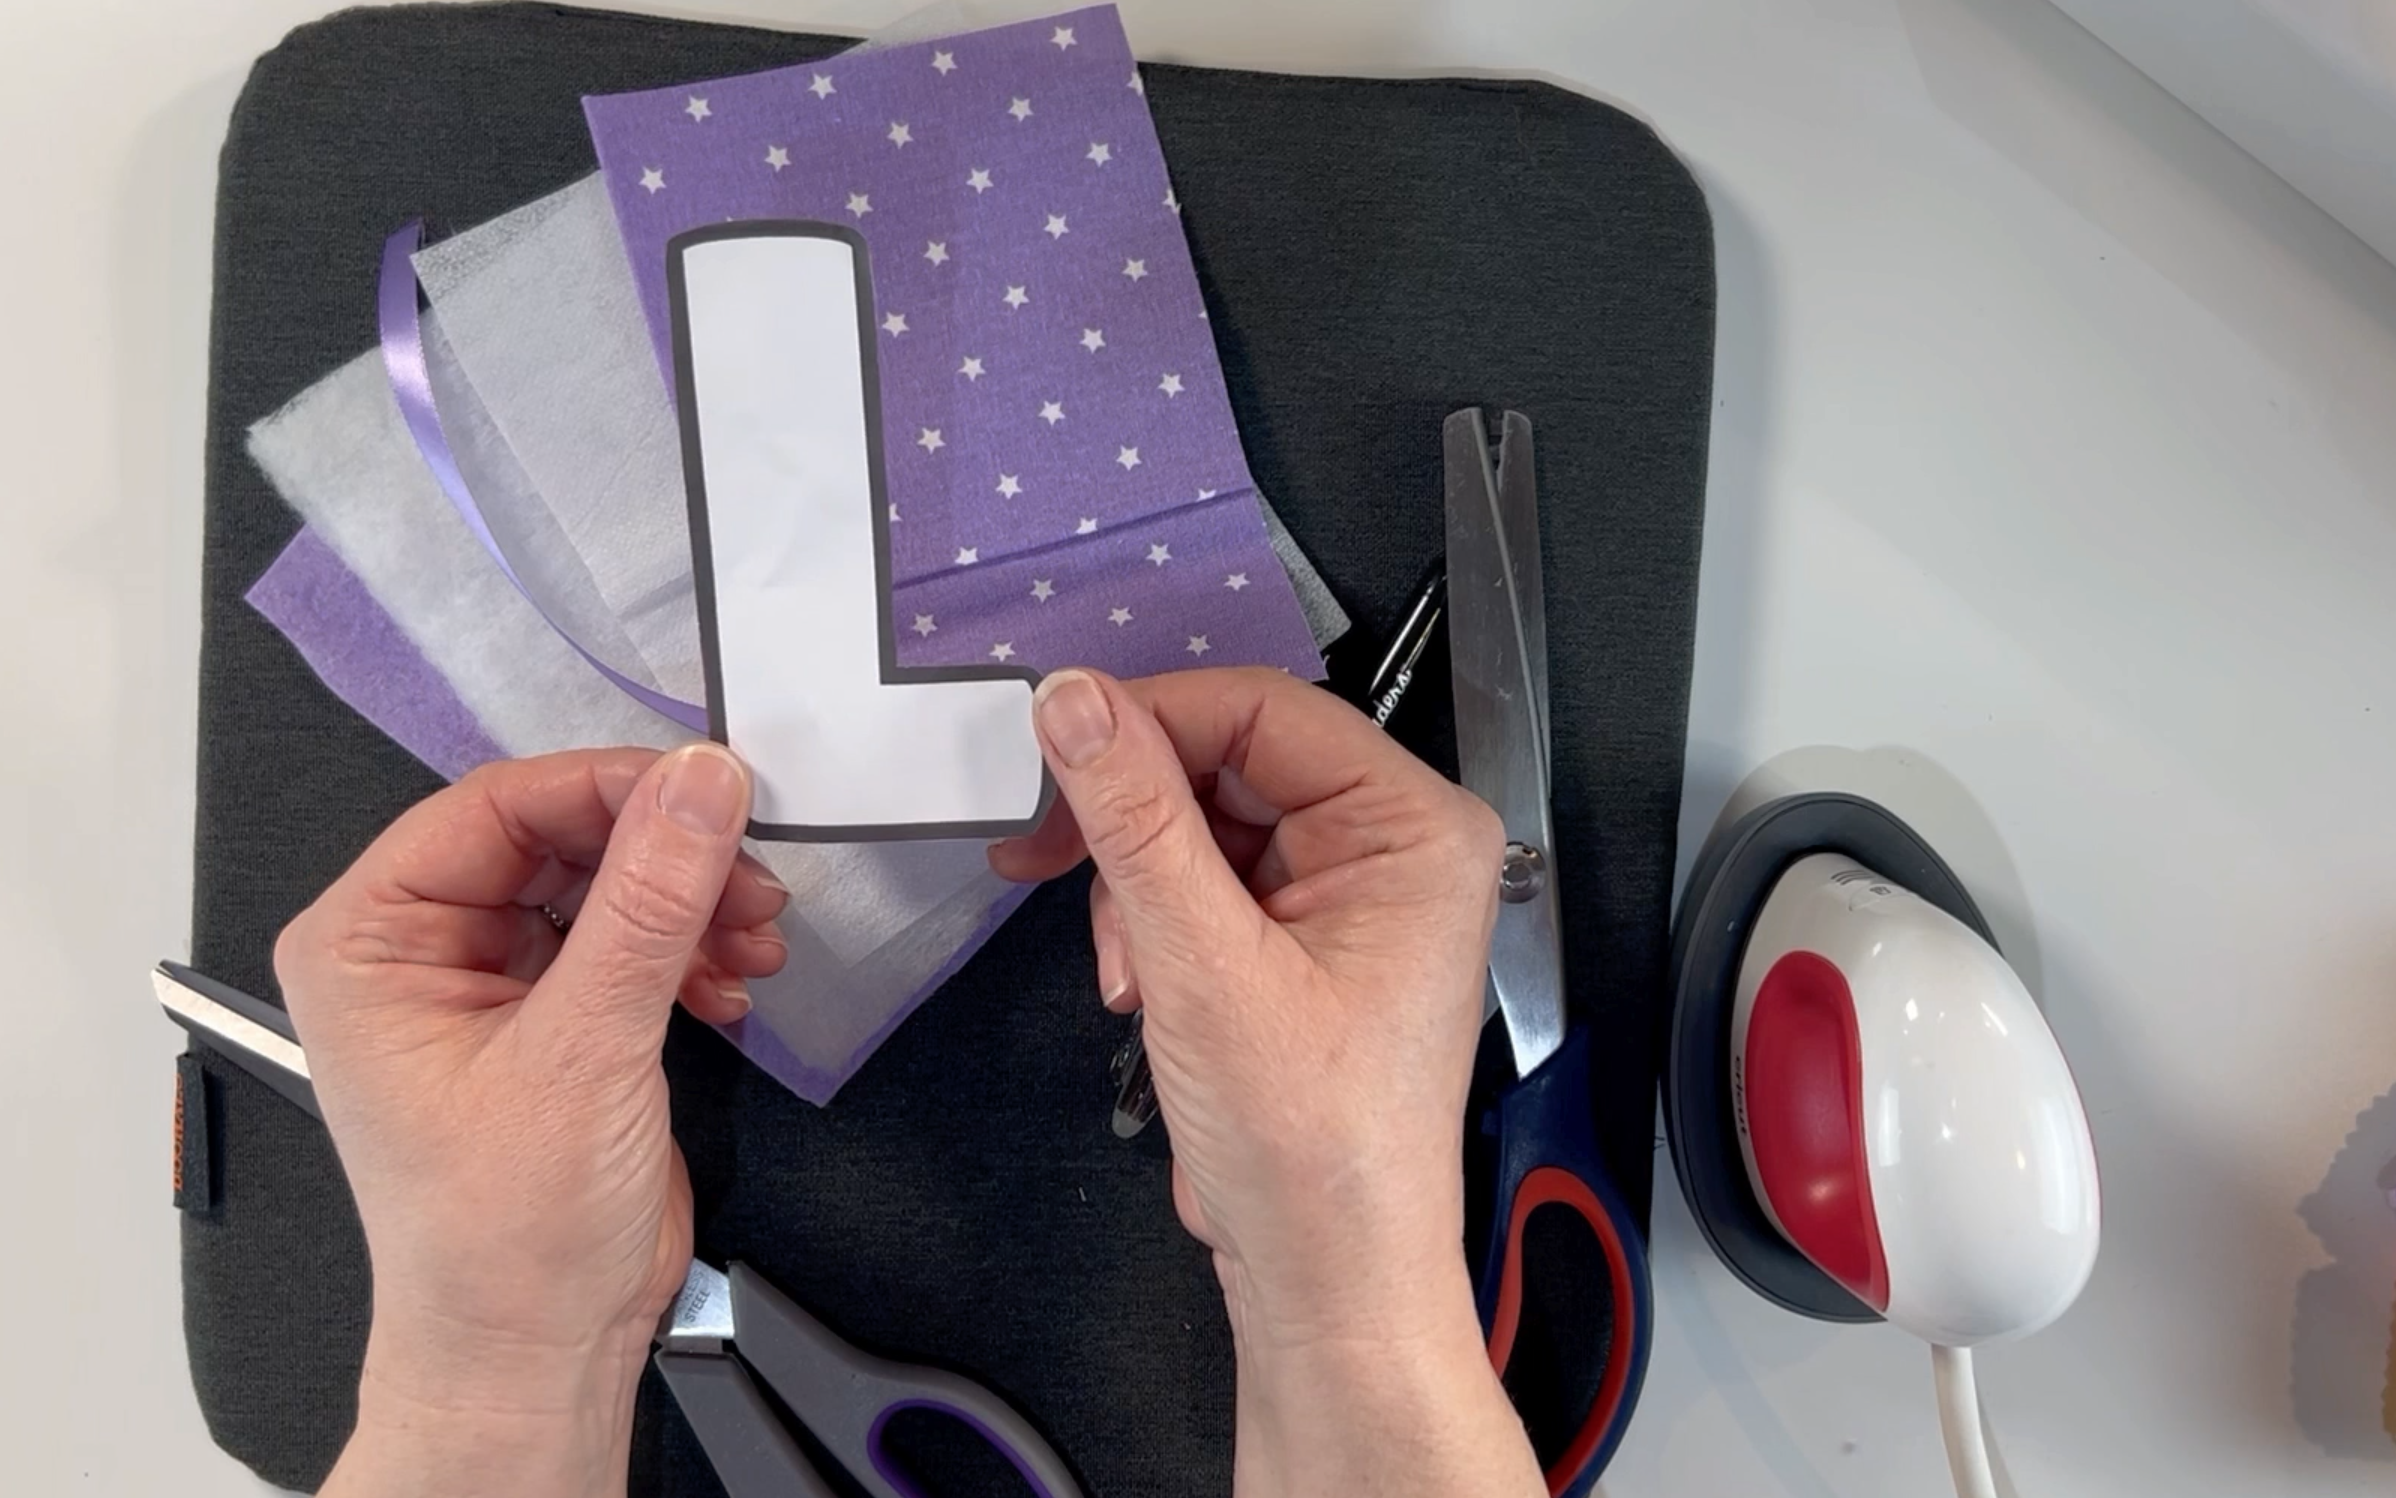
Using a piece of paper or card cut a letter template for the letters you want on your banner. I made my letters 10cm tall. My letter templates were from Google. i just downloaded them, printed them and cut them out.
Step 2
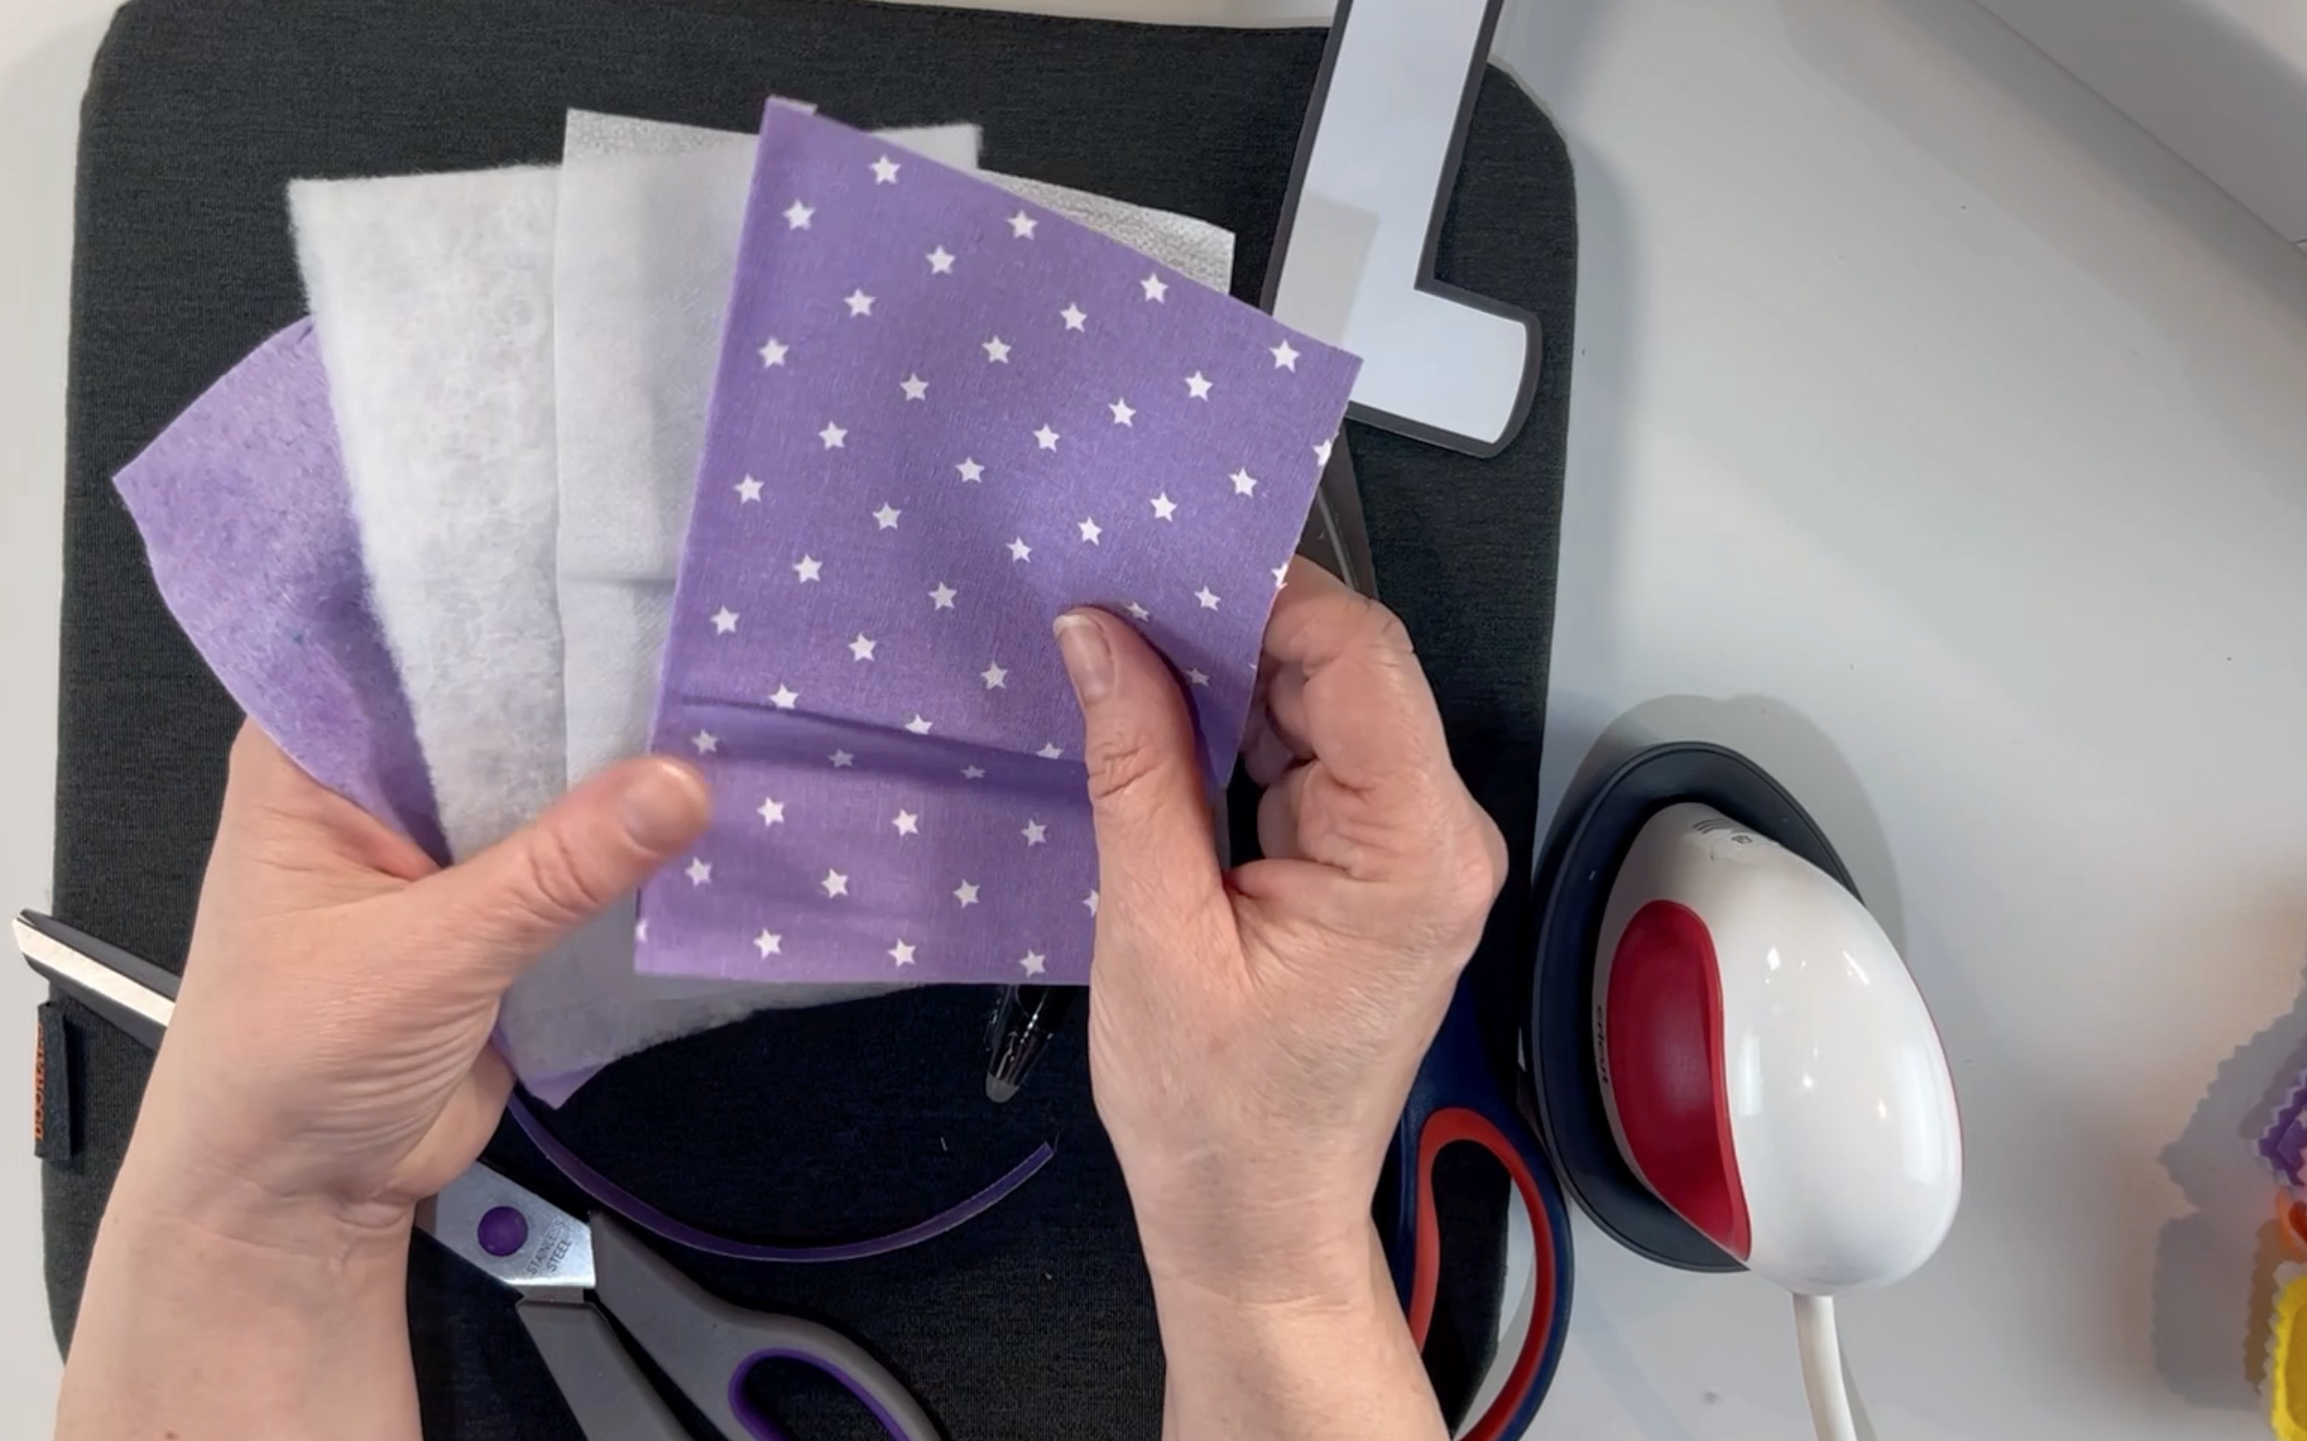
Once you have your letters prepared you need to prepare your material. I used 4 layers for my padded letters. Material at the back and front was from a fat quarter bundle. I also used fusible interfacing and wadding to make them look padded.
Step 3
Take the material that is going to be the front piece of material. Lay it face down on the pressing mat.
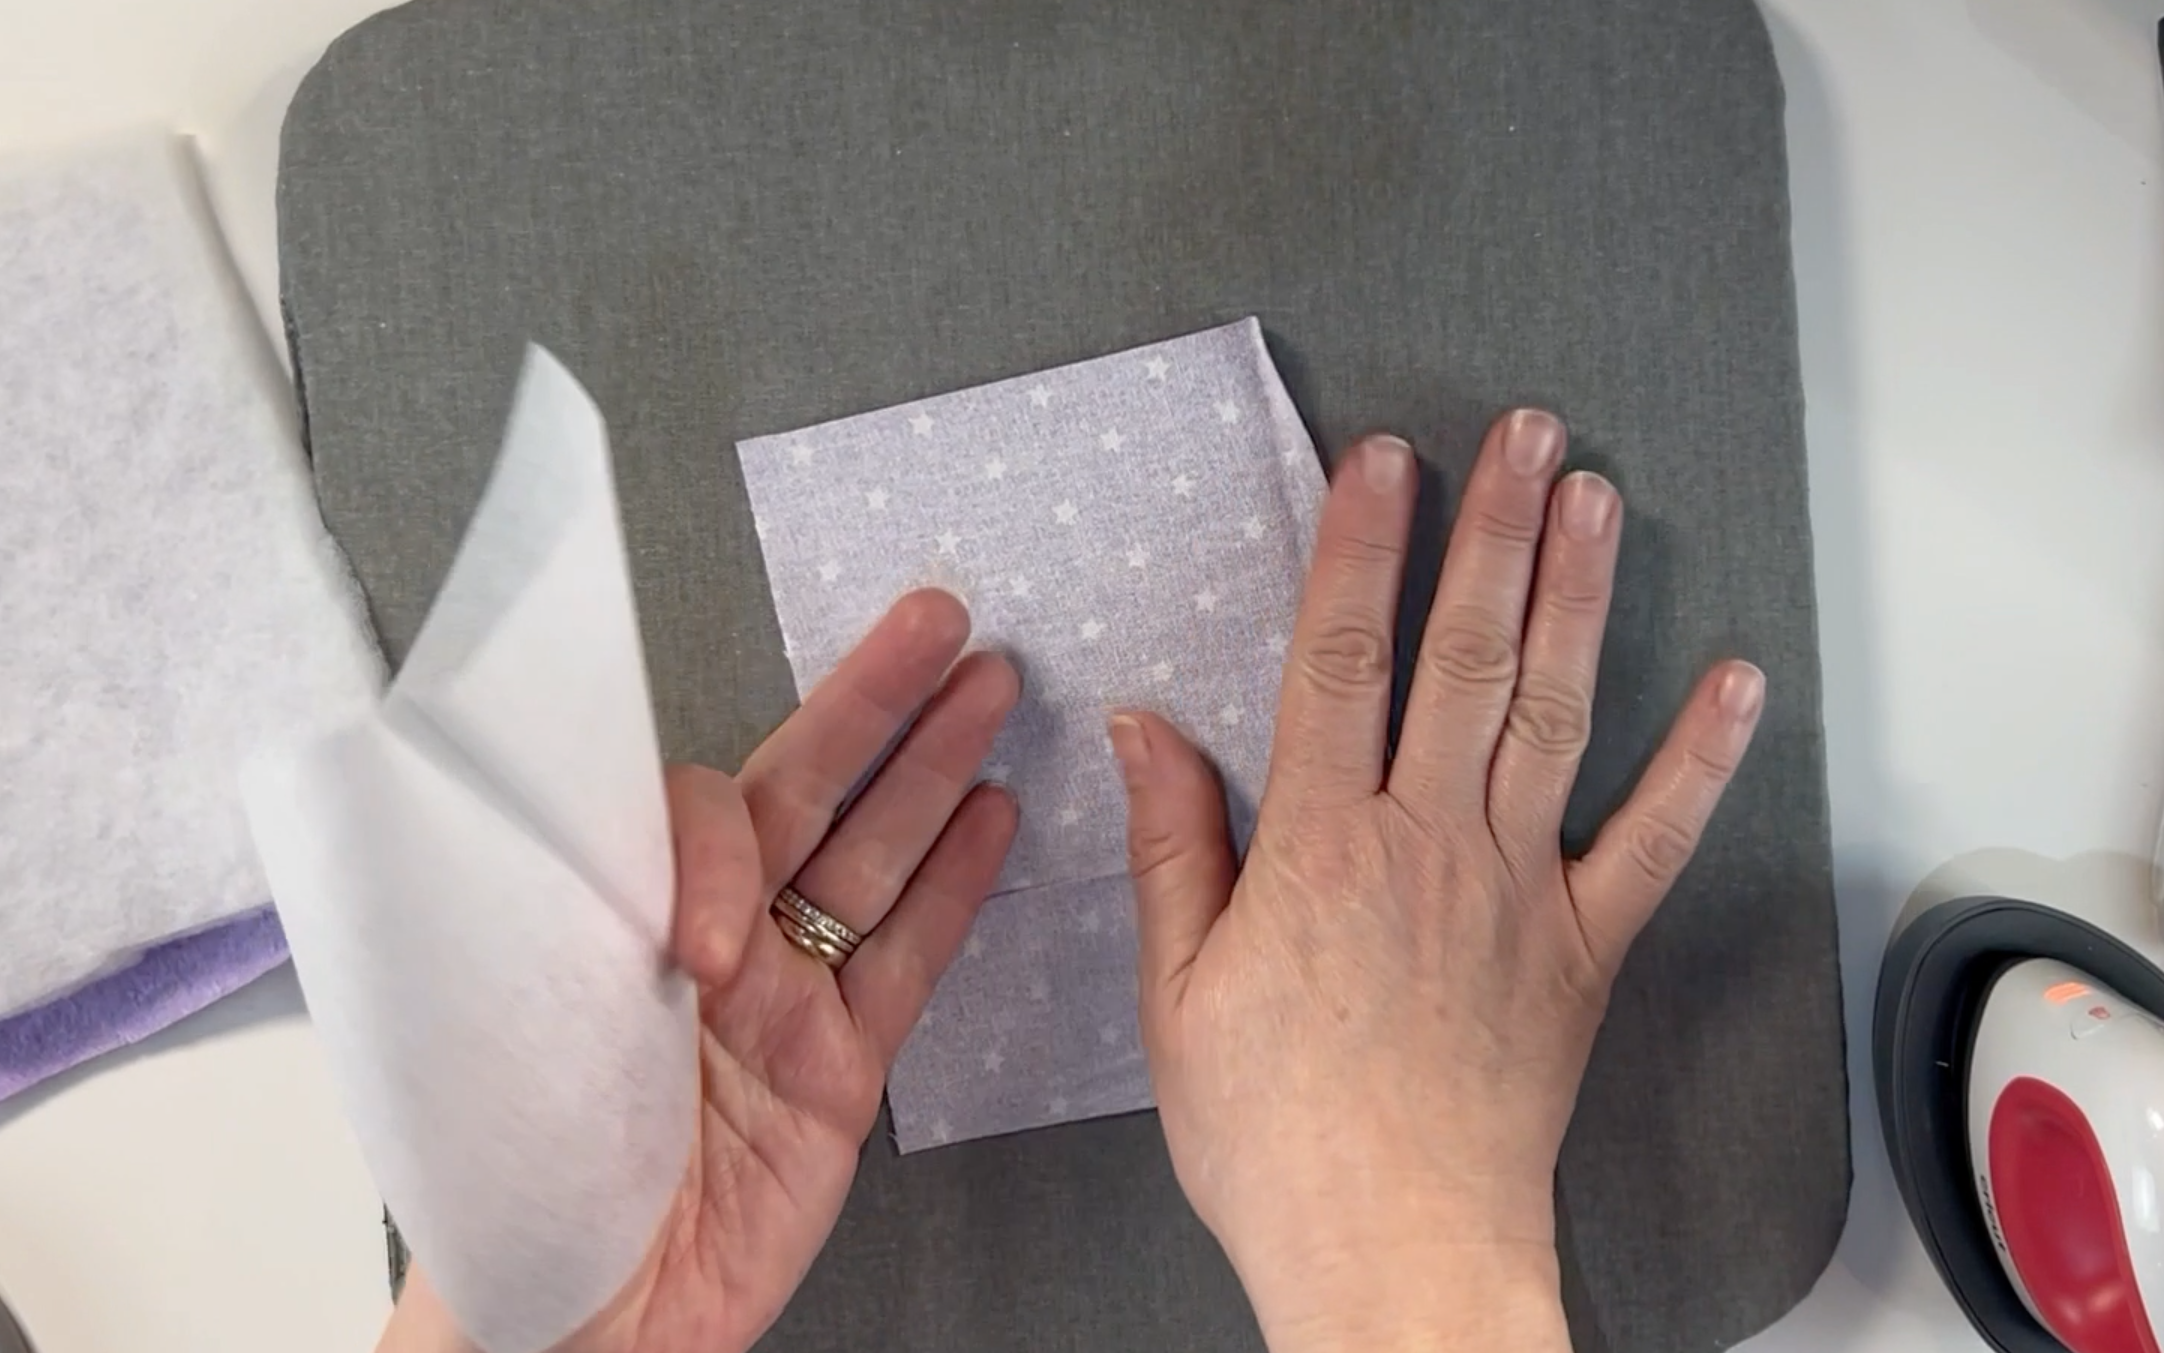
Lay the fusible interfacing on top of it.
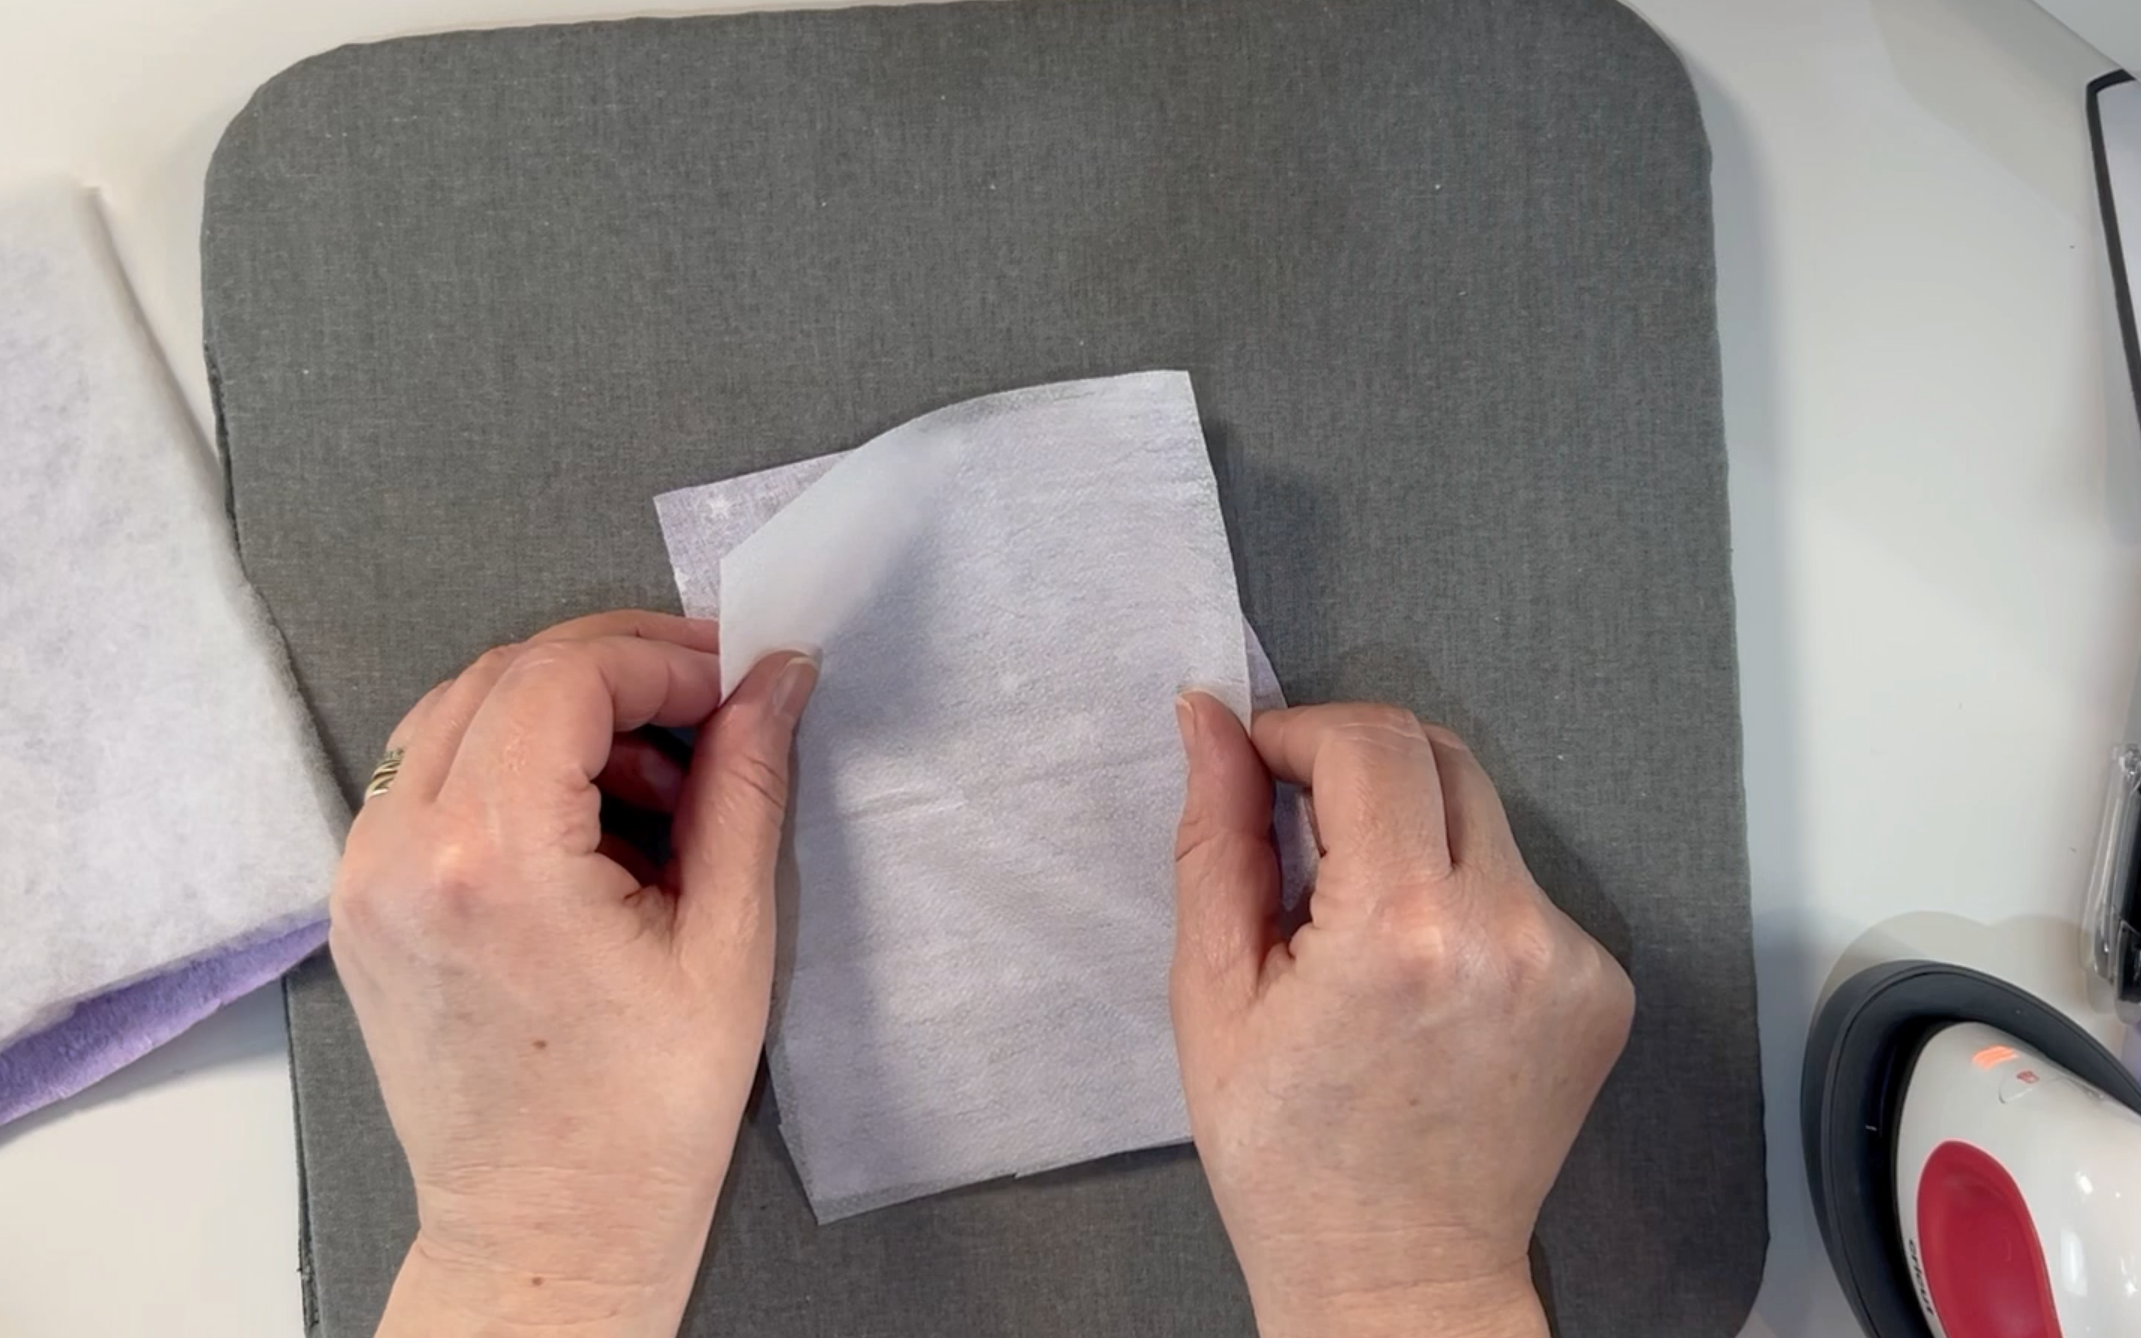
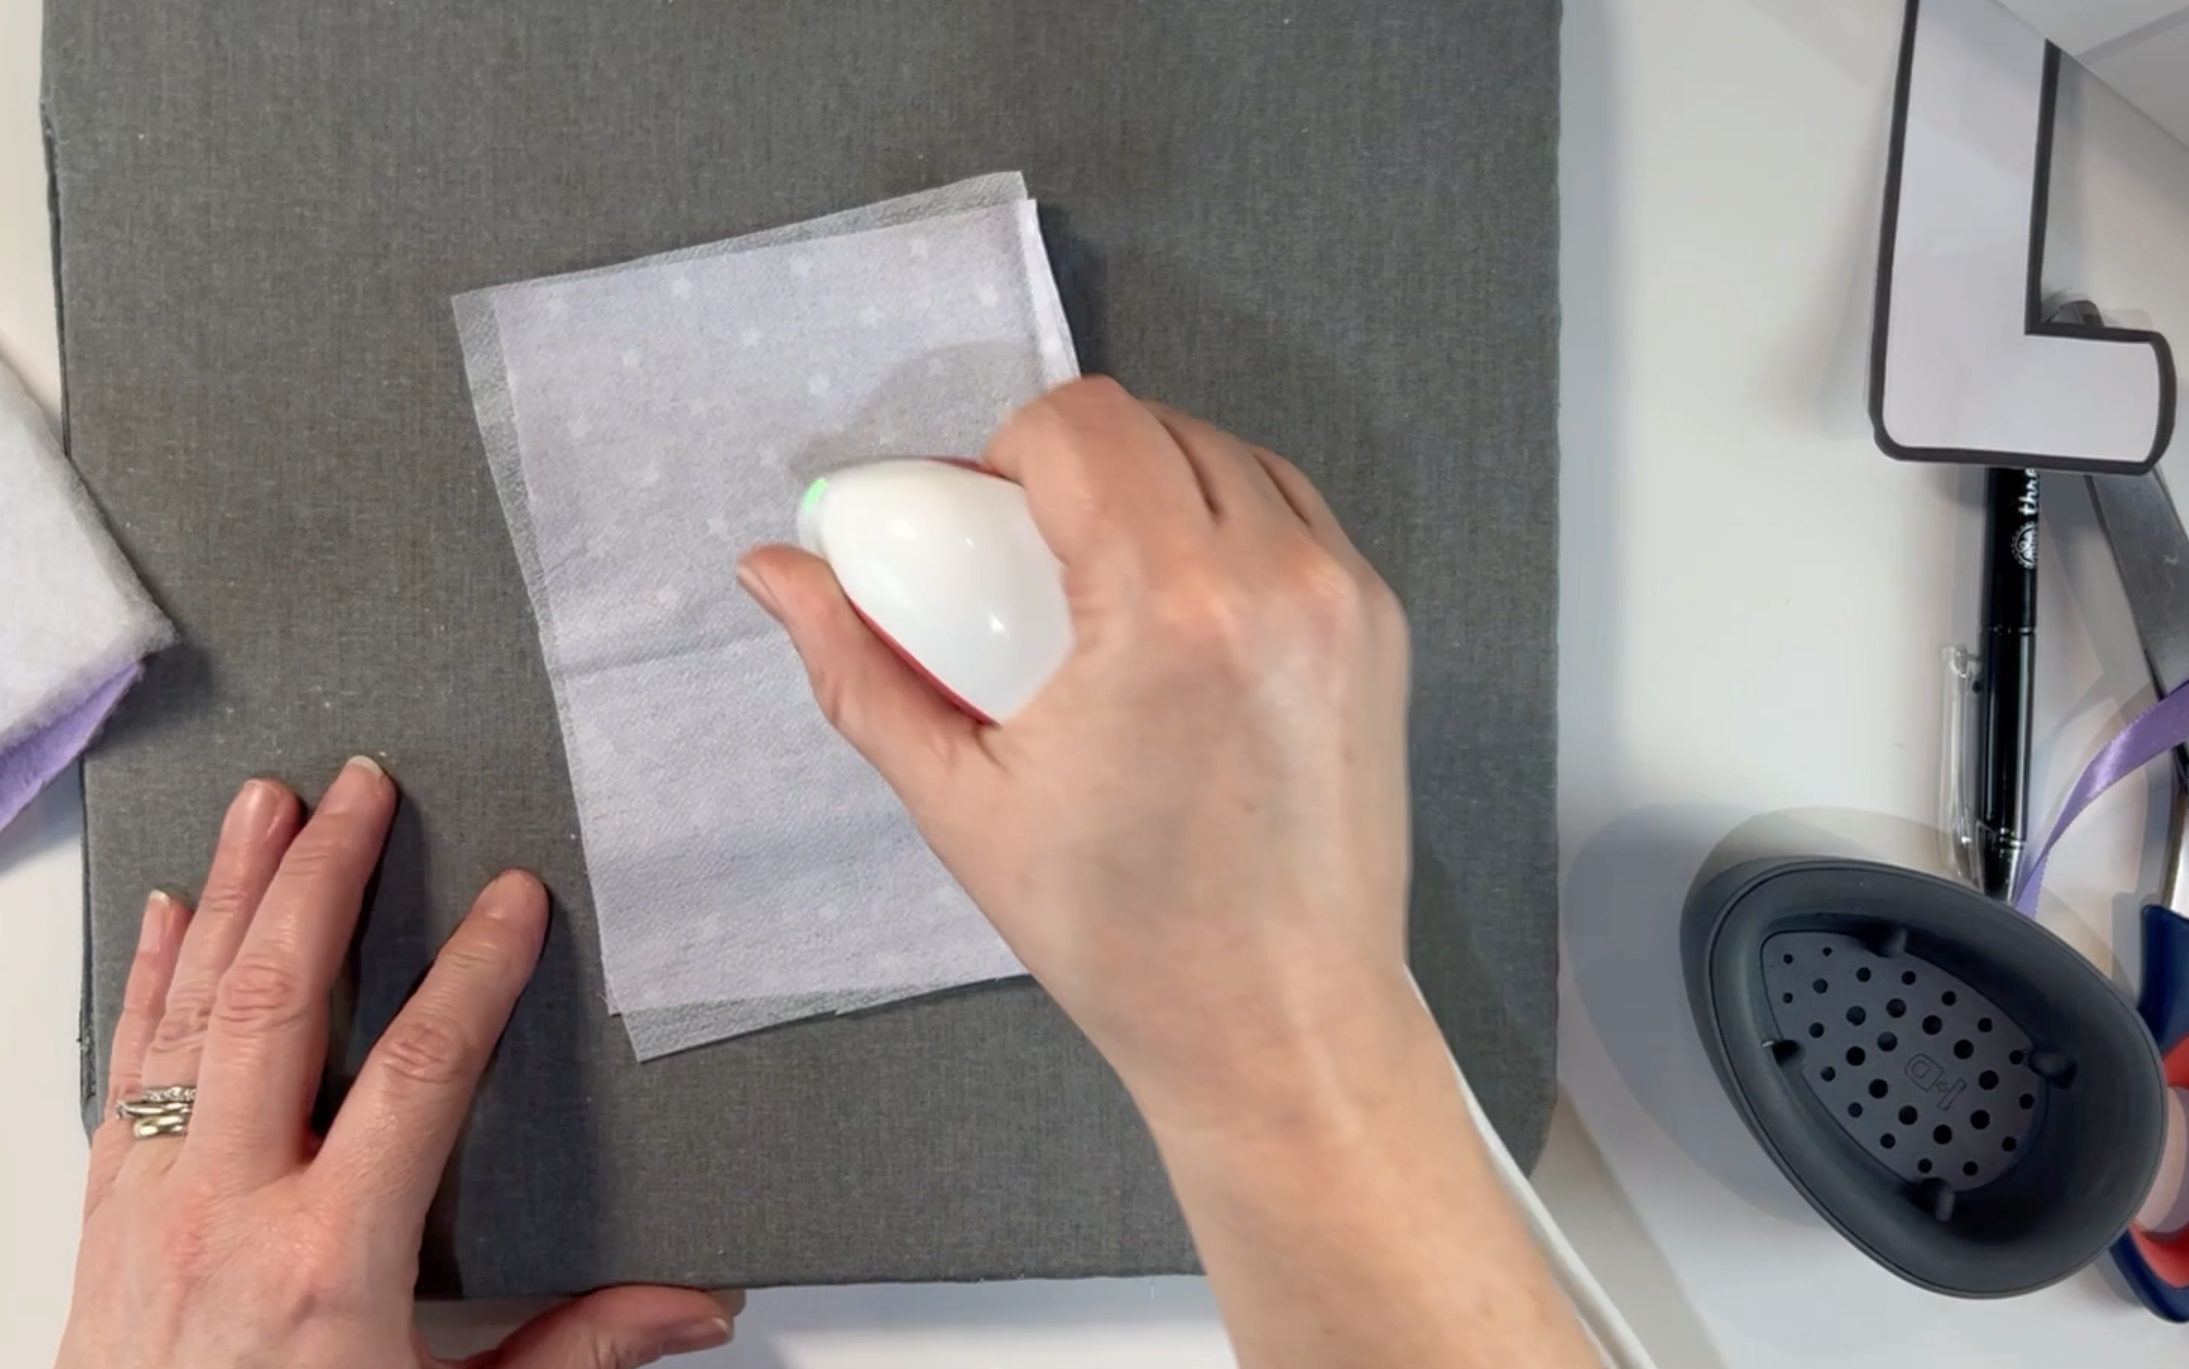
Use the heat press mini to heat the fusible interfacing so it adheres to the fat quarter material.
Step 4
Place the letter template on your material and use the material pen to draw around the template.
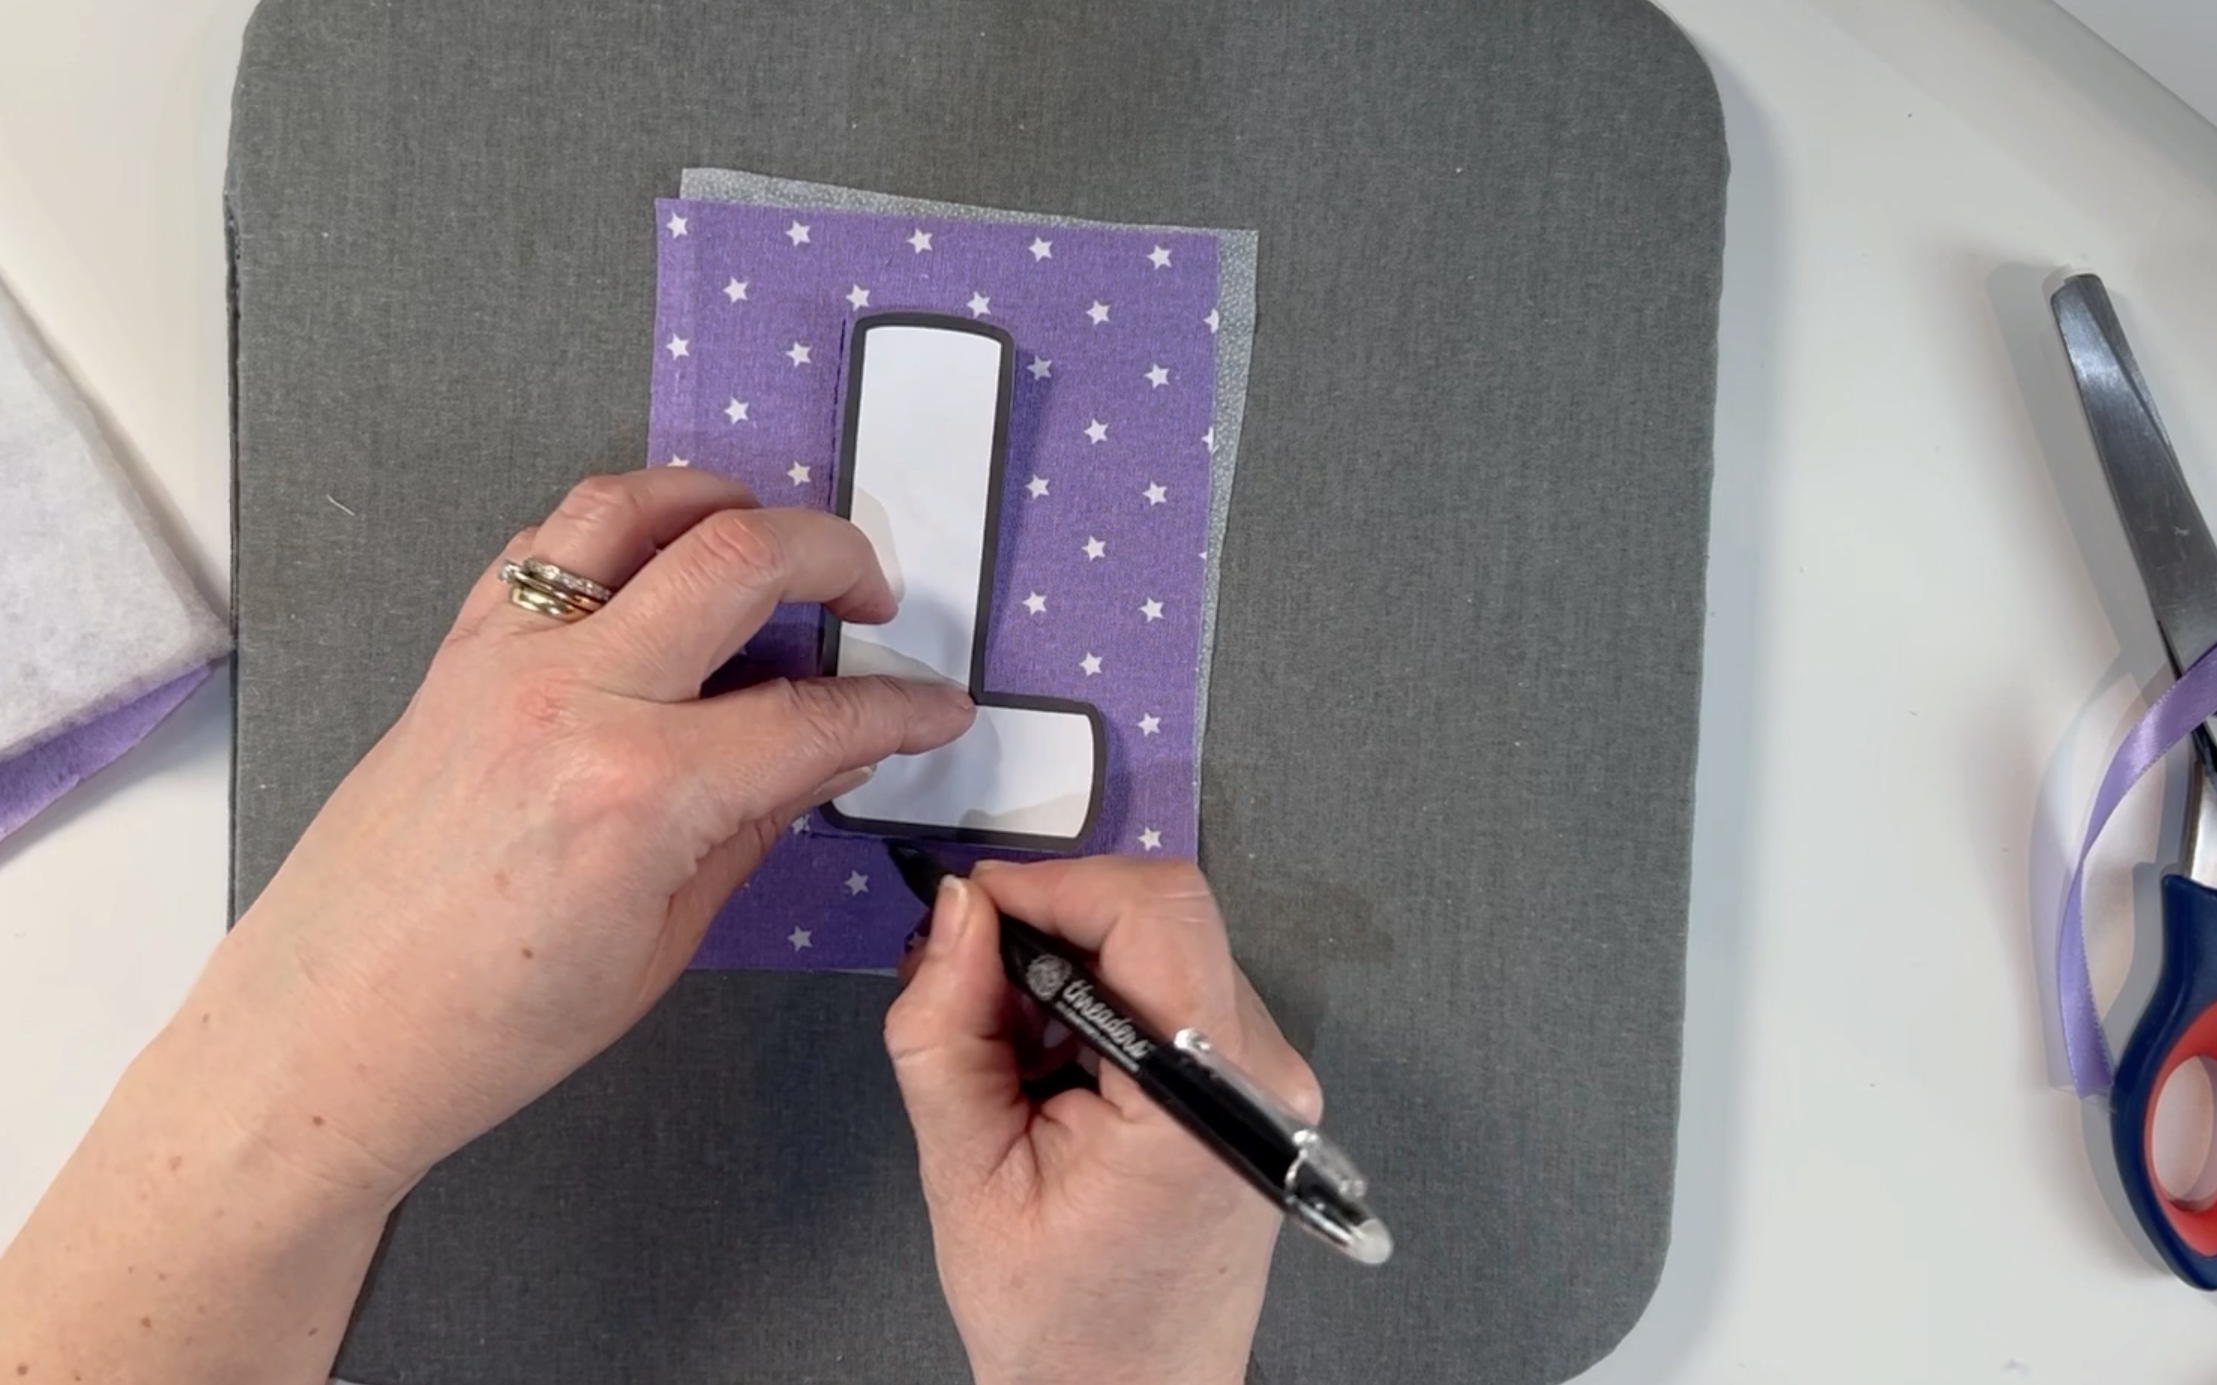
Step 5
Now put all your layers back together. Place the material you are using at the back of the letter right side down. Next, put the wadding on top of the material. Finally, place the top piece of material on top of the wadding.
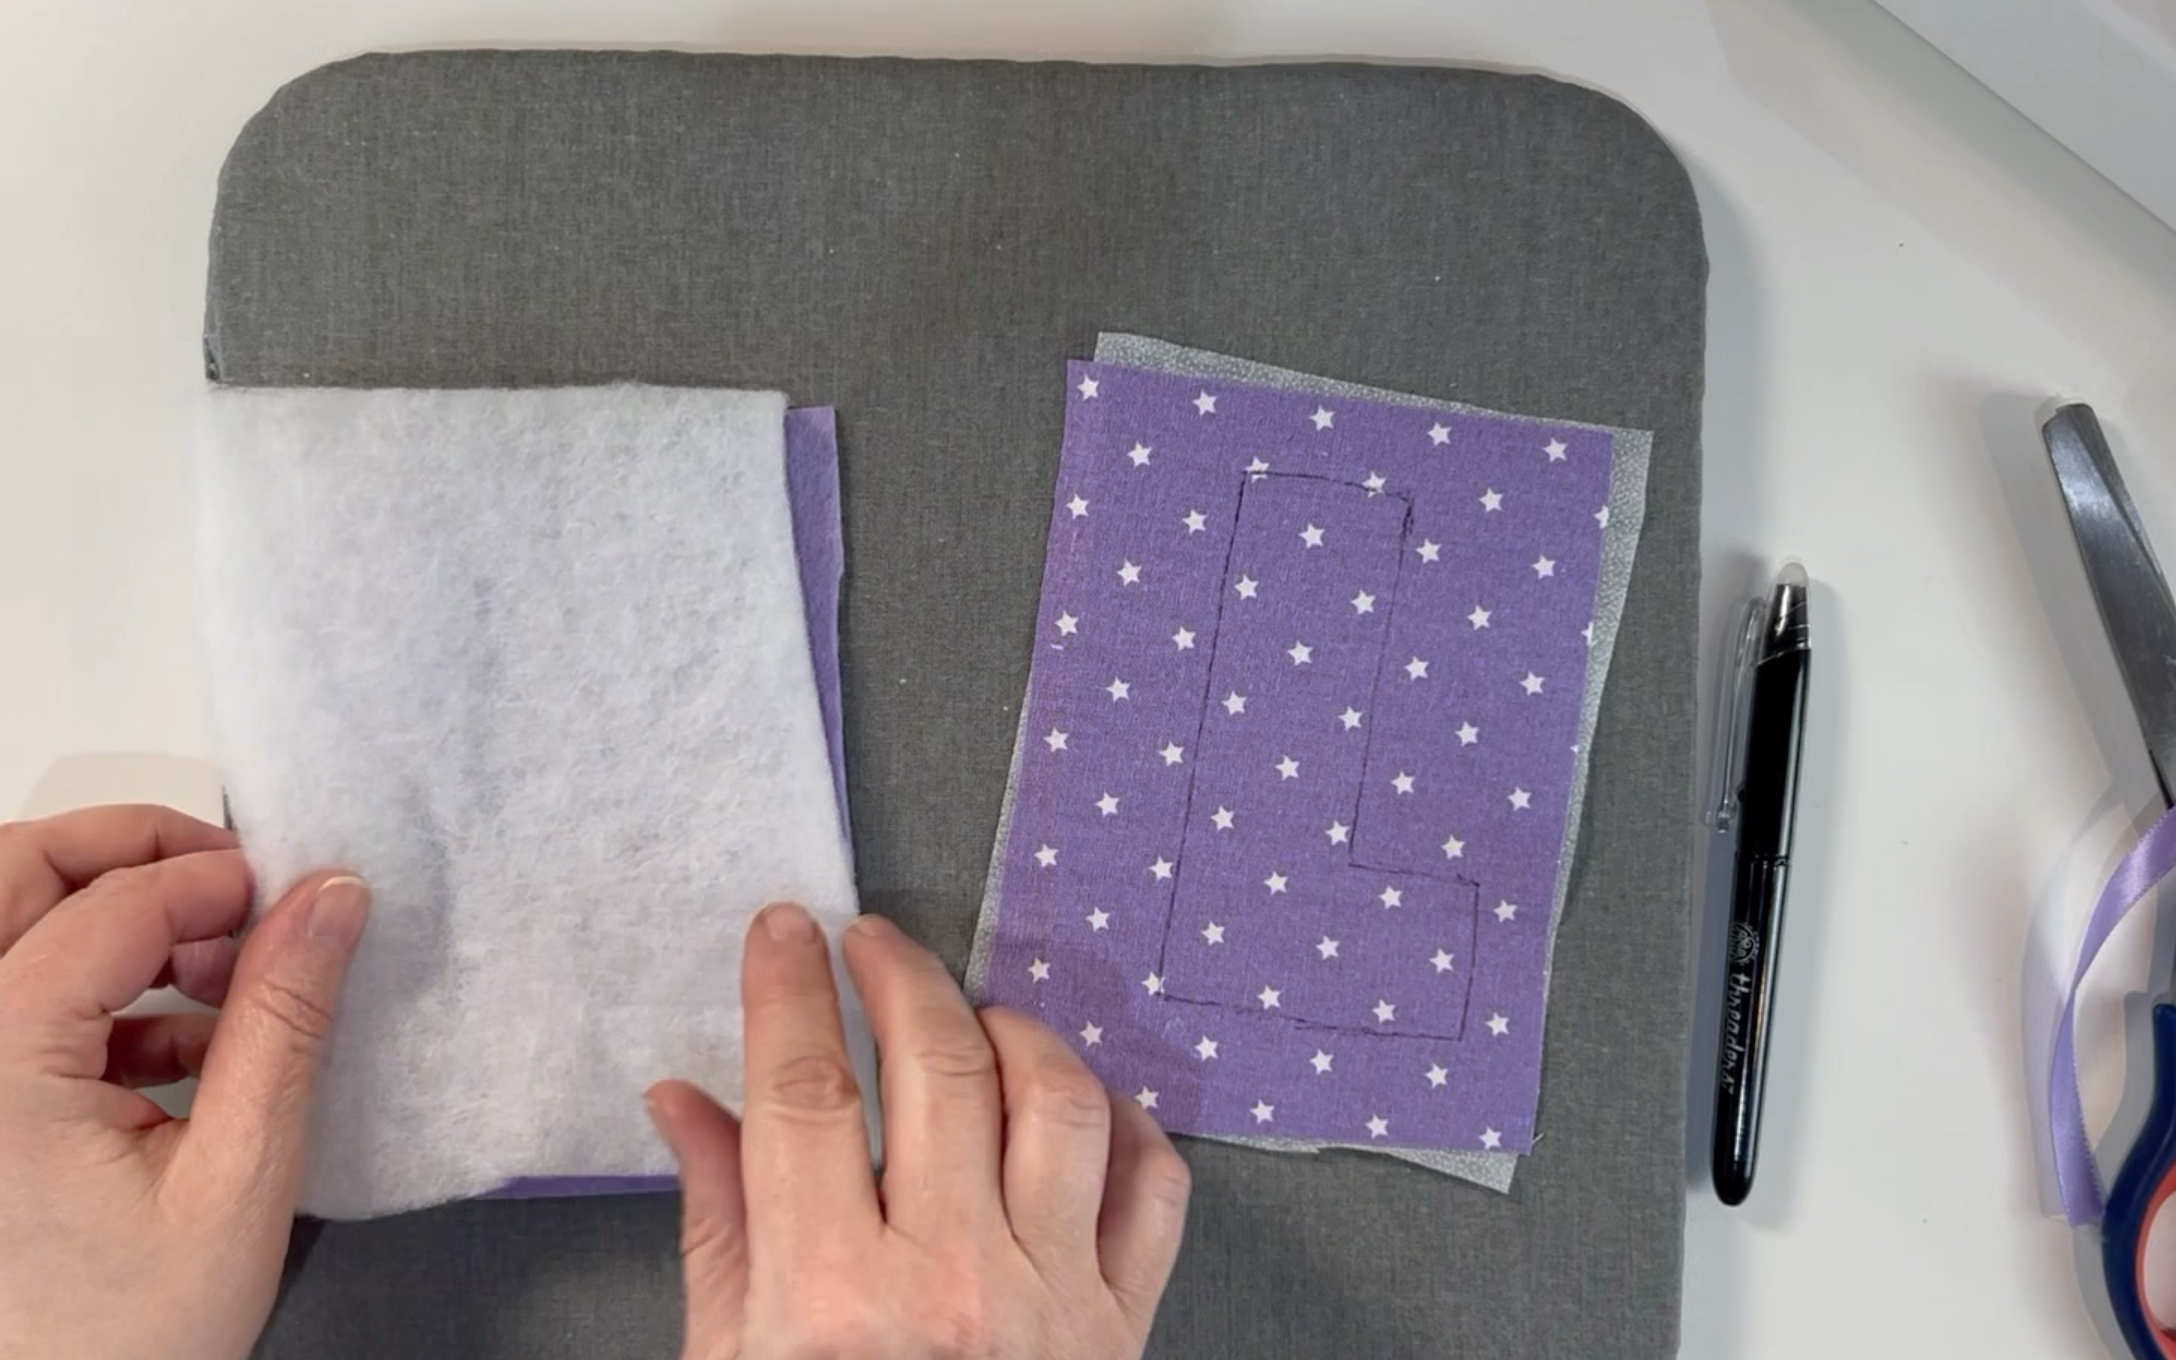
Now you need to add the ribbon. I just cut a small piece of ribbon and folded it in half. Place the ribbon at the top of the letter and in the centre.
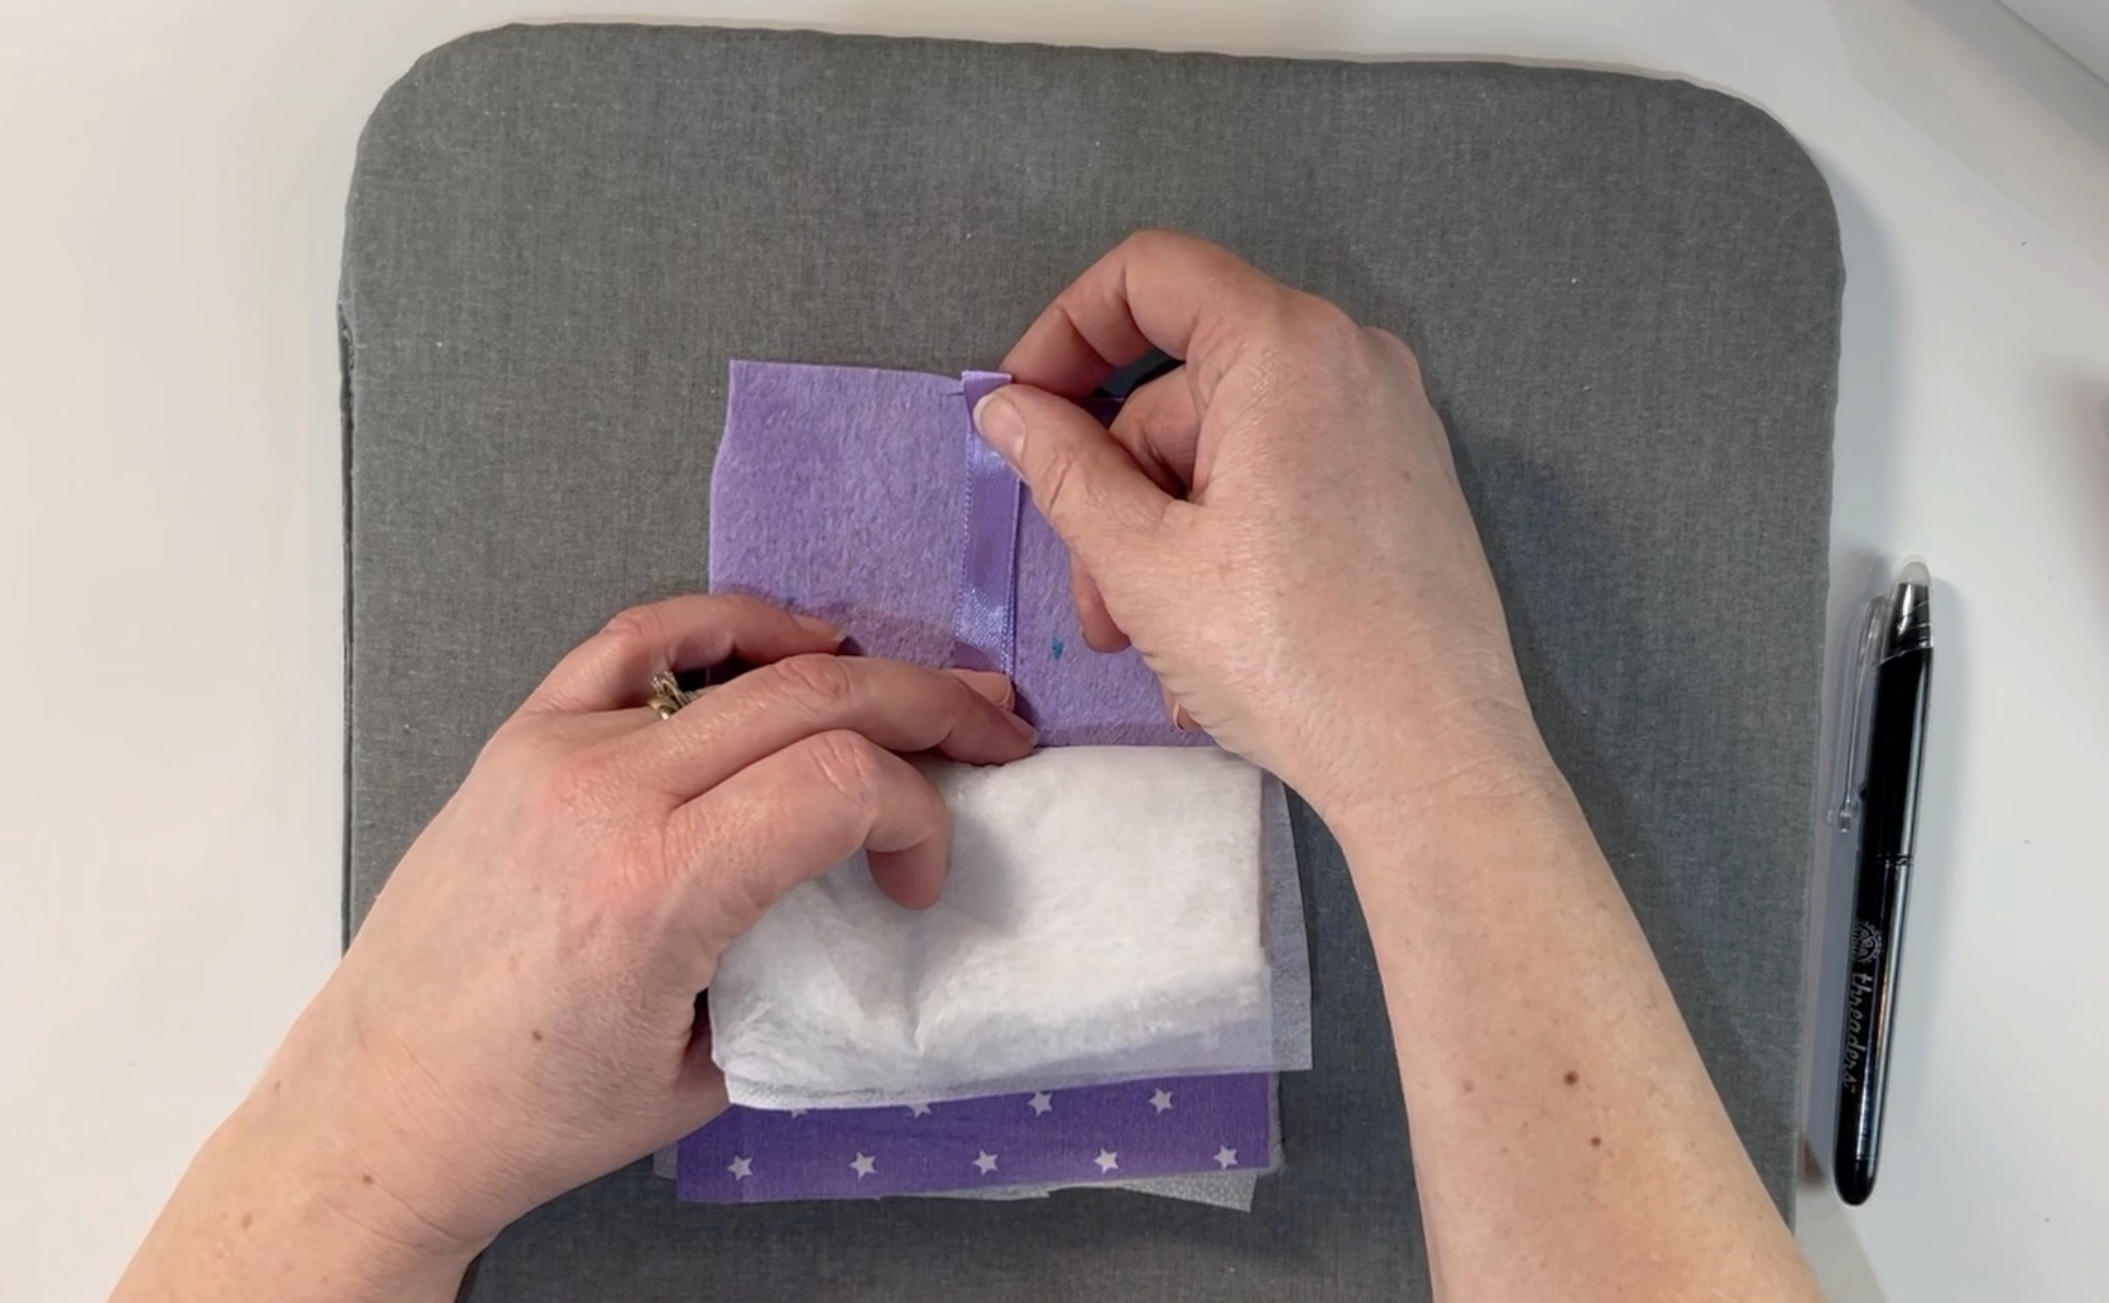
Use glass head pins to hold all the layers together.
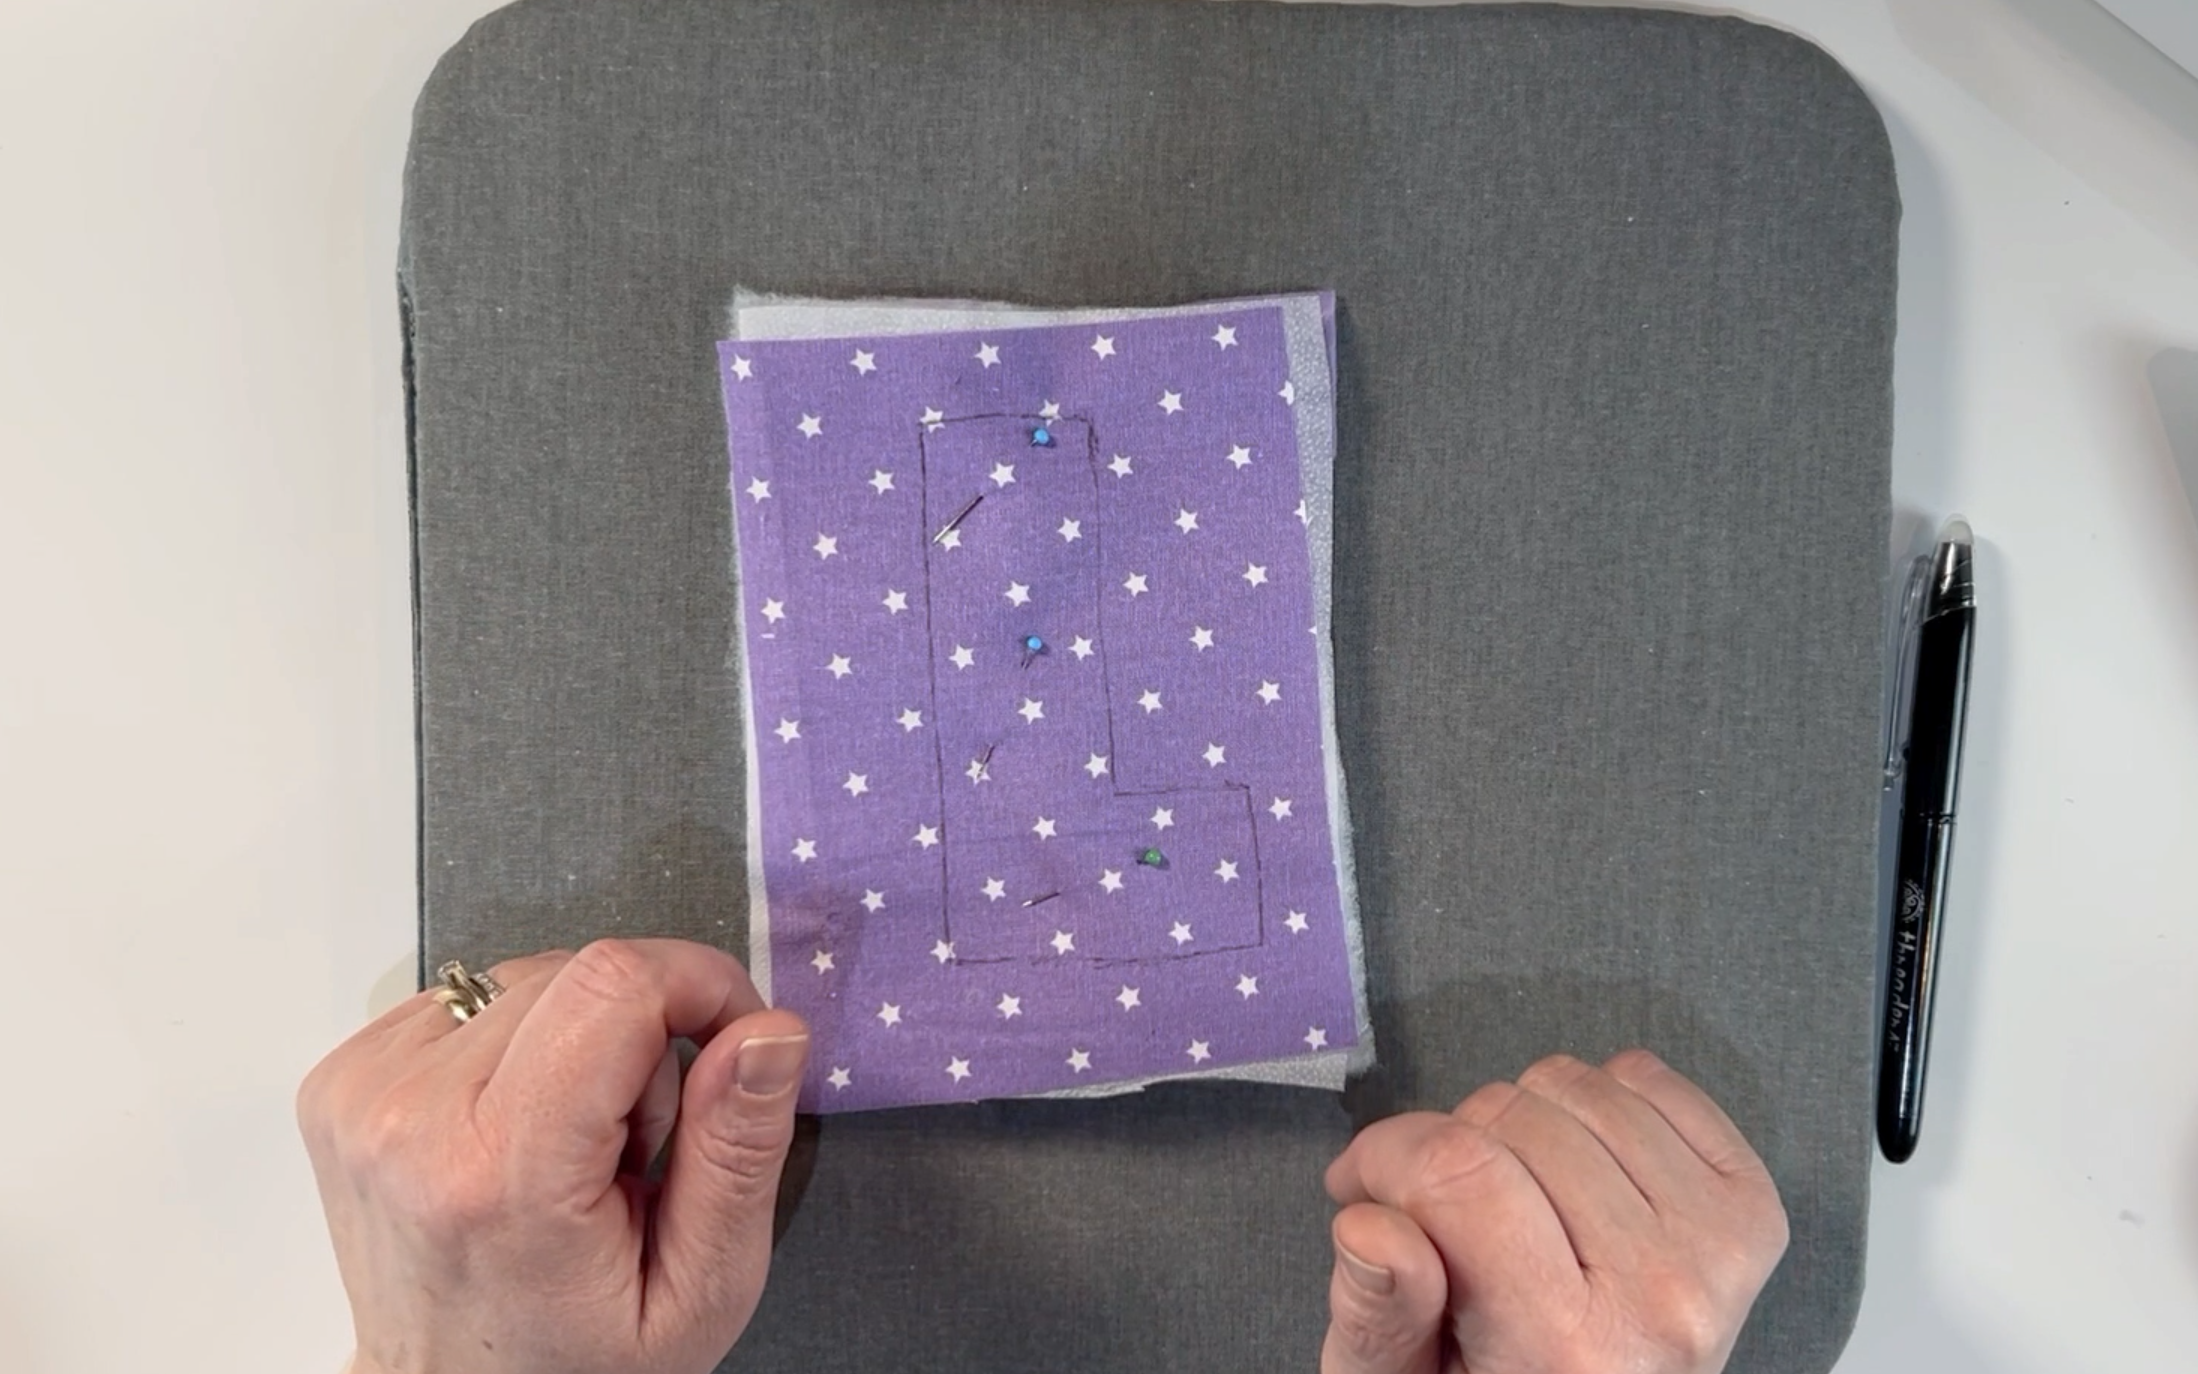
Step 6
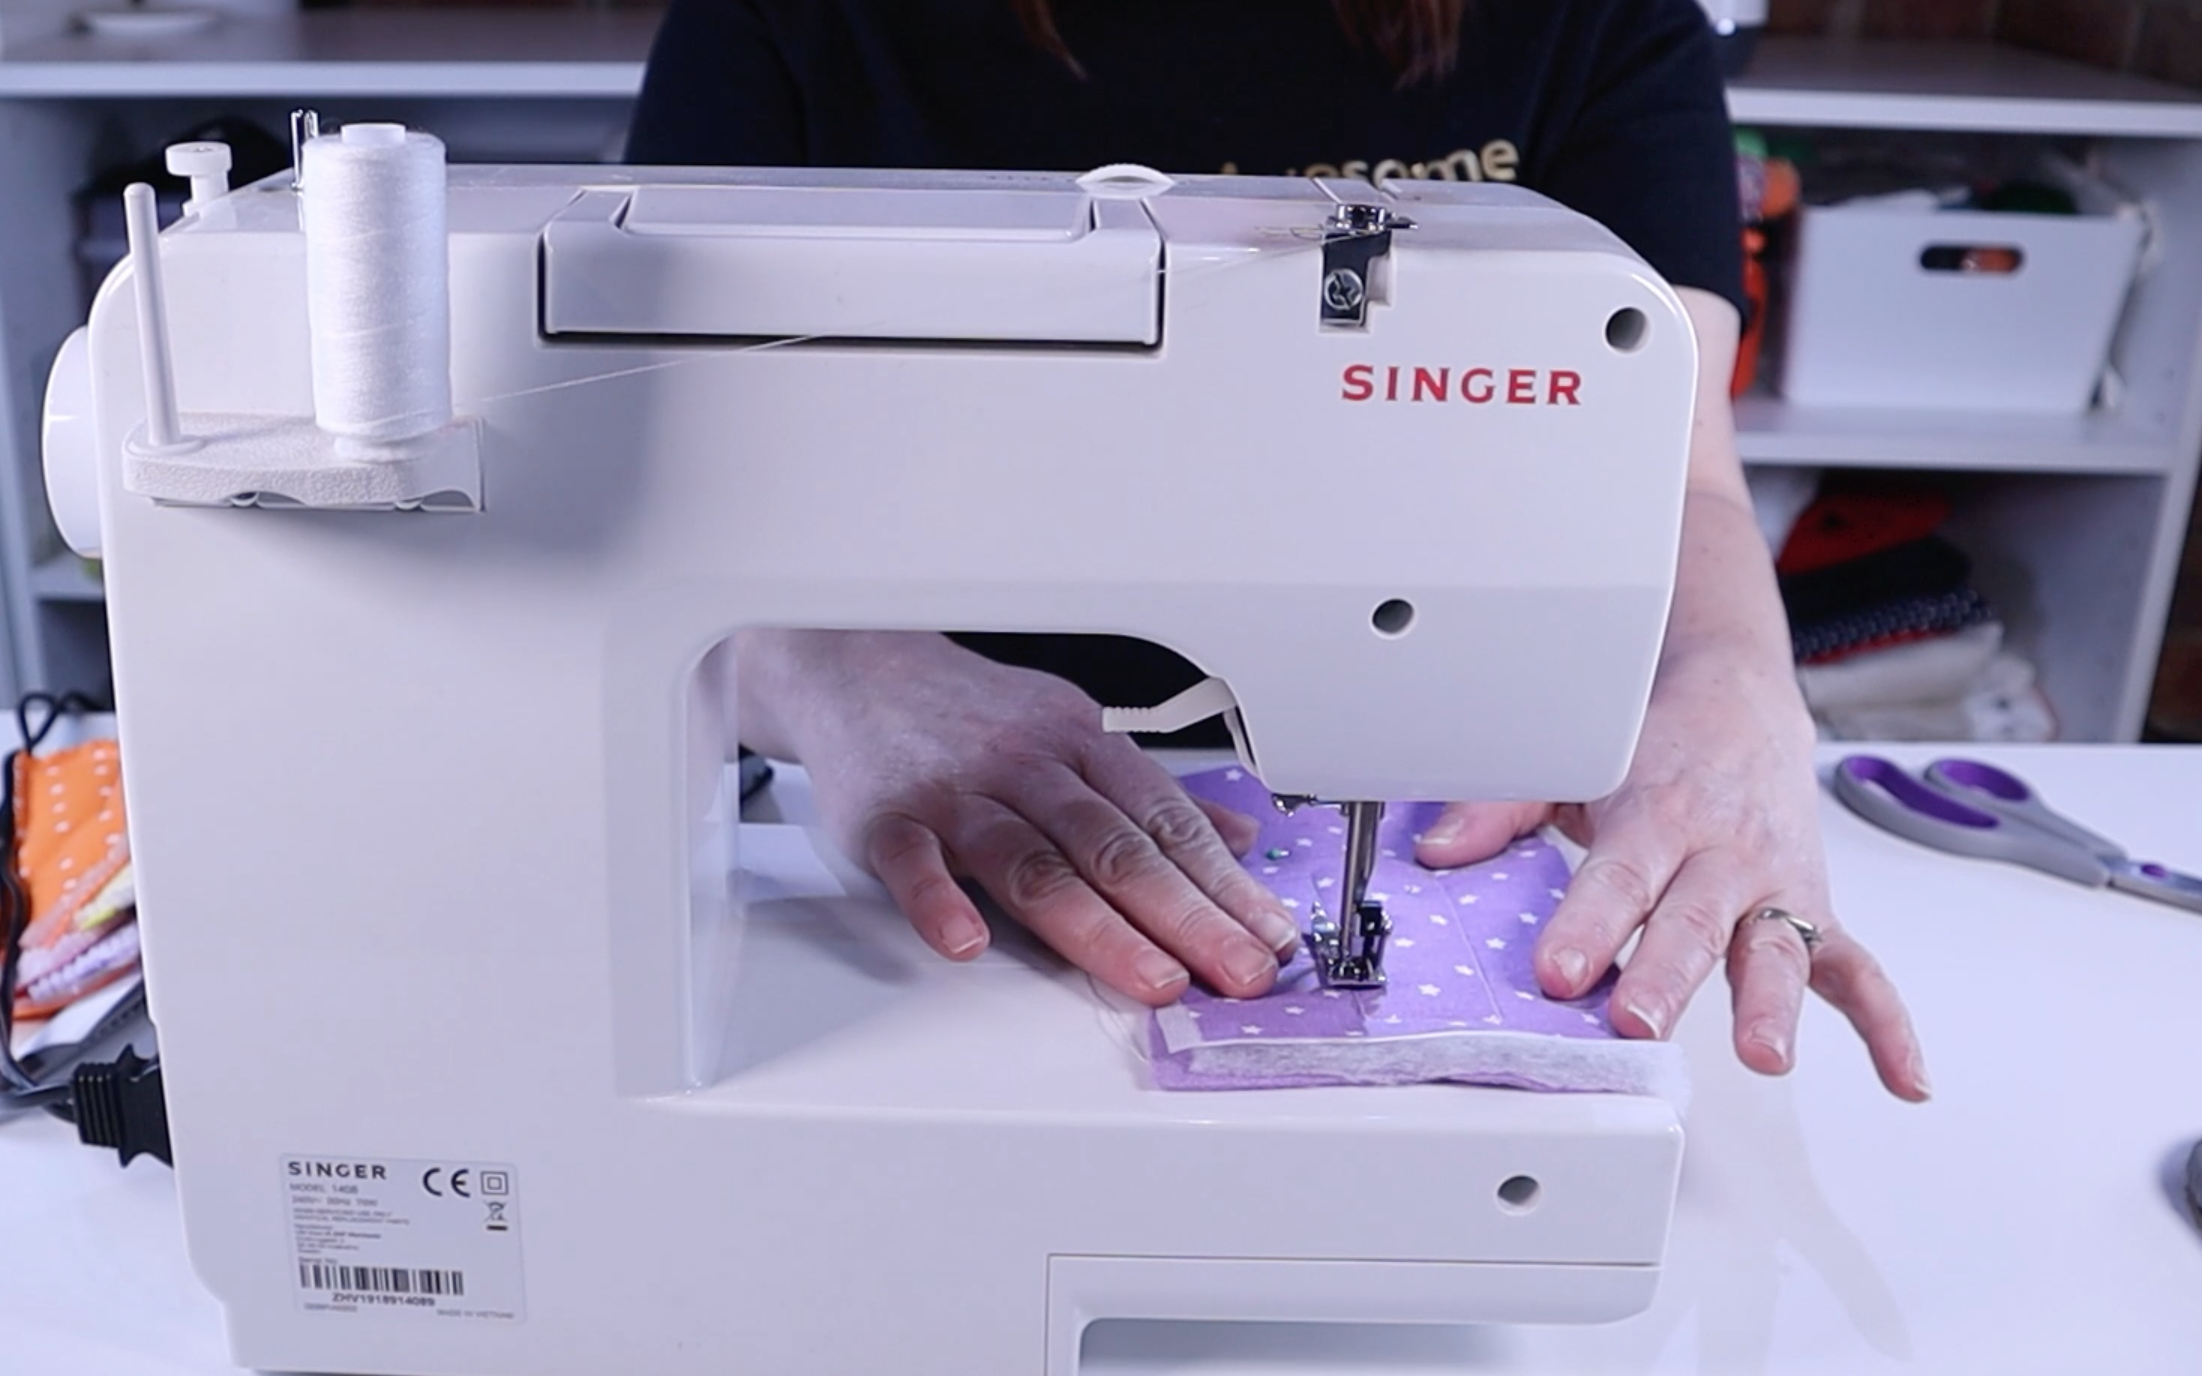
Take the material over to your sewing machine and sew all around the edge of the letter.
Step 7
Once the letter has been sewn. Use the pinking shears to cut all around the edge of the letter. This will give it a nice finish. You can just use straight edge material if you prefer.
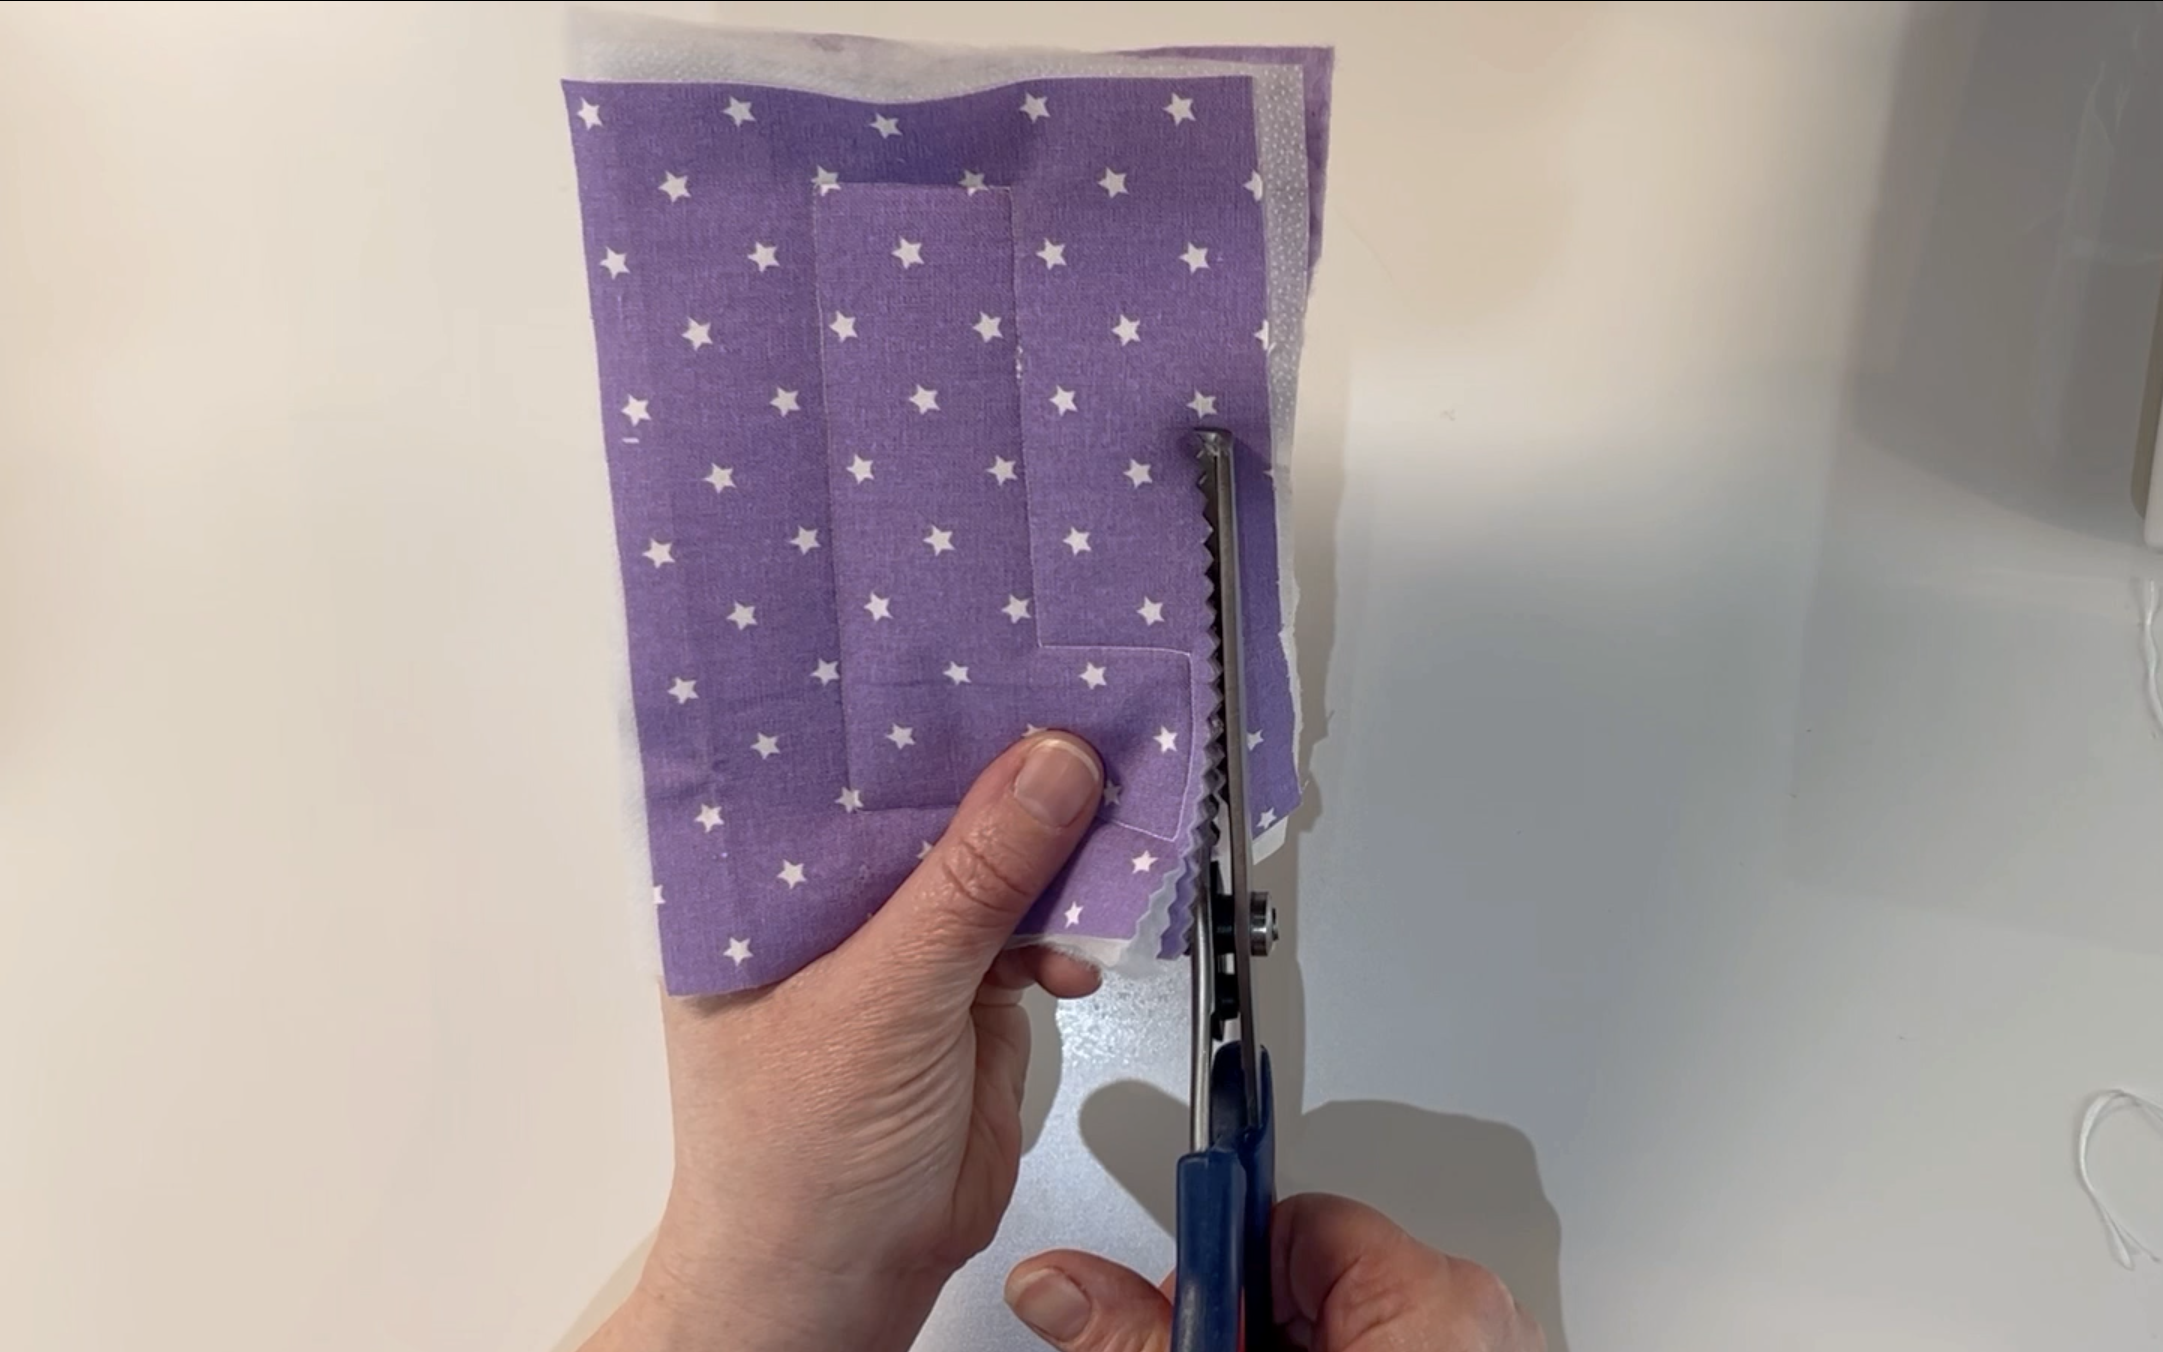
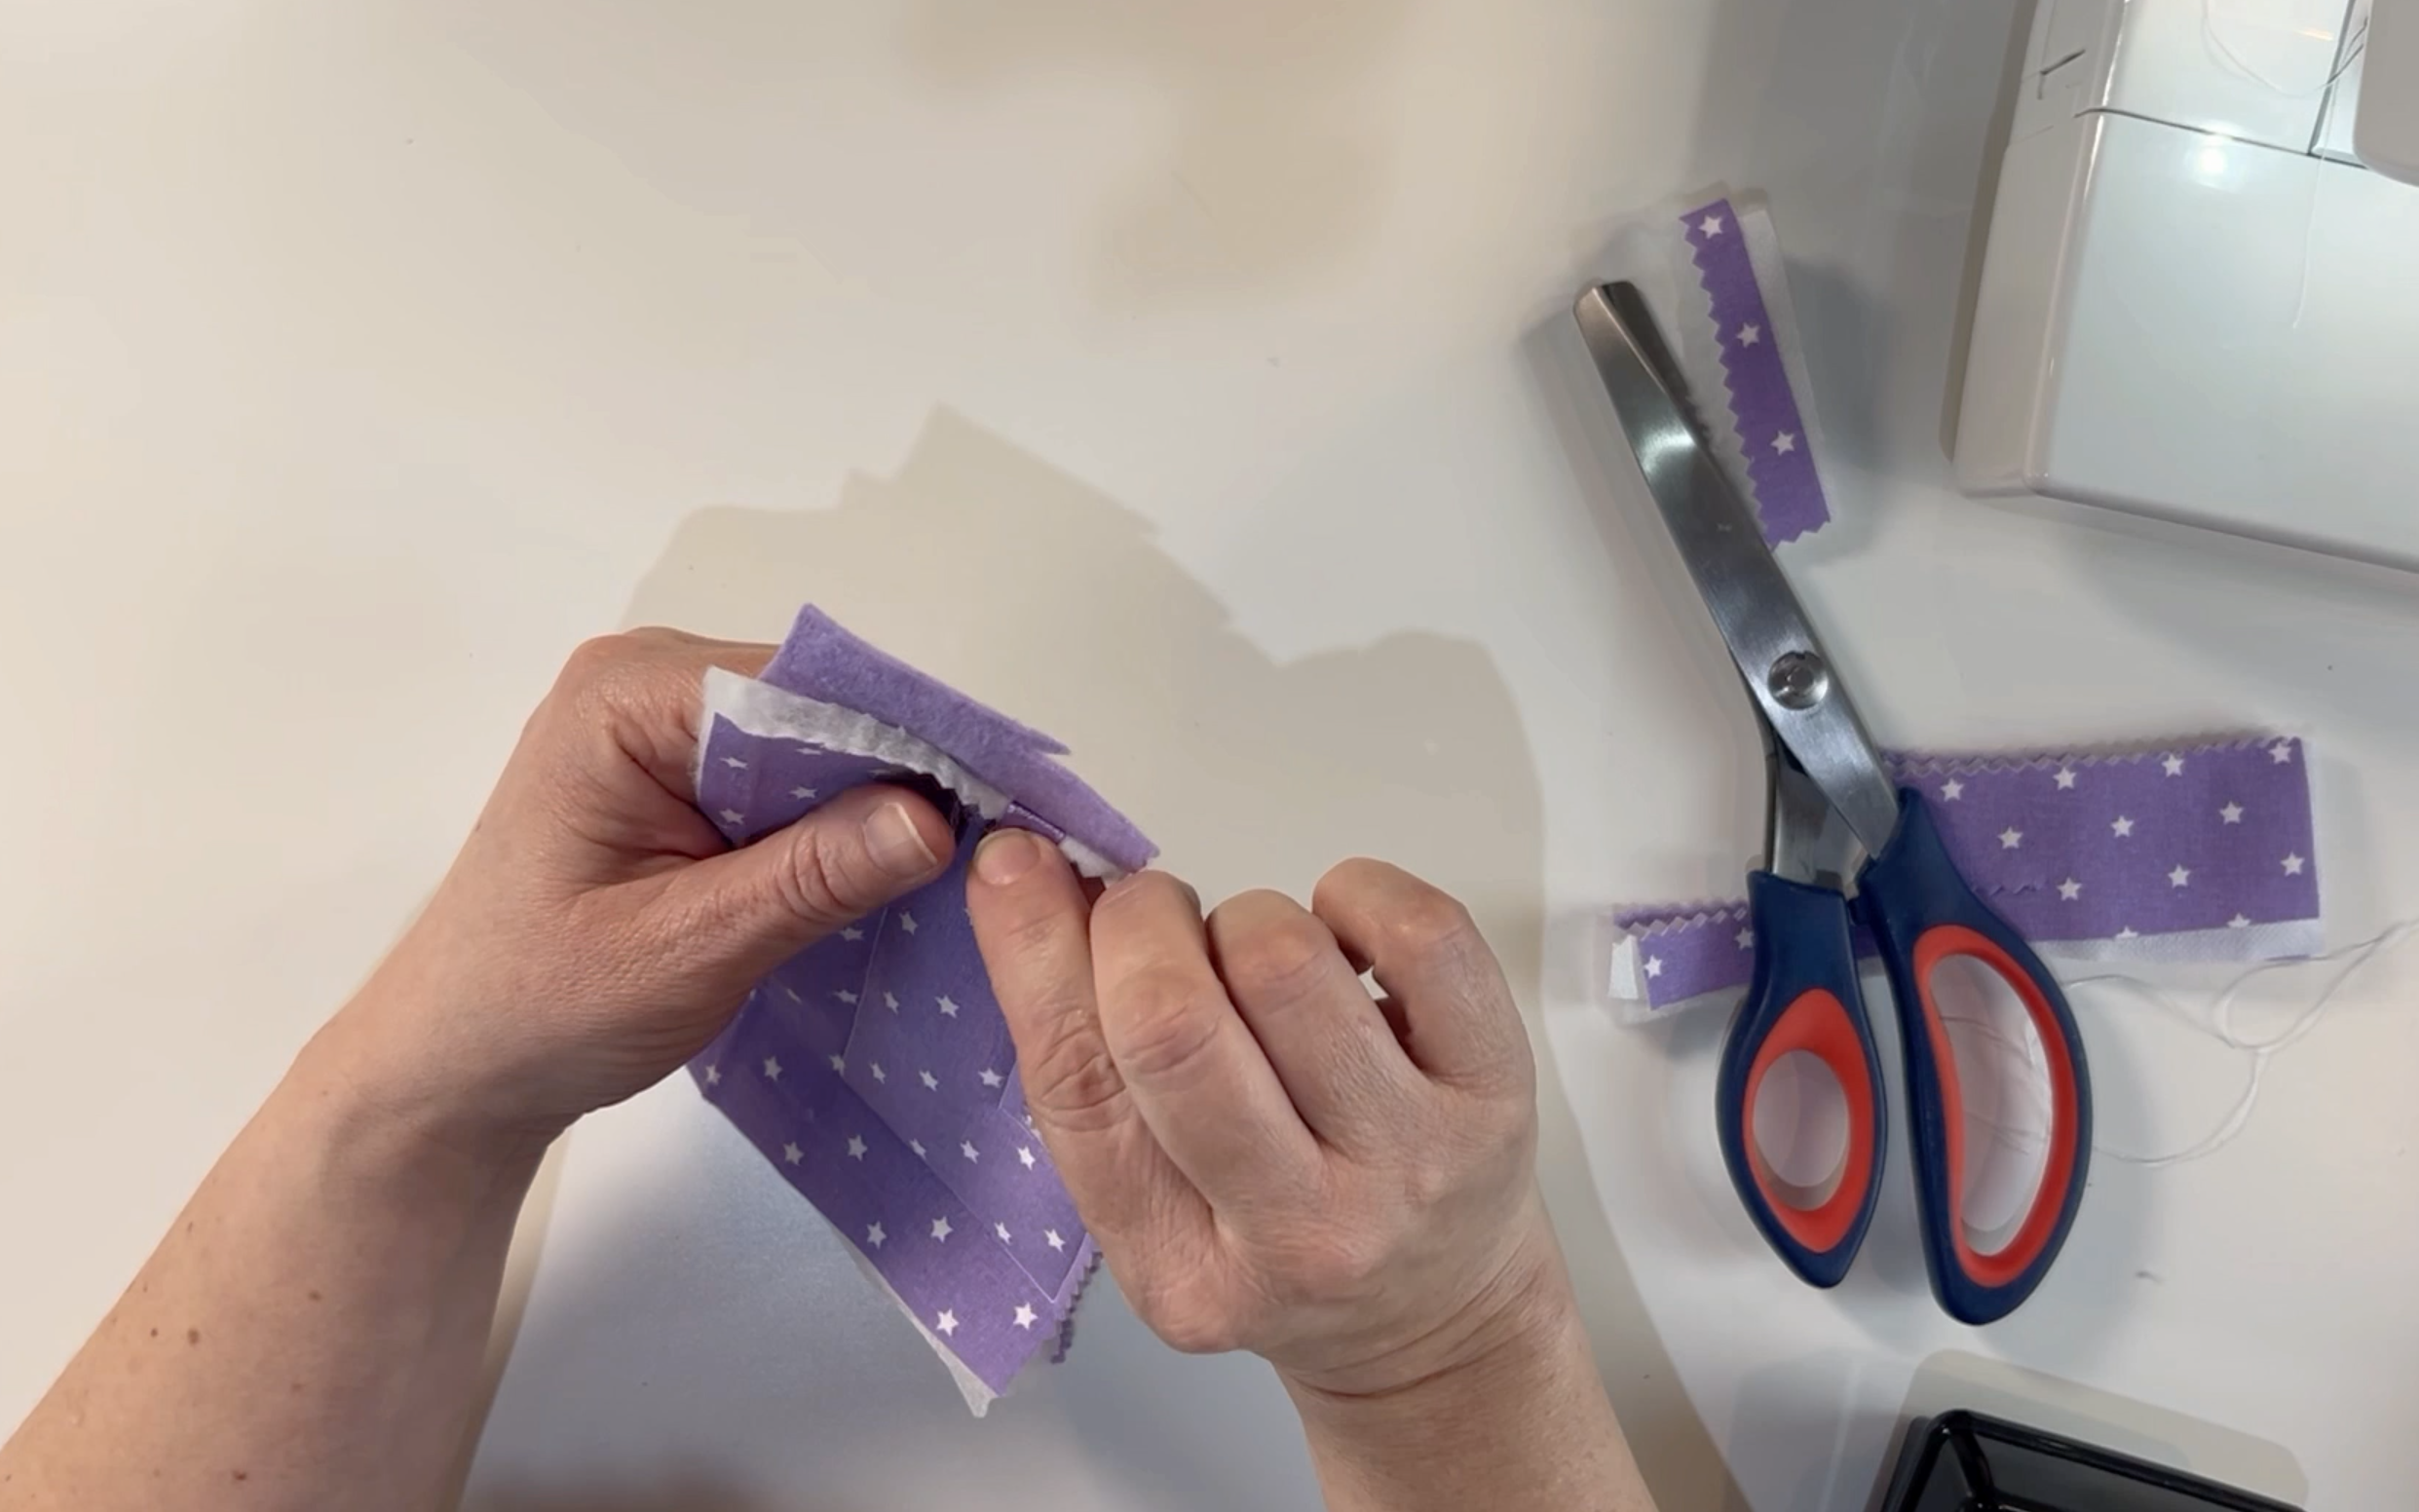
When you are cutting around the letter make sure you do not cut through the ribbon at the top of the letter. Fold the material forward so you can see the ribbon and cut the material in front and behind the ribbon separately.
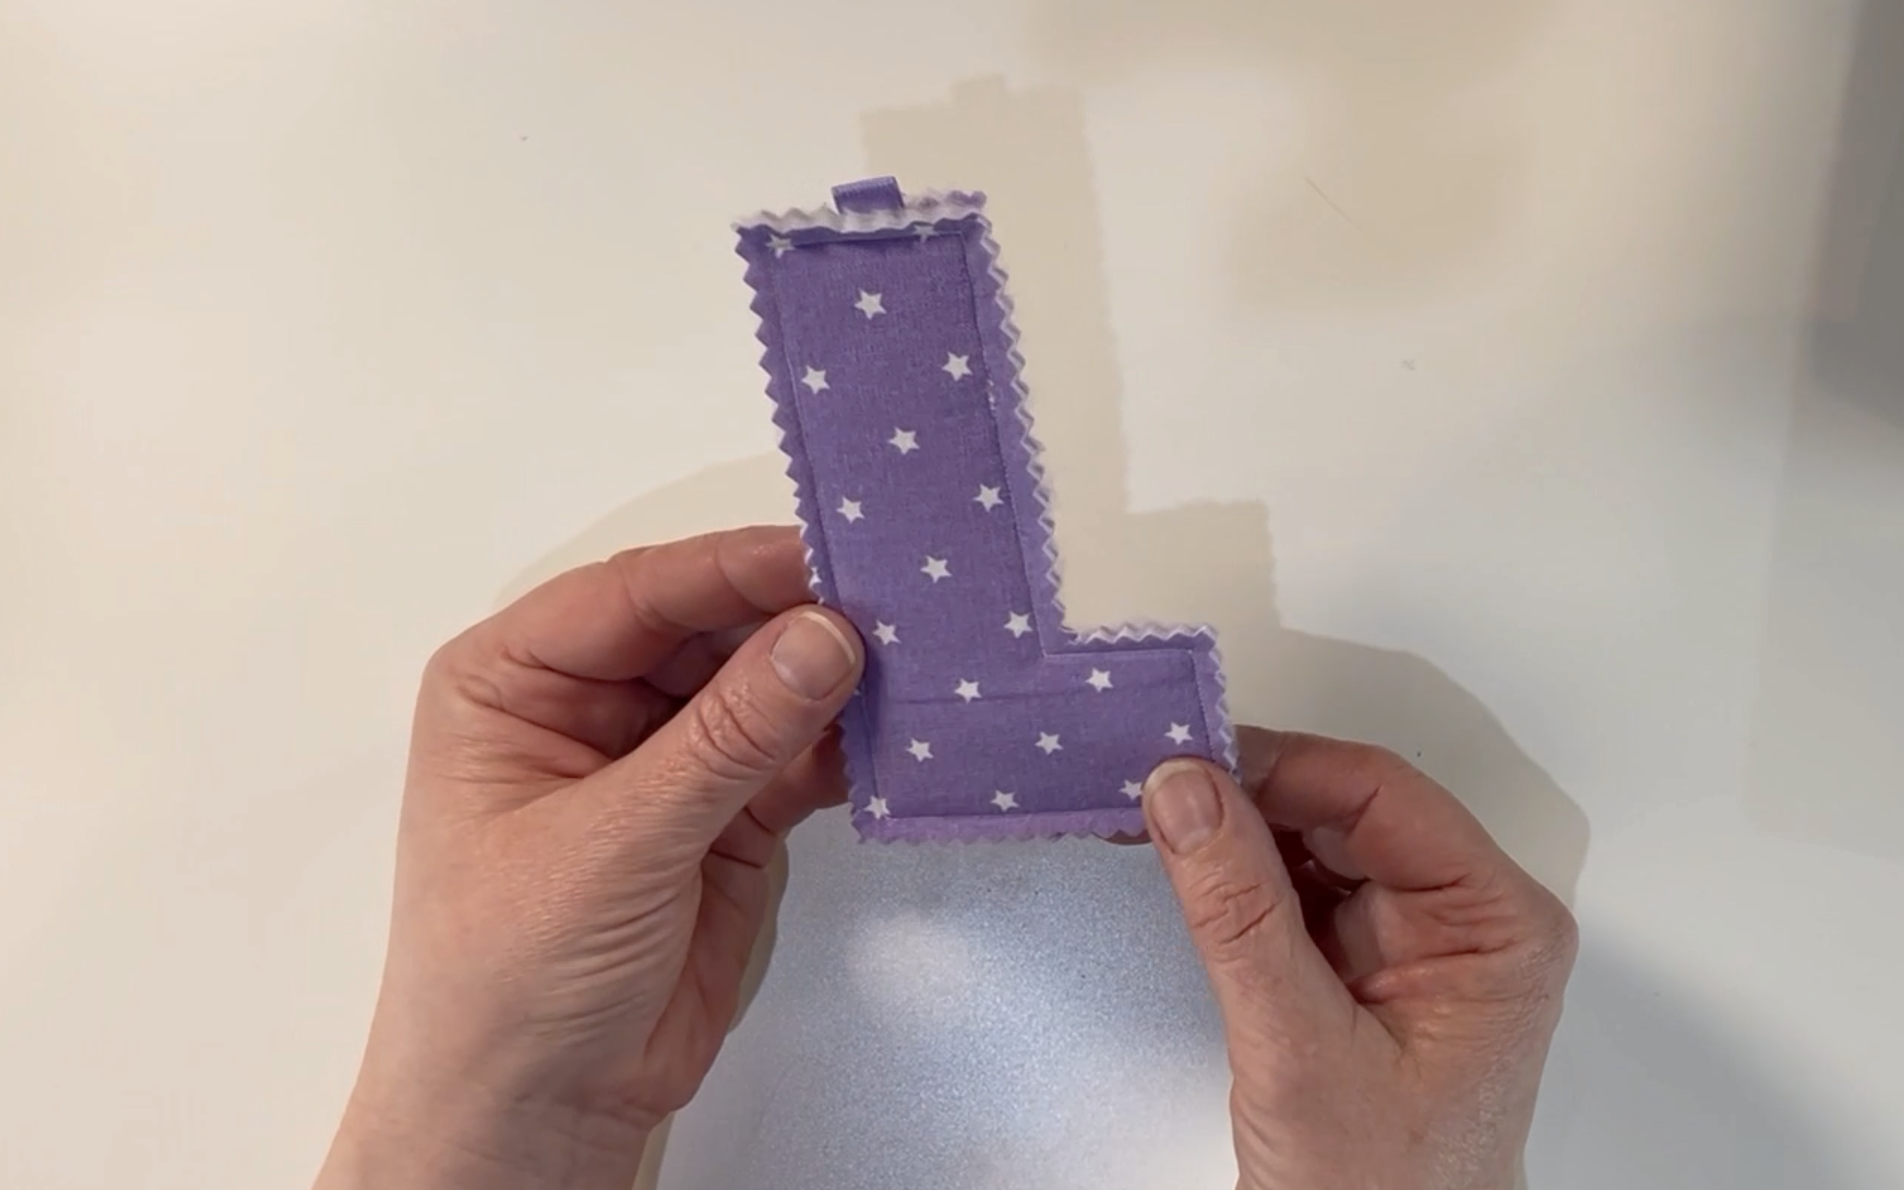
You now have your completed sewn padded letter ready to hang on your banners.
If you enjoyed this blog you can watch the video How To Sew A Padded Letter by clicking on the link.
Also please check out my other blog posts:
Easy To Make Budget Friendly Valentines Banner