
Pompoms are a great way of making fun and exciting crafts that can be tailored to any occasion or season. I really love crafting for Christmas so these pompom Christmas trees are just perfect to make. Pompom Christmas trees are so easy to make using minimal supplies. In this blog i will show you step by step how to make a pompom Christmas Tree.
Materials you will need:
Cardboard - A piece from a cardboard box
DISCLAIMER: Links included in this description might be affiliate links. If you purchase a product or service with the links that I provide I may receive a small commission. There is no additional charge to you. Thank you so much for helping to support my channel, you are awesome.
Step 1
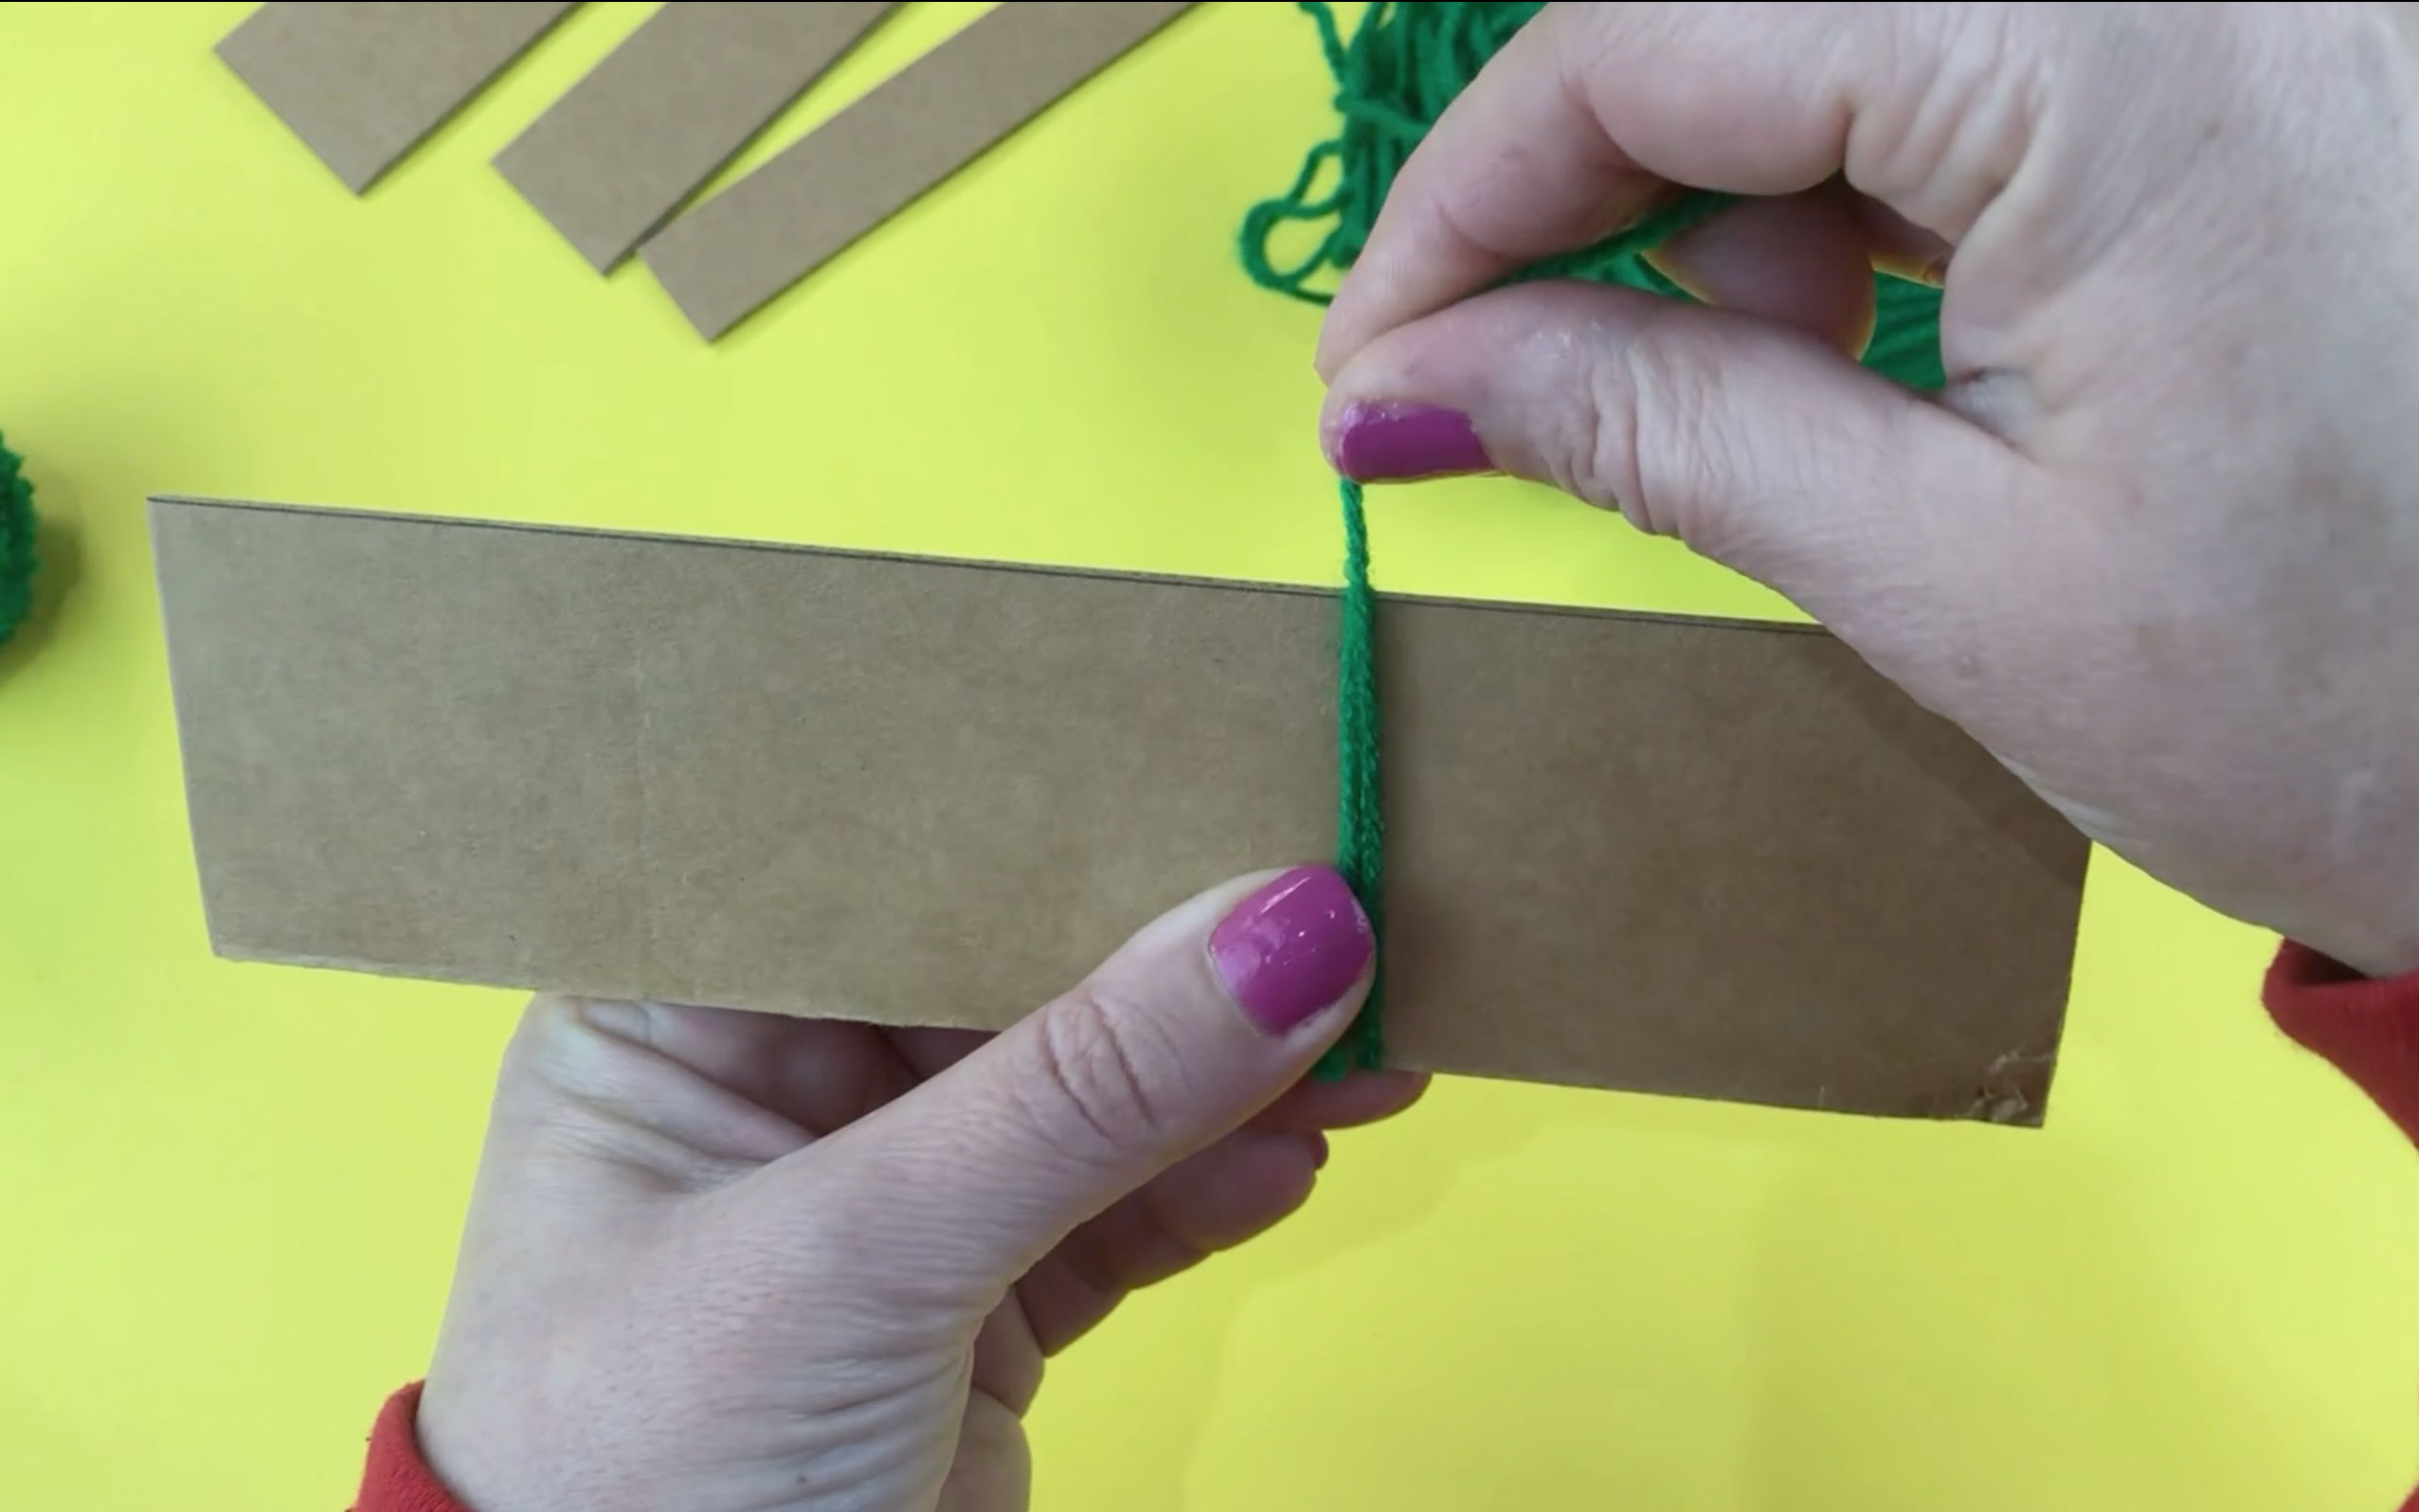
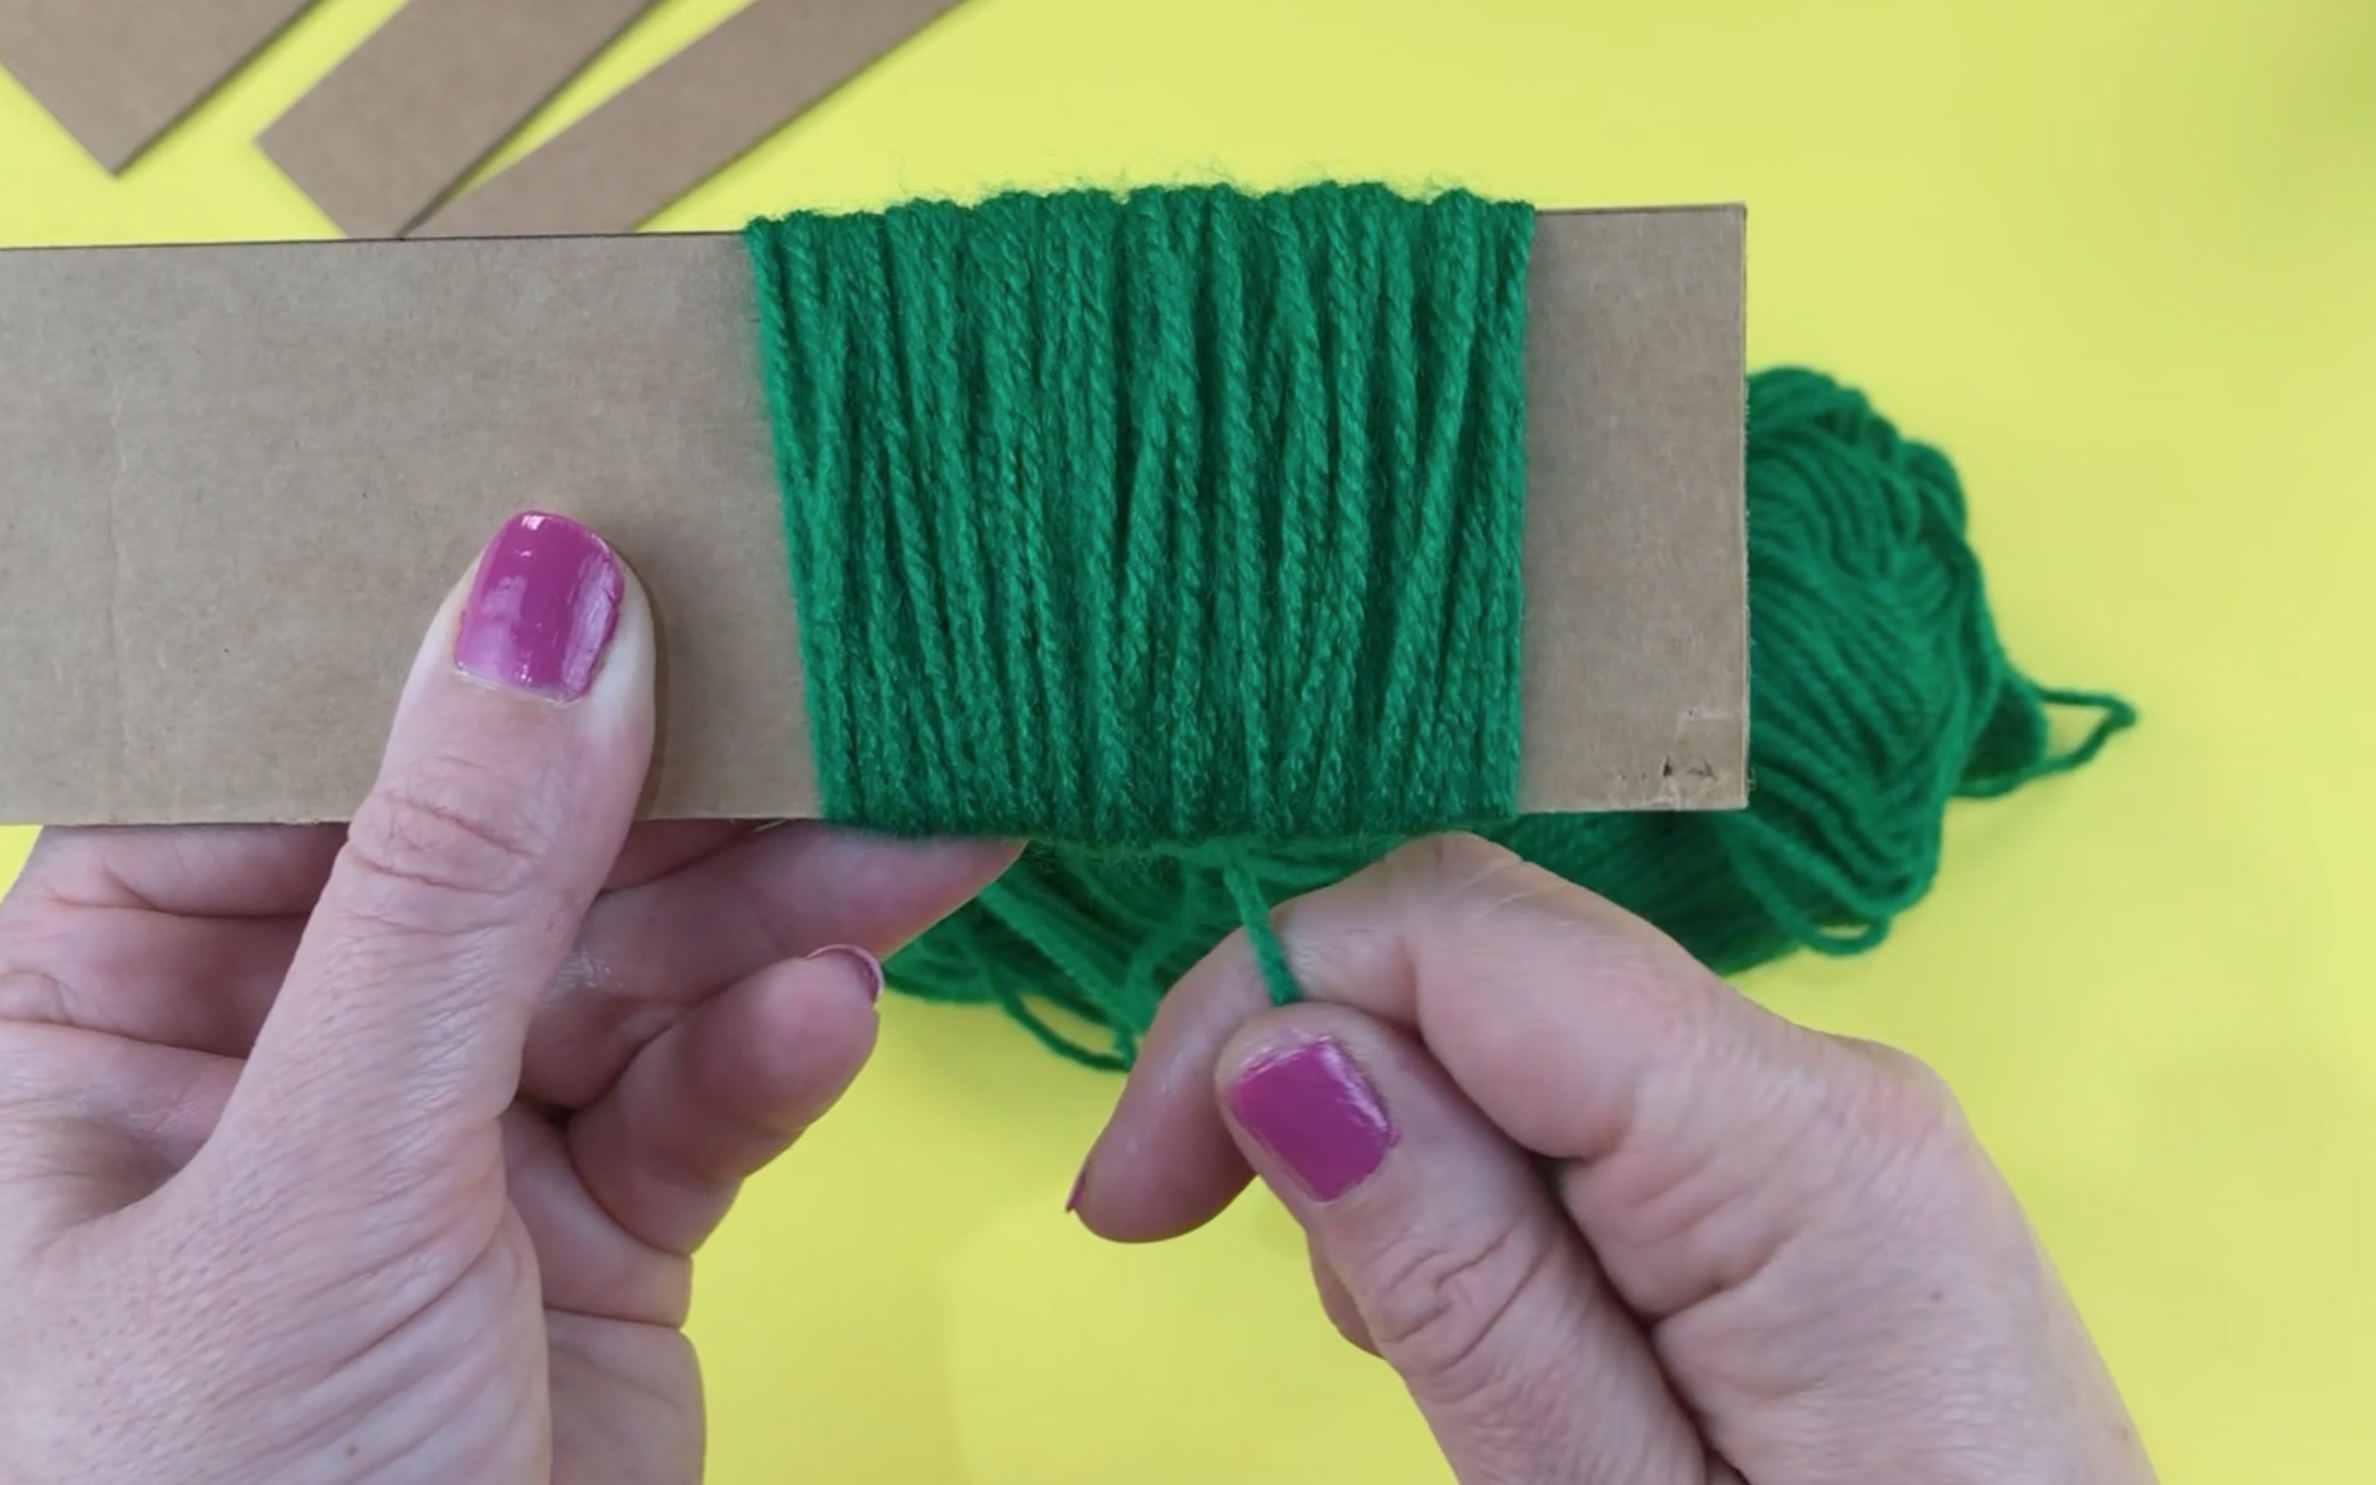
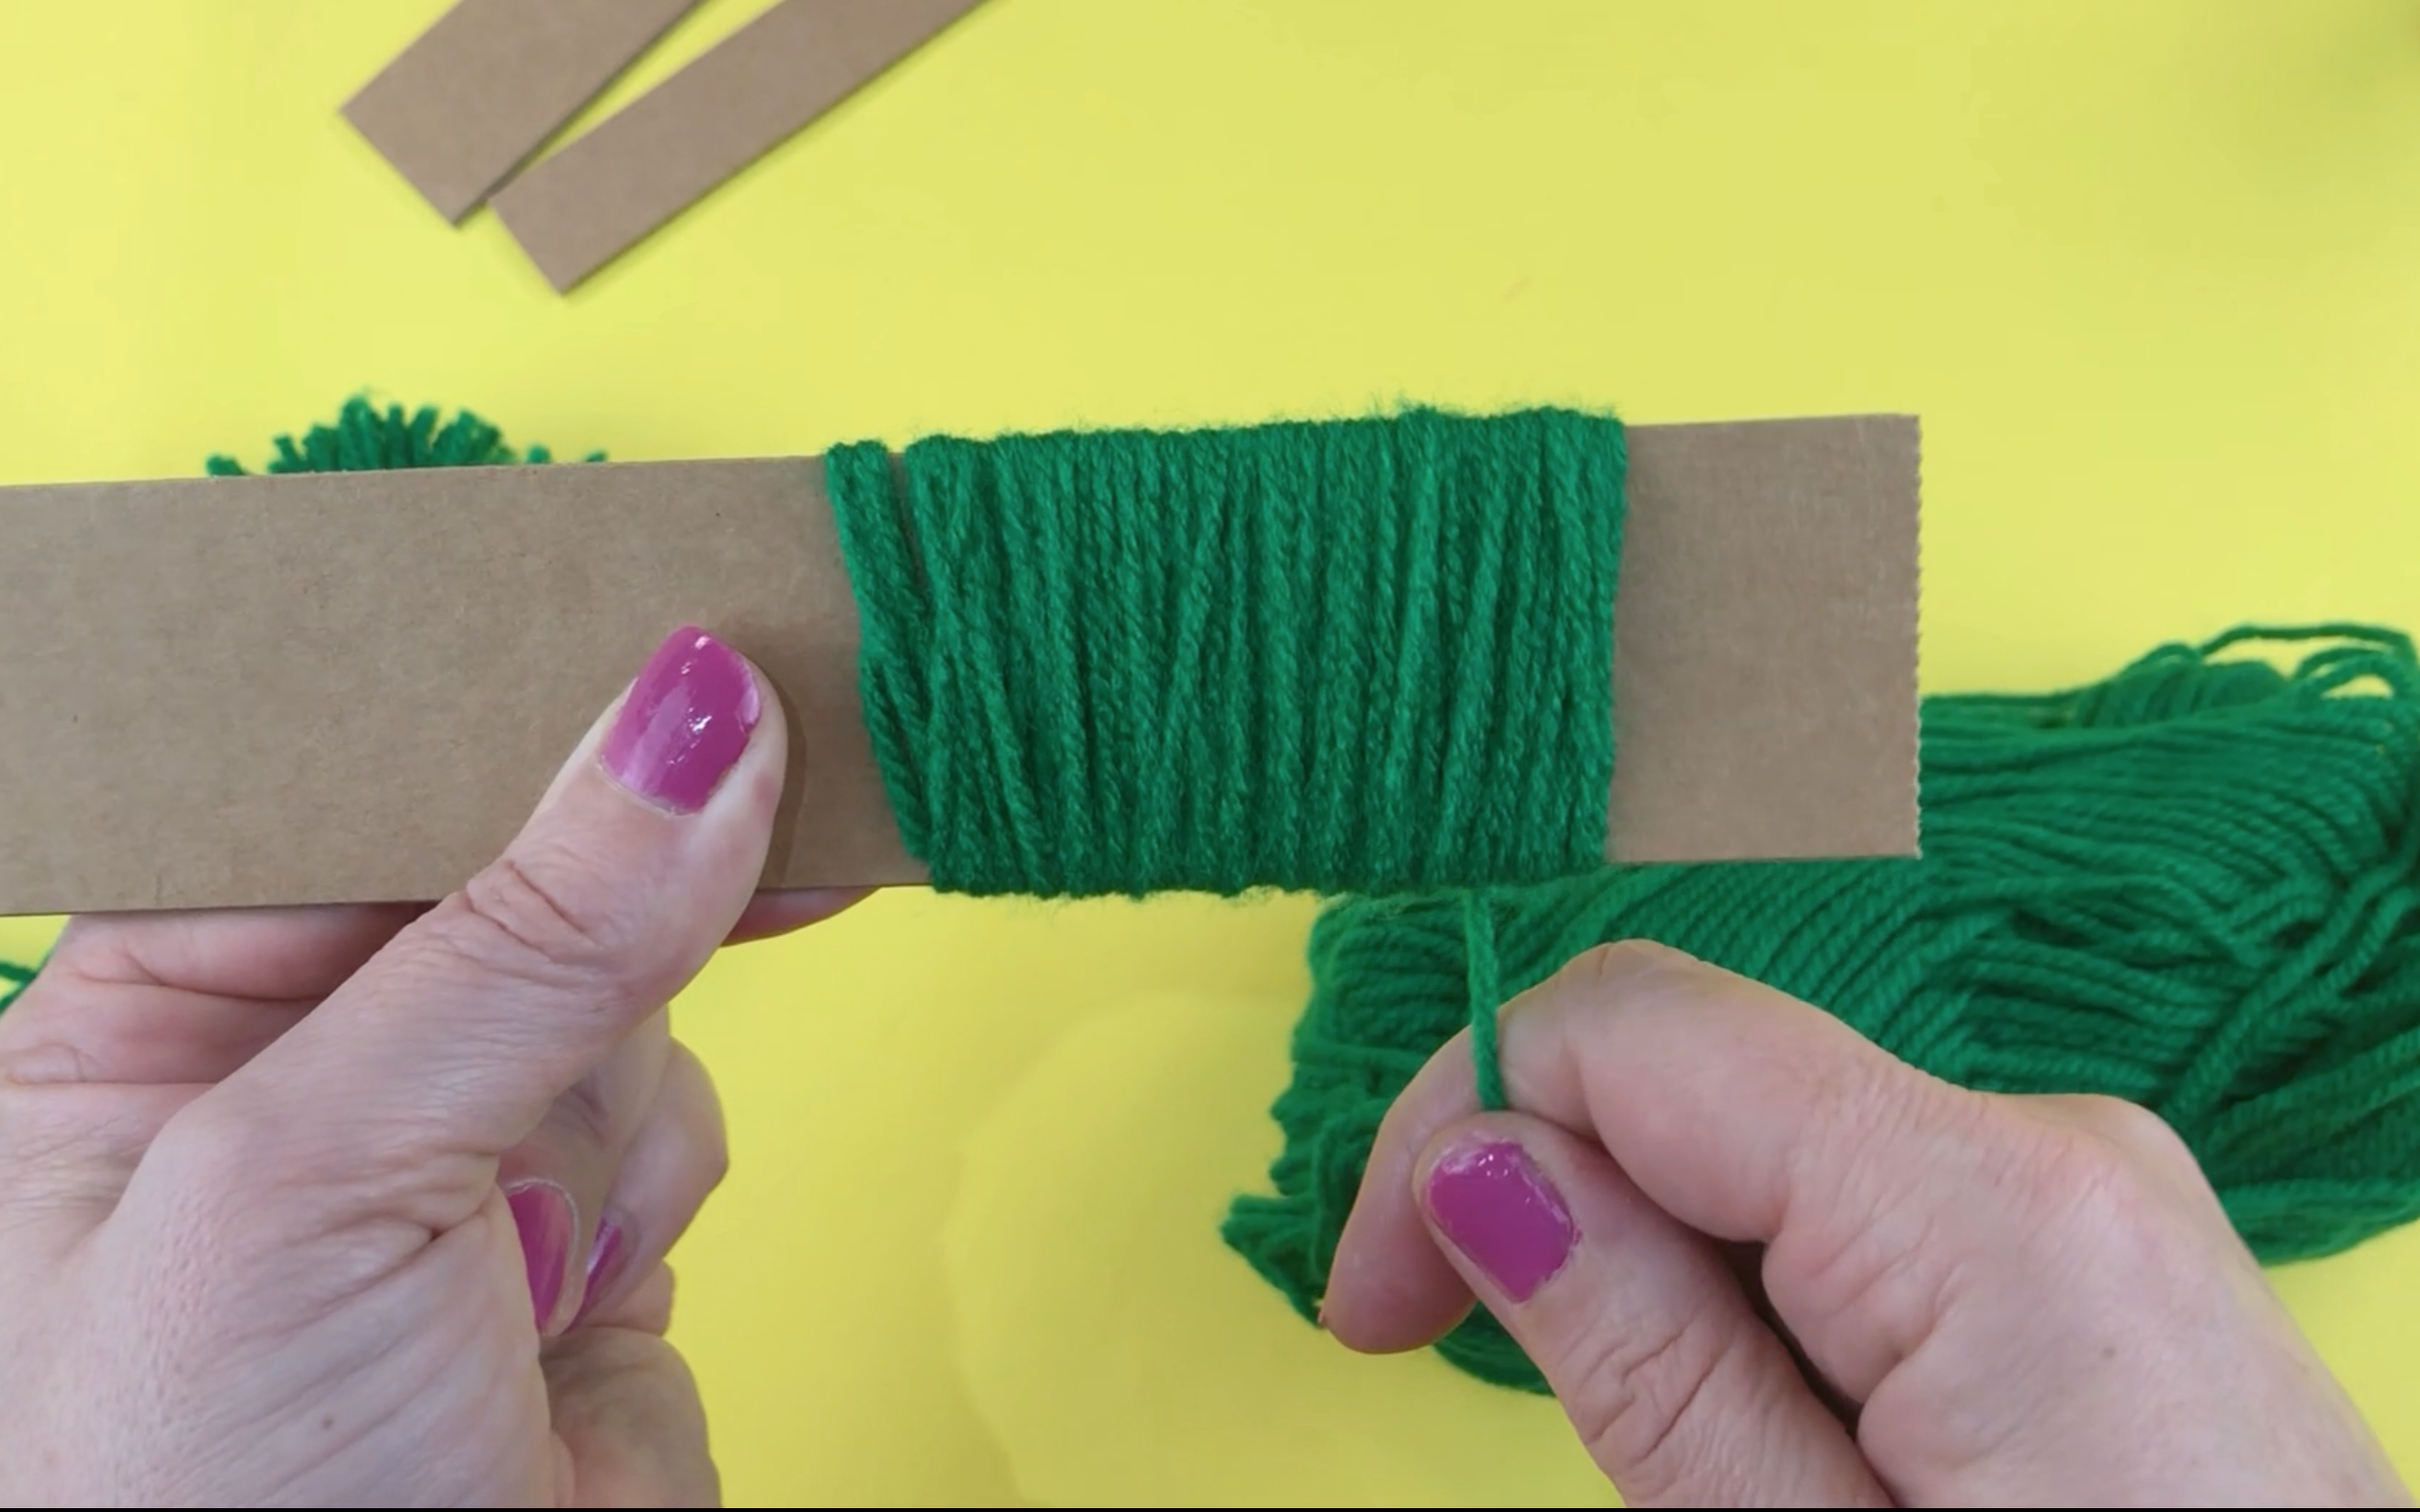
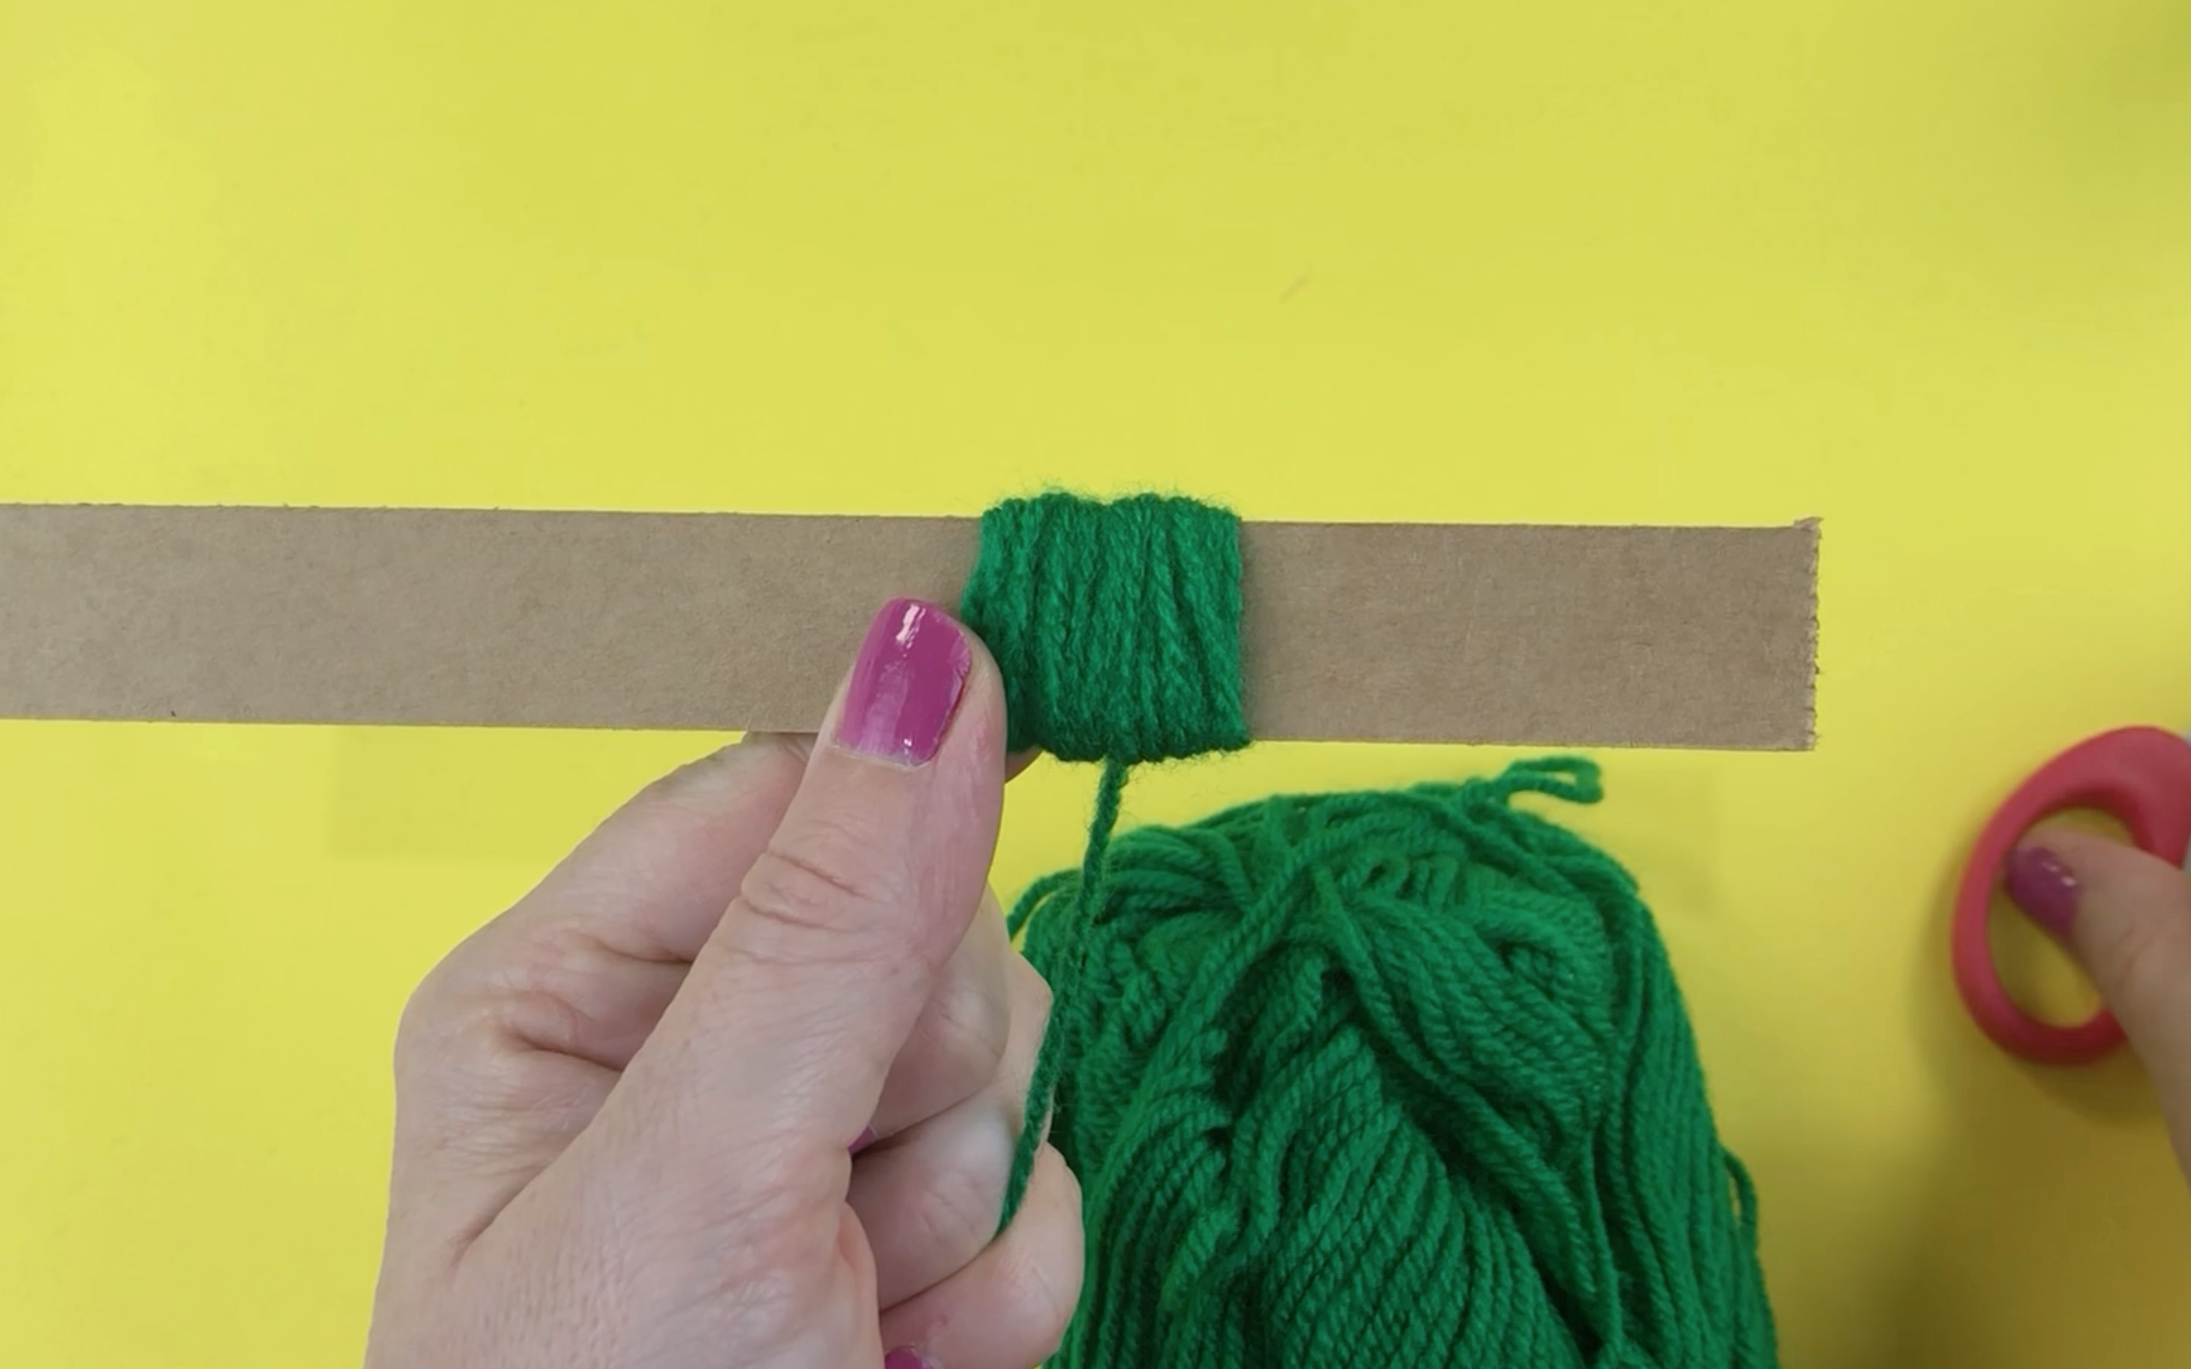
To get started making the bottom of the pompom tree, cut a piece of cardboard 5cm wide. It doesn't have to be too long, just long enough for you to wrap wool around. For this part wrap the wool around the cardboard 115 times.
Once the wool has been wrapped around the cardboard 115 times, it should look like the picture below.
Trim off the wool. Cut another long piece of wool and place it on the table. Slide the wool off the cardboard and place it on the wool.
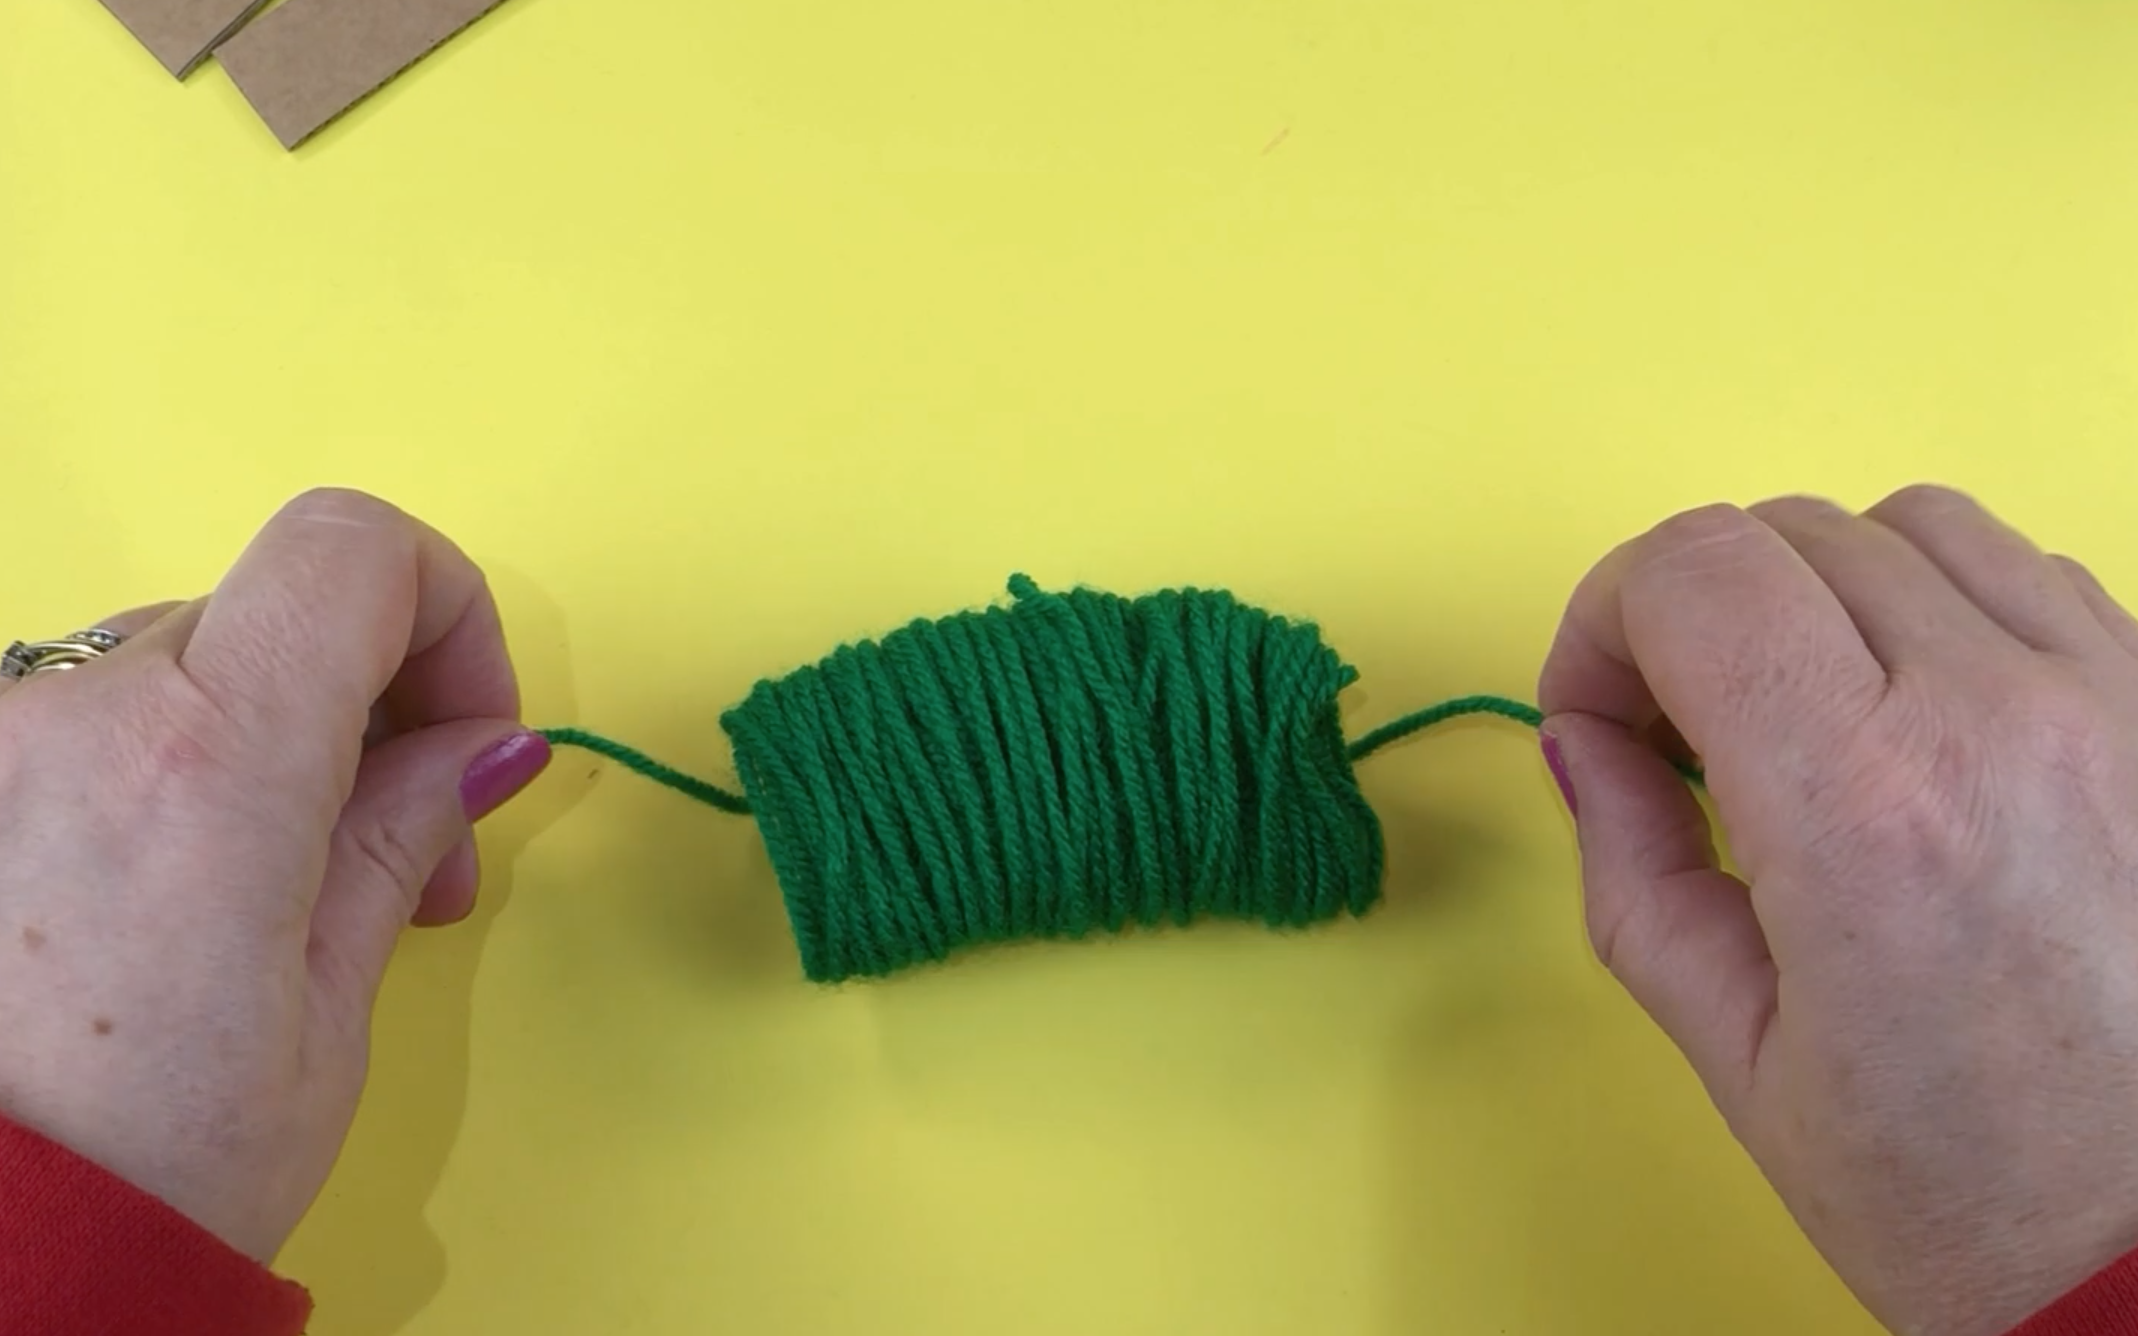
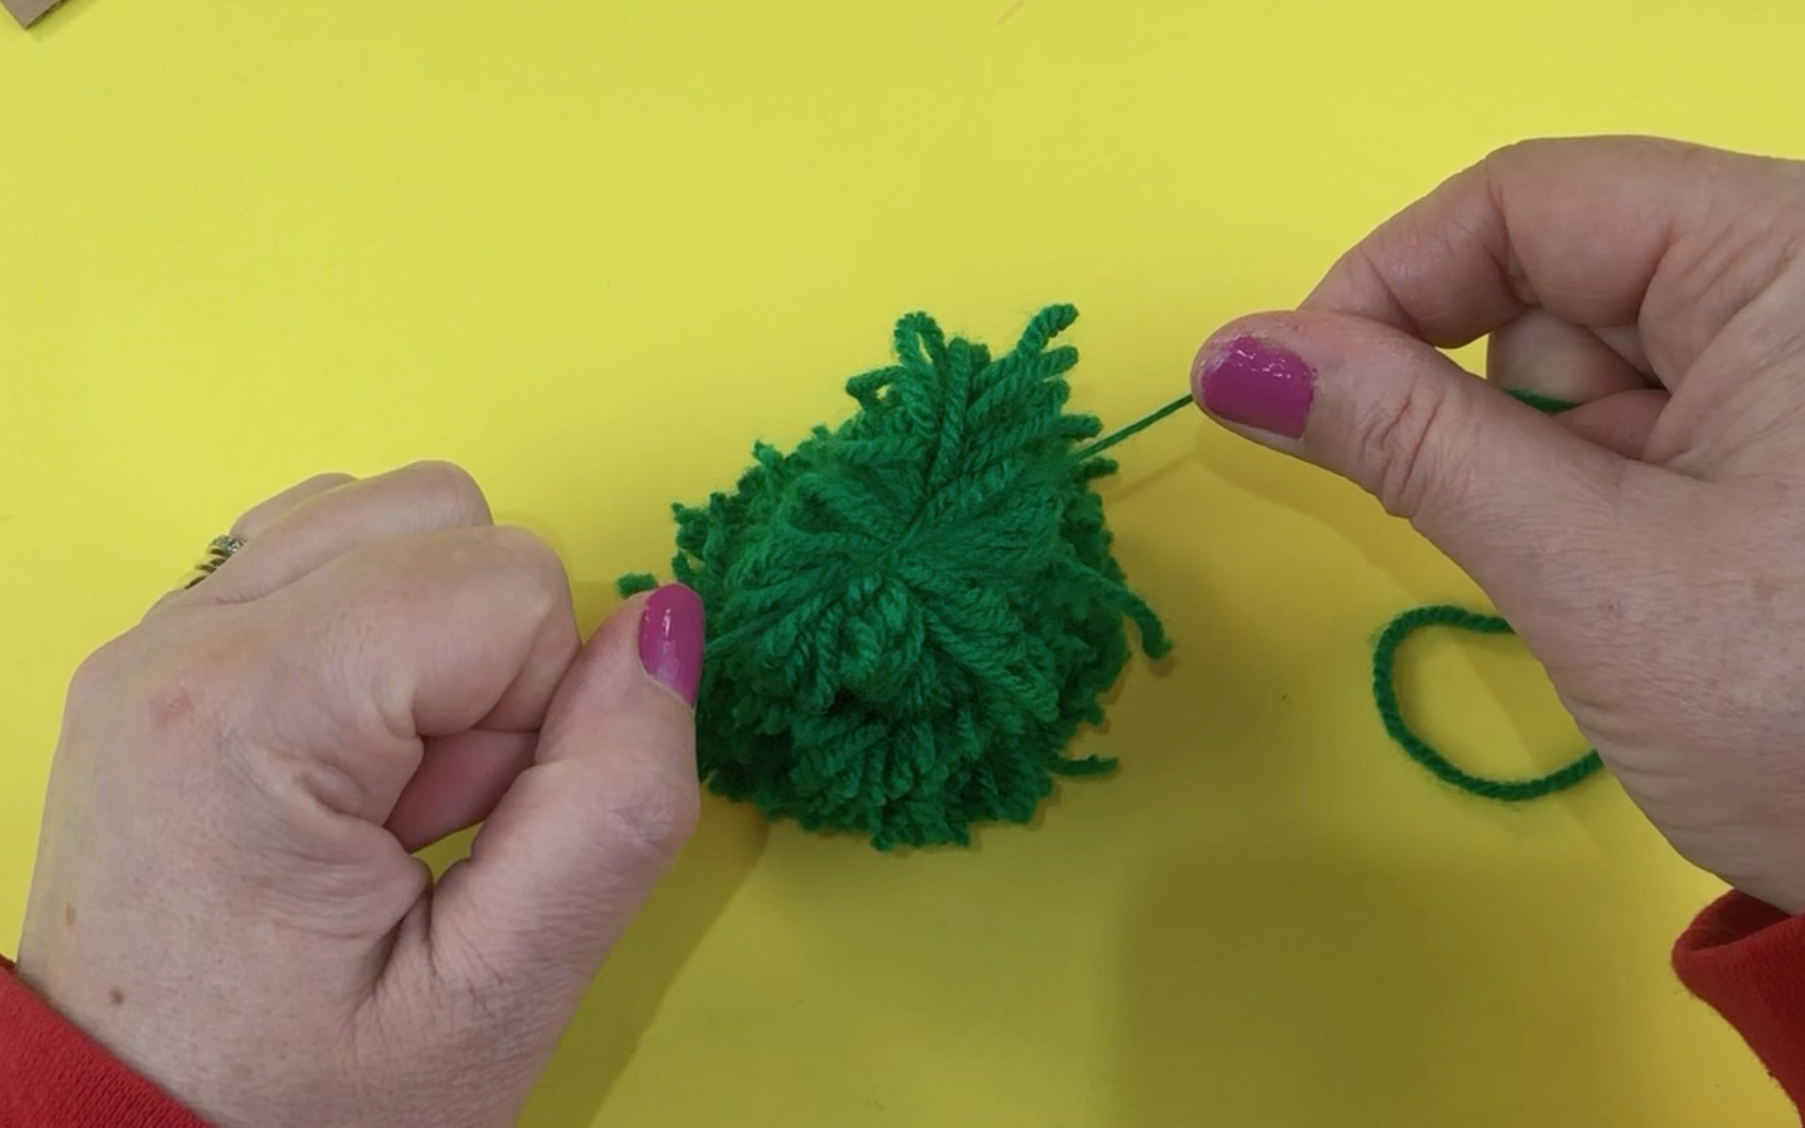
Tie the wool tightly through the middle of the hooped wool.
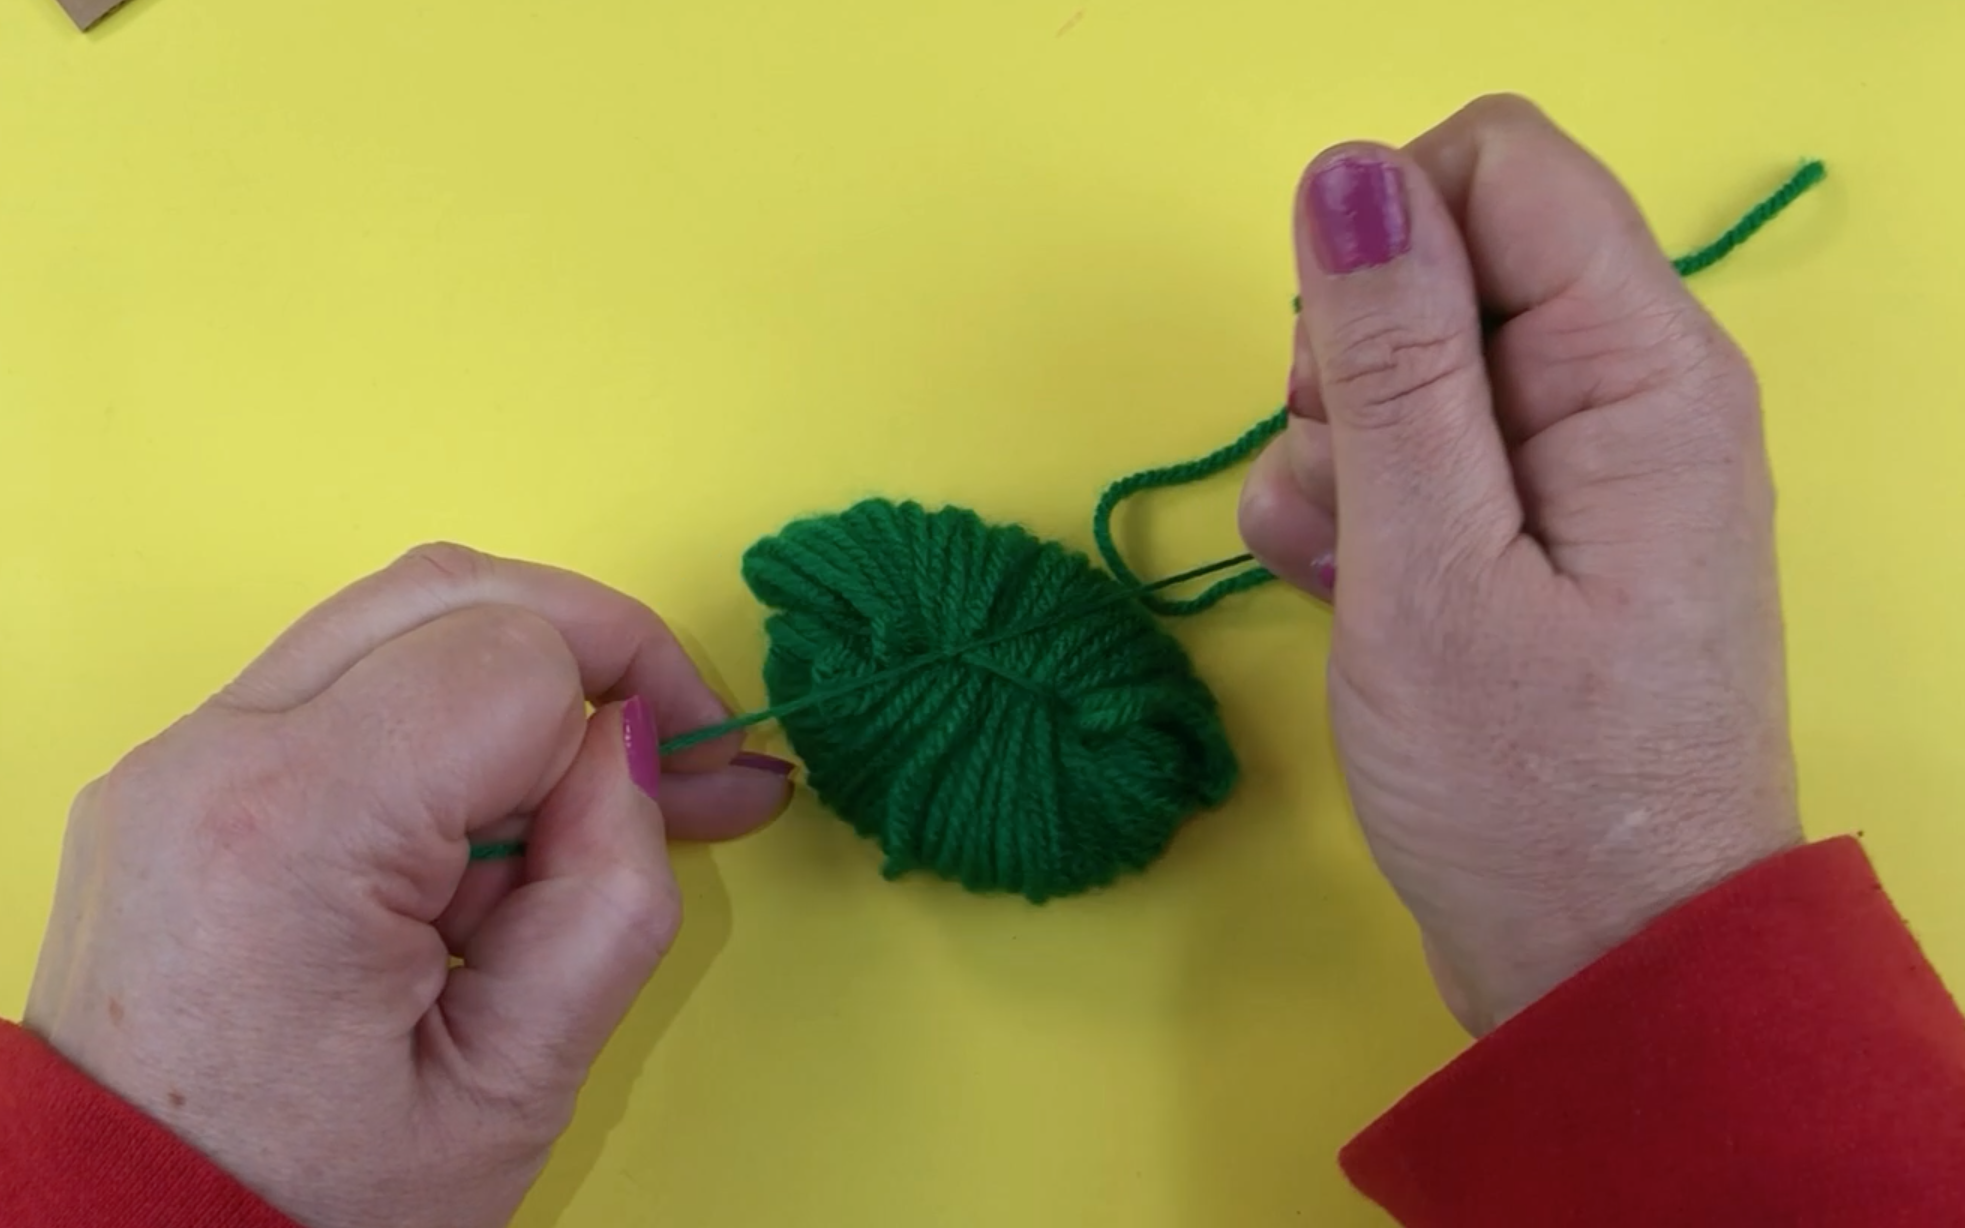
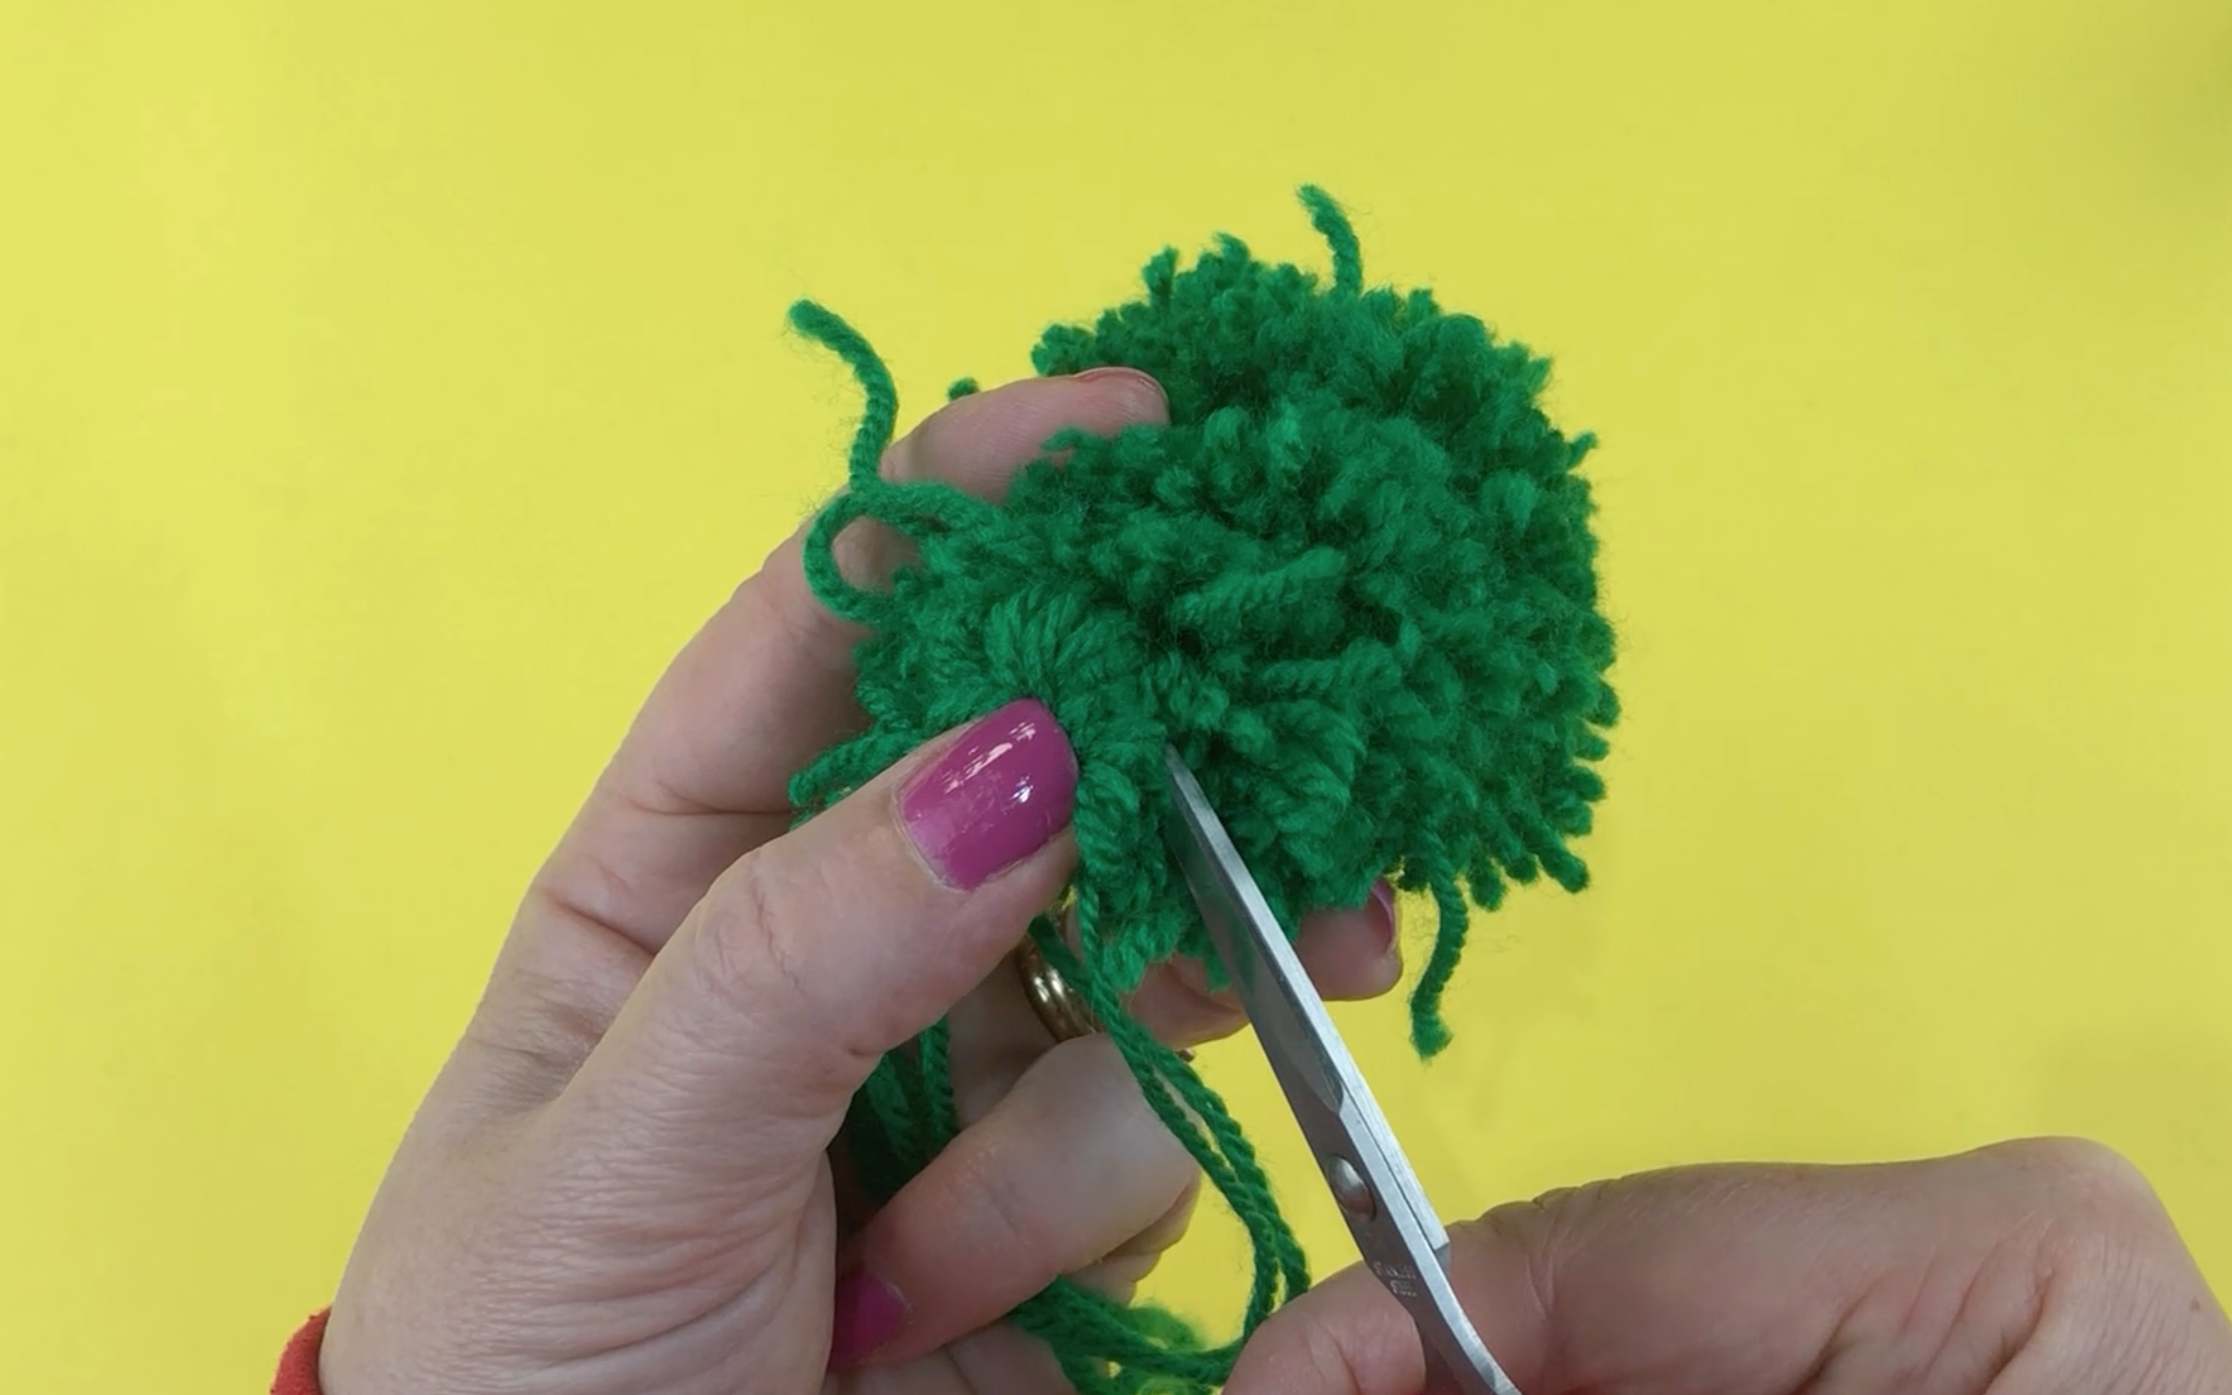
Once you are satisfied that it is tied tight, take some small sharp scissors and cut through all the loops of wool.

Step 2
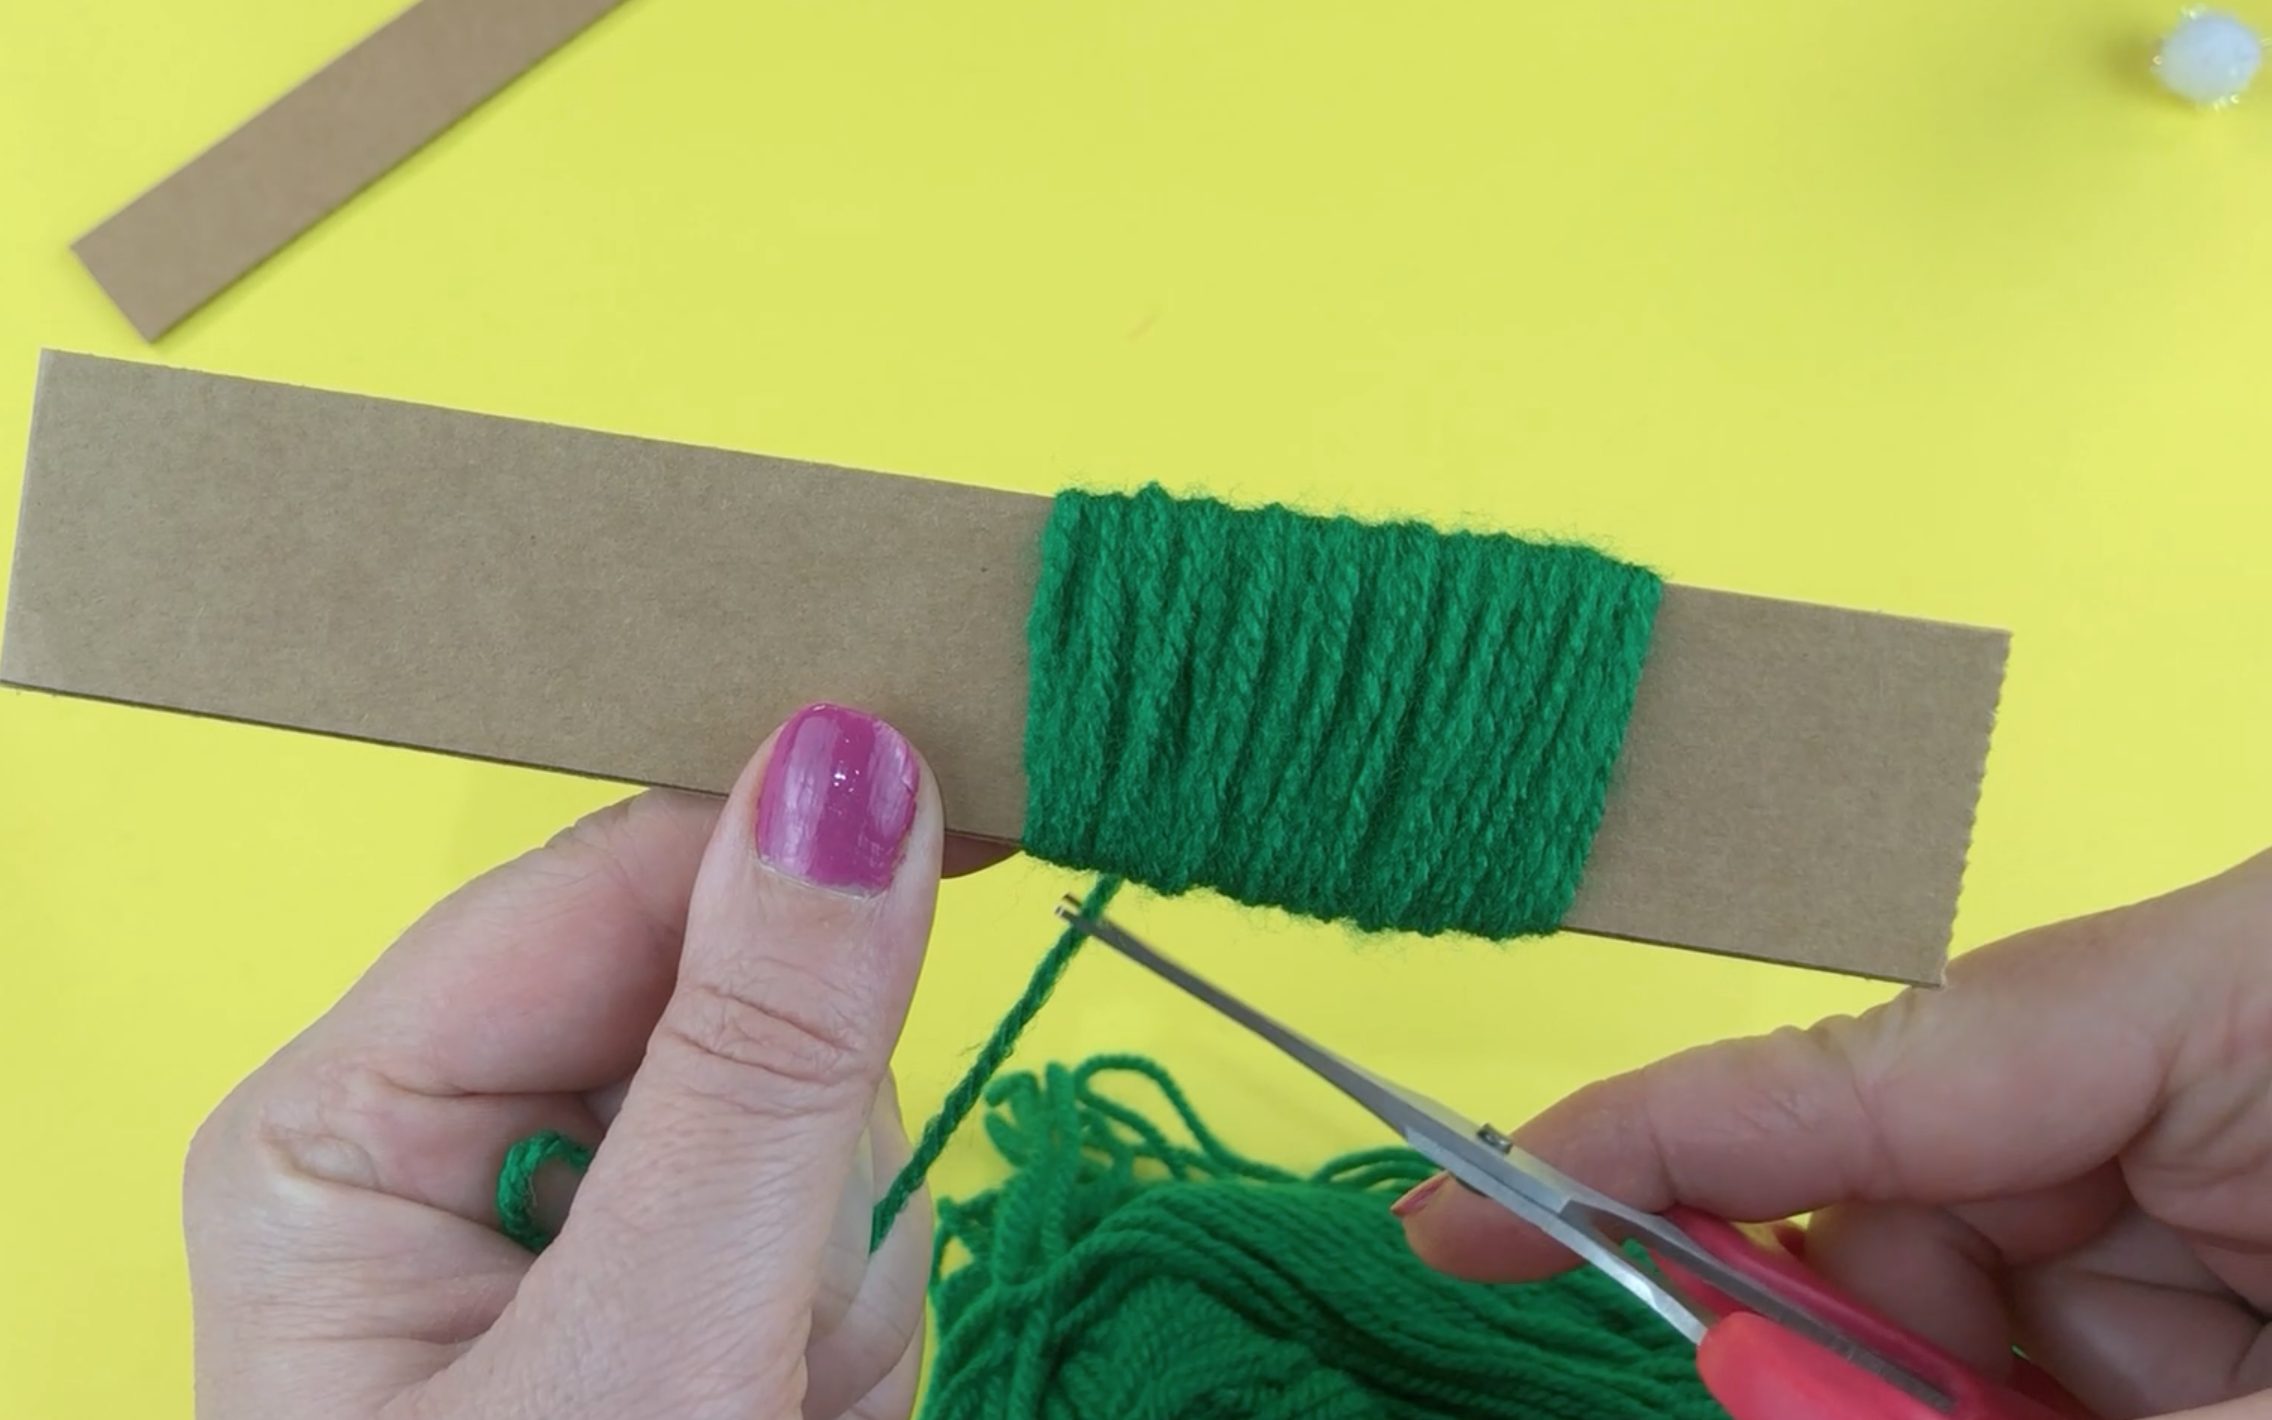
Cut another piece of card that is 4 cm wide. Wrap the wool around the cardboard 90 times.
Once you have wrapped the wool 90 times. Take the wool that you have already cut and tied. Slide the wool off the cardboard and place it on top of the wool that you tied previously and tie tightly, just like we did previously. Cut through all the hoops of the wool.
Step 3
For the next part of the tree cut a piece of card 3cm wide. For this layer wrap the wool around the cardboard 75 times. We are reducing the amount of wool wraps we do in each layer as we are trying to make a Christmas Tree shape.
Take the wool that you have already cut and tied. Slide the wool off the cardboard and place it on top of the wool that you tied previously, and tie tightly, just like we did previously. Cut through all the hoops of the wool.
Step 4
For the final layer, cut a piece of card 2 cm wide. Wrap the wool around the cardboard 35 times.
Take the wool that you have already cut and tied. Slide the wool off the cardboard and place it on top of the wool that you tied previously, and tie tightly, just like we did previously. Cut through all the hoops of the wool.
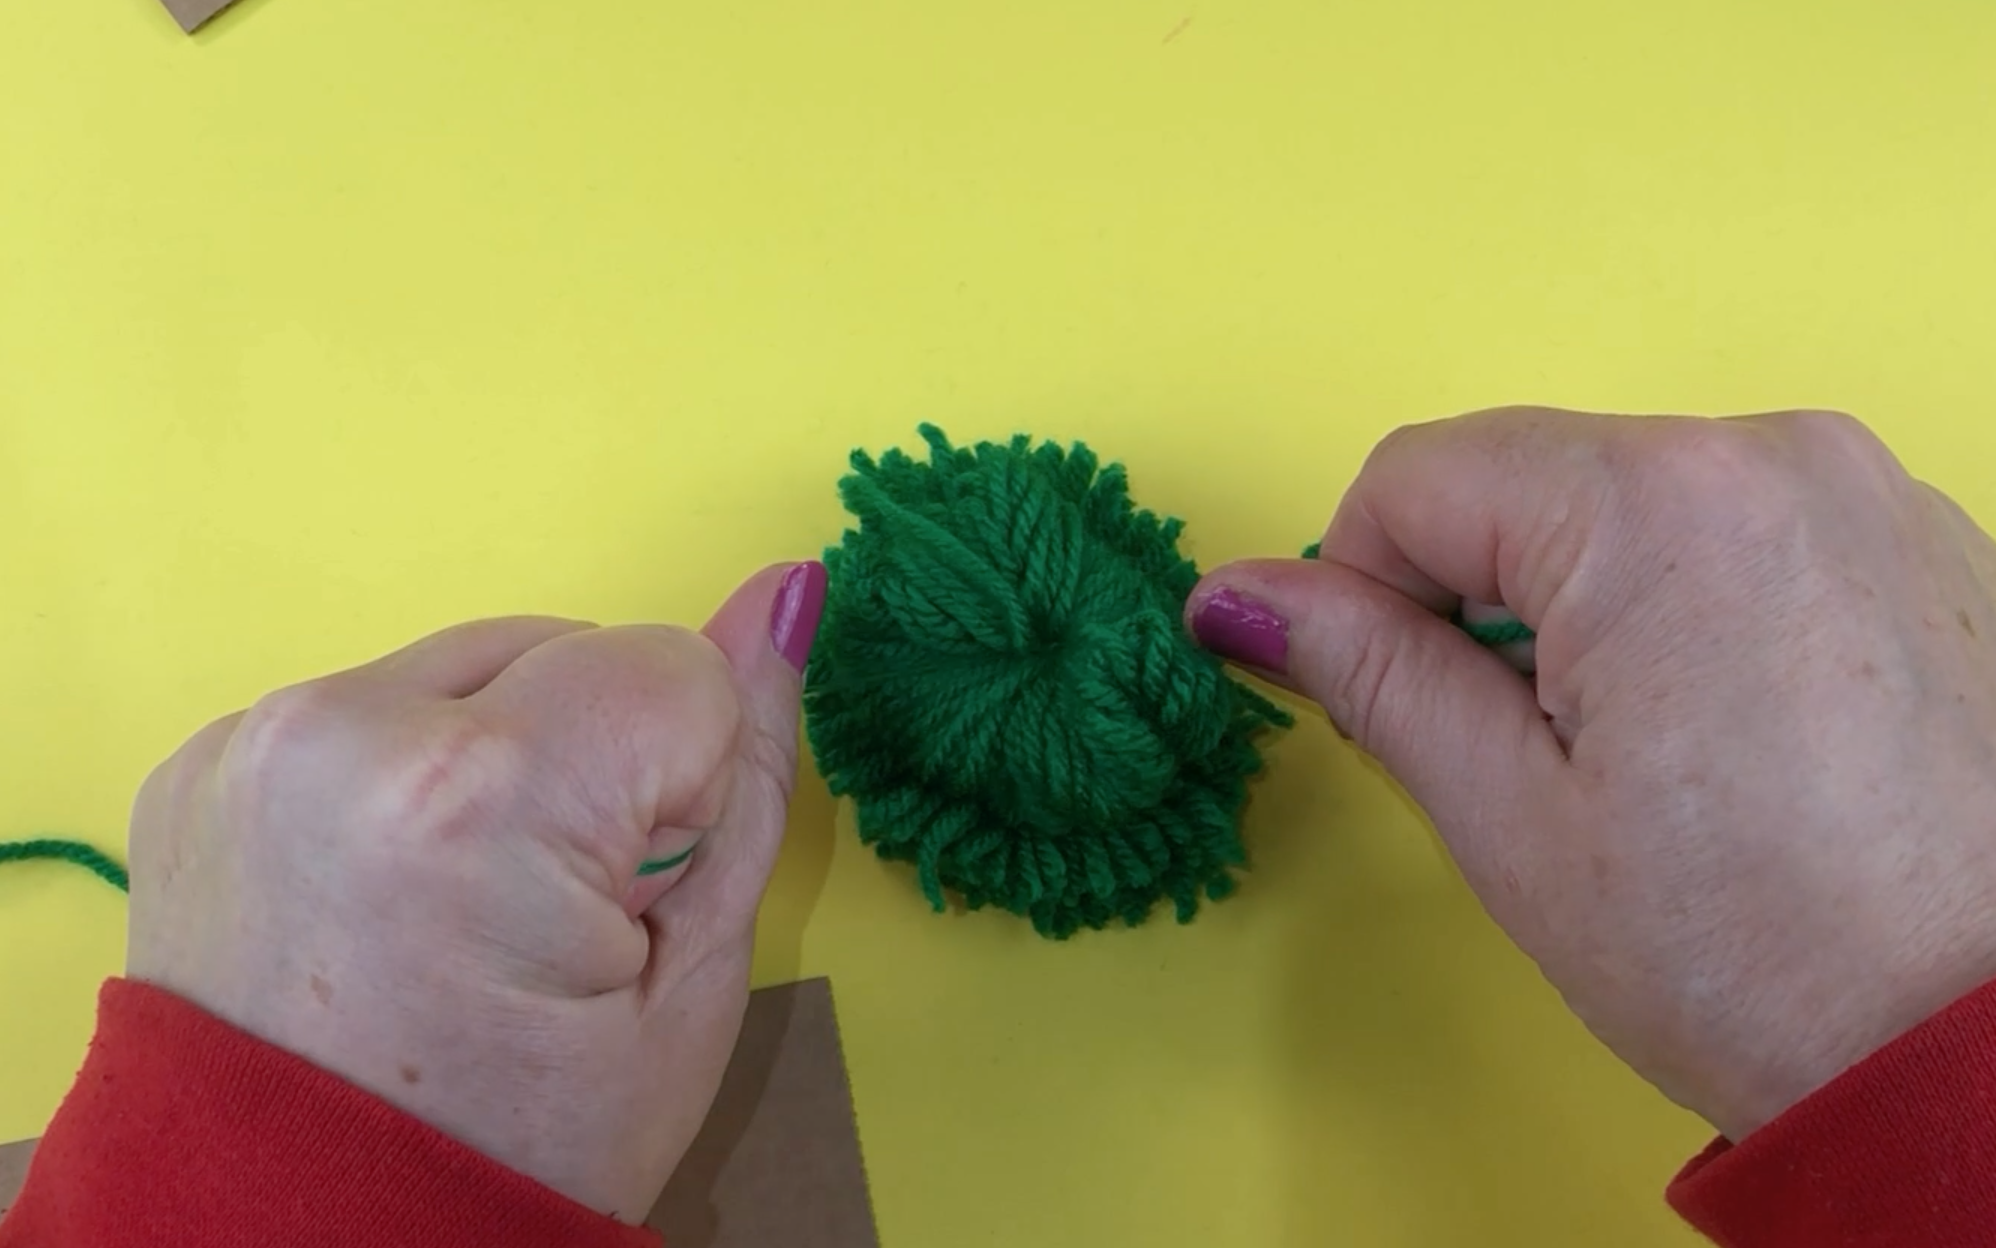
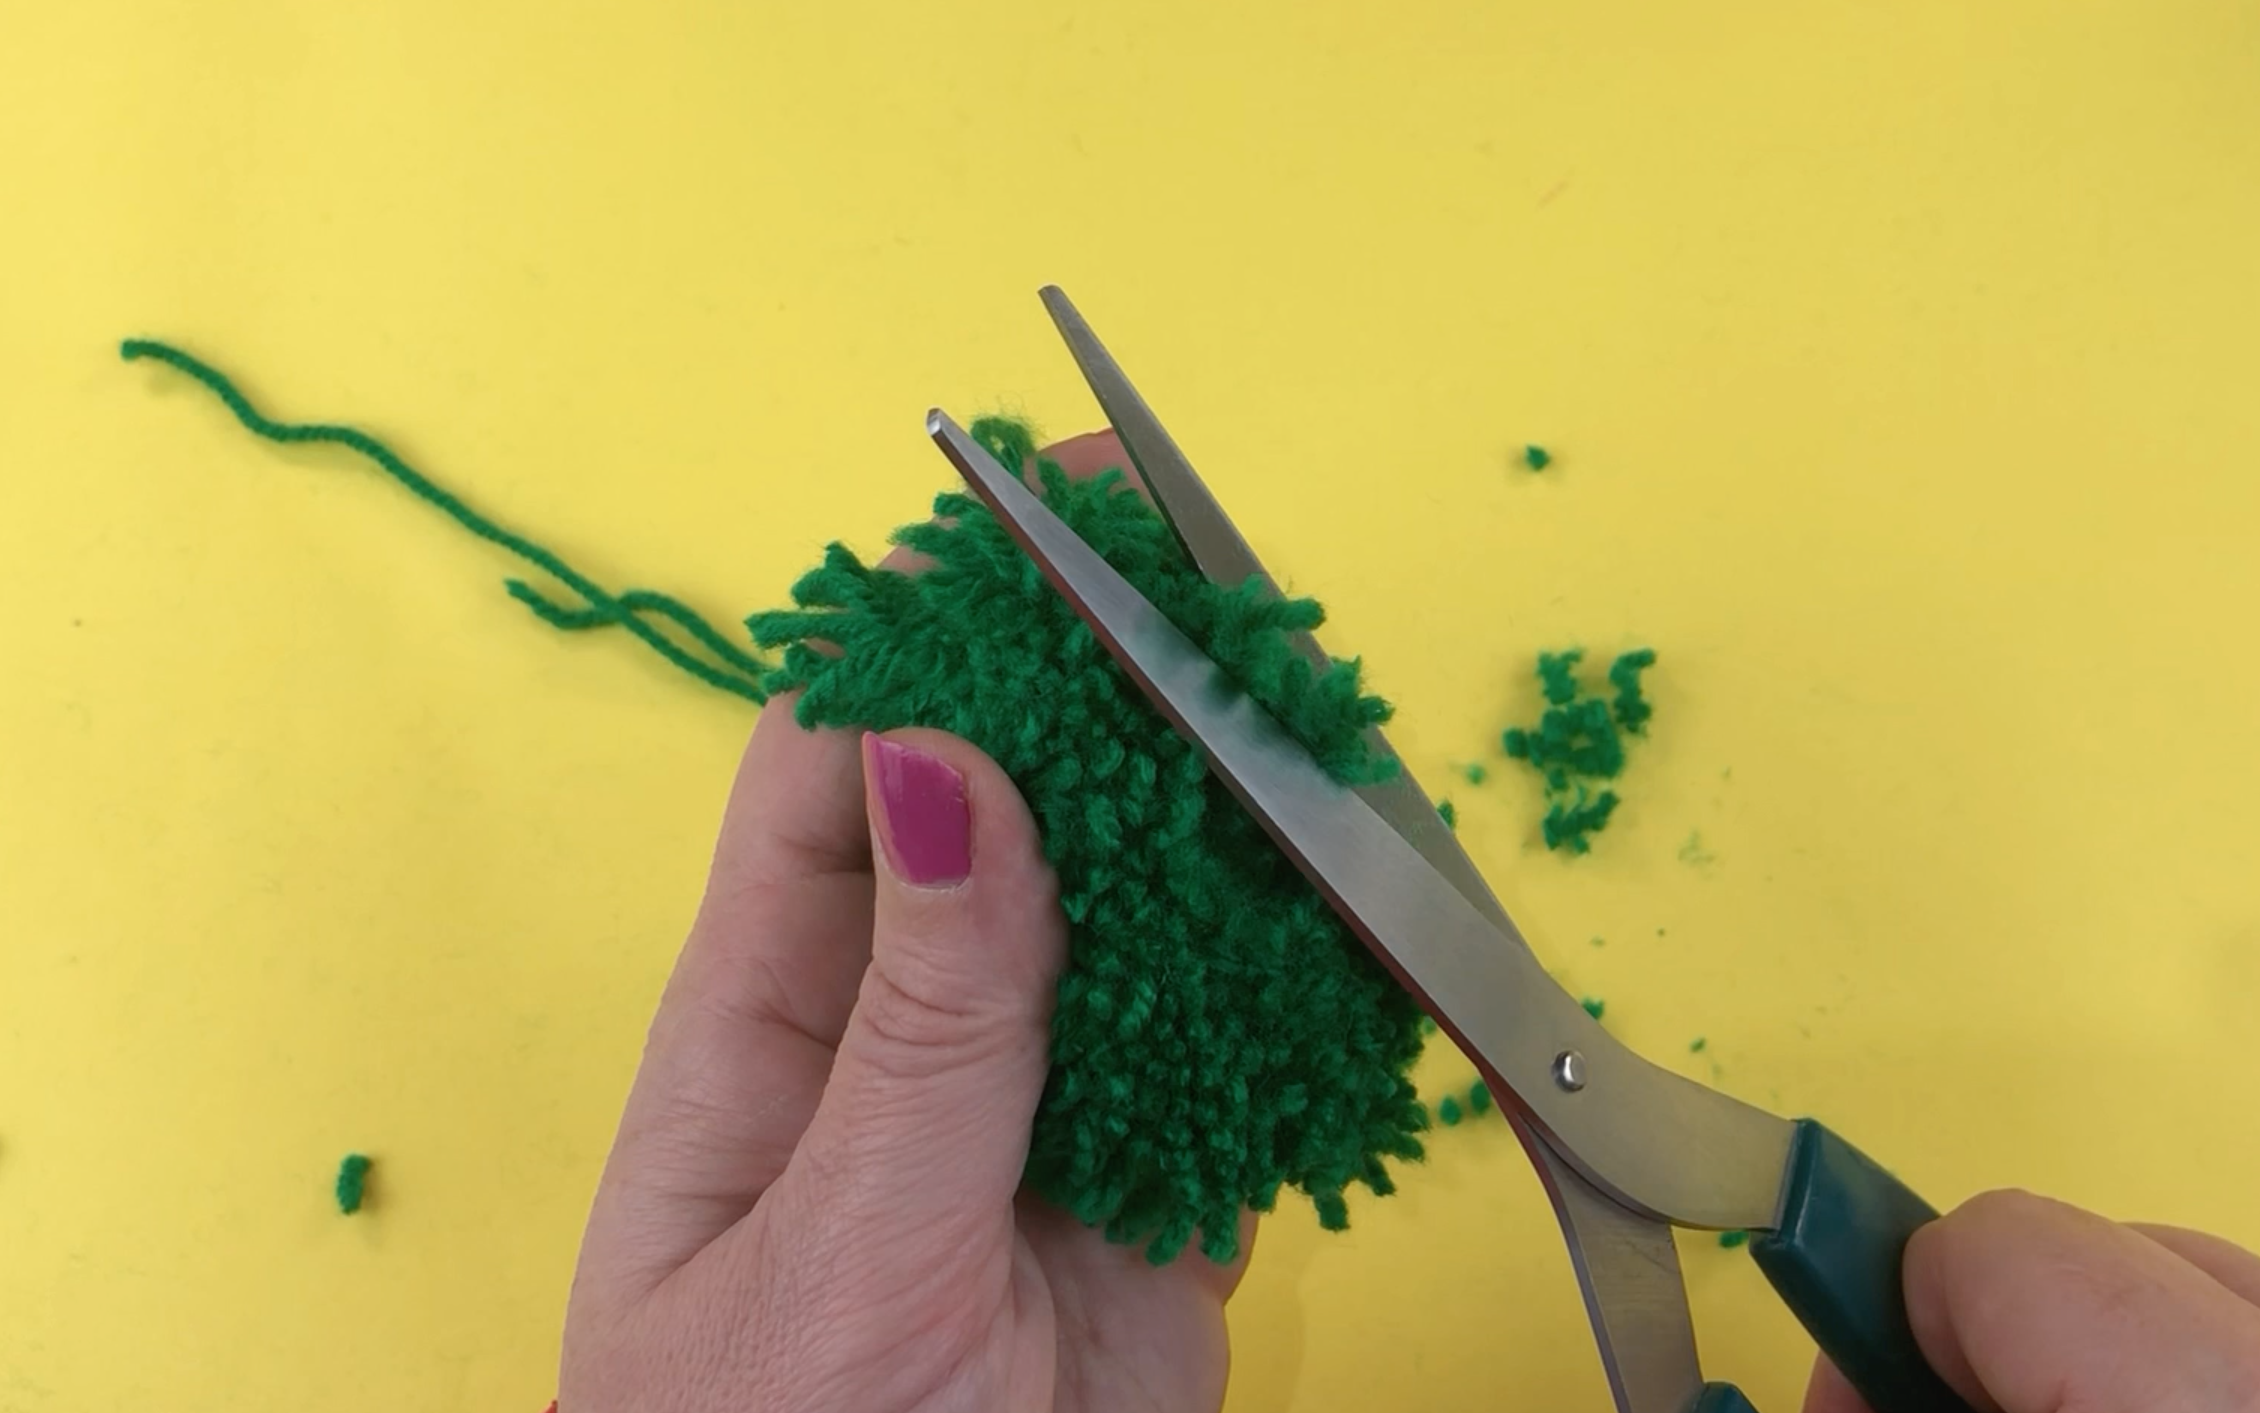
Take some larger scissors and start to trim the edge of the pompom, It should start to look like a tree shape.
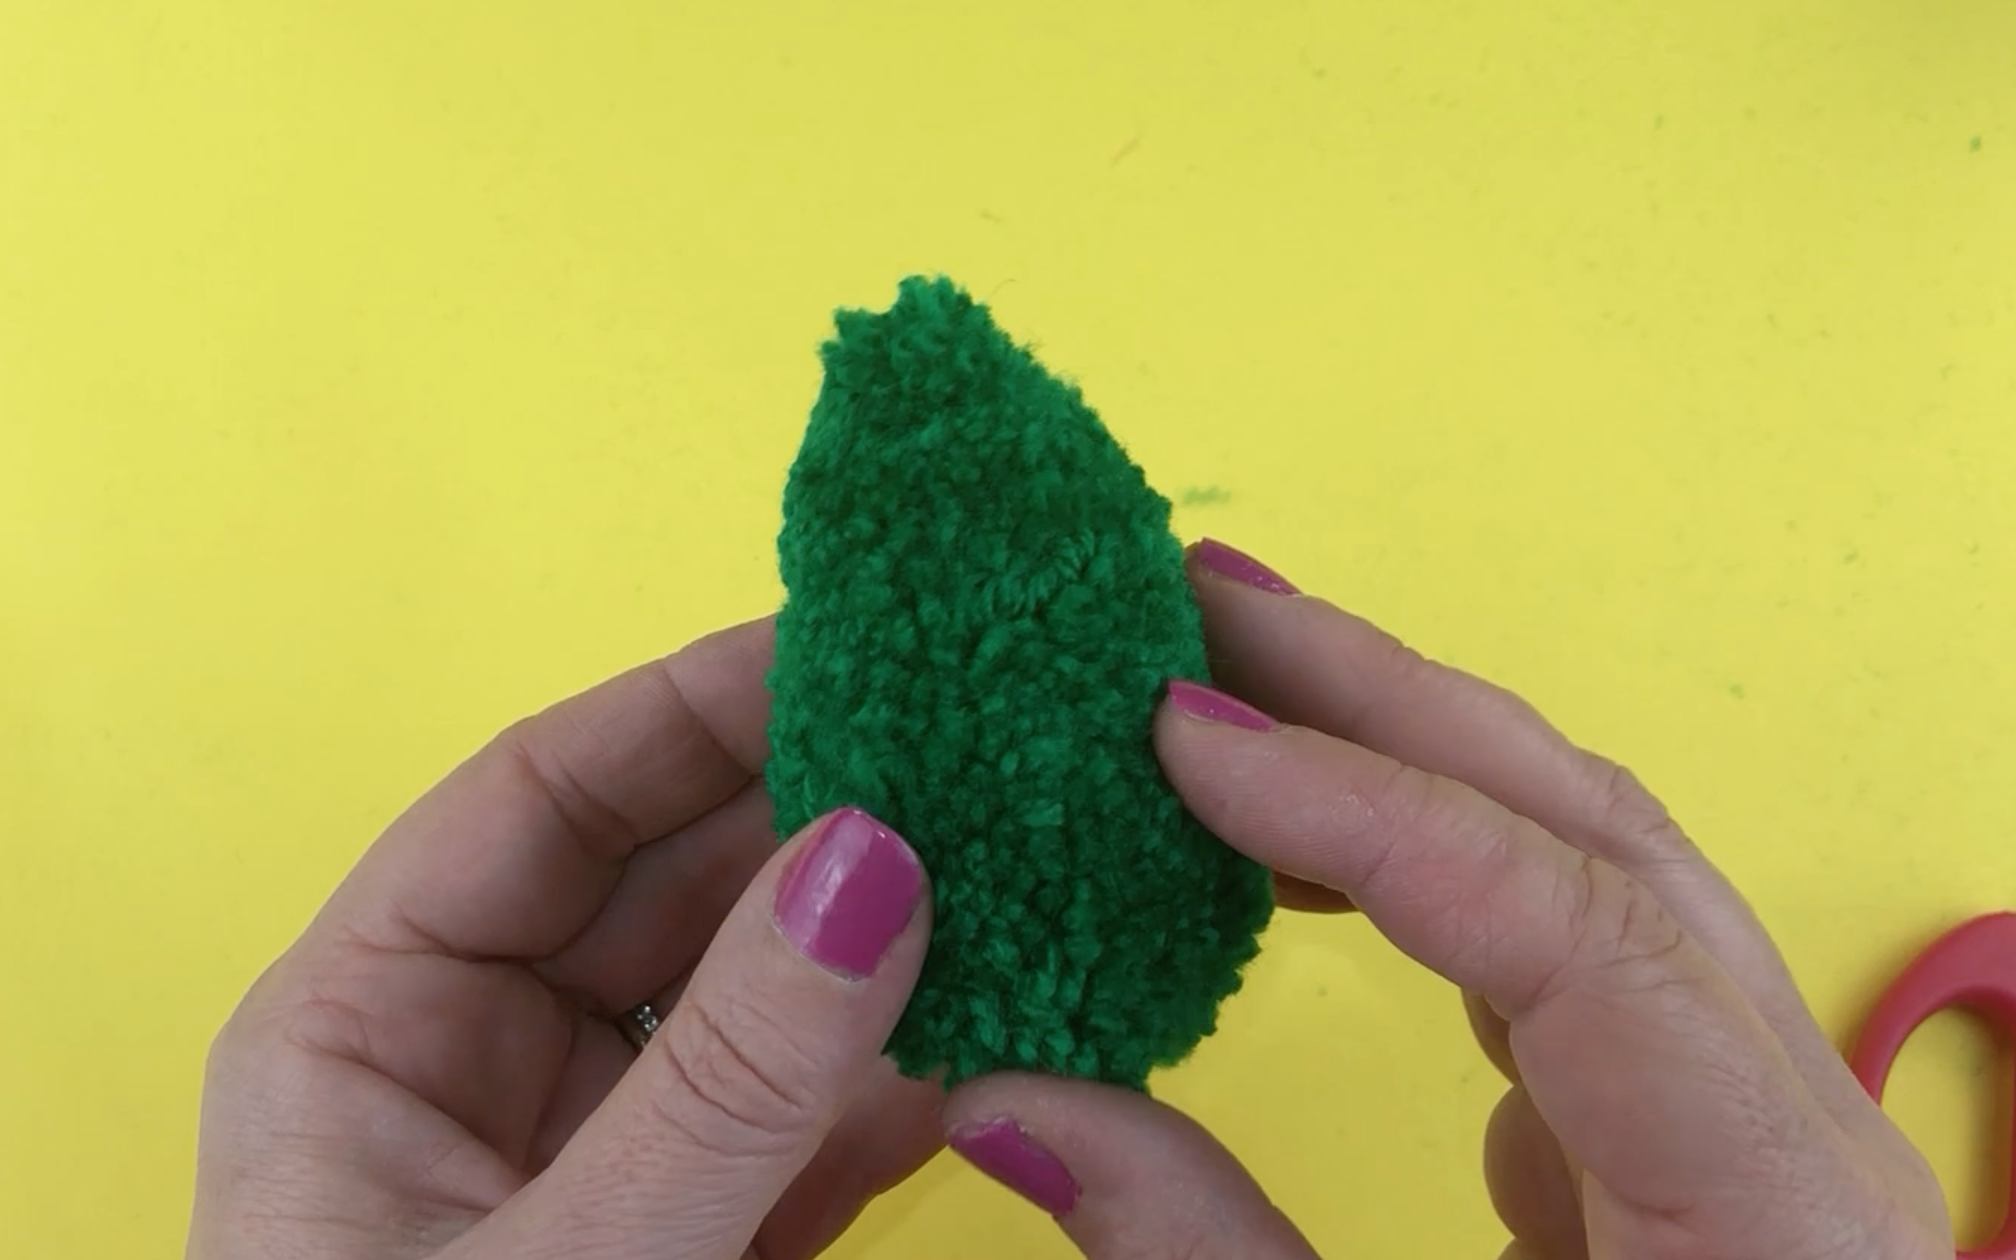
This is how it should look once you have trimmed all the edges.
Take the glue that you have chosen to use and the small pompoms.
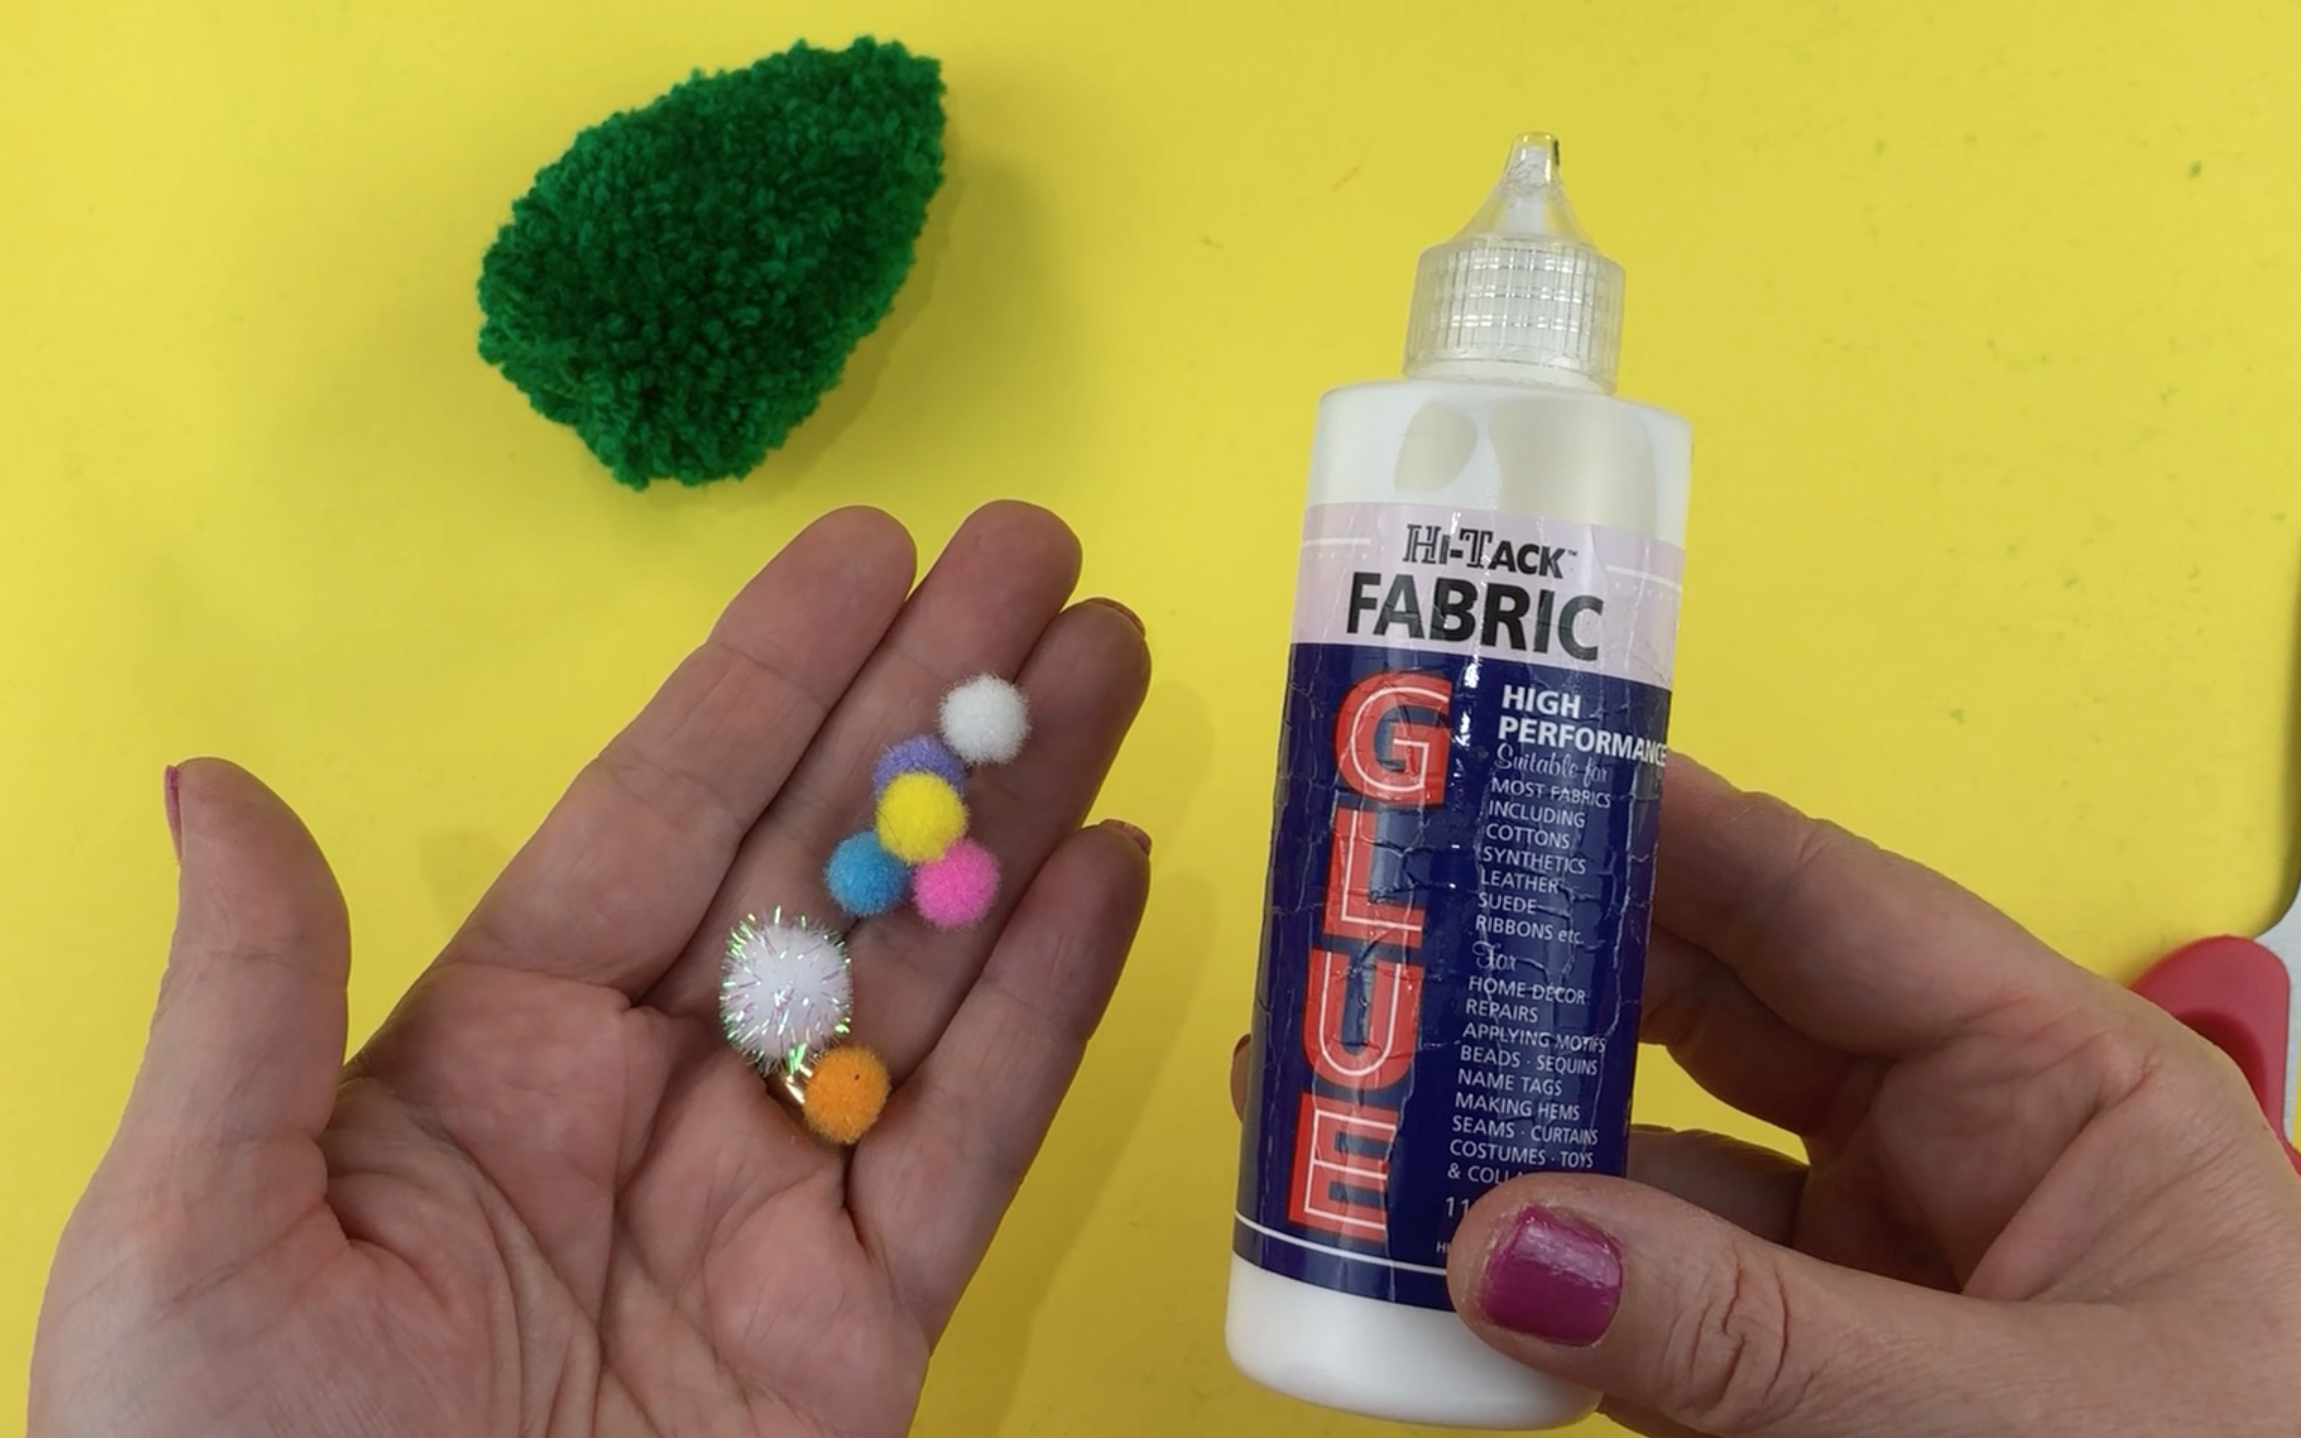
Carefully part the wool, place a small amount of glue on the wool and then add one of the really small coloured pompoms.
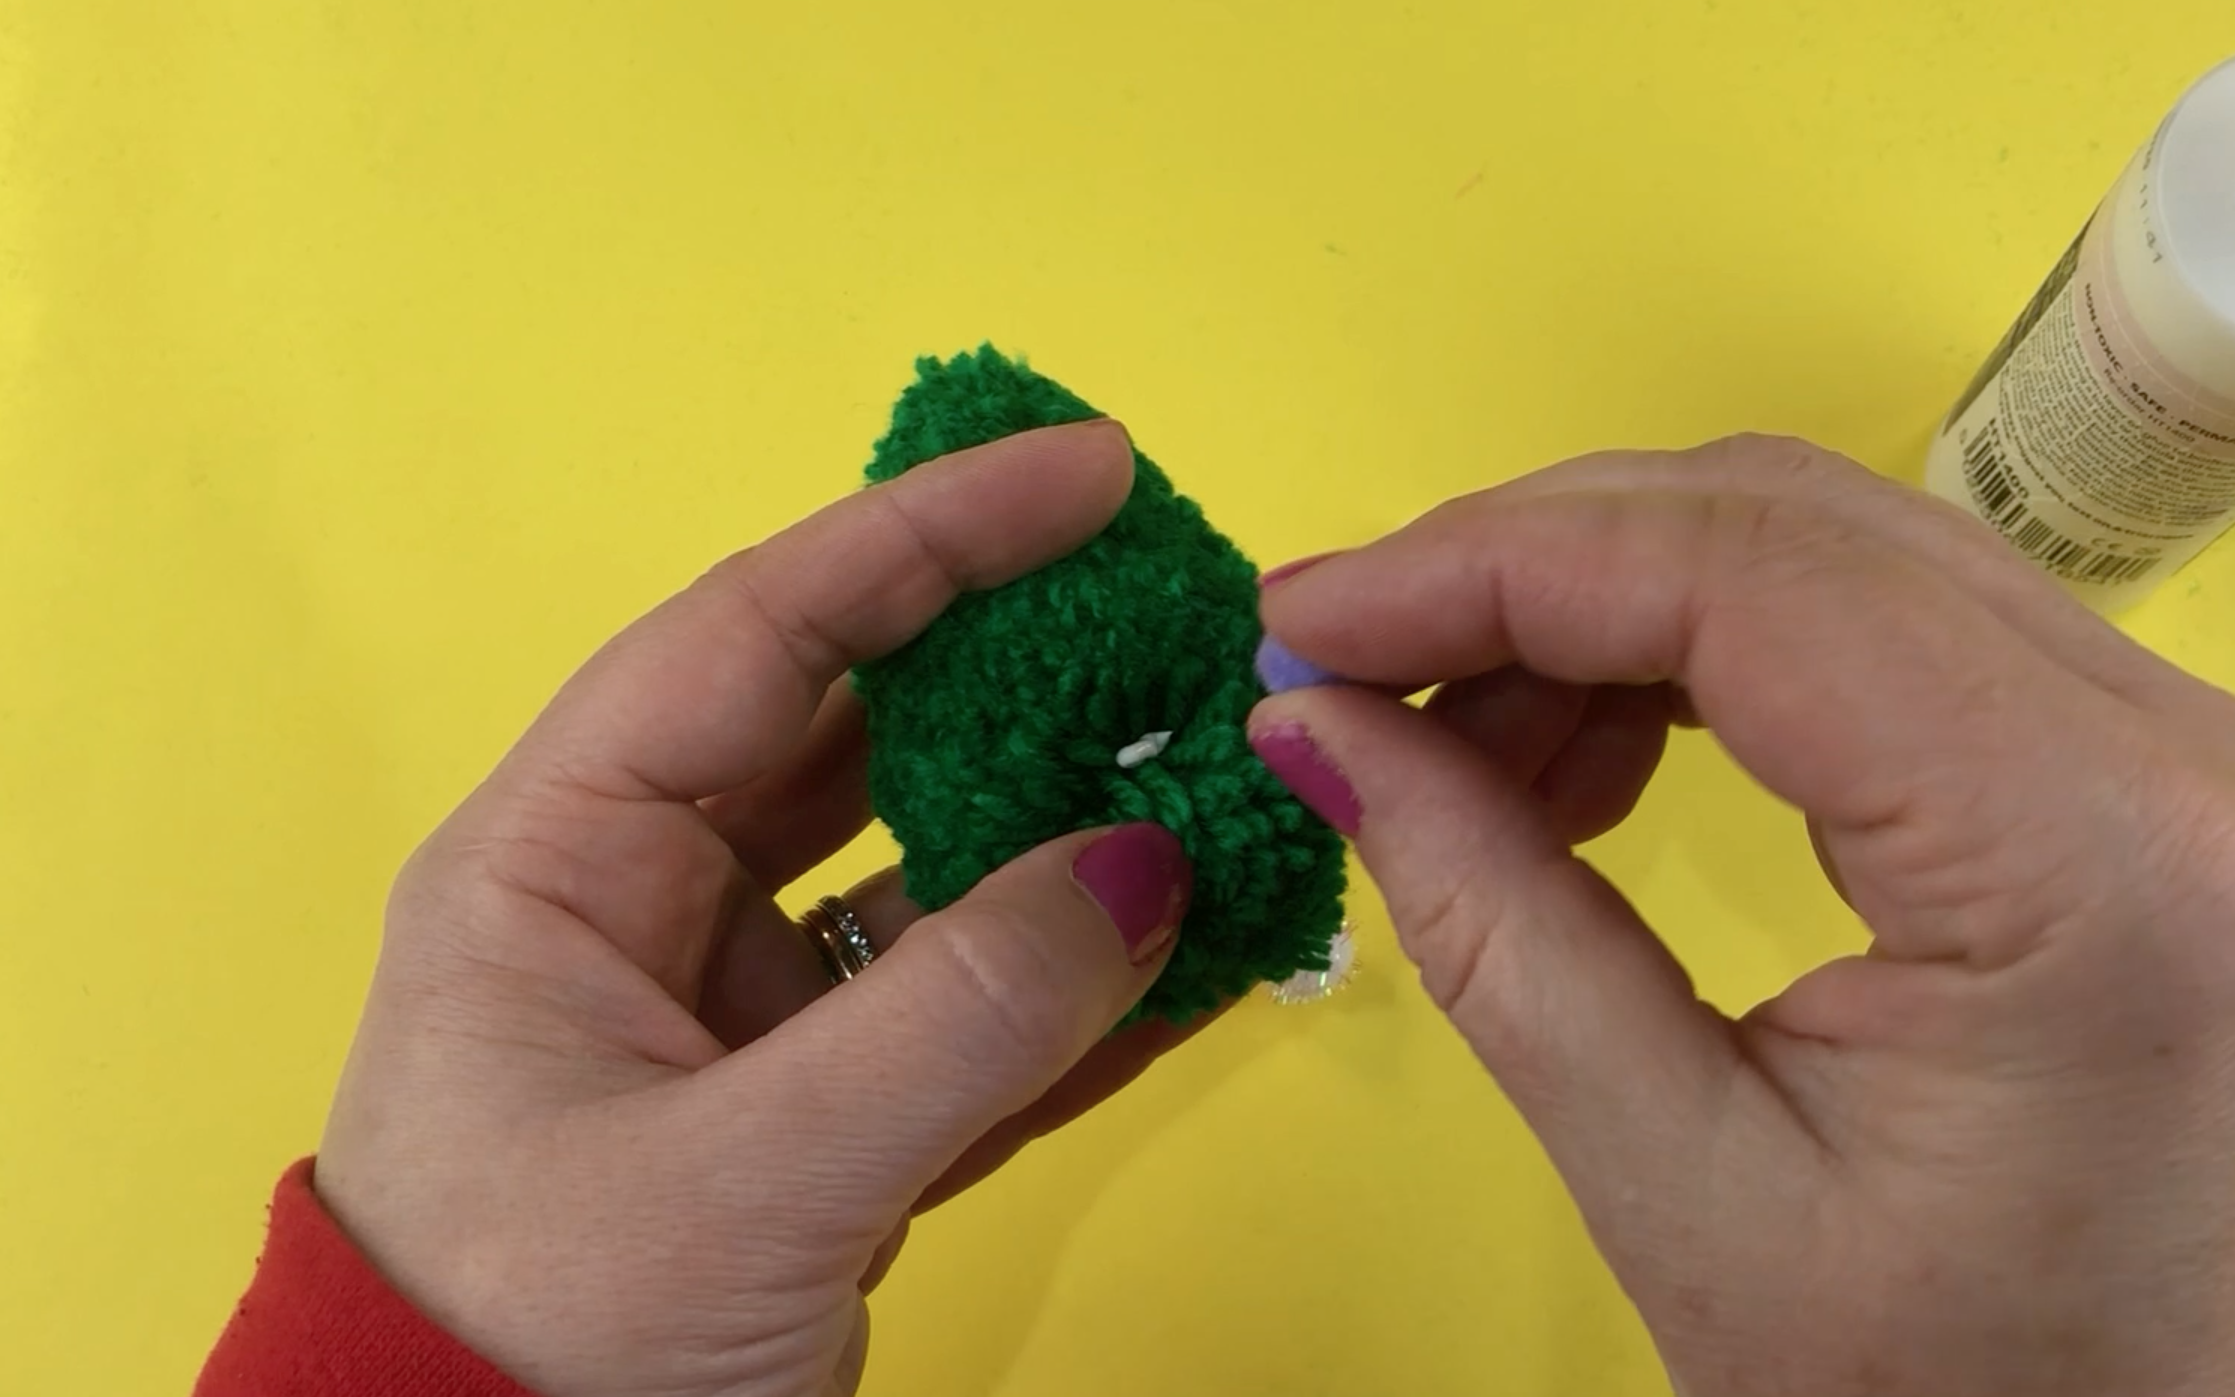
Keep adding the small pompoms until you feel you have enough pompoms on your tree. I also found a sparkly pompom to go on the top of the tree.
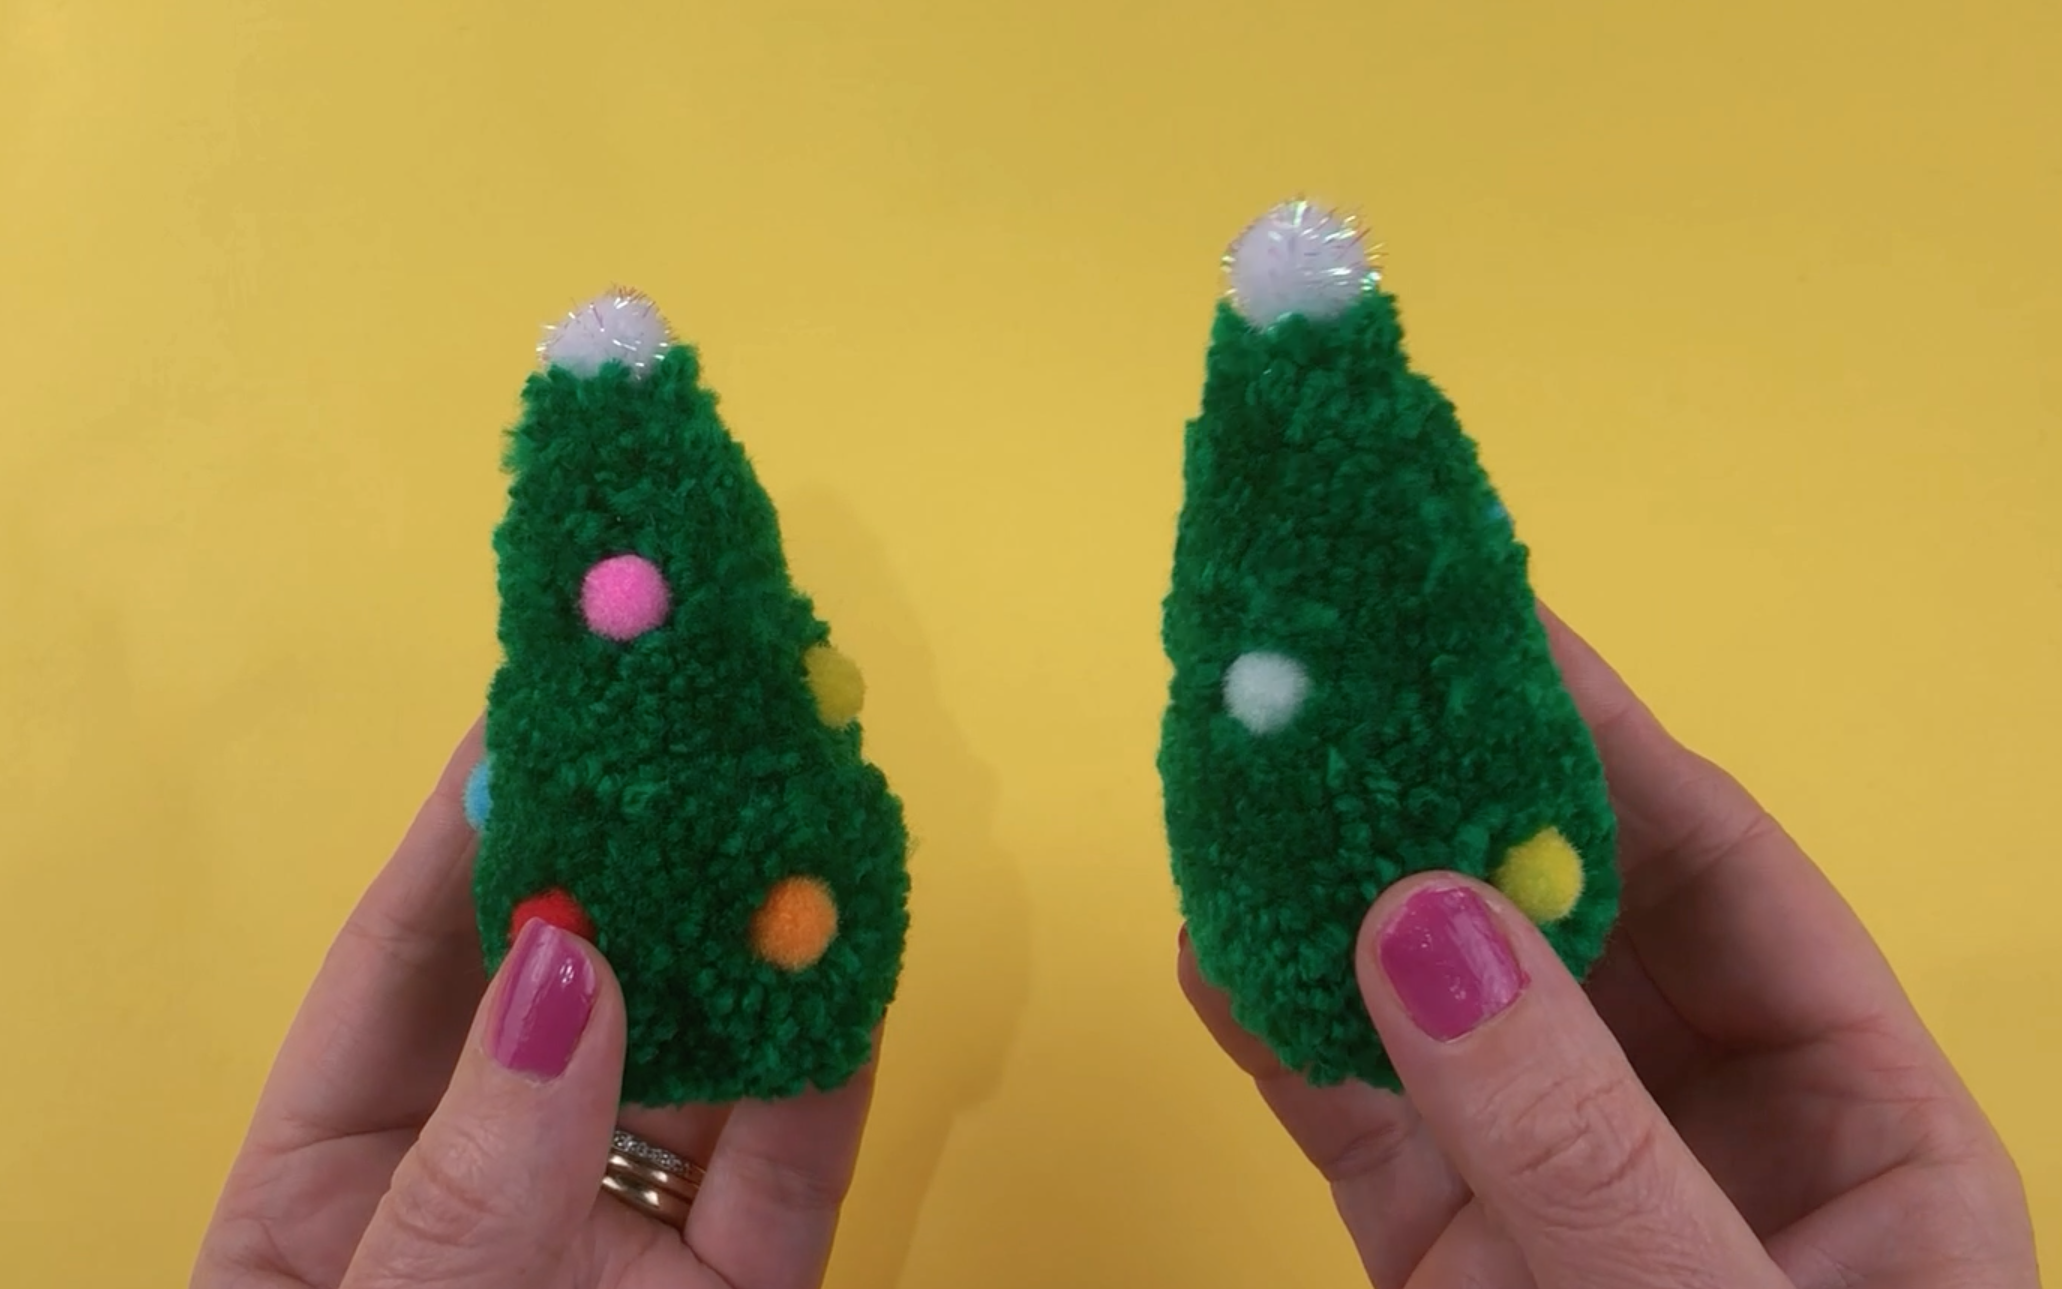
Now you have your really cute pompom Christmas trees.
If you would like to watch how i made my cute Pompom Christmas Trees then check out the video below:
If you enjoyed this blog, please check out my other blogs: