Can you remember when you was young and making paper chains were all the rage. I remember spending hours making paper chains. If we had no paper then i would use newspaper or old wrapping paper (this was back in the 80s and 90s) but it kept us entertained for hours.To make these paper chains you really do need minimum supplies In this blog i am sharing how to make paper chains, just like we did as kids.
Supplies i used:
=================================================================================
DISCLAIMER: Links included in this description might be affiliate links. If you purchase a product or service with the links that I provide I may receive a small commission. There is no additional charge to you. Thank you so much for helping to support my channel, you are awesome.
=================================================================================
Step 1
Place the paper in the paper trimmer. Cut along the shortest side. I measured my paper to give a width of 2'' but you can make your paper chains as wide as you want them to be.
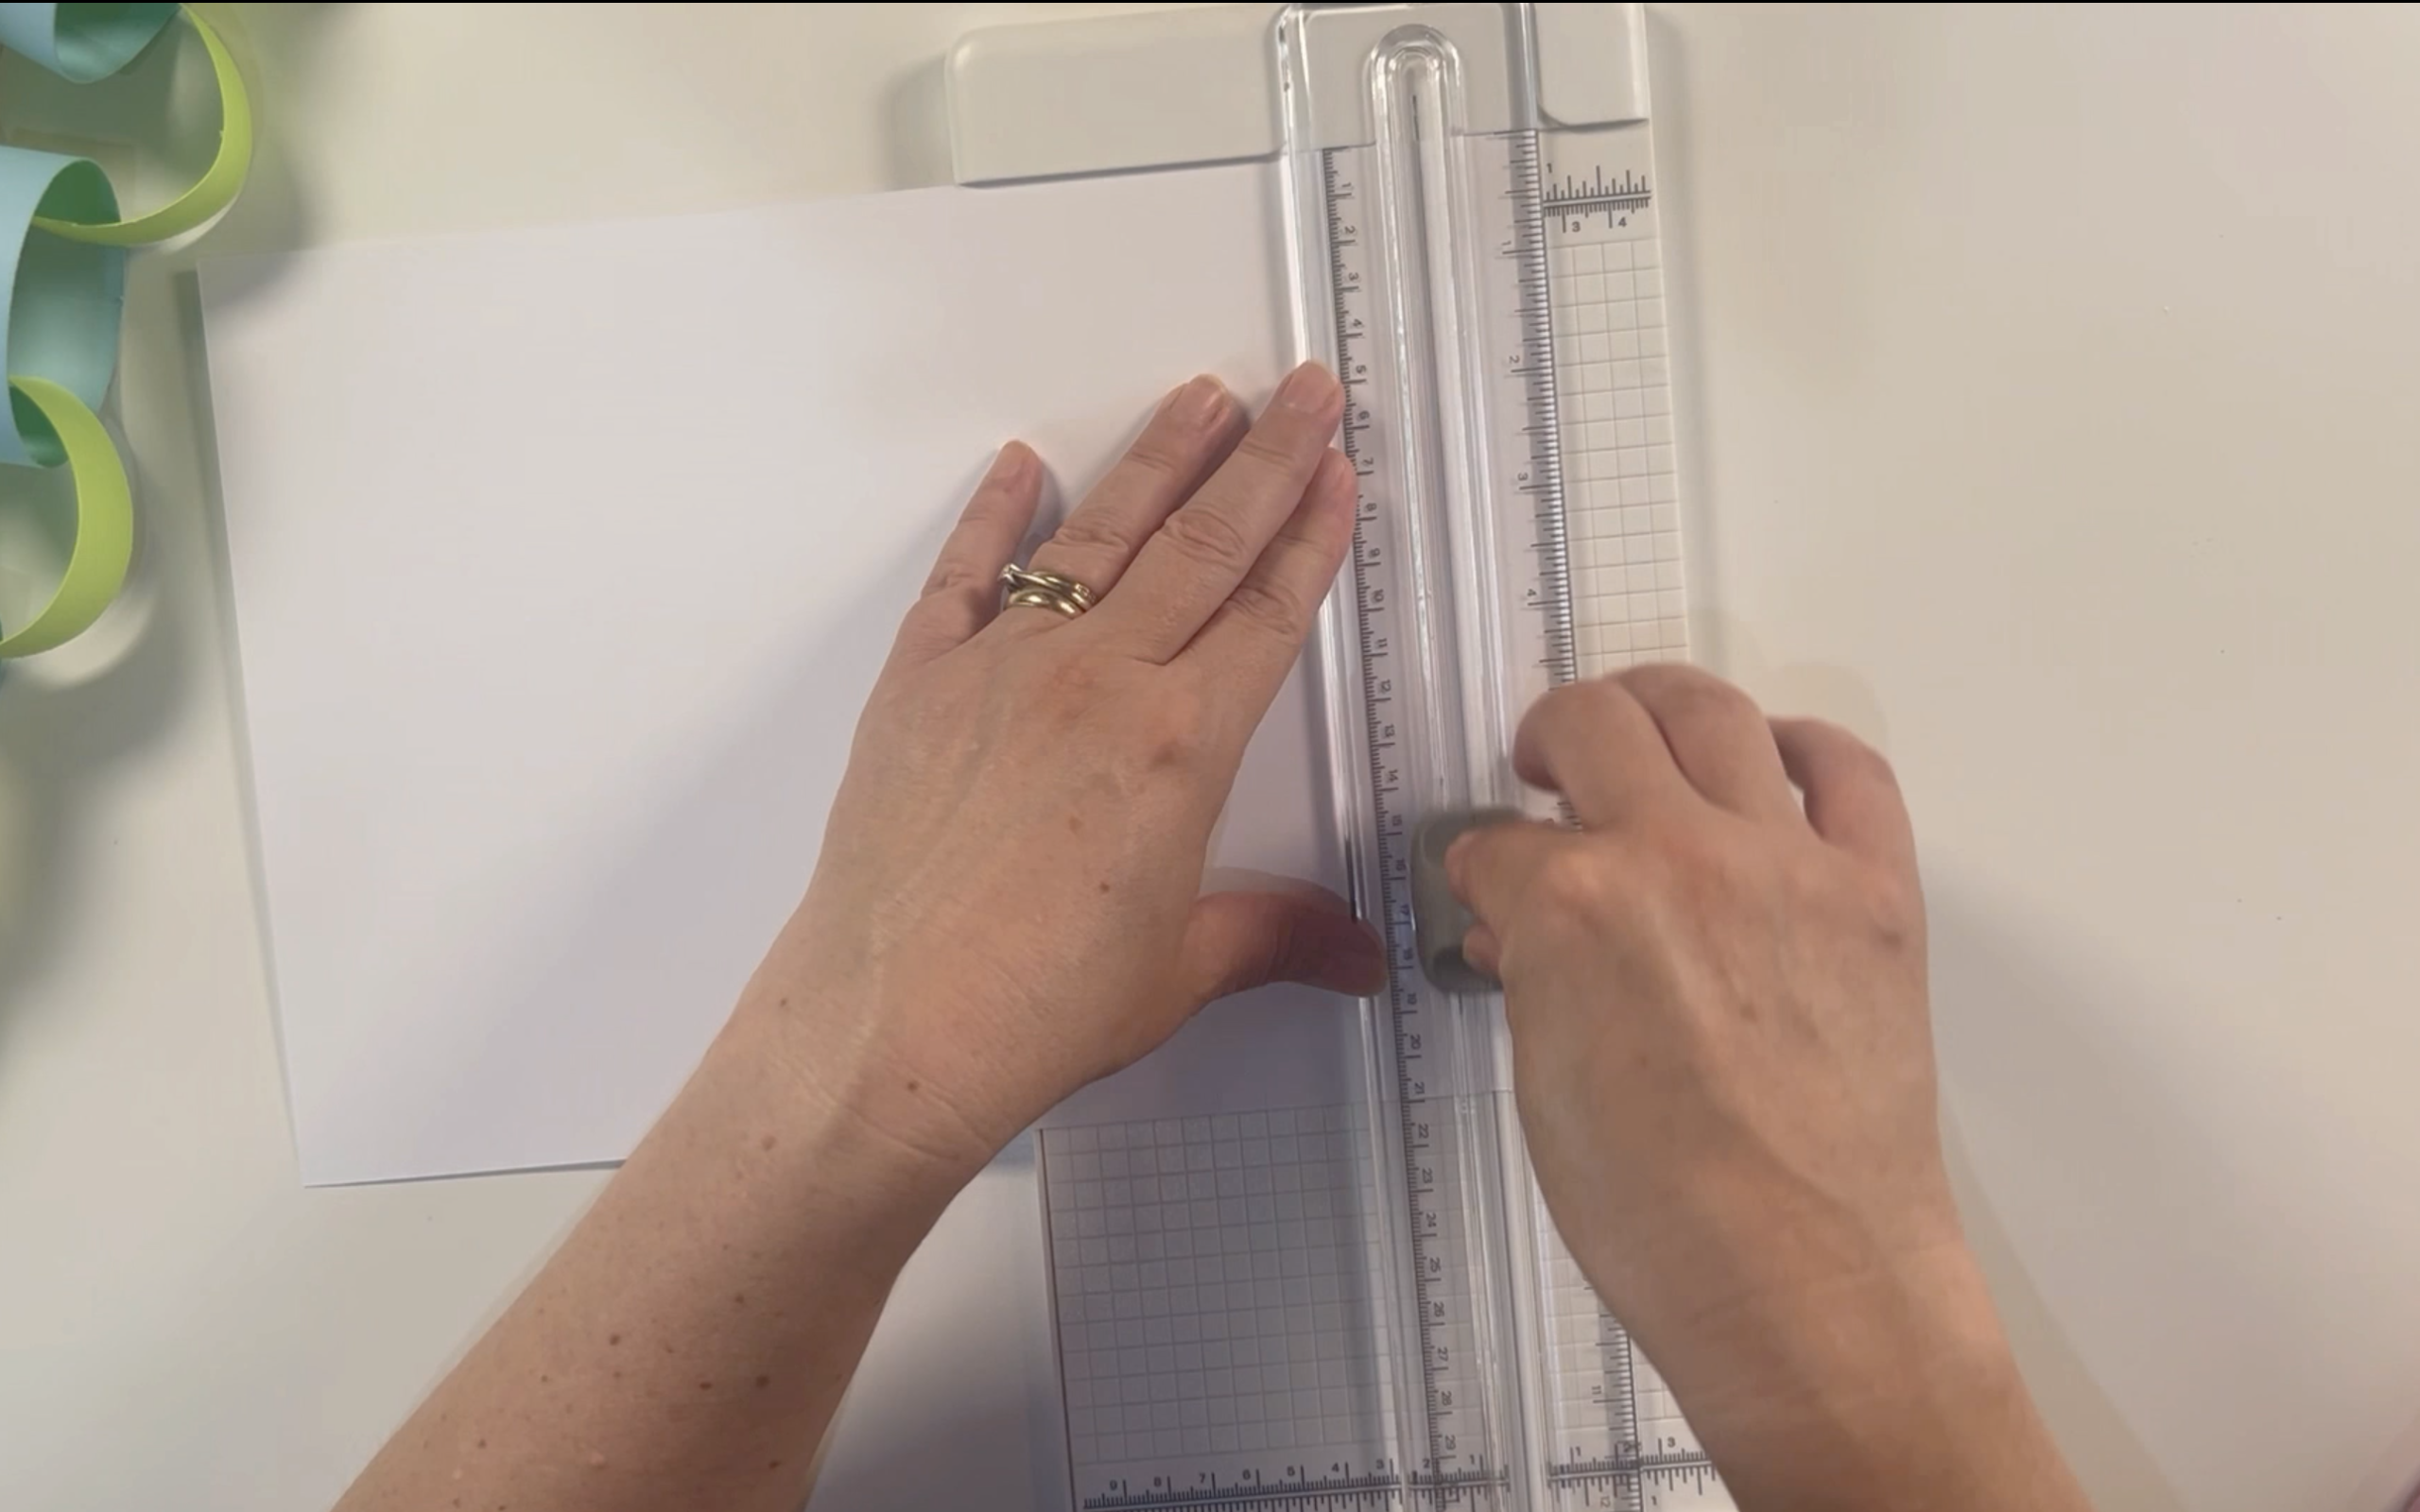
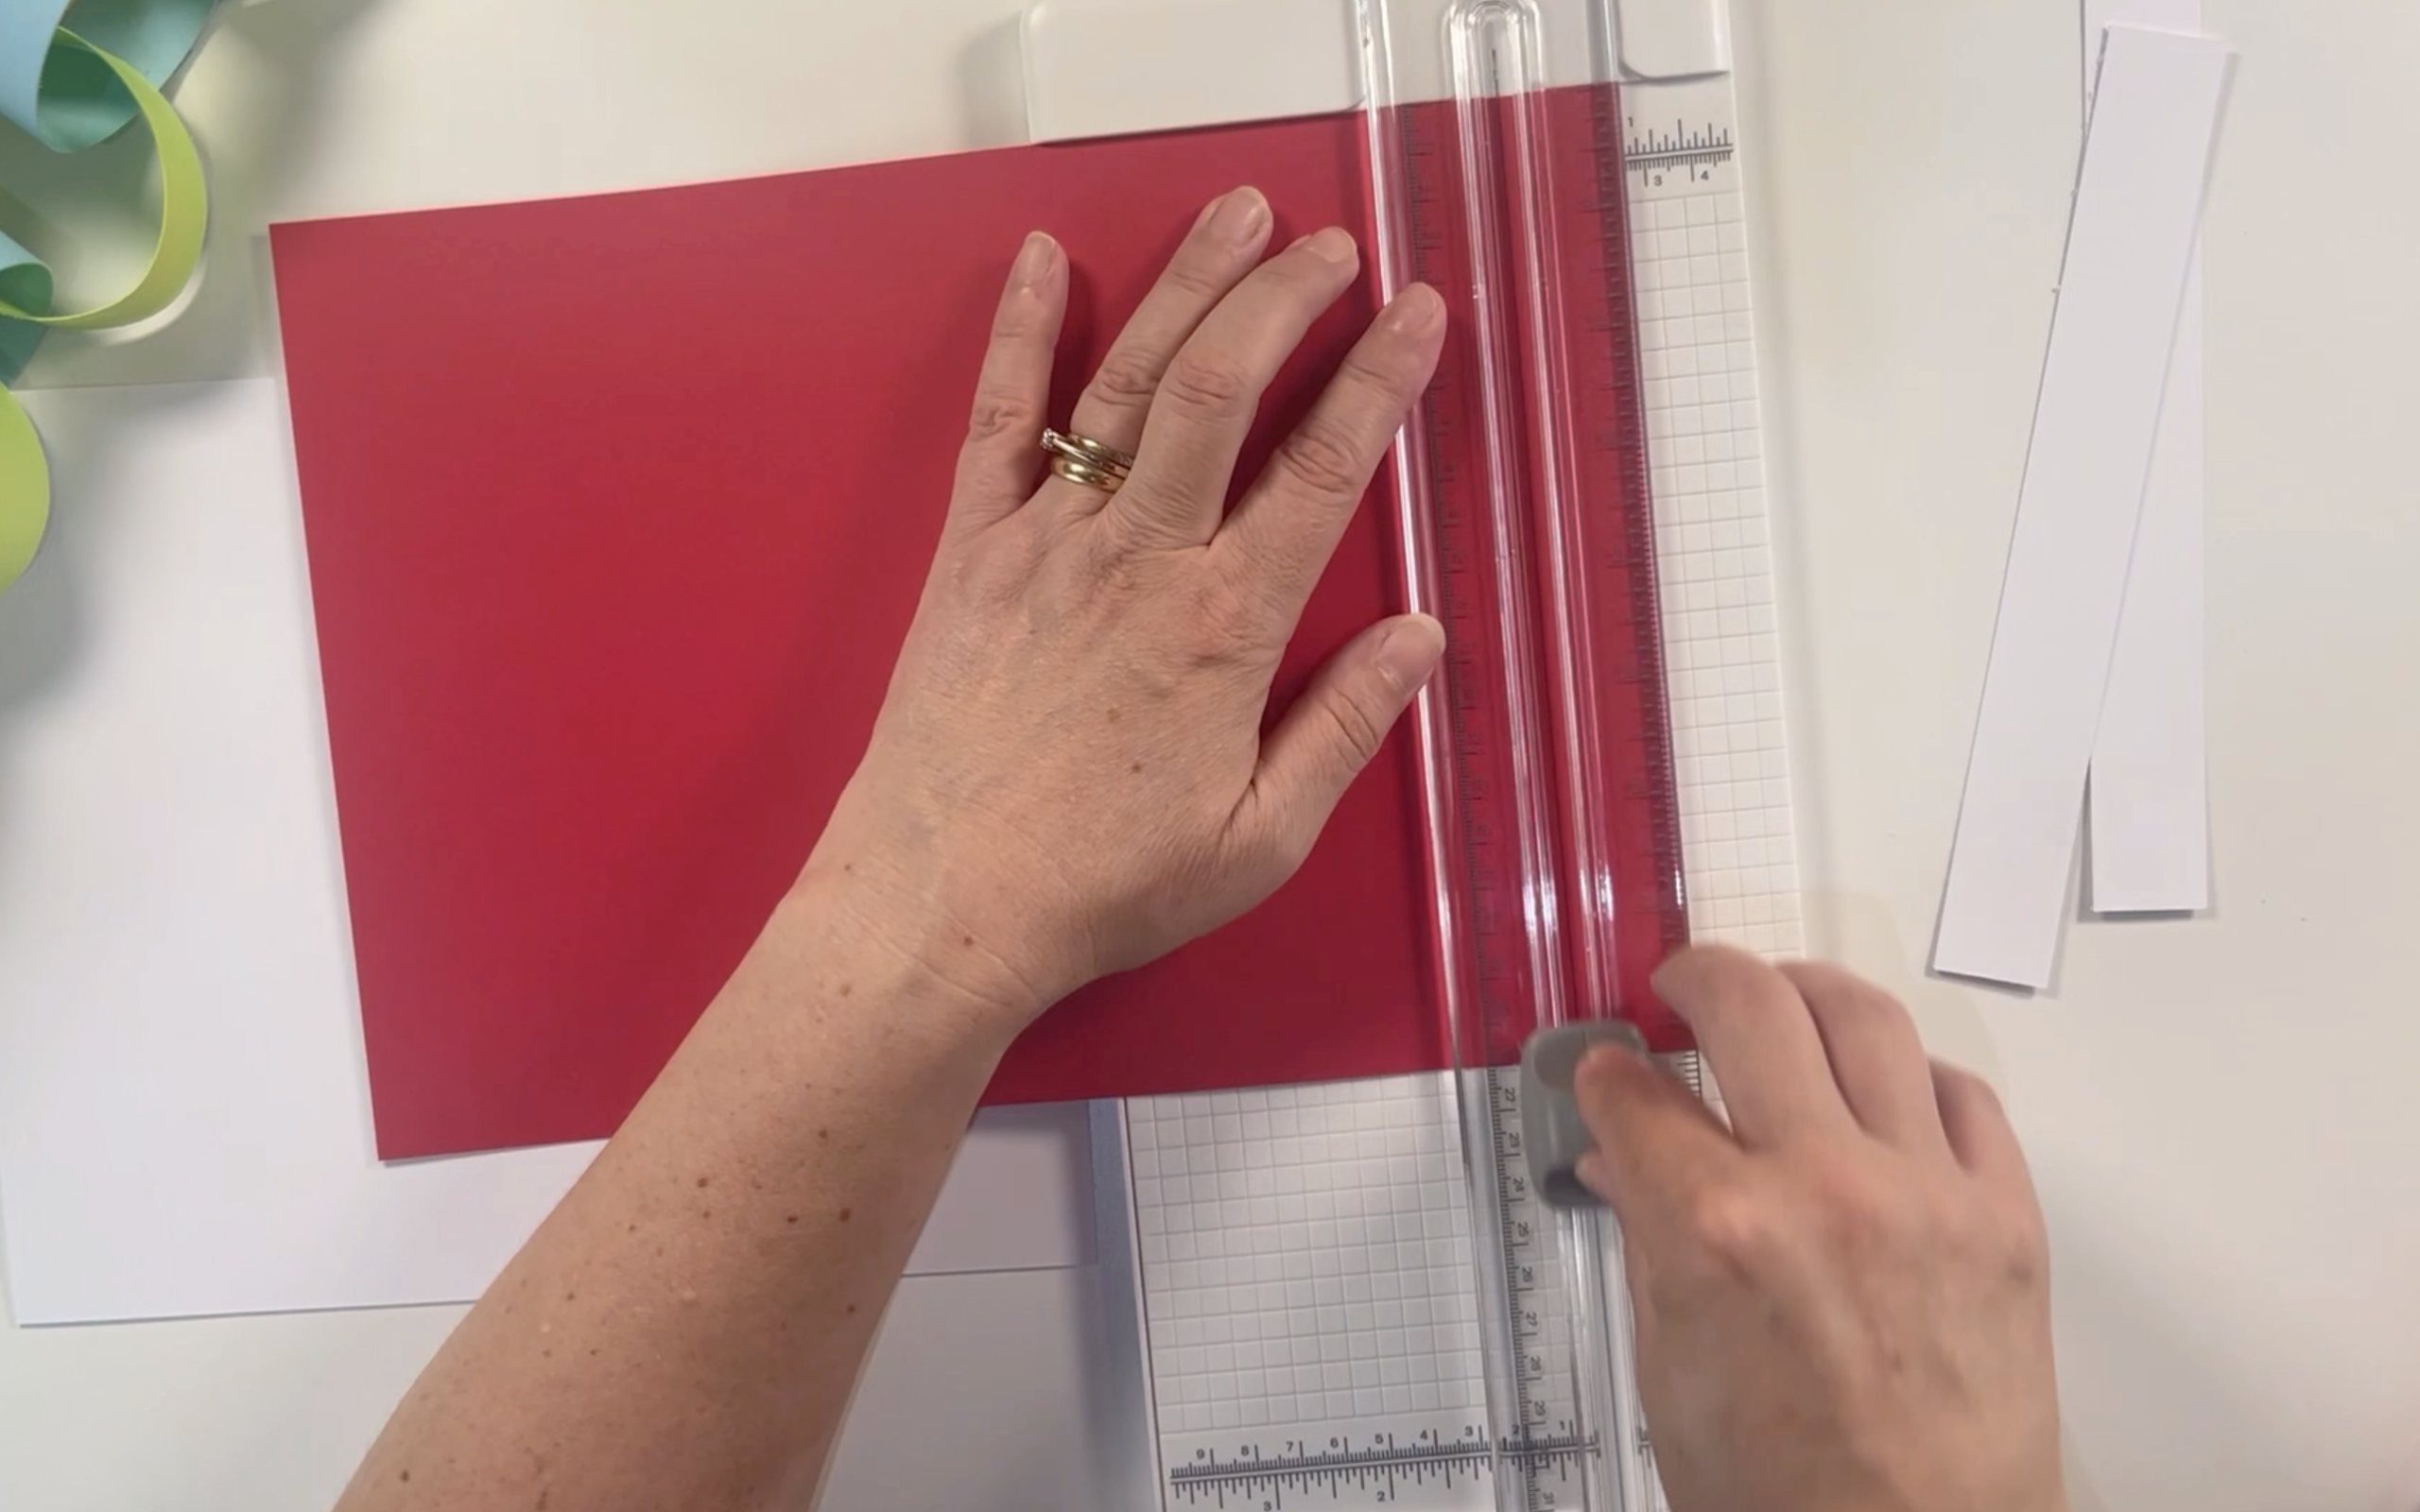
If you are using multiple colours of card then be sure to cut all the coloured card you want to use. Depending on the length you want your paper chain to be will determine how many pieces of card you will need to cut of each colour.
Step 2
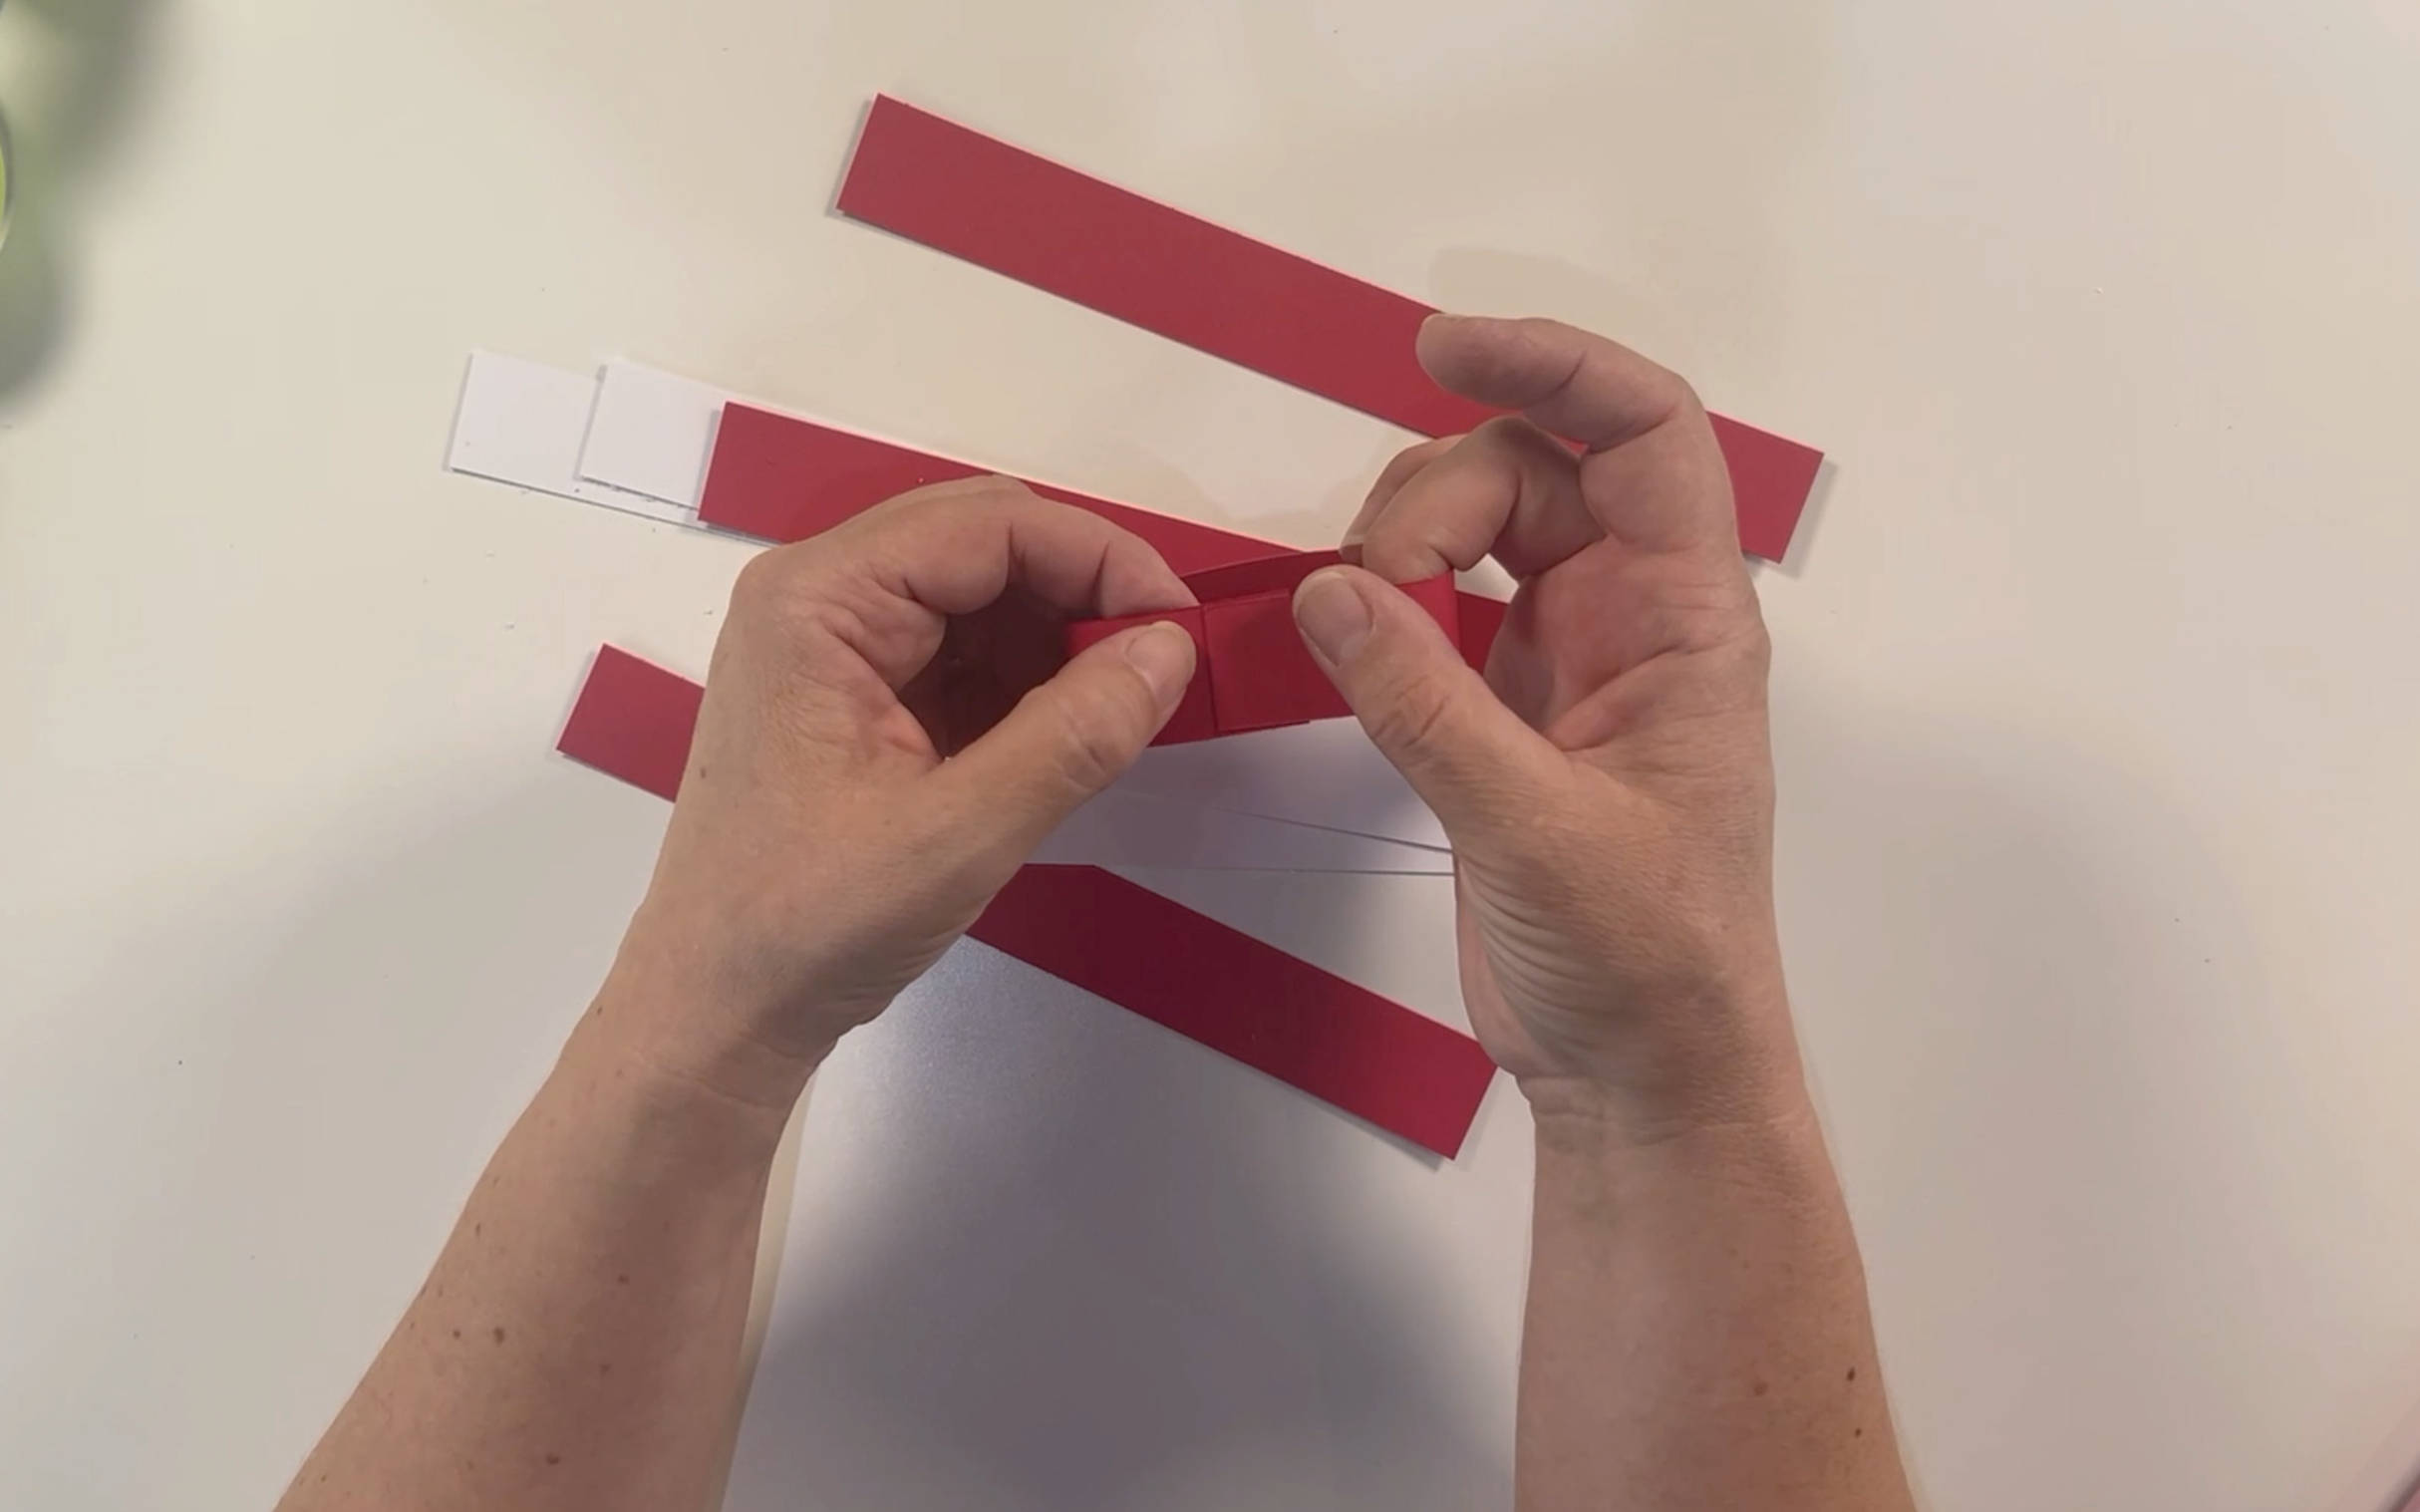
Start to assemble the paper chain. To do this take a piece of card and bring both ends together. This will start to form a circle. Overlap the end pieces.
Secure the two piece of card together by stapling them together.
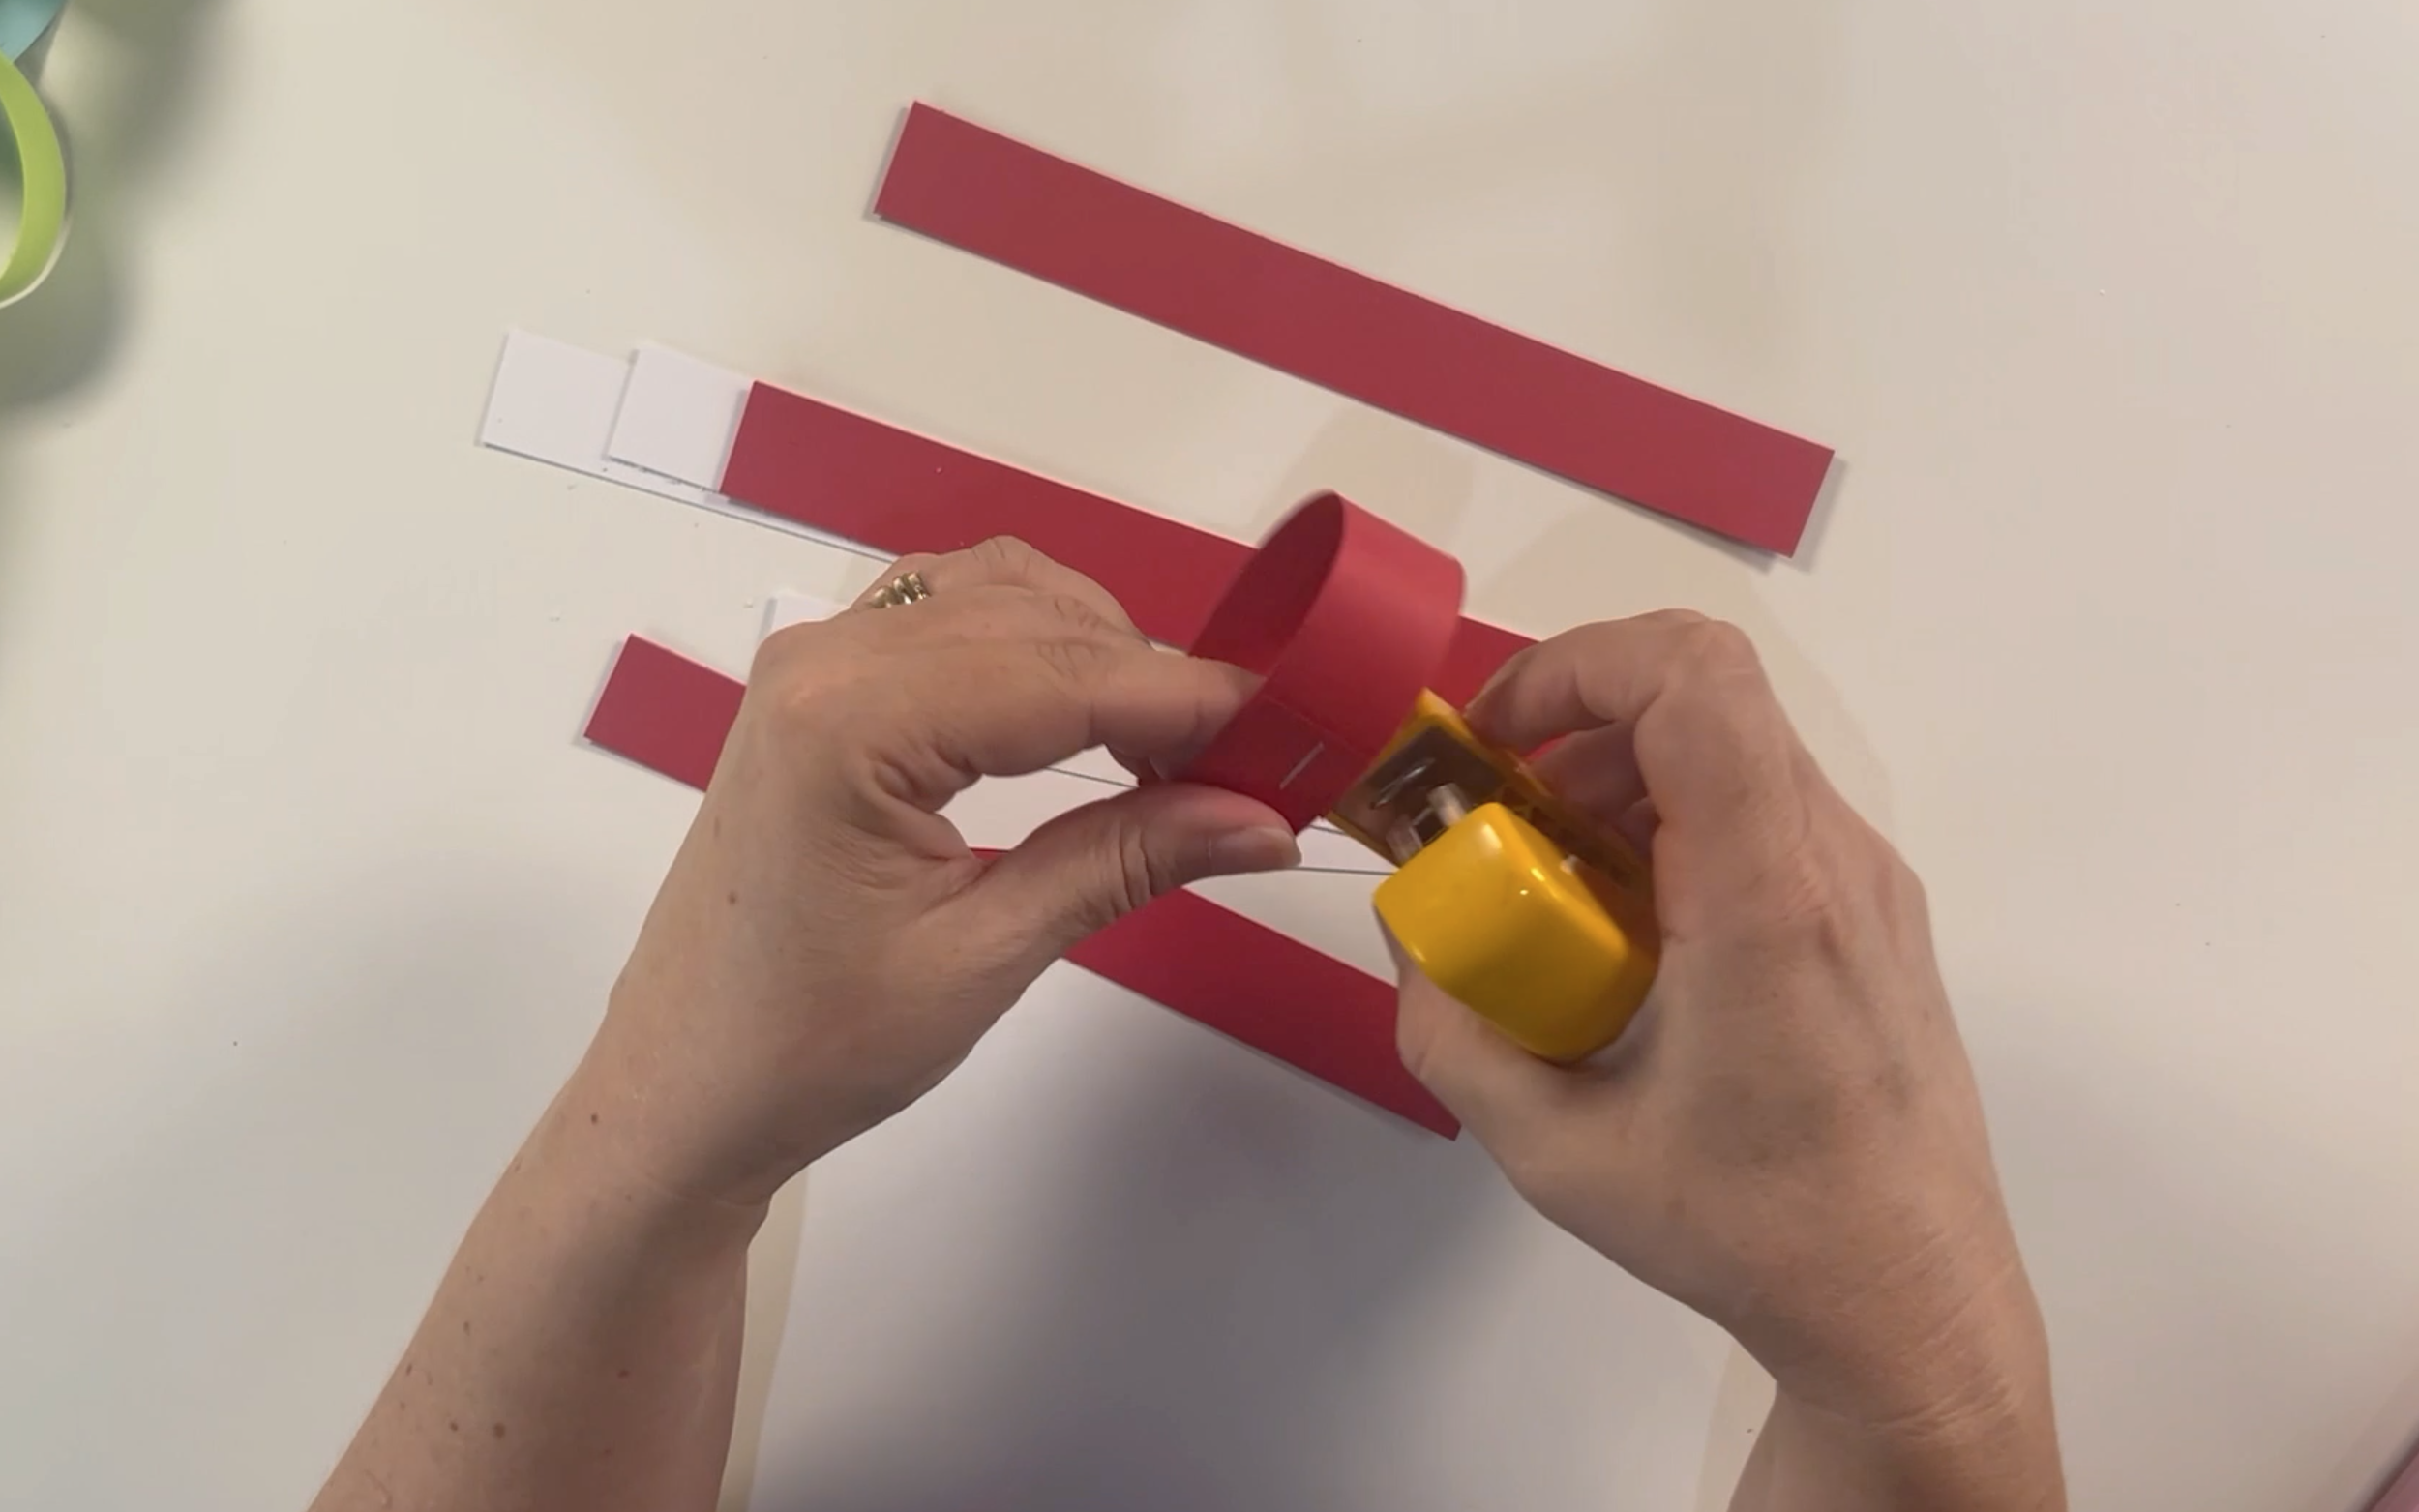
Thread the next piece of card through the first card loop. If you are using different coloured card make sure you have chosen a different colour. Bring the ends together so that they overlap.
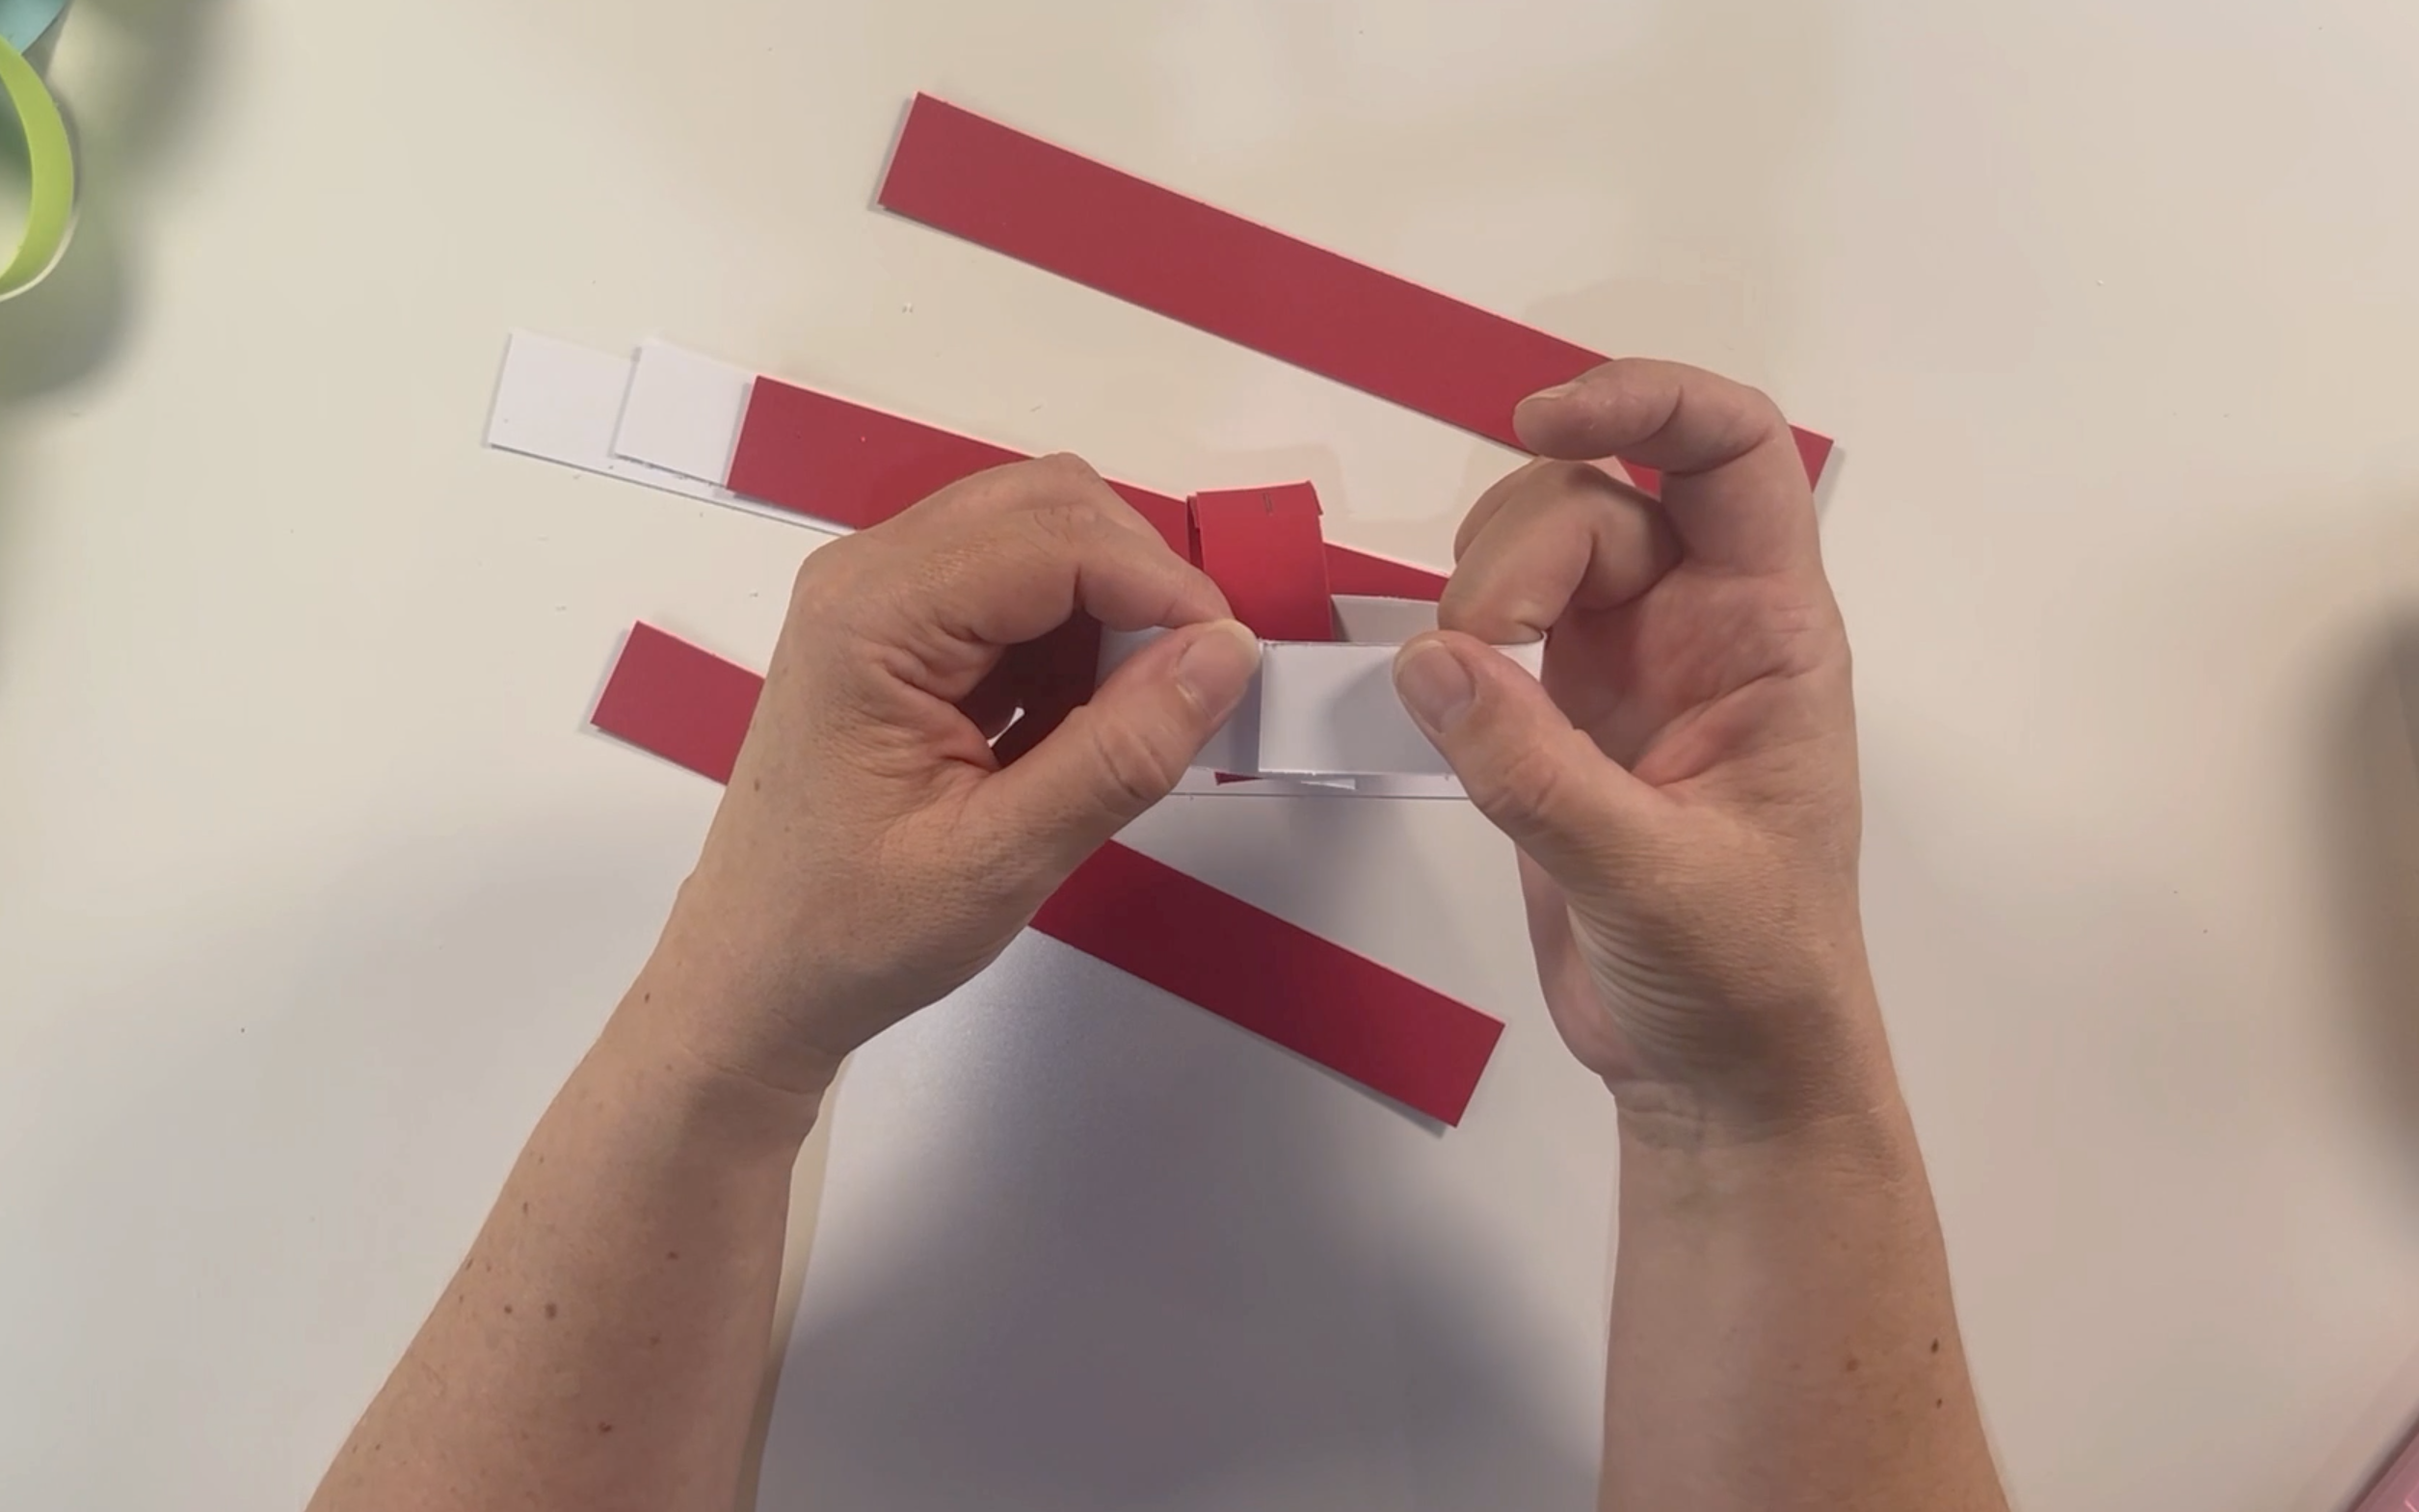
Secure the two ends together. I used double sided tape on this loop. I just placed a small amount of tape on one side of the card.
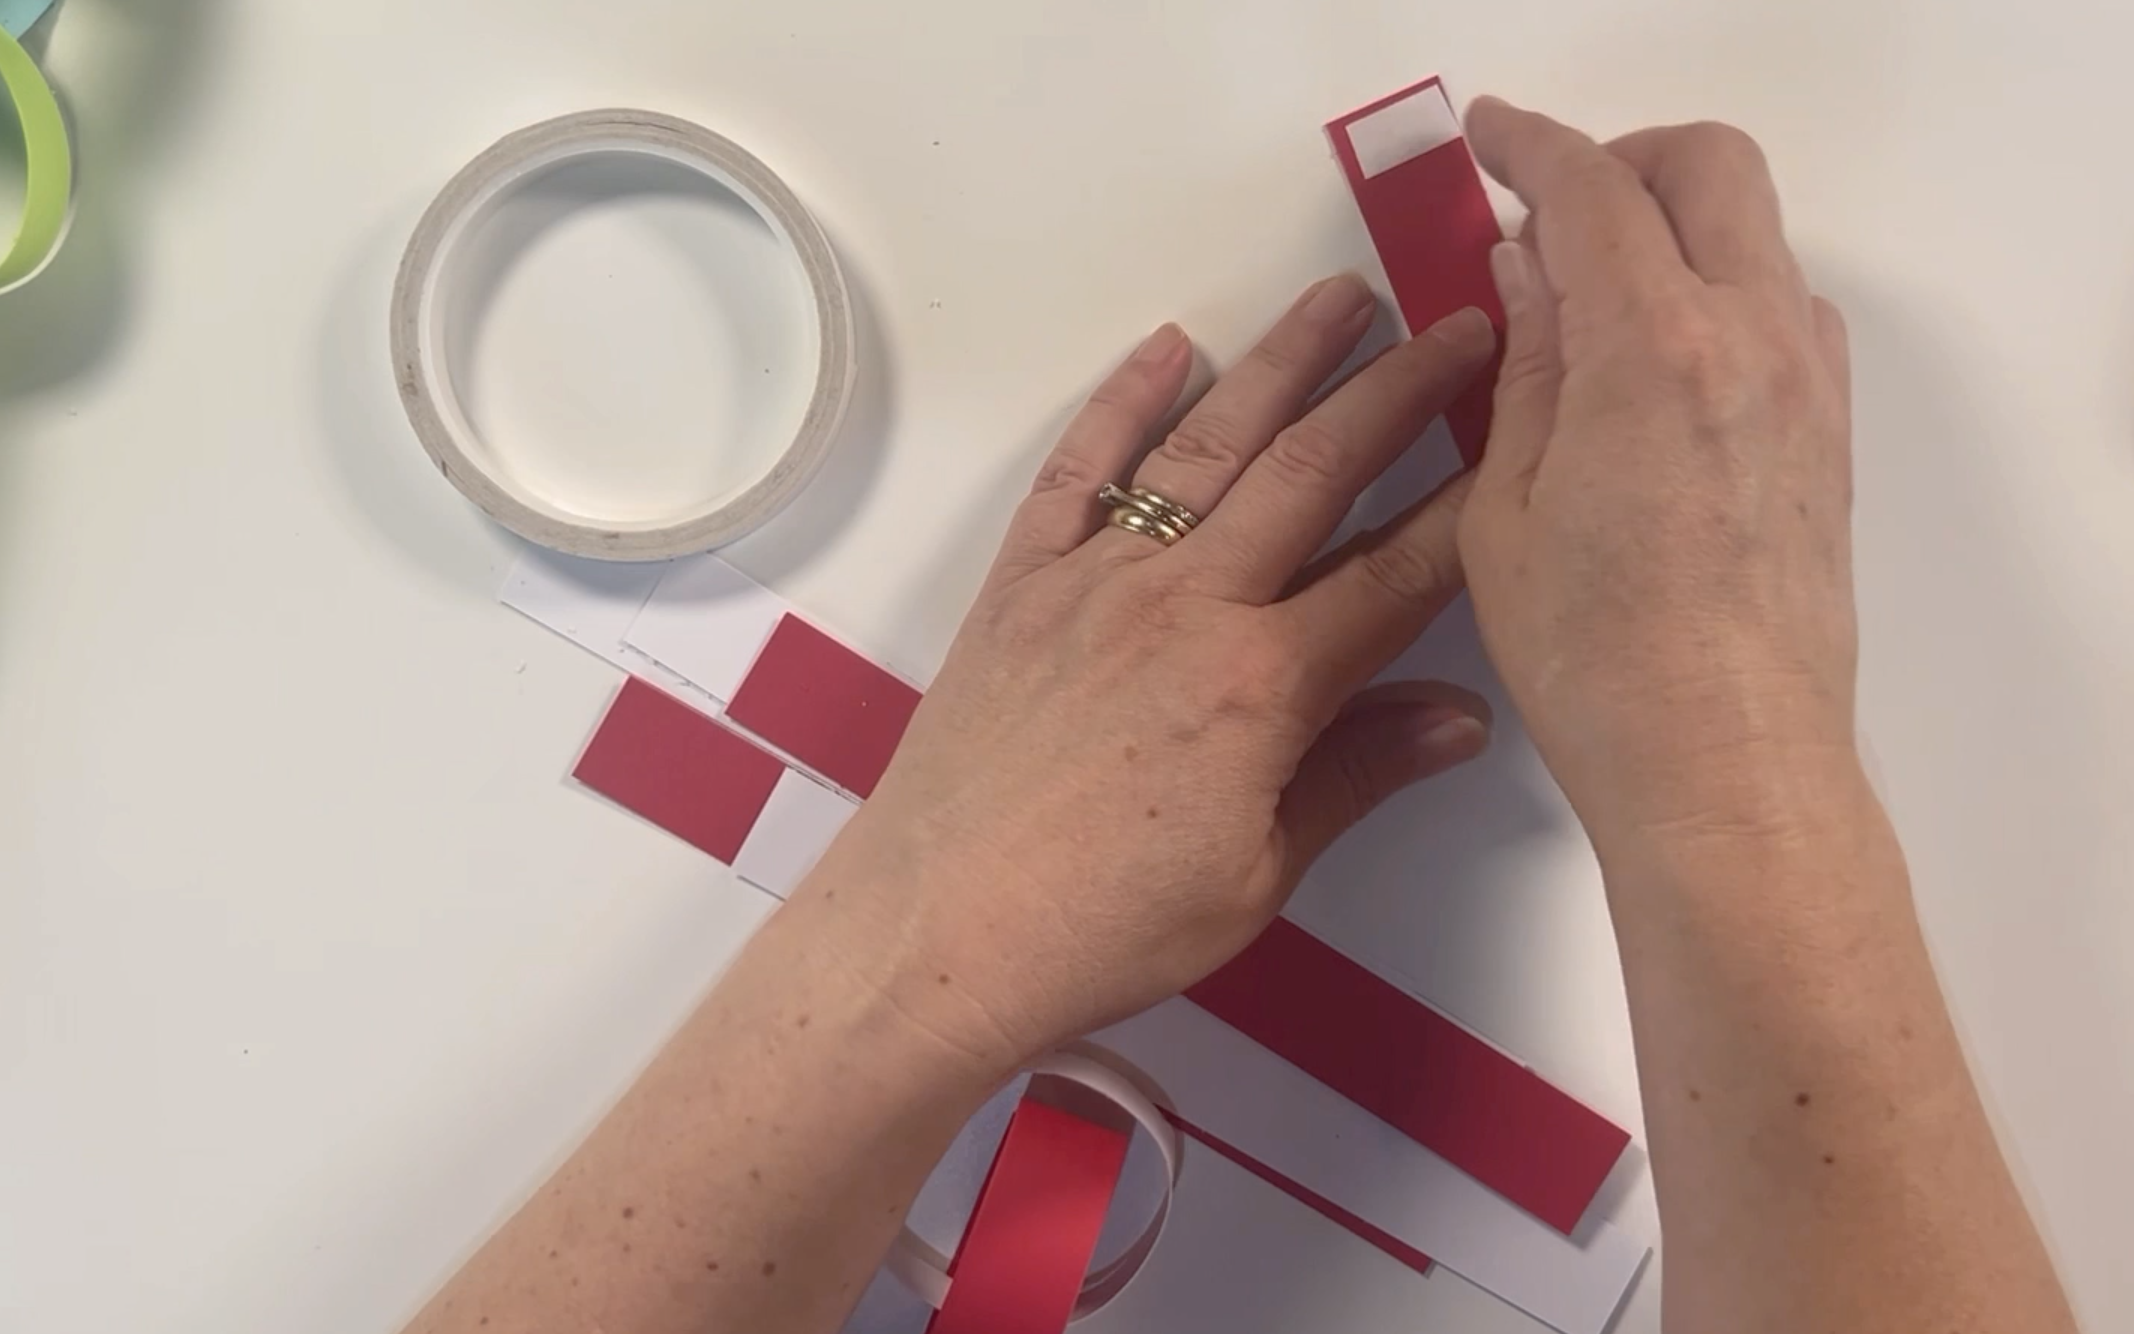
Then remove the backing from the tape.
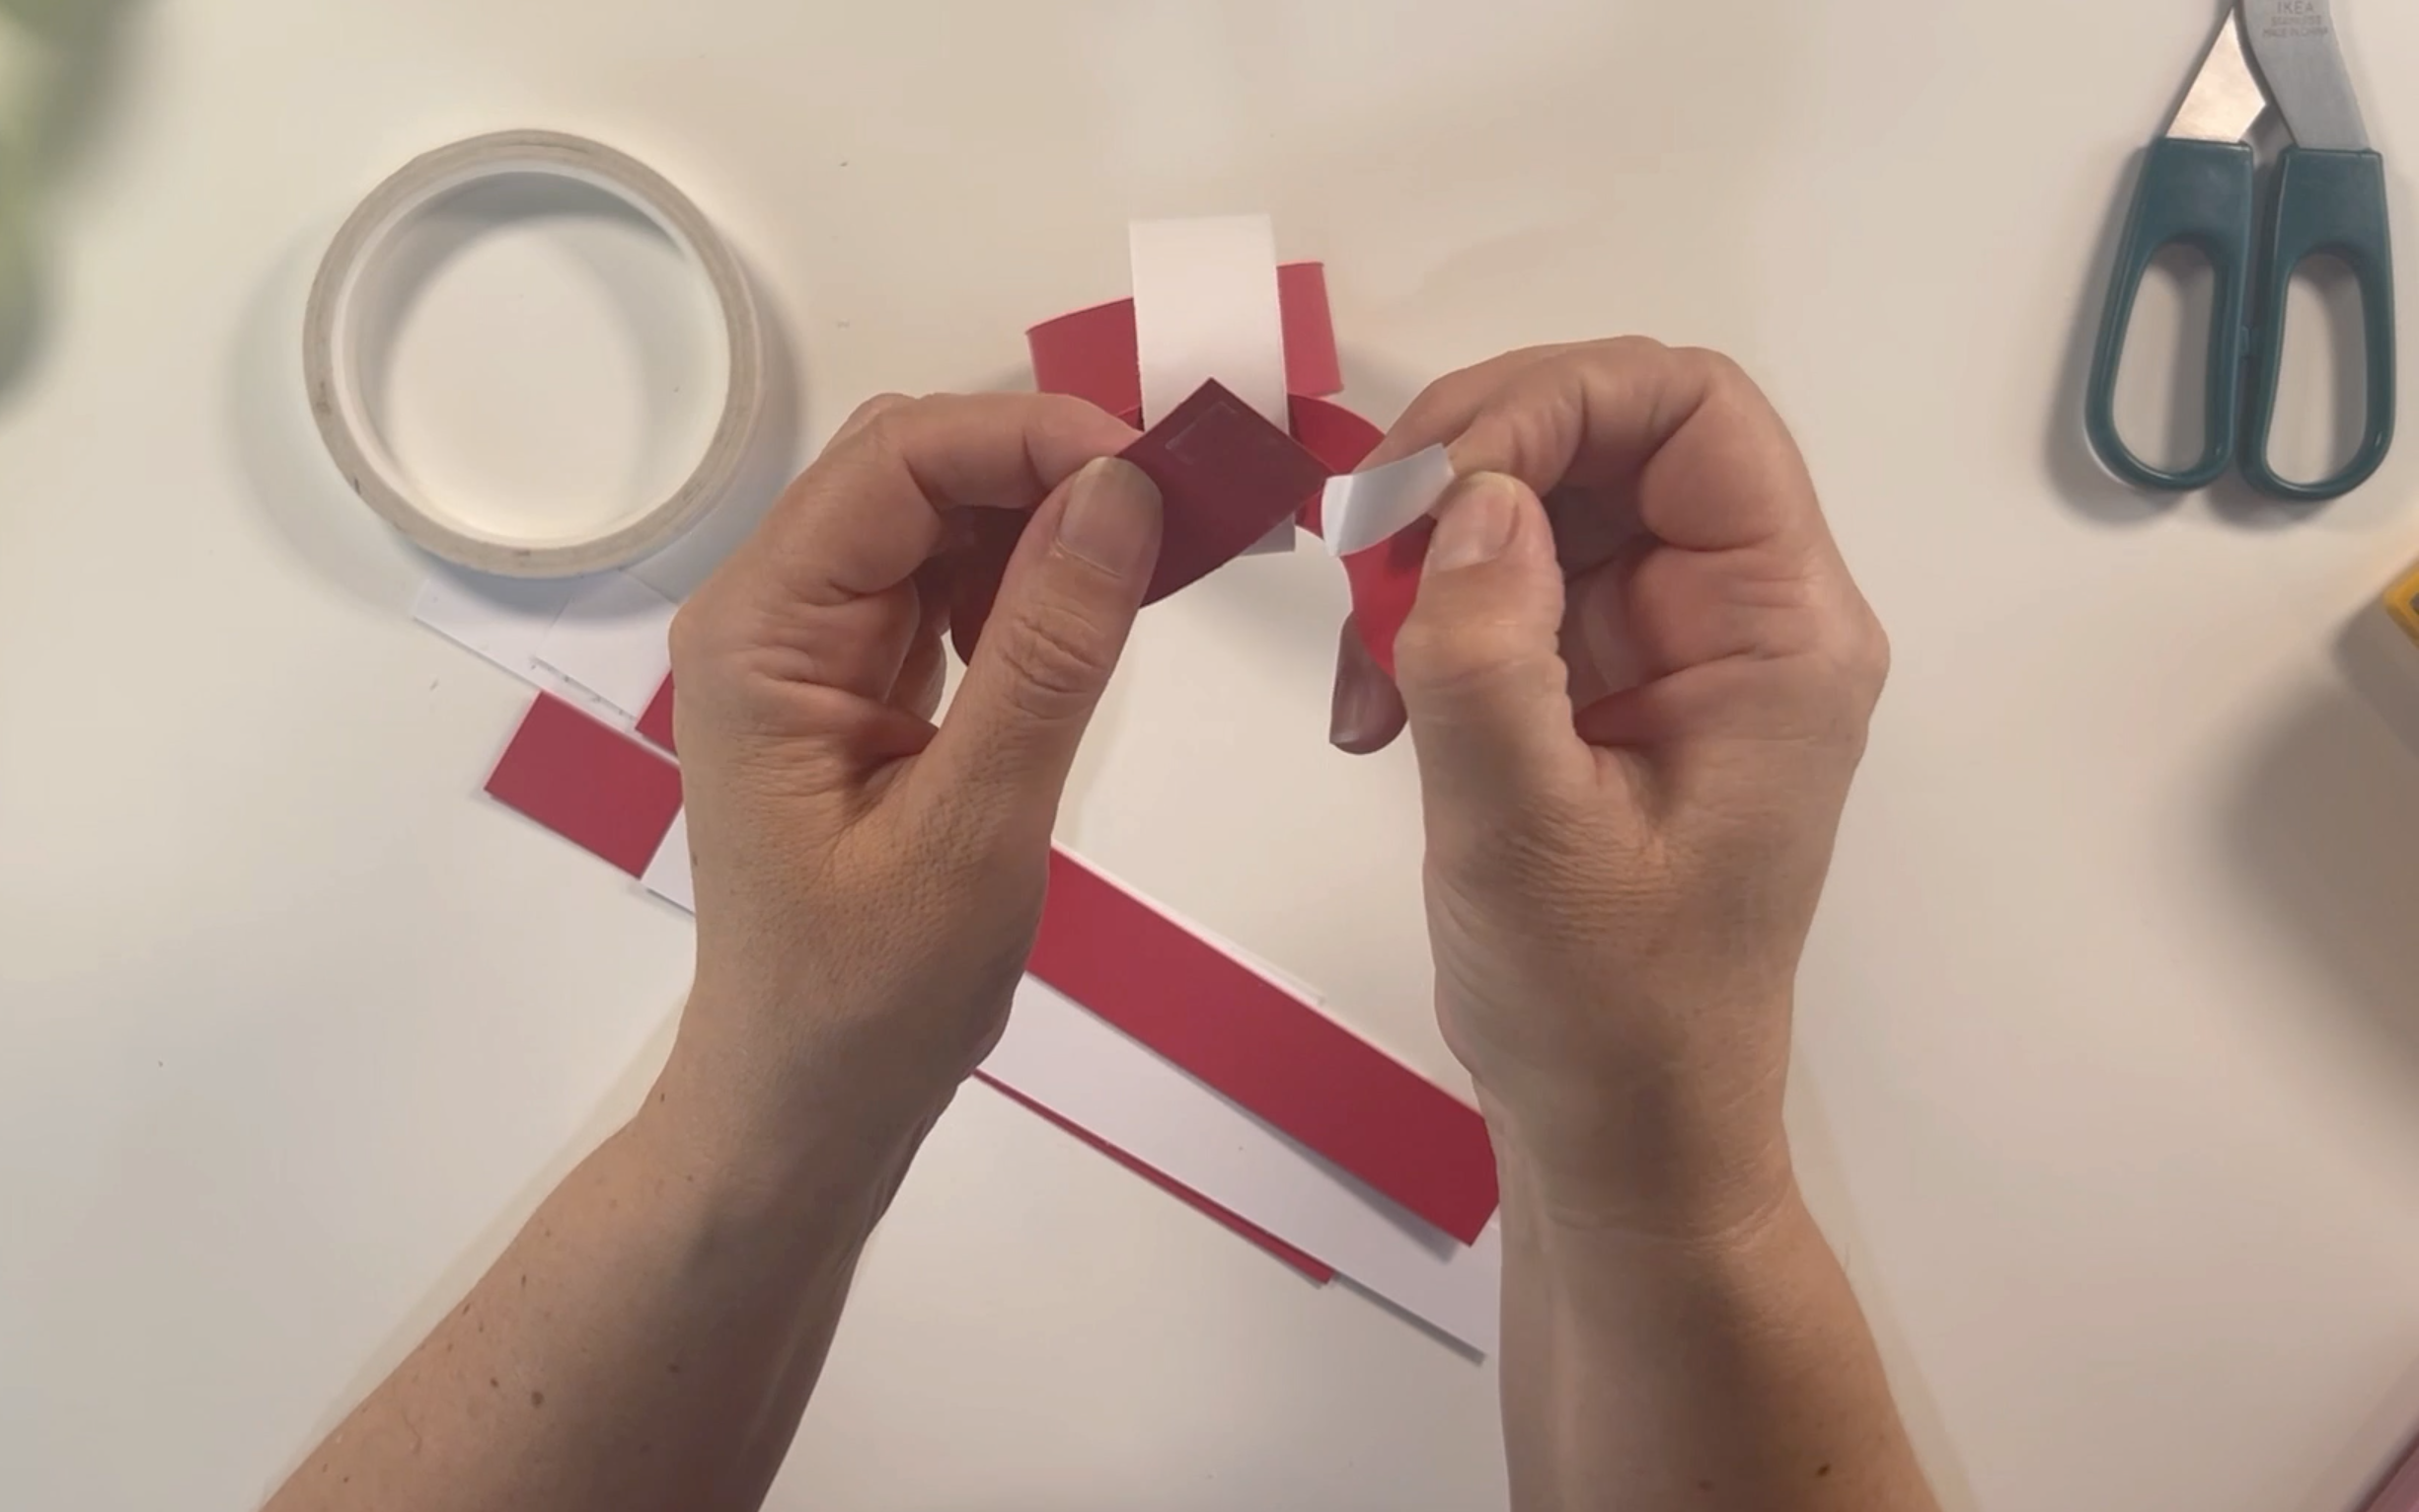
Press the two pieces of card together firmly.
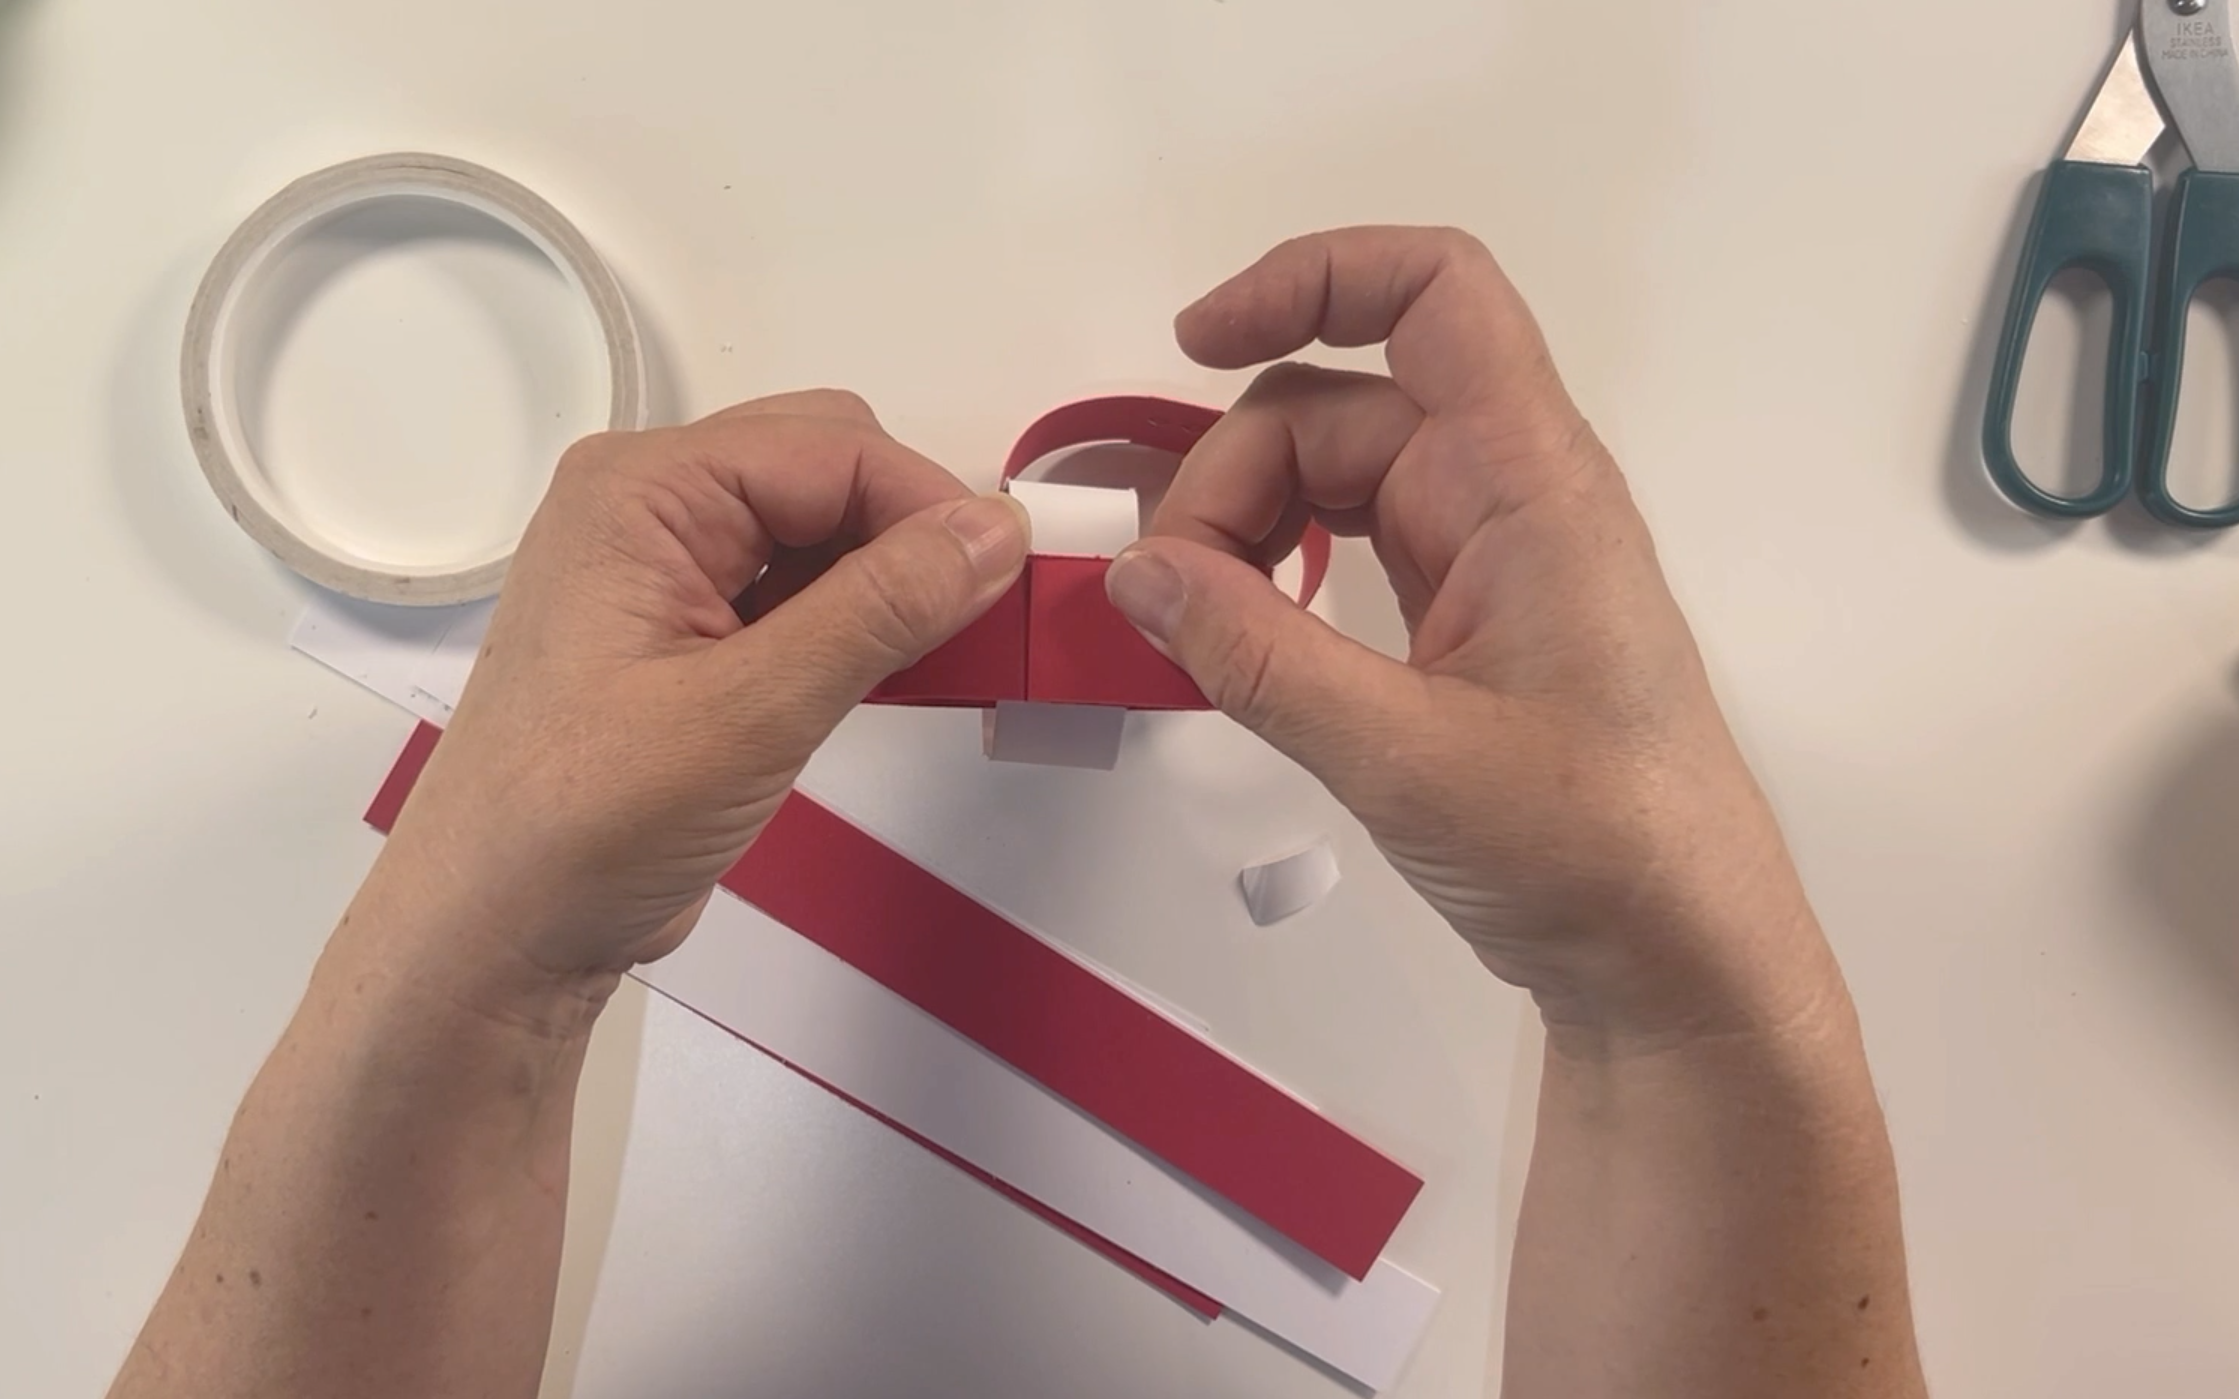
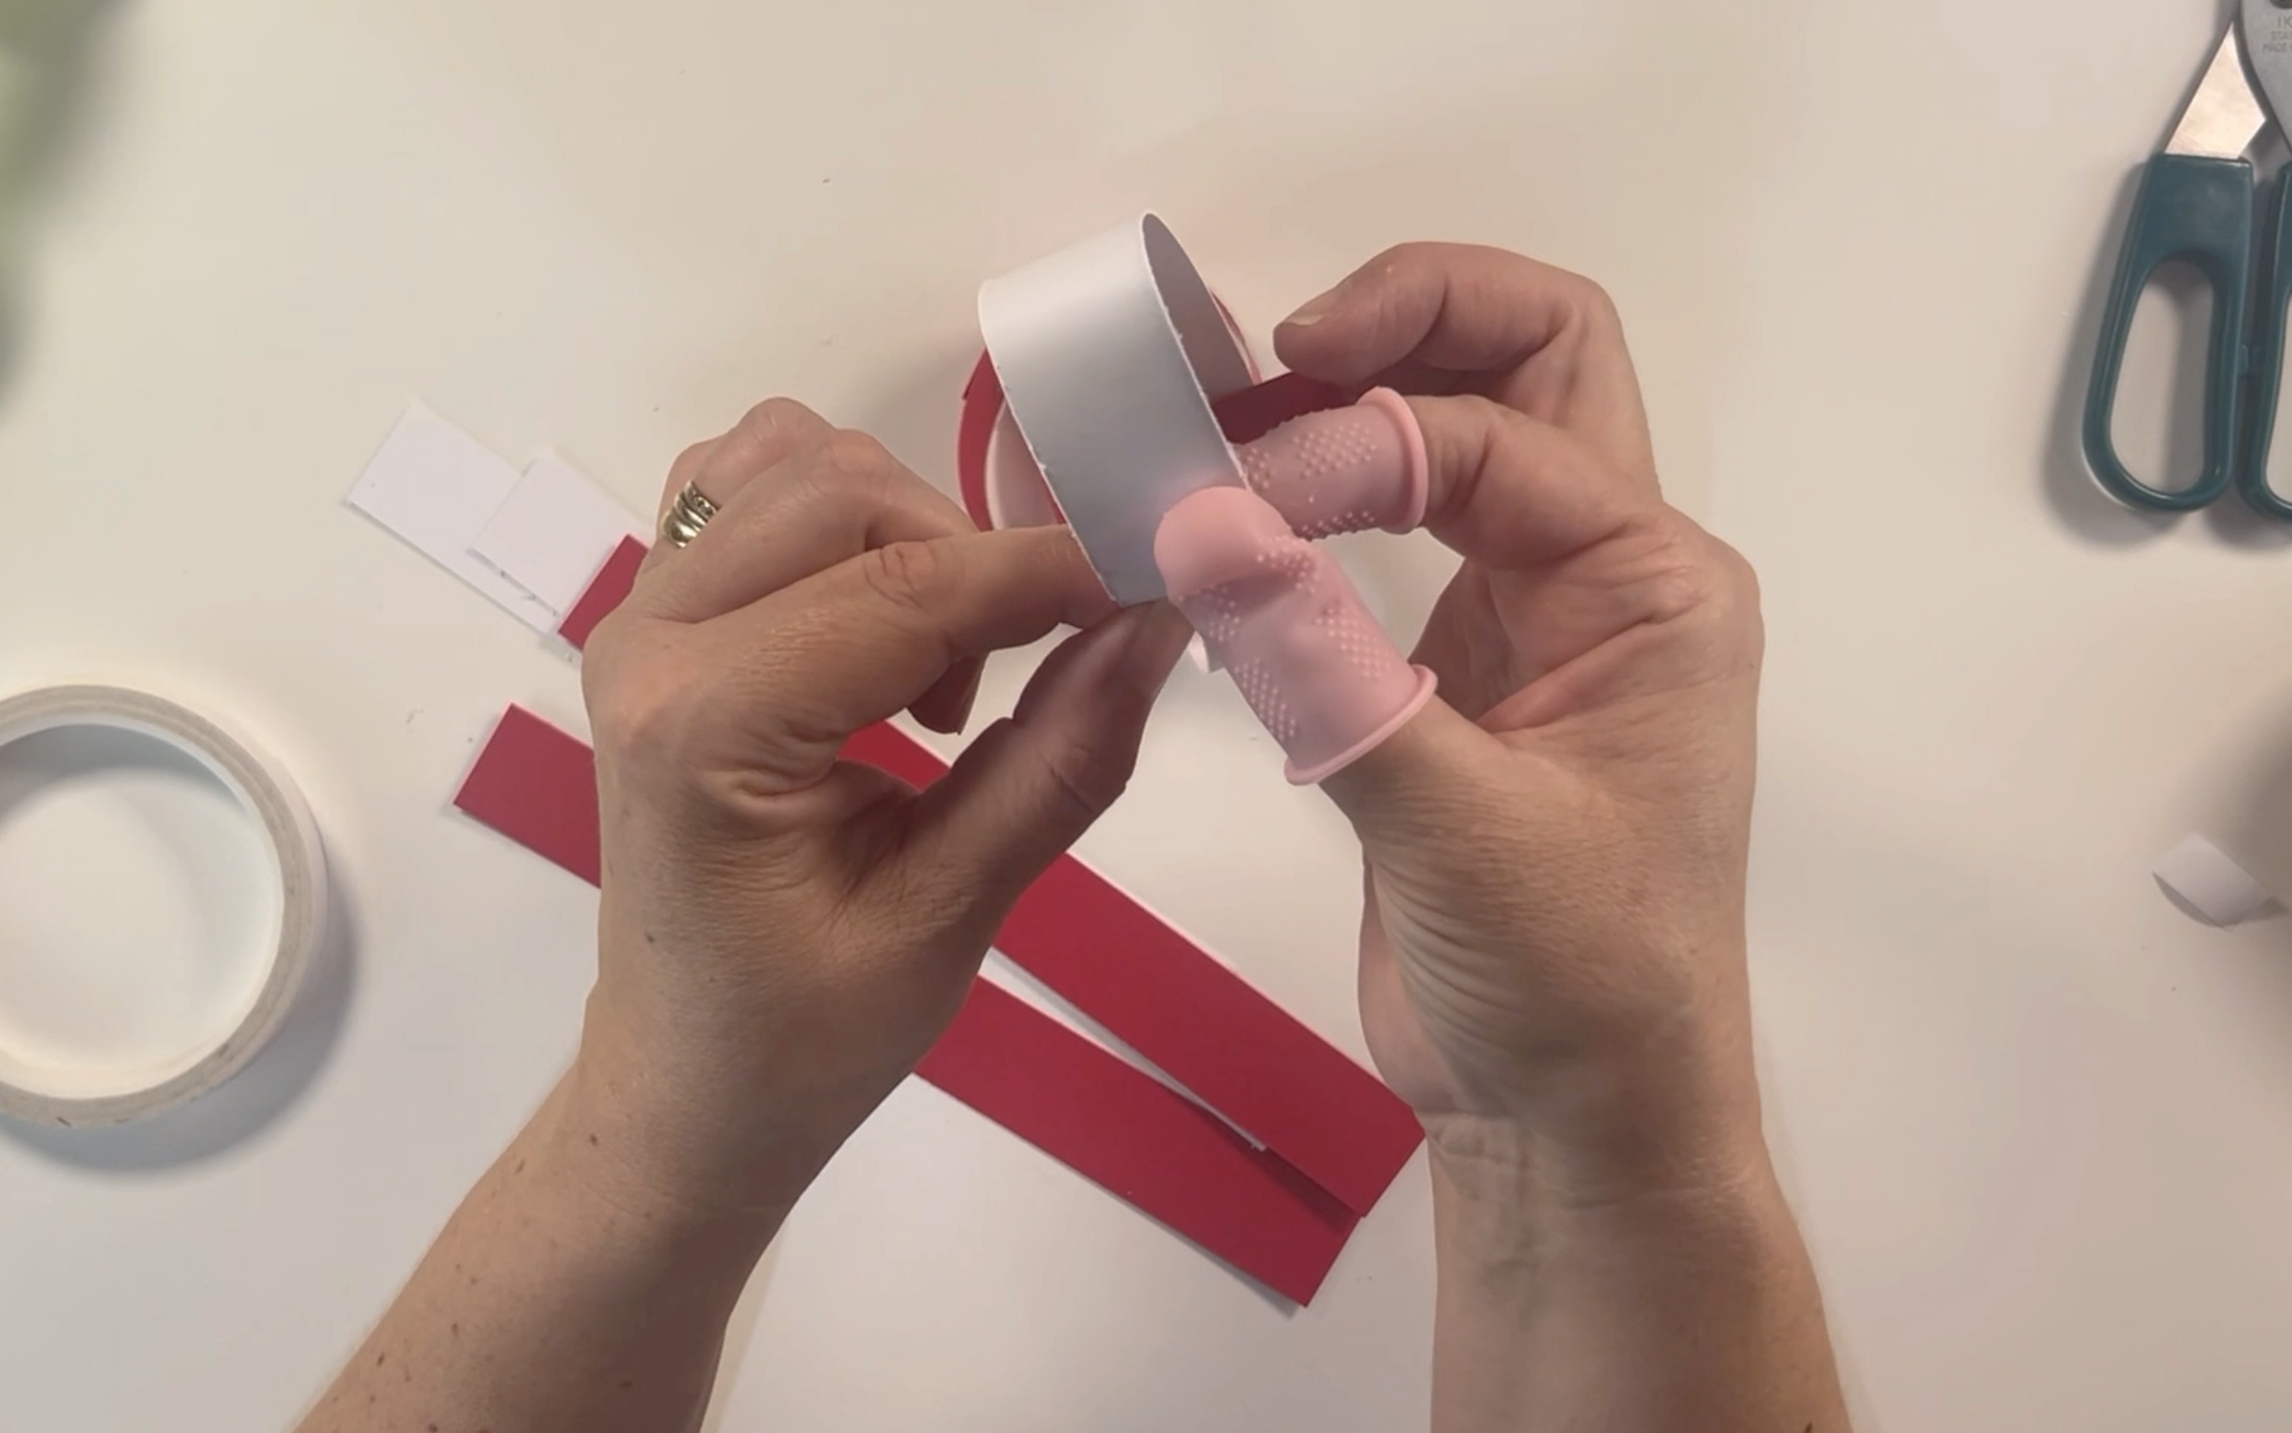
For the next loop i secured the card together with hot glue. Place a small amount of hot glue on one side of the card and press the two pieces of card together. I made sure to wear the finger protectors so i did not get burnt.
Step 3
Repeat the steps above and secure the card strips with your desired method. I preferred using the hot glue as i feel it secured it the best and you couldn't see it, unlike the staple. Make as many loops as you need to reach your desired length of paper chain.

If you enjoyed reading this blog and you would like to watch how i made the paper chains then please check out my video. How To Make Paper Chains - Easy Paper Craft
Also check out my other blog posts:
Easy To Make Budget Friendly Valentines Banner