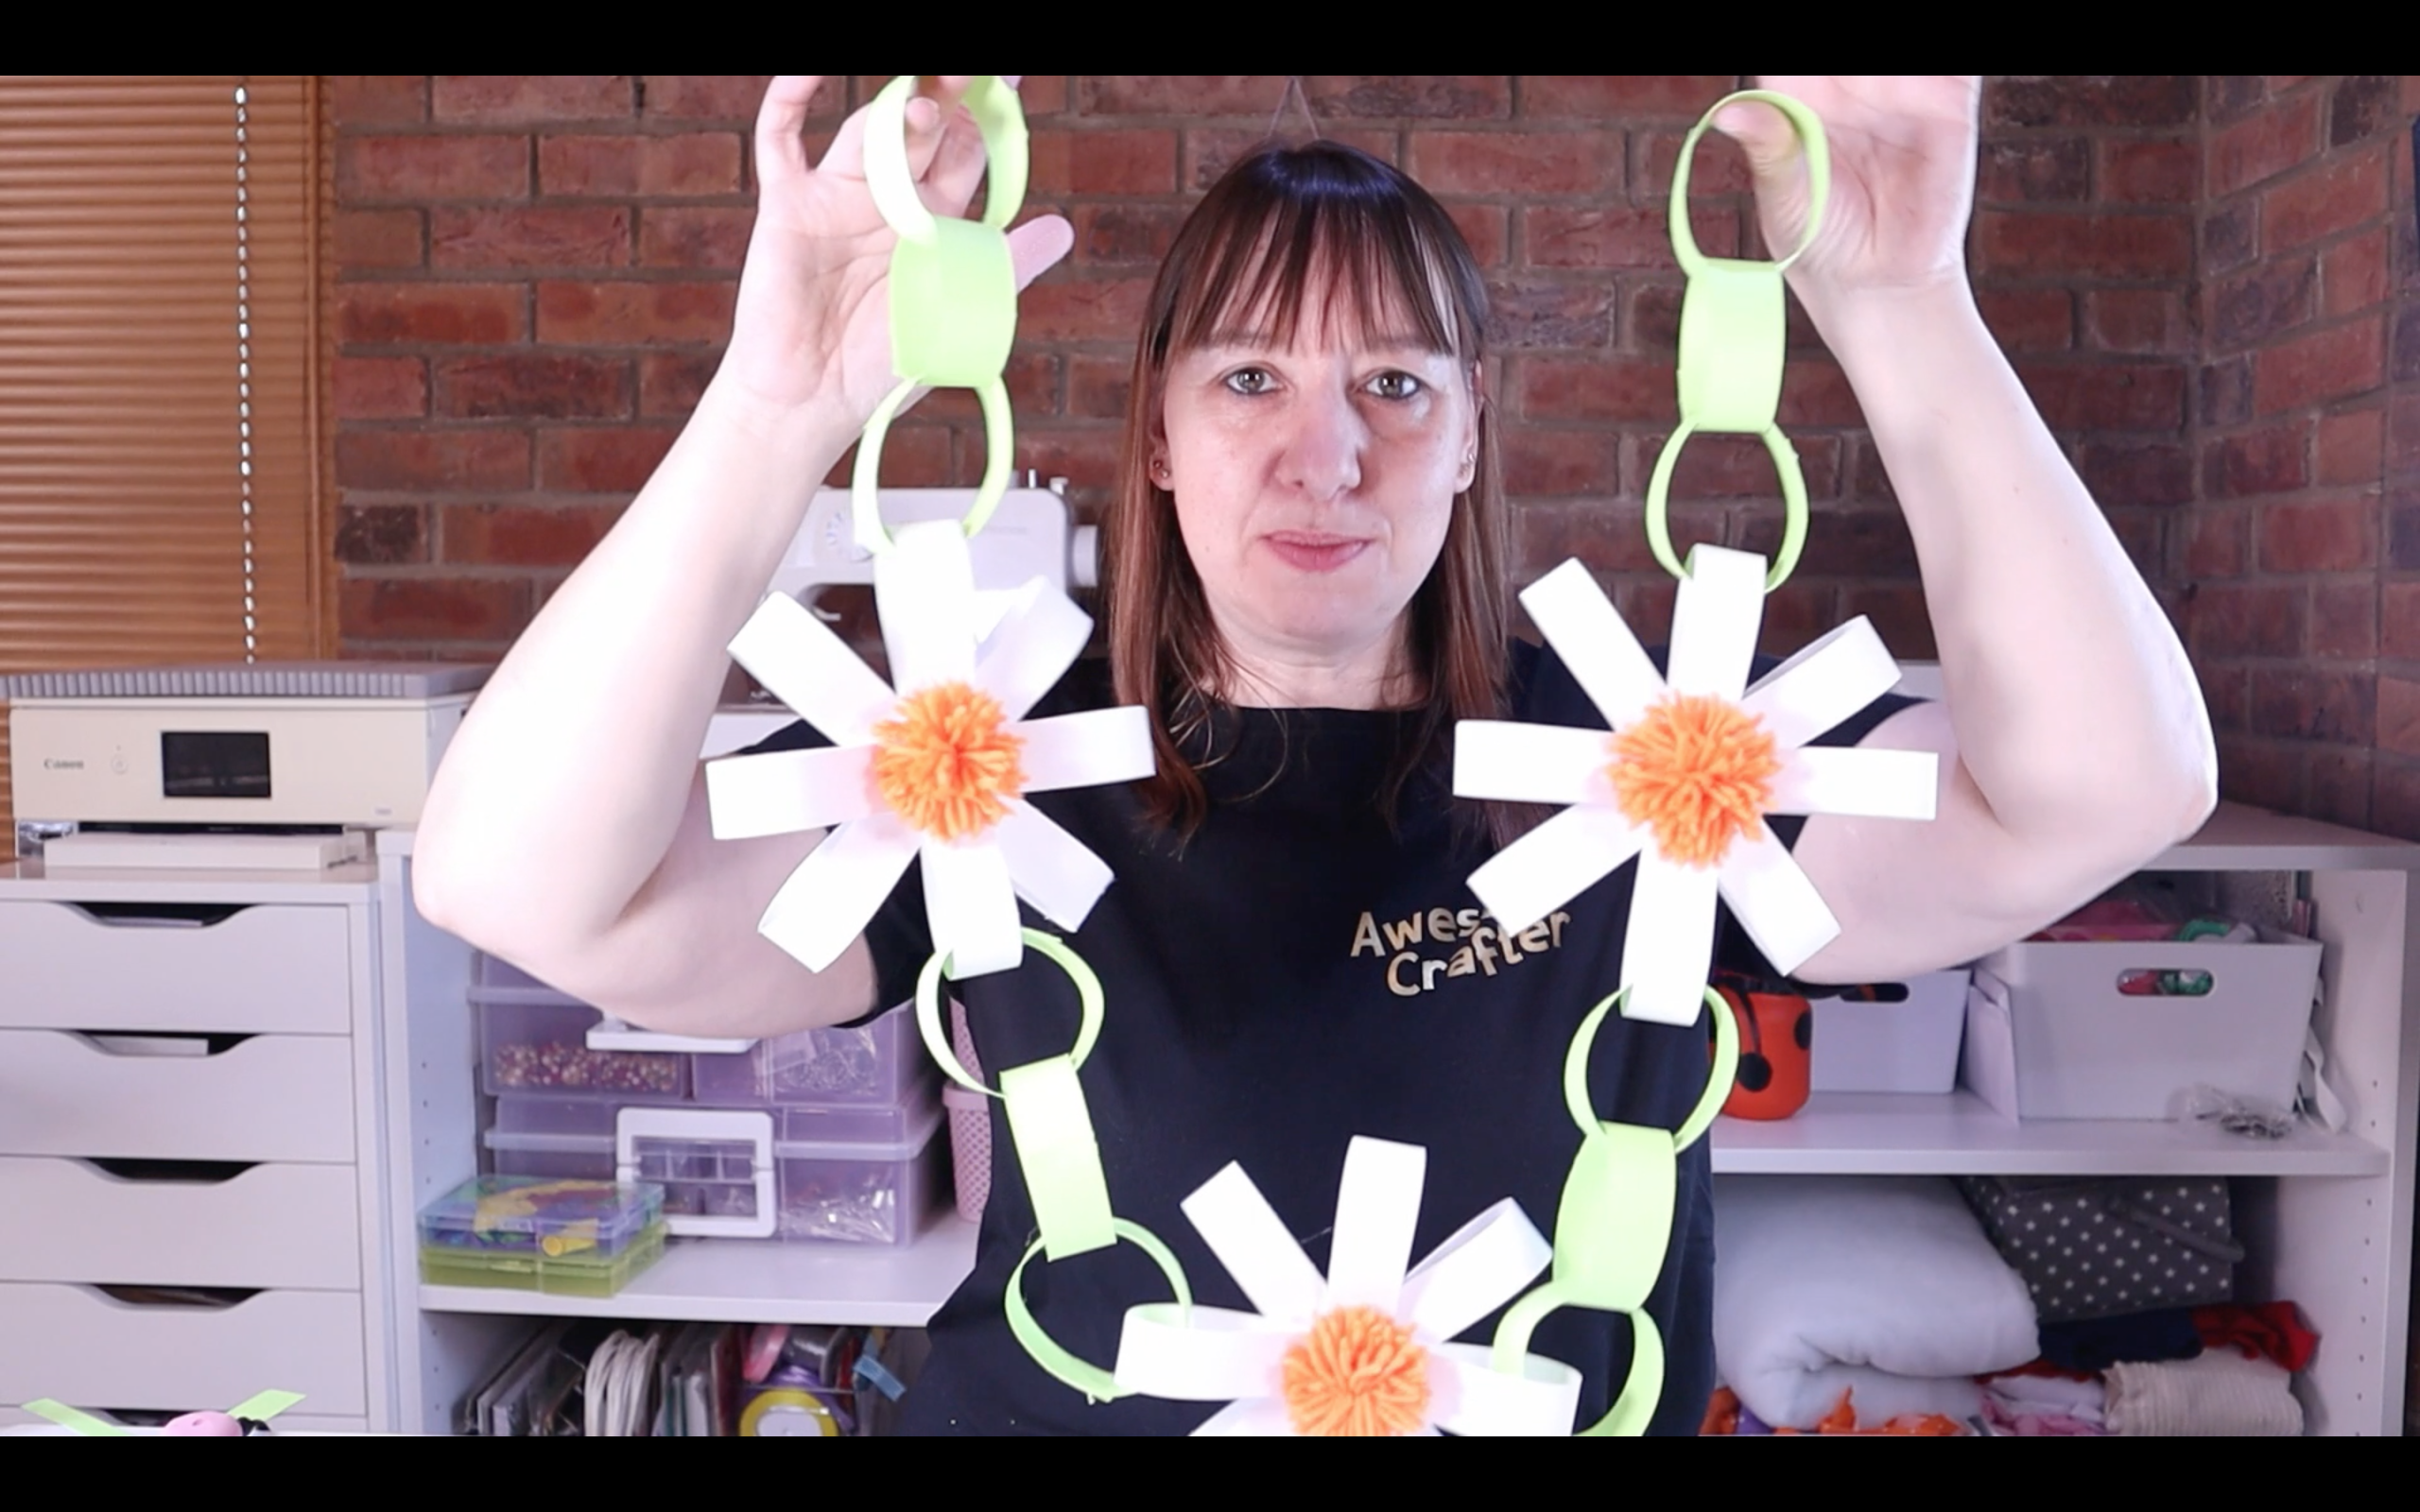
Paper chains are so much fun to make and so simple. I think they are just a timeless craft that anyone can get involved making. Paper chains seem to be making a come back at the moment and being used as party decor. So with this in mind i am sharing with you how to make a daisy paper chain. These can be made in any colour to match your decor. The other bonus is that you only need minimal supplies to make daisy paper chains making them the perfect cheap and fun craft.
Supplies i used:
=================================================================================
DISCLAIMER: Links included in this description might be affiliate links. If you purchase a product or service with the links that I provide I may receive a small commission. There is no additional charge to you. Thank you so much for helping to support my channel, you are awesome.
=================================================================================
Step 1
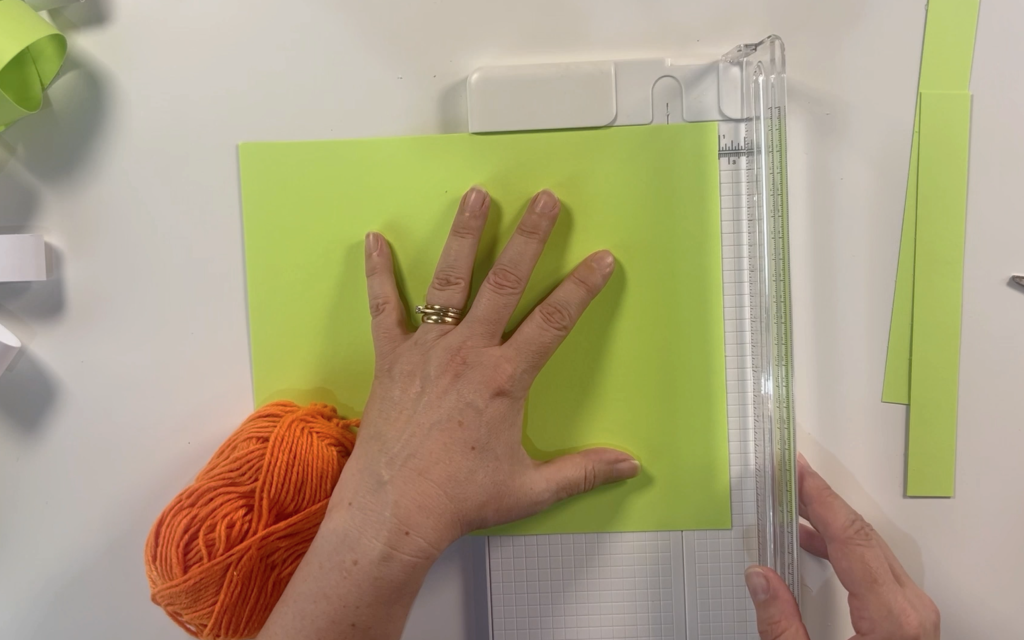
Take your paper and cut the paper into strips using the paper trimmer. I cut my paper to be 1inch wide. I cut both the white and green card the same width.
Step 2
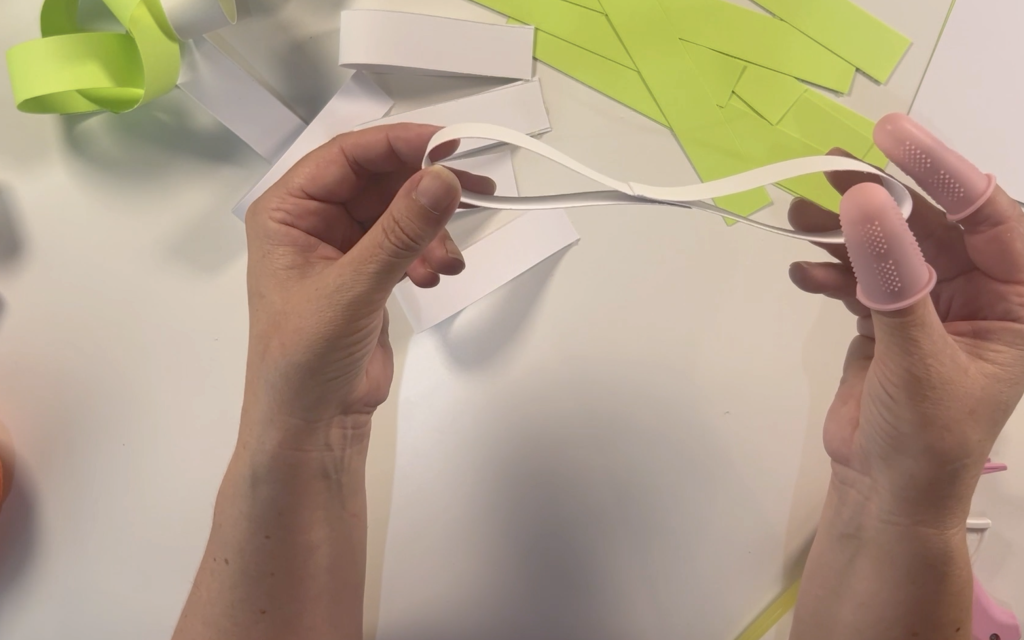
Start with the white card. Place some hot glue along the edge of the card. Then fold the card over and press the two sides together firmly. This will make you a small loop. Repeat this 8 times.
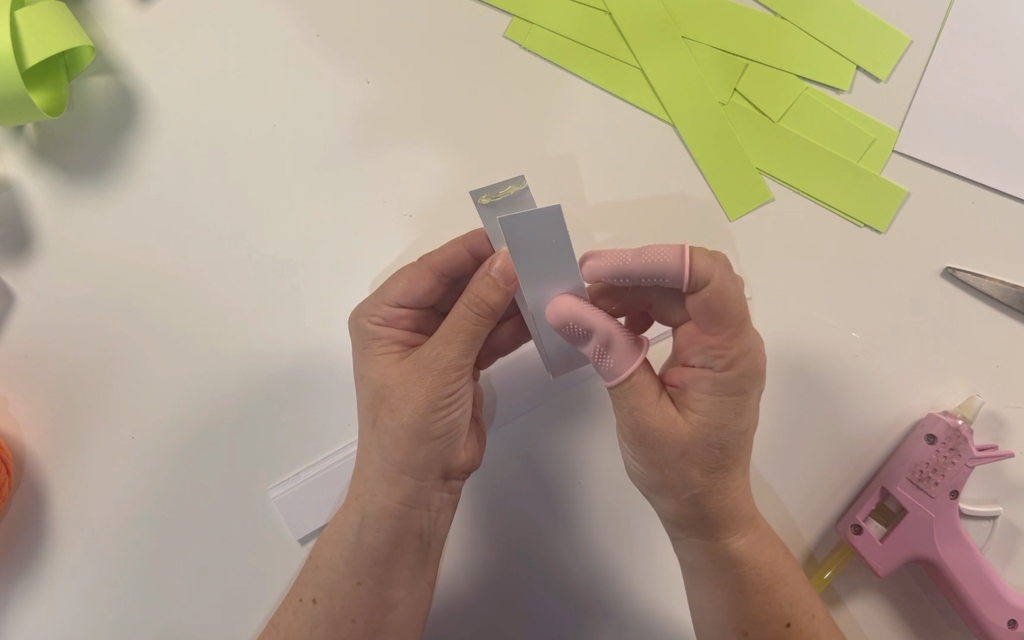
Next, take 2 of the loops and using the hot glue, glue them together as shown in the picture below.
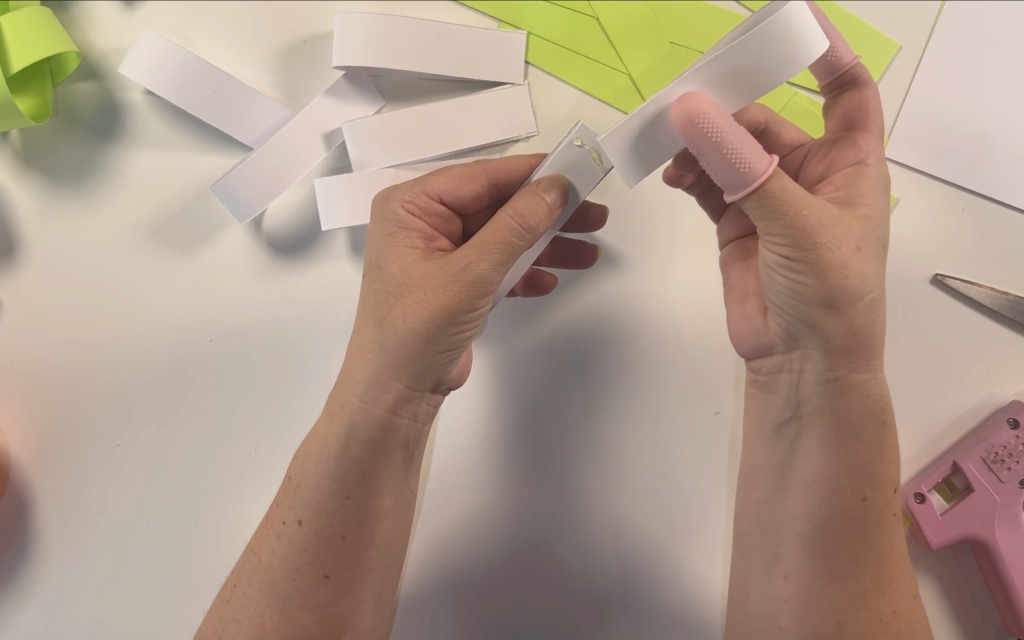
Your card loops should now look like the picture below.
Step 3
Take one of the double loops and add some hot glue across the middle.
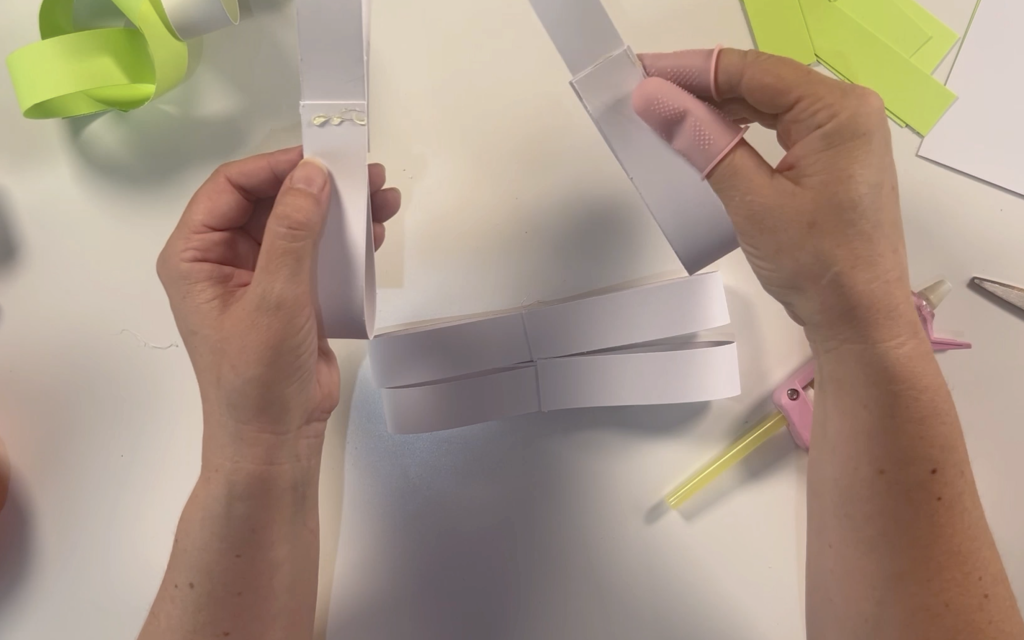
Place another one of the loops over the top and press together firmly. It should look like the picture below.
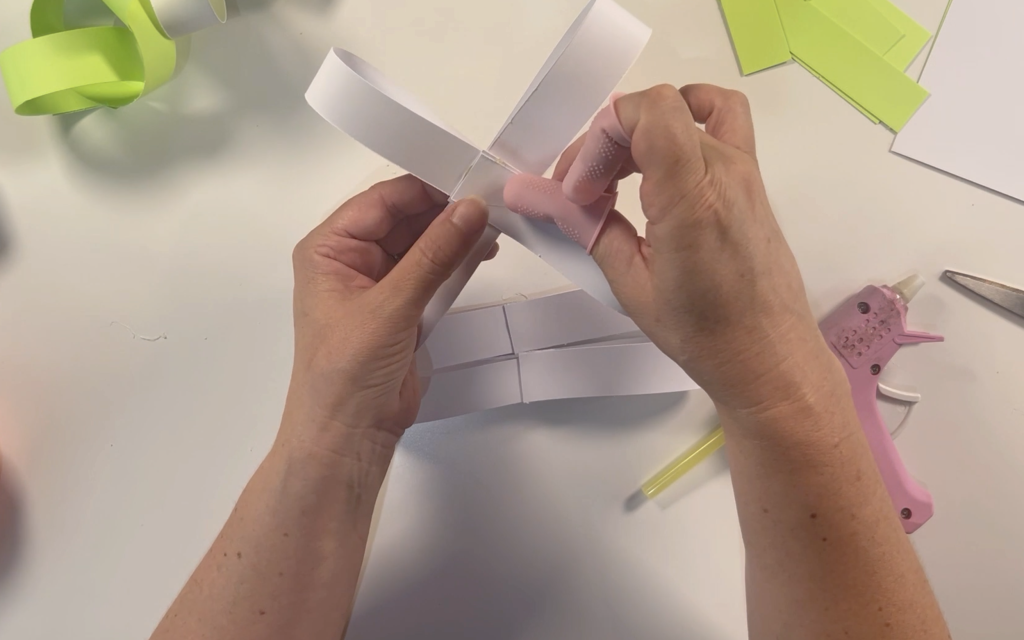
Next take another one of the double loops and using some hot glue stick it through the middle of the loops you have already glued.
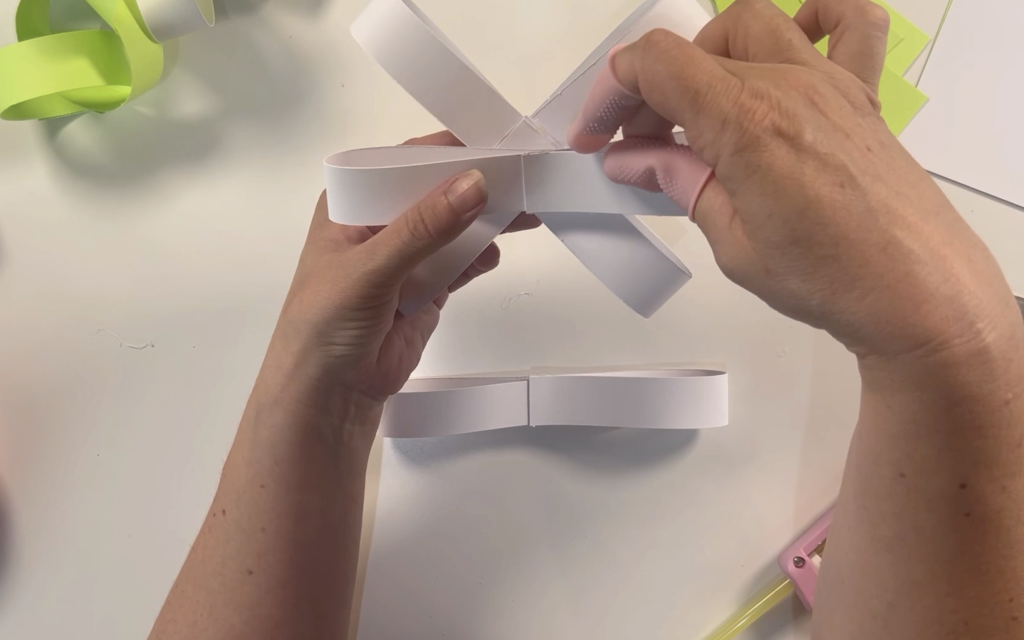
Finally take the last of the double loops and using hot glue, glue it to the rest of the card loops. Now you have the first part of your daisy completed.
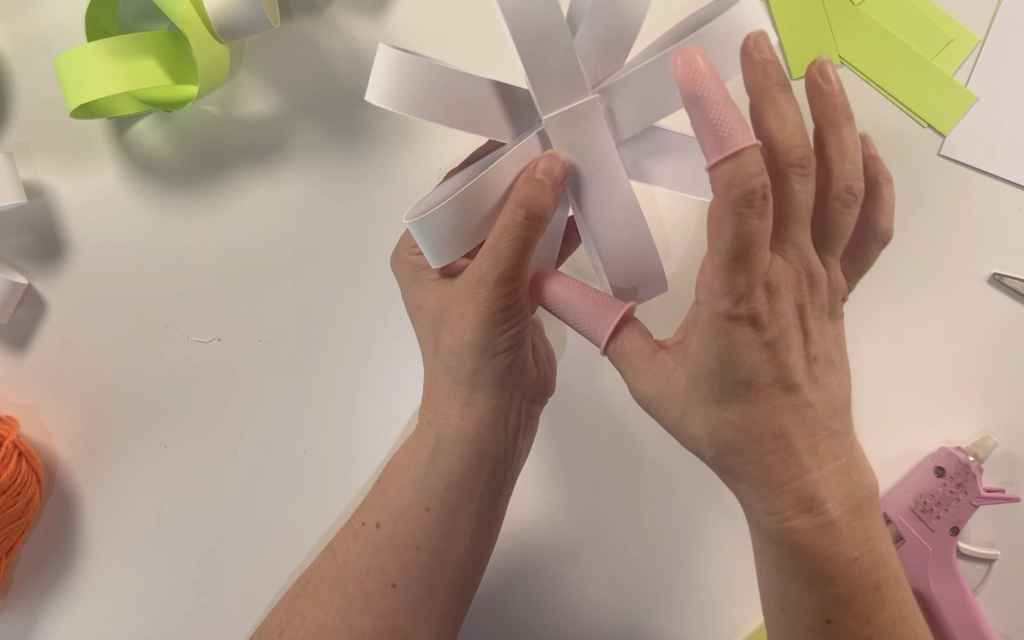
Step 4
To make the centre of the paper daisy make a small pompom. I made my pompom orange. Start by wrapping the wool around your fingers.
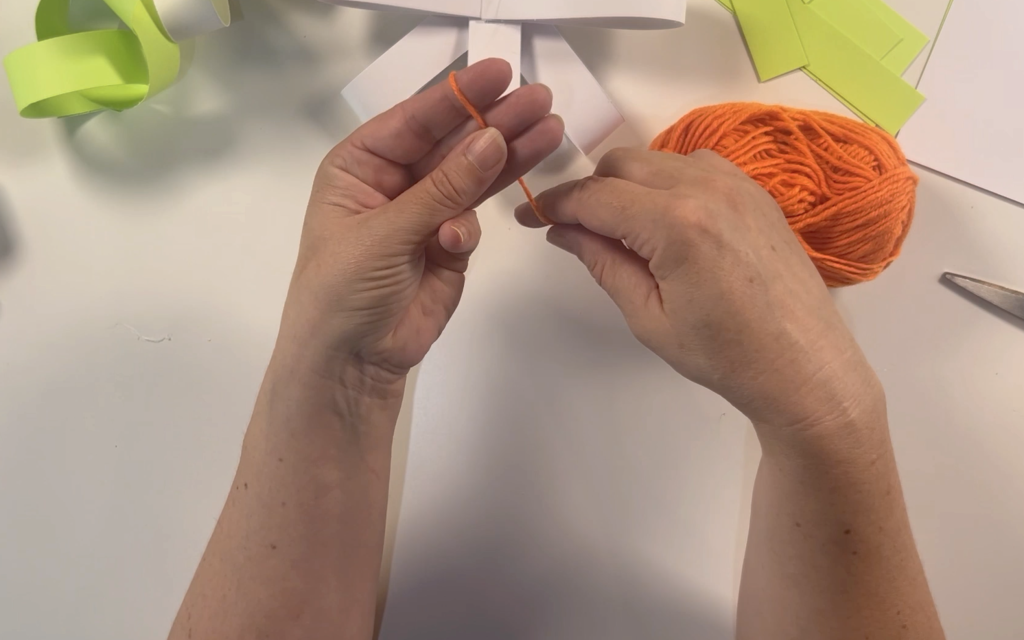
Wrap the wool around your fingers approx 50 times. I found this made a nice little pompom.
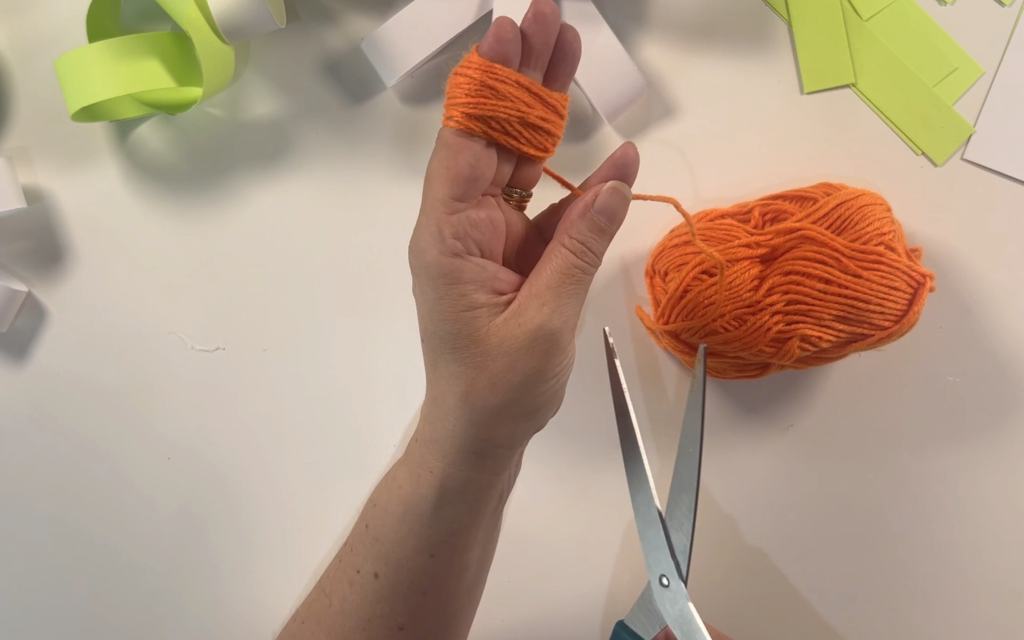
Tie the wool round the centre of the pompom. Cut through all the loops on both sides of the pompom.
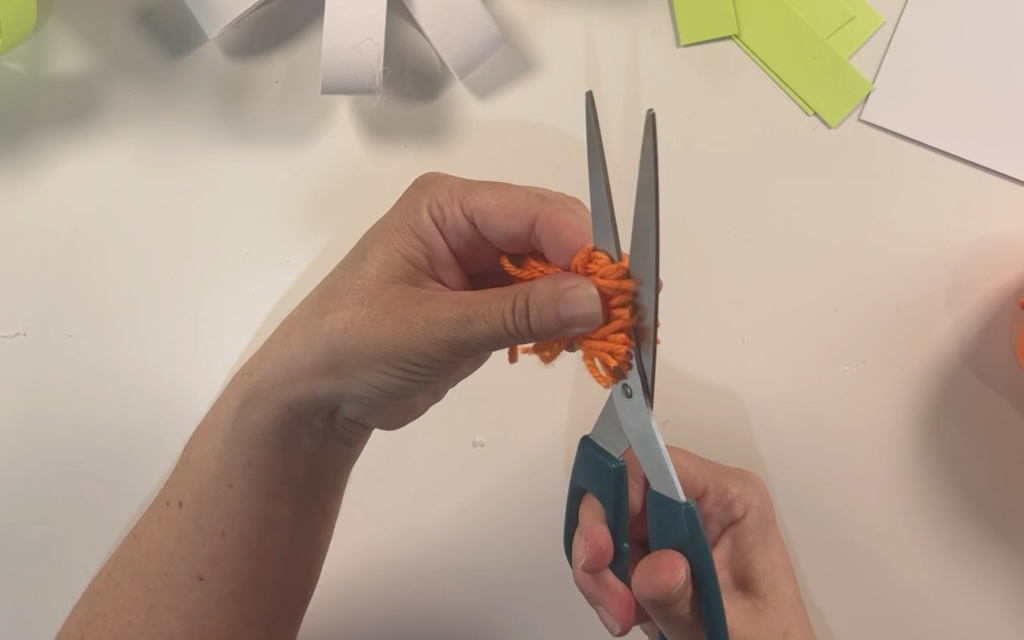
Trim the pompom to make it look neat and tidy.
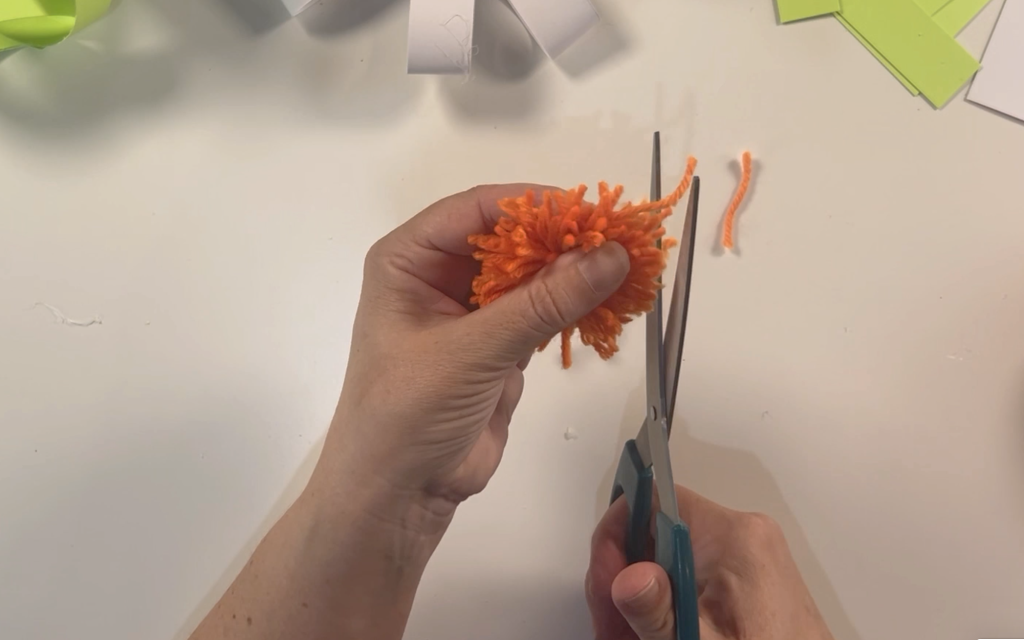
To attach the pompom to the centre of the card place a small amount of hot glue and press the pompom onto the hot glue.
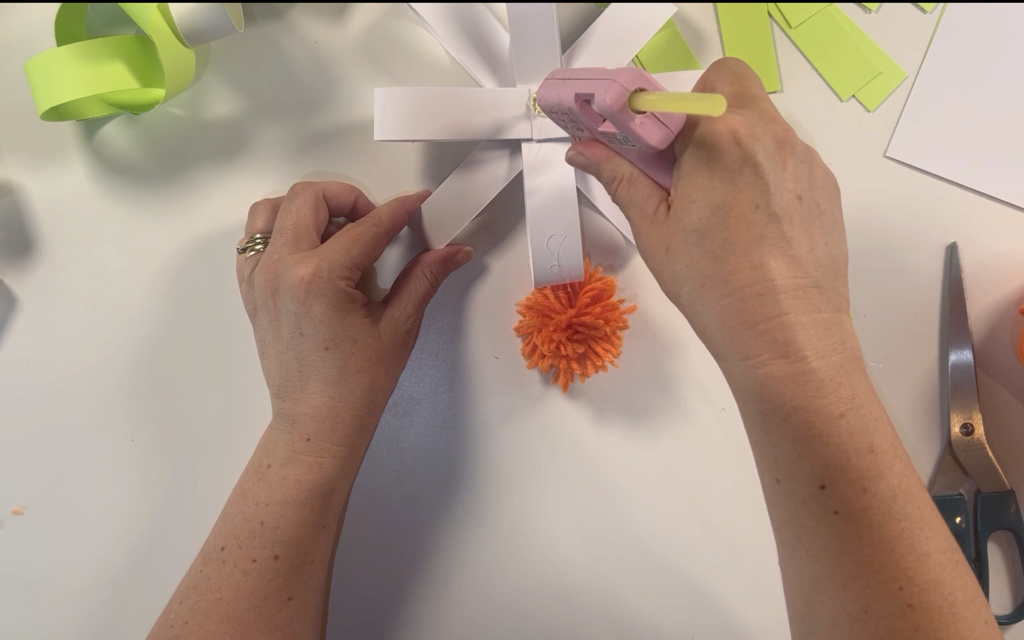
You now have your completed paper daisy.
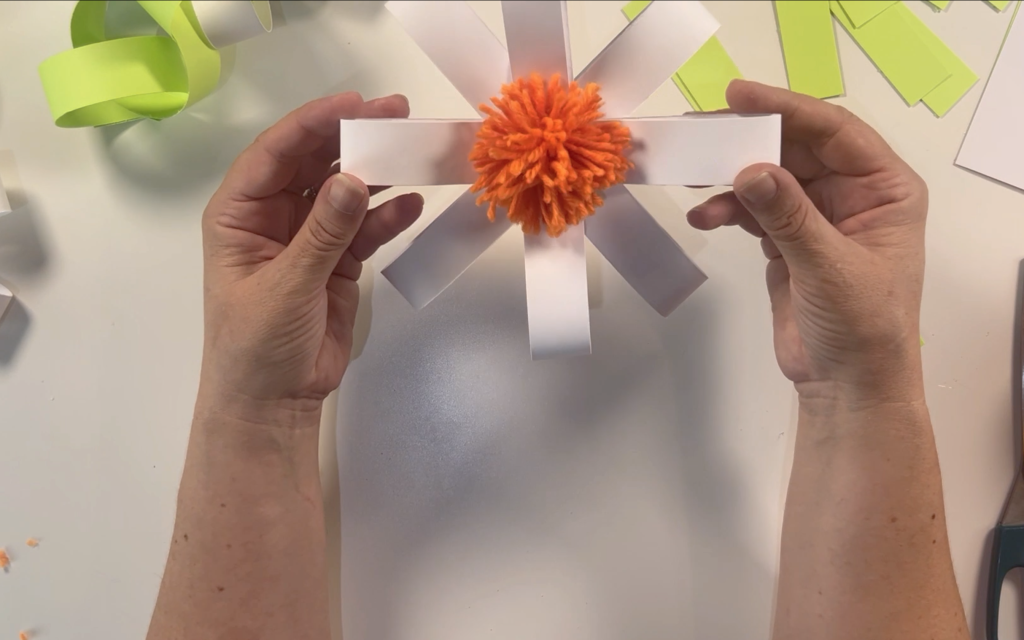
Step 5
To make the paper chain, take a piece of the green card and make it into a loop using hot glue to secure it together. Place the next piece of card through the loop. Make a loop with that piece of card and secure the ends together with hot glue.
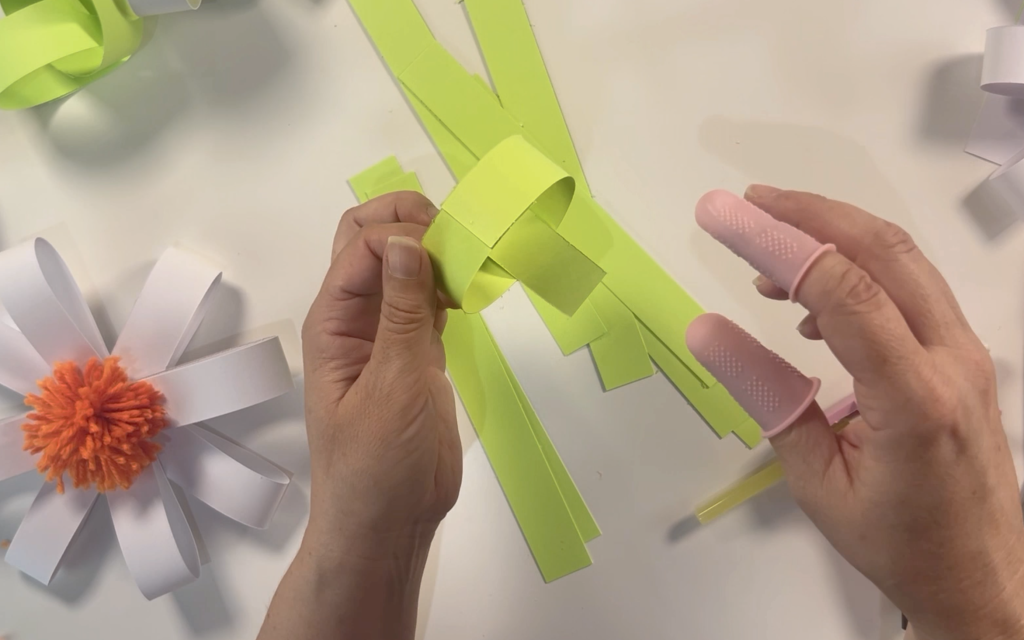
To attach the paper chain to the daisy push a piece of the green card through one of the white daisy loops.
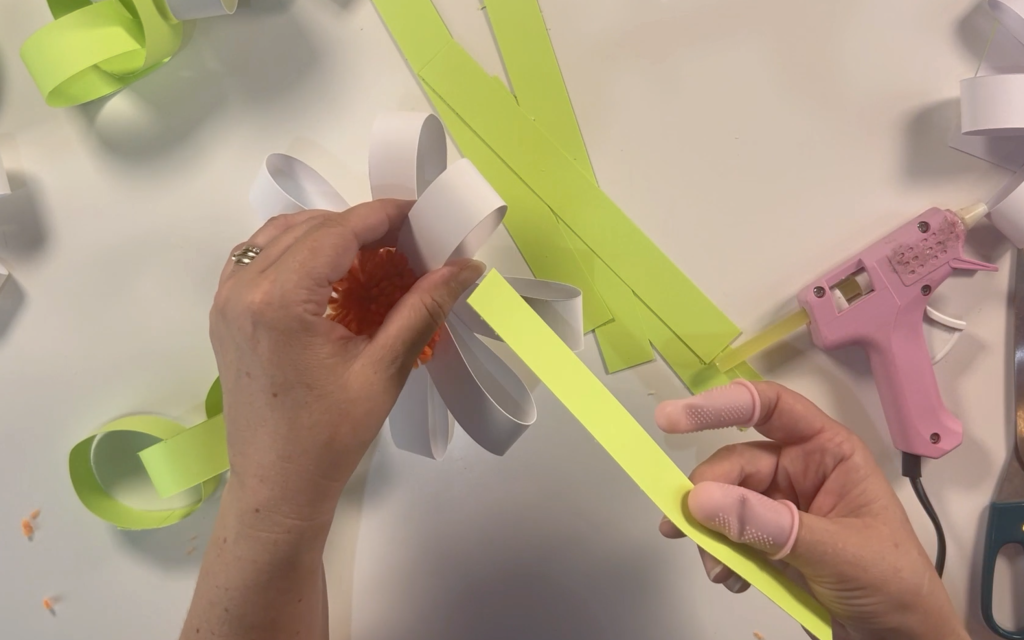
Make the green card into a loop and secure with hot glue. Continue to make as make green loops as you want in between your daisy's.
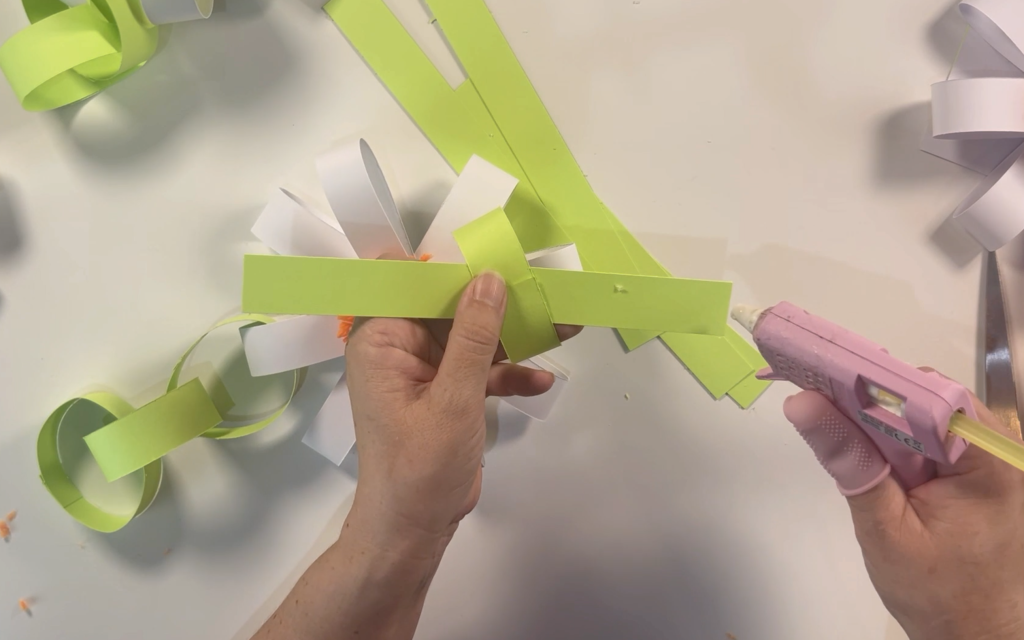
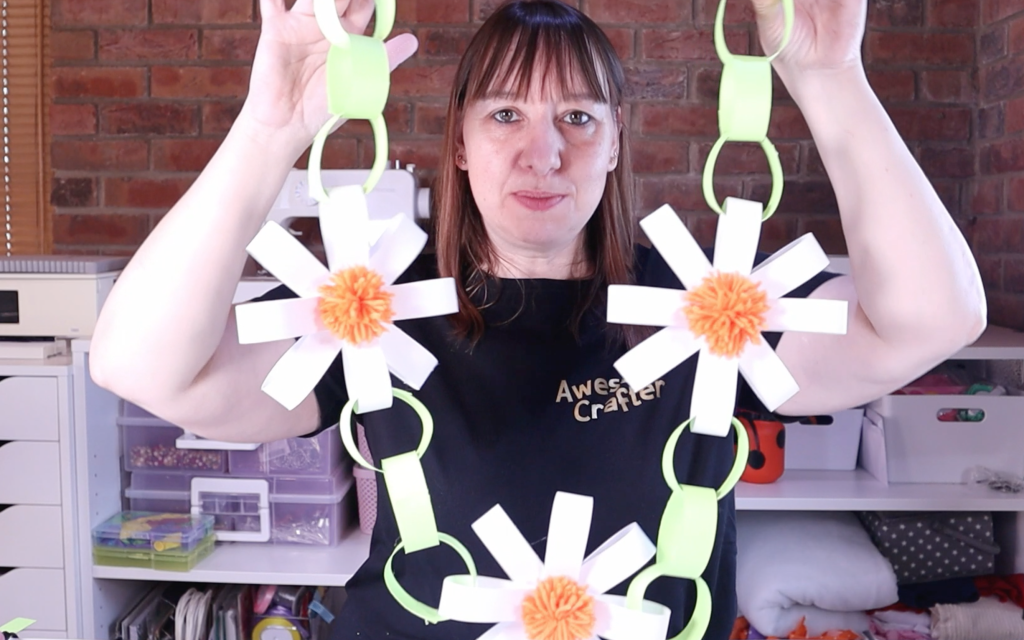
I made 3 green loops in between each one of my daisy's. When you have added as many daisy's and green loops as you require your daisy paper chain is complete.
I really hope you enjoyed my blog post. If you would like to watch how i made my paper daisy chain your can watch the video by clicking on the link. How To Make Daisy Paper Chains - Easy Party Decor
Please also check out my other blog posts:
Easy To Make Budget Friendly Valentines Banner
How to make a happy birthday banner using cricut